Empowering Your Development Workflow: A Step-by-Step Guide to Building Your First CI/CD Pipeline in Jenkins with SonarQube and Docker Integration


Table of contents
- Beginners advice
- Pre-requisites
- Creating AWS instances
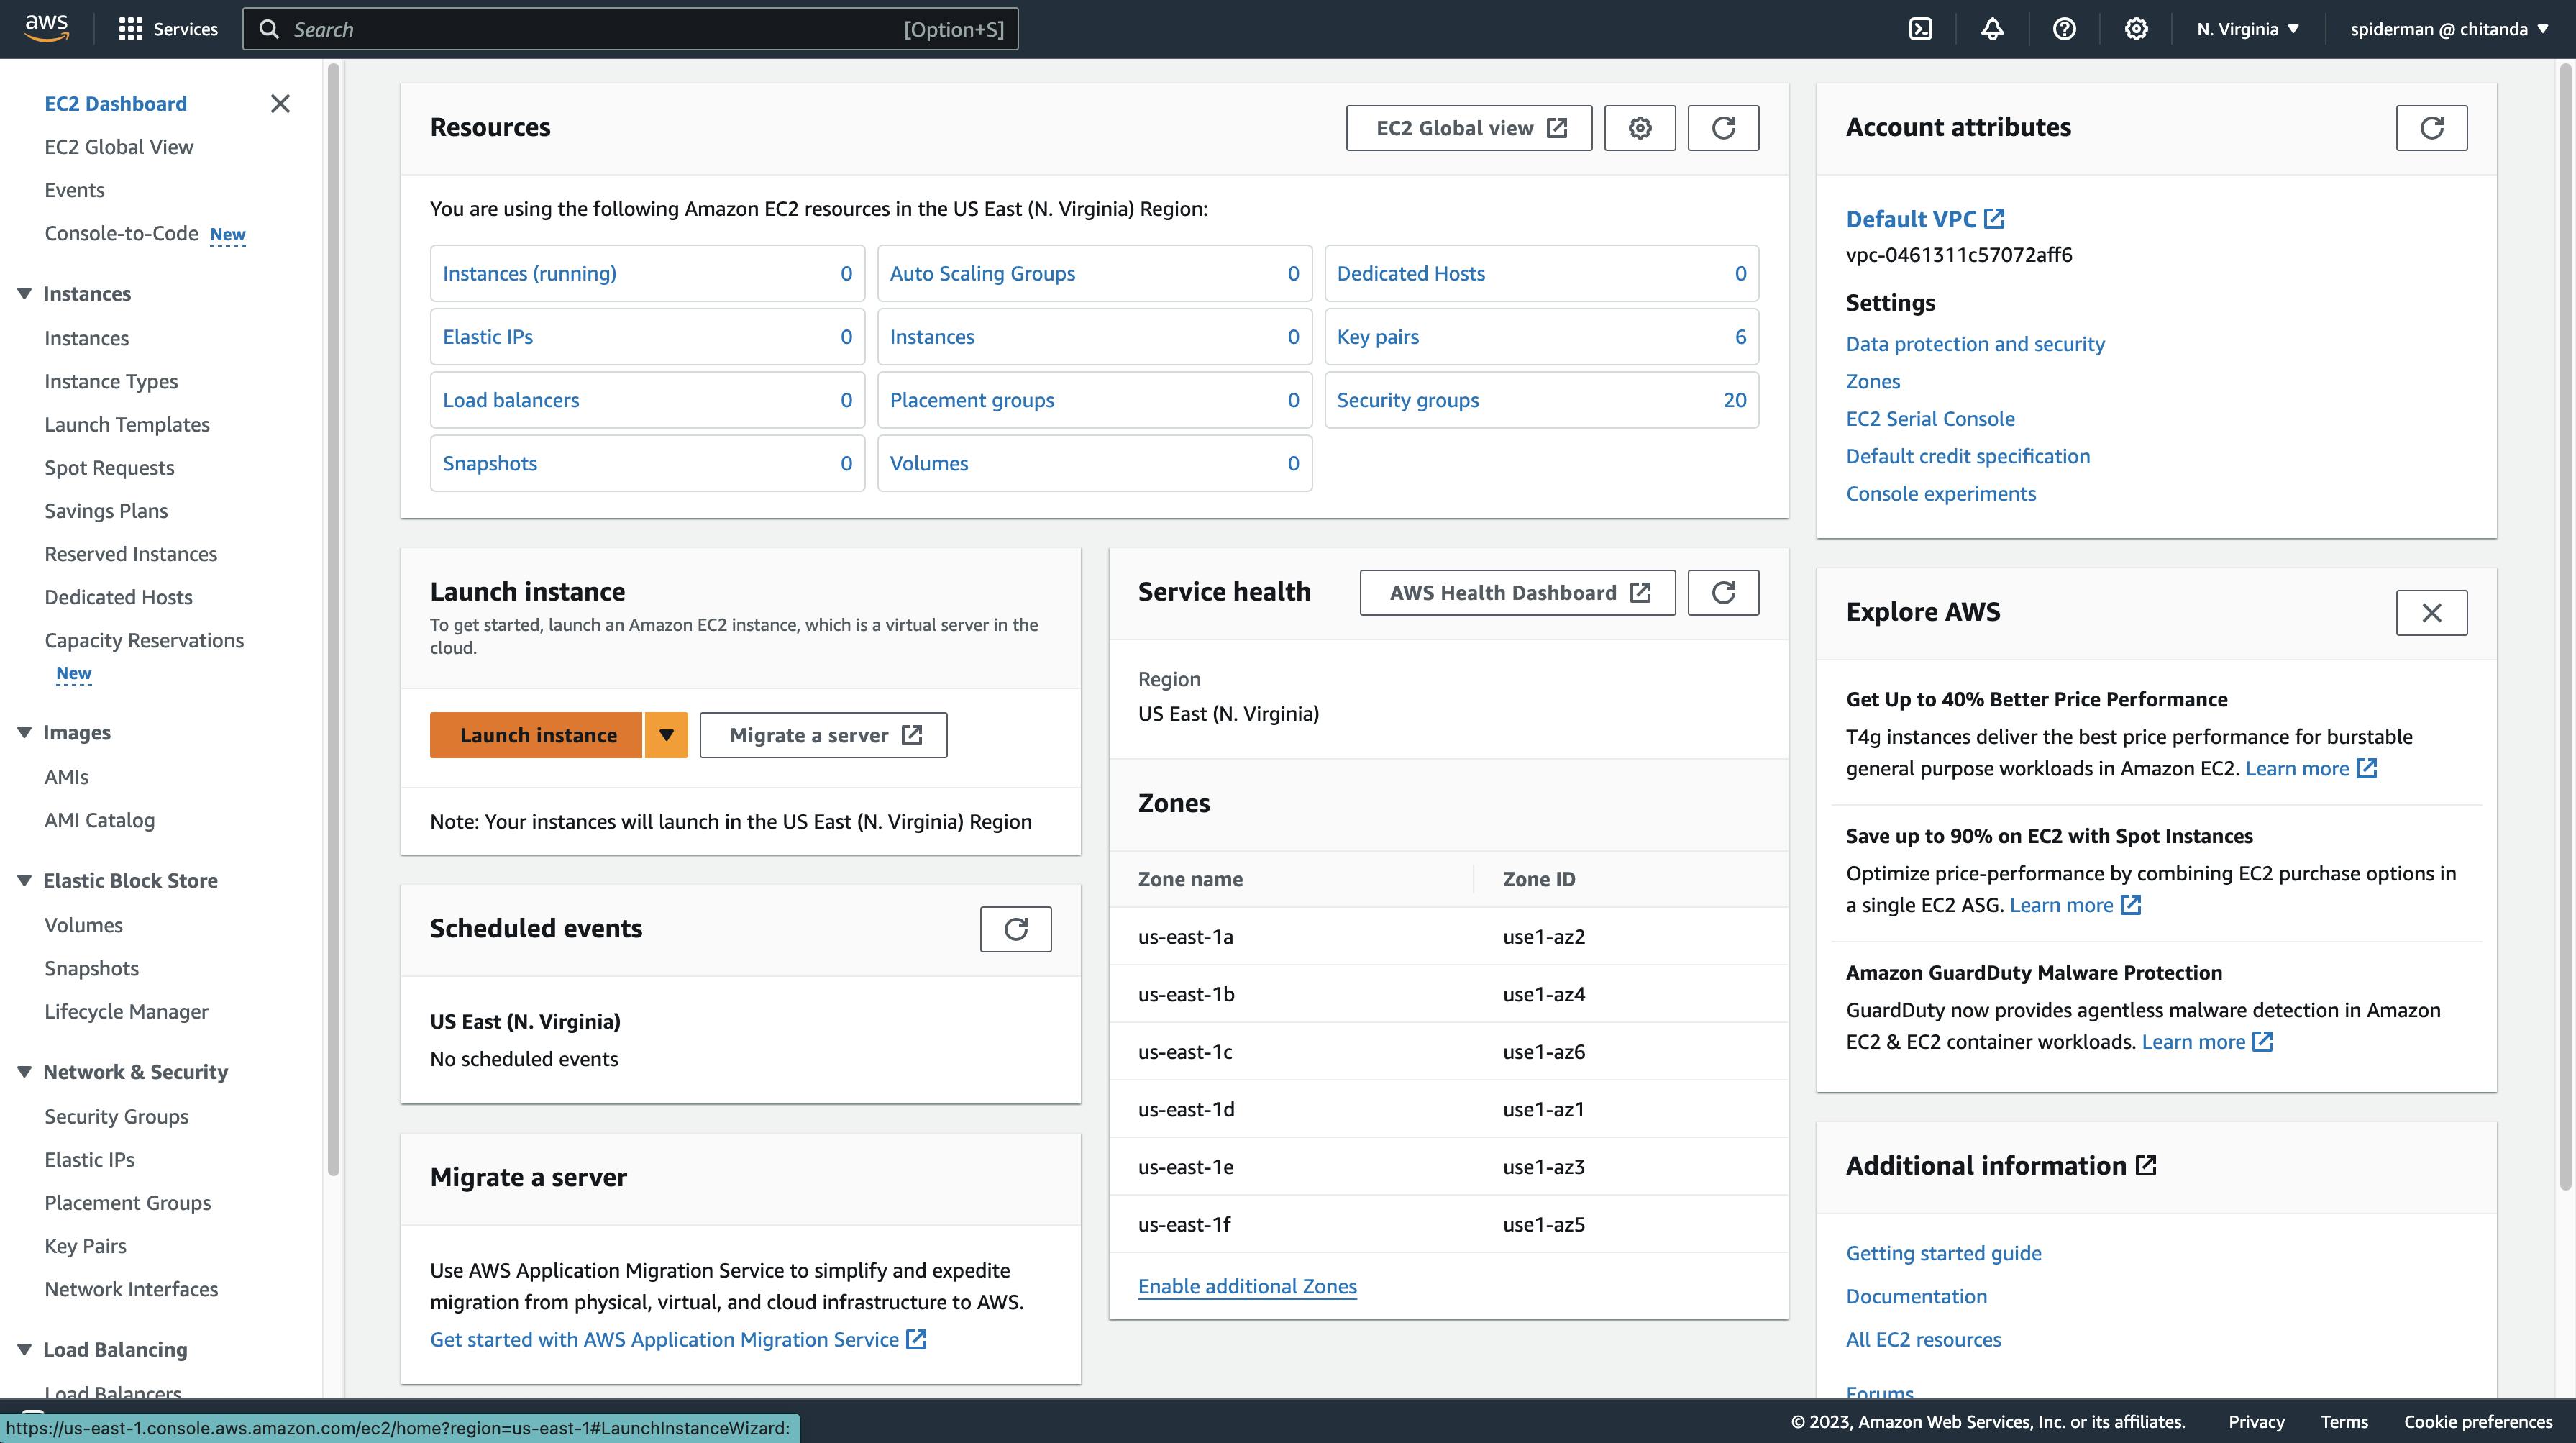
- In the AWS dashboard that appears after you have logged in as an IAM user, go to the search tab type EC2 and select the first outlined link.
- Now click on Launch instance in the bottom-left corner.
- Now create 2 more EC2 instances for Sonarqube and Docker each following the above steps, you can use the same key-value pair that you are using for Jenkins.
- The Status check may take some time to get updated, you can keep refreshing the page to confirm the Status check.
- Connecting Jenkins instance to the terminal.
- Type the following command in the terminal.
- Now in the browser navigate to jenkins.io
- Conclusion
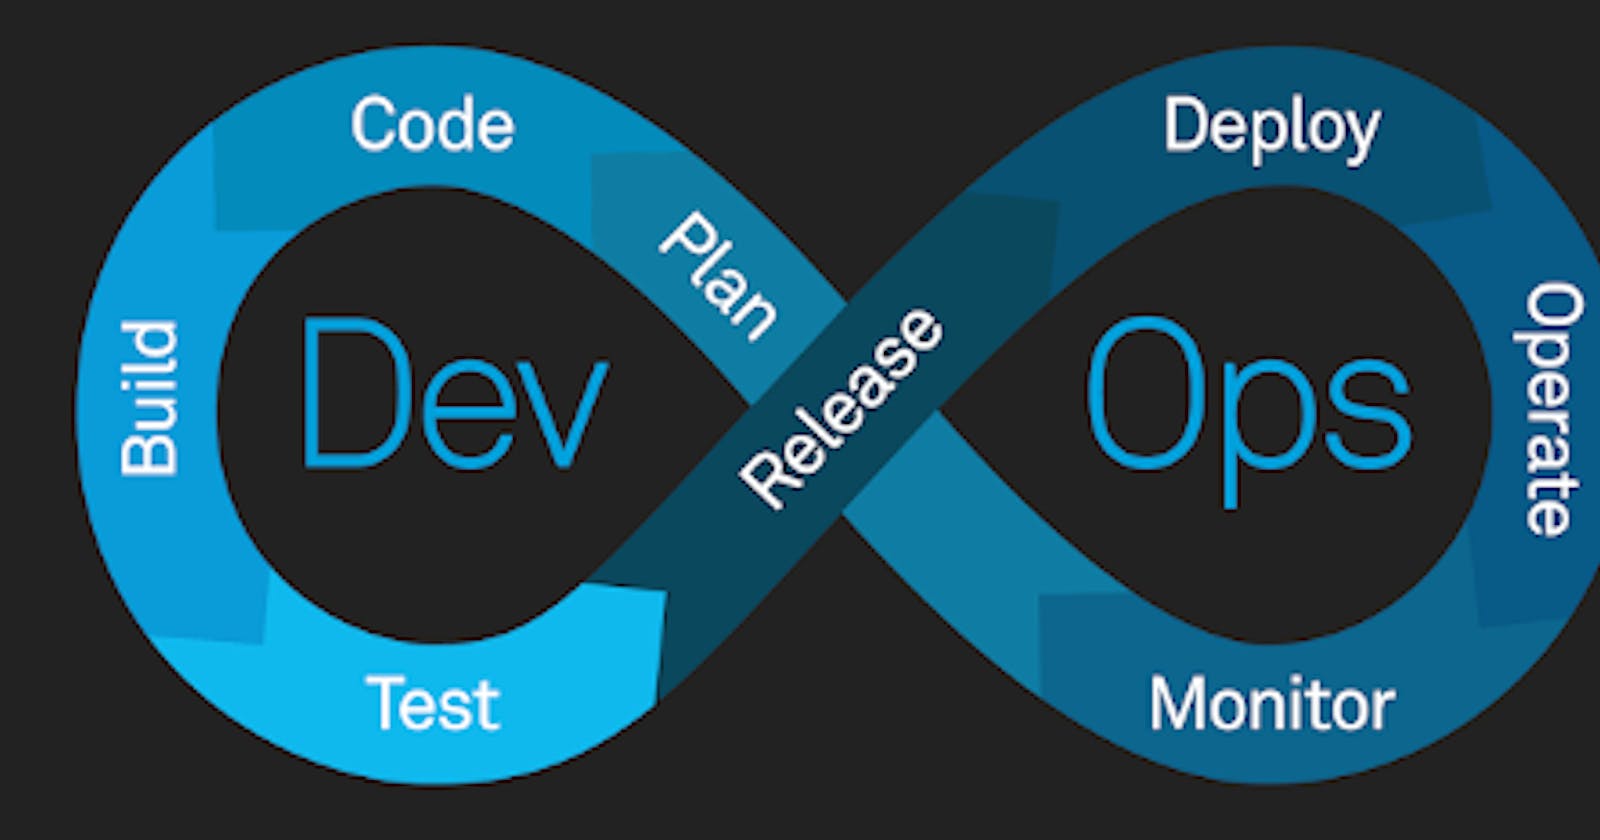
This blog aims to guide you through the creation of your inaugural CI/CD pipeline using Jenkins, seamlessly integrated with three AWS instances and fortified with indispensable tools such as SonarQube and Docker. This comprehensive guide will equip you with the knowledge and hands-on experience to set up a robust pipeline.
Beginners advice
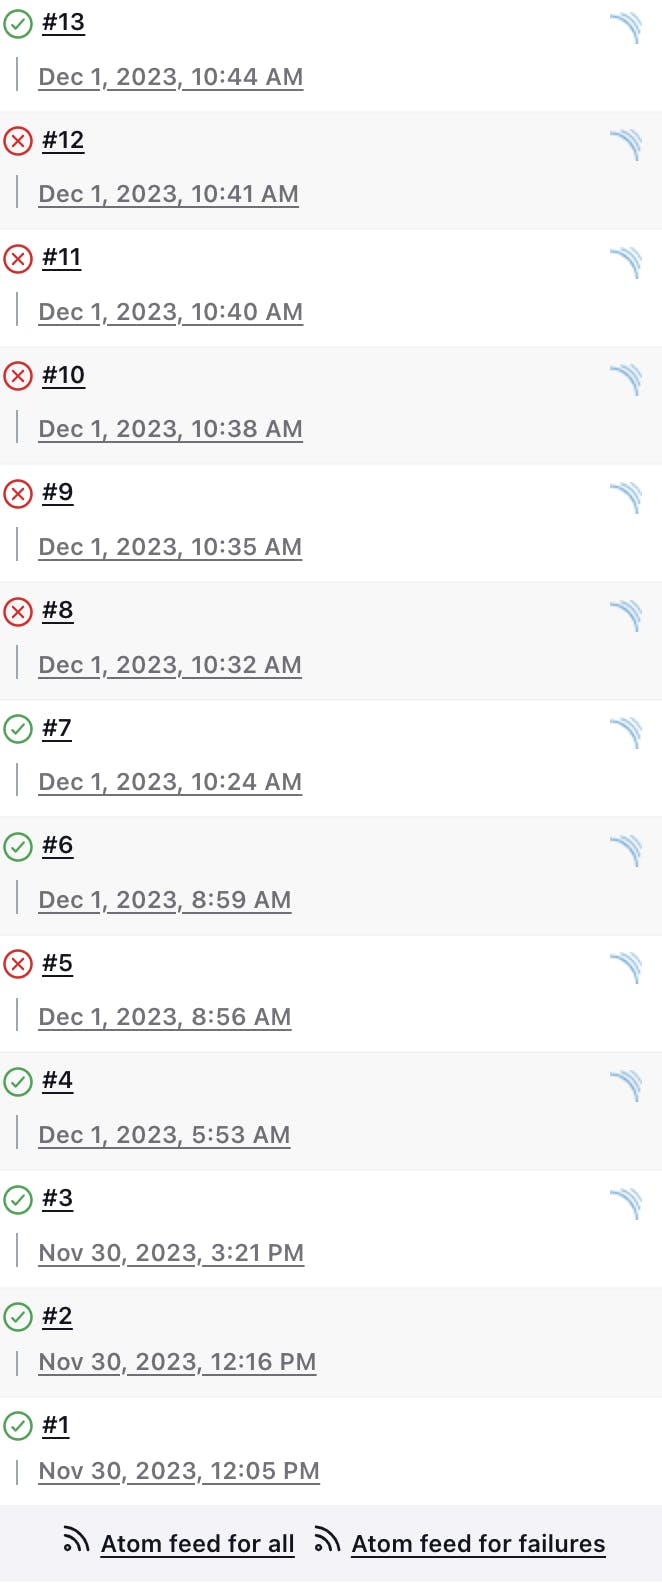
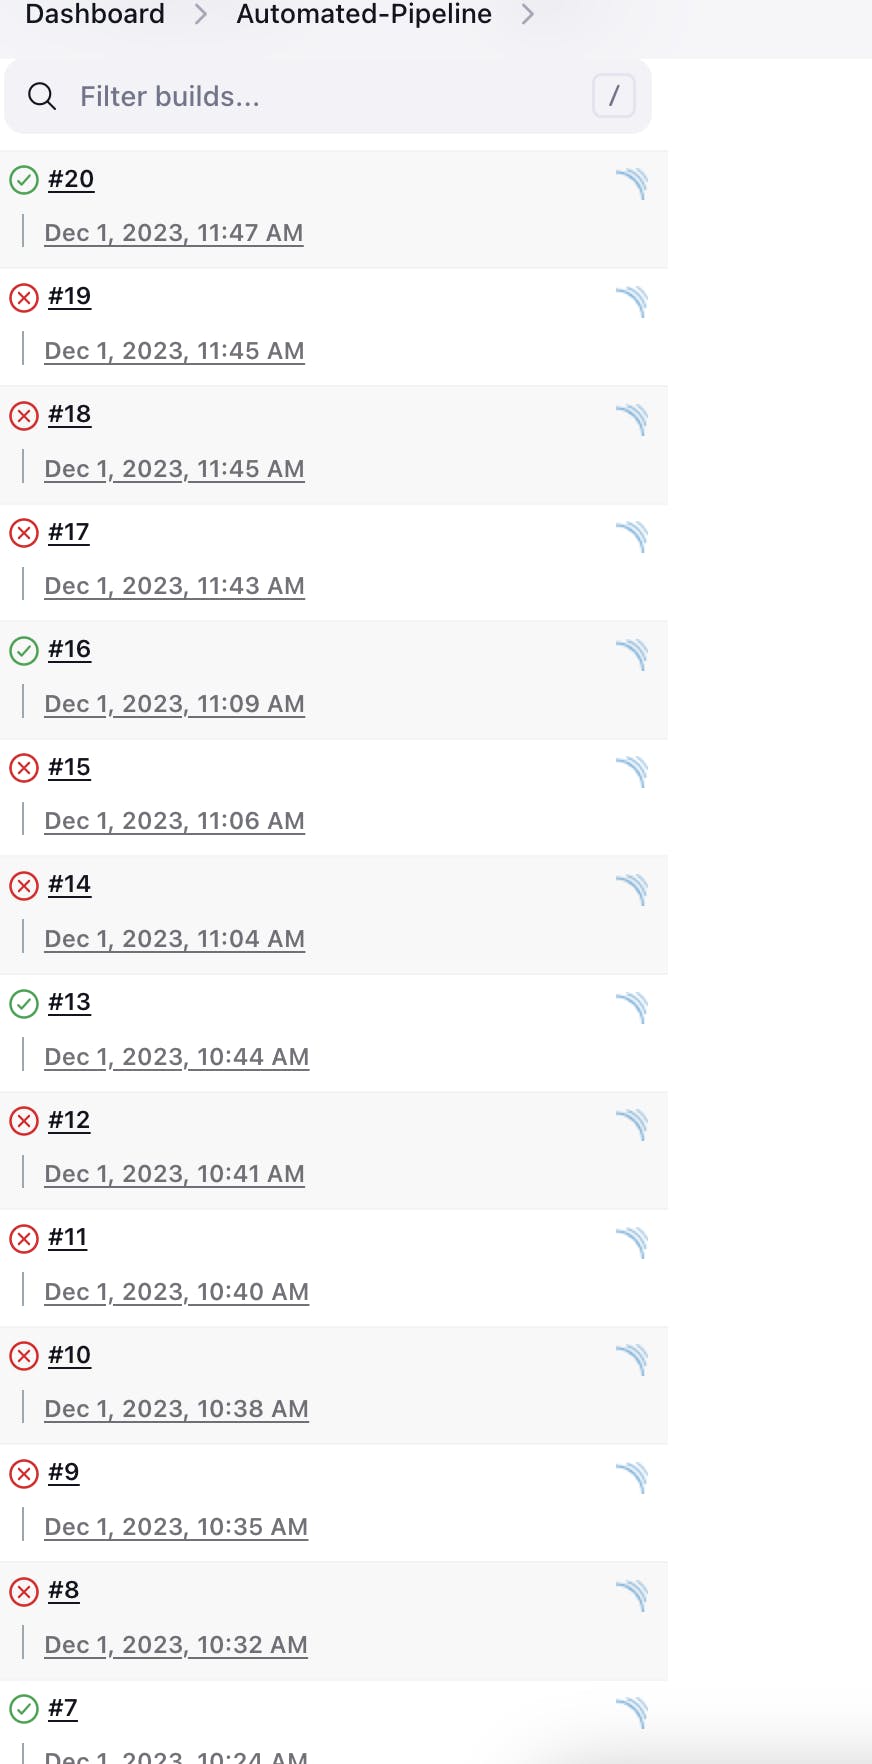
It took me a total of 20 builds to finally see my pipeline running smoothly. While it may seem daunting at first, I want to share my experience to encourage others to embark on a similar path. Don't be disheartened by initial setbacks; instead, view them as valuable learning opportunities. Each failed attempt was a step closer to success, troubleshooting issues, and gaining a deeper understanding of the intricacies involved.
Pre-requisites
motivation to learn something new.
Download an HTML template from Google.
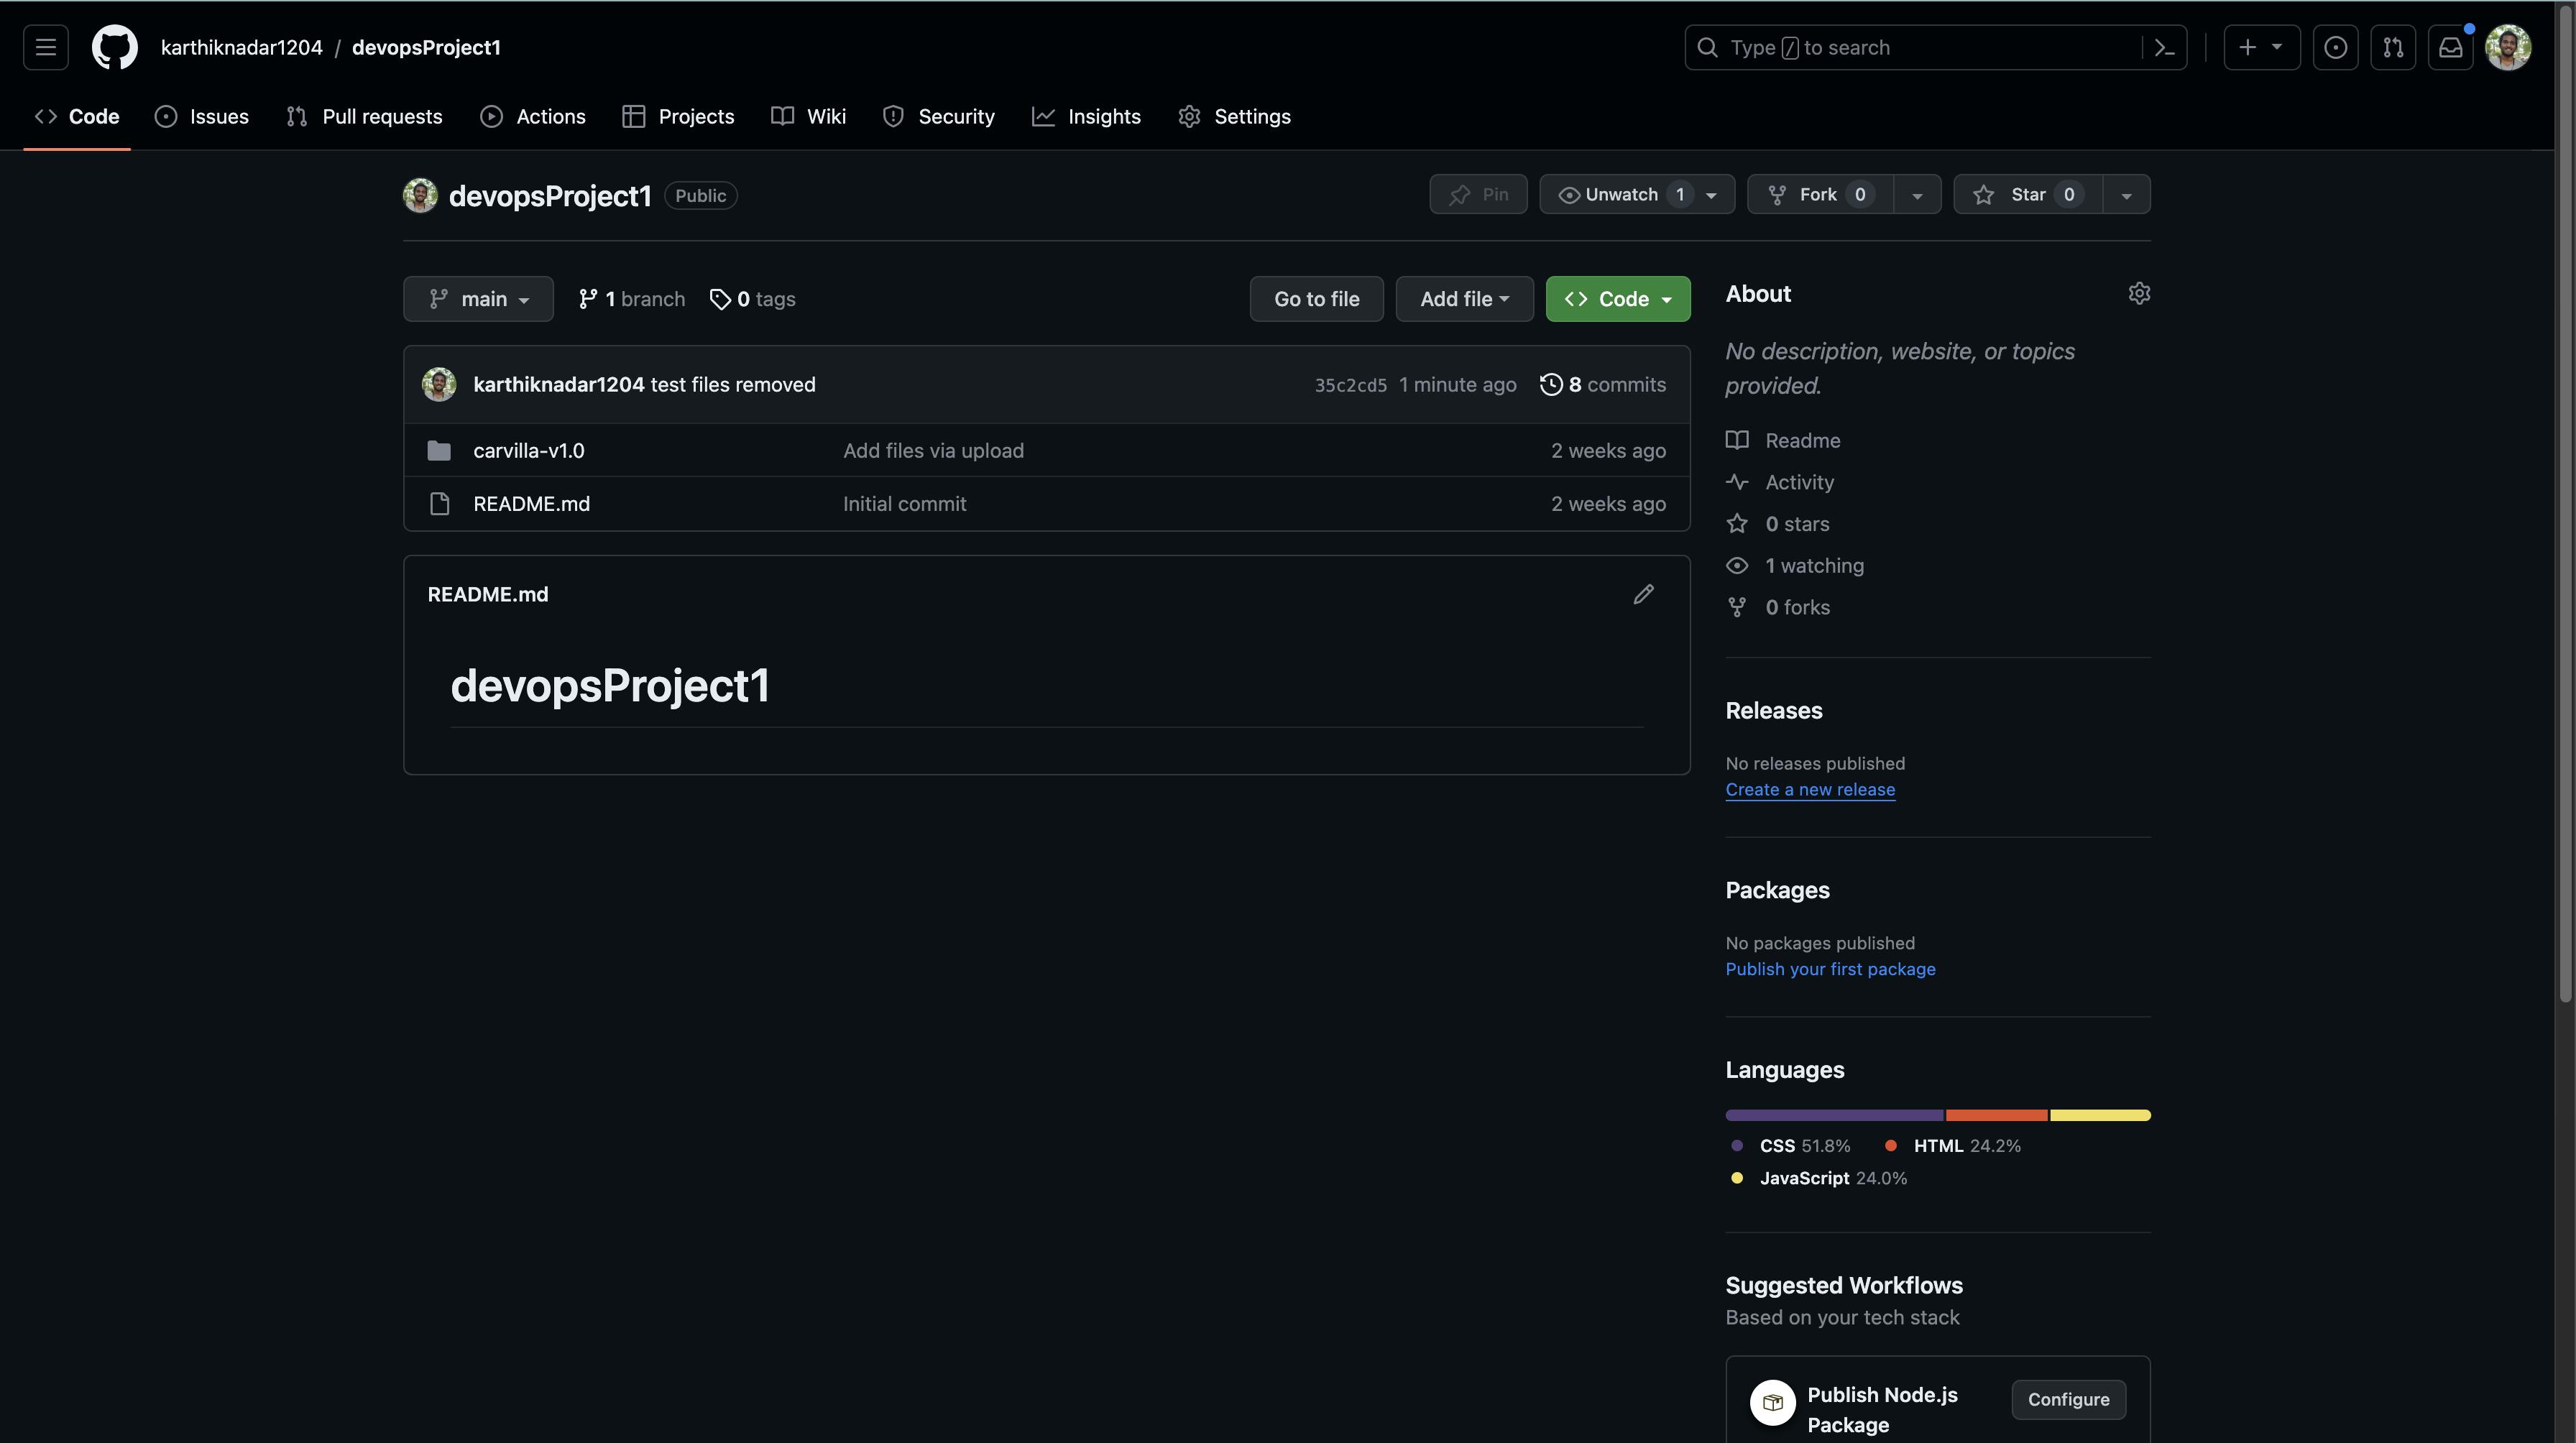
Navigate to Free-css and download a free CSS template, extract it and create a new repository on Git Hub for the downloaded template.
Creating AWS instances
We will be integrating 2 tools into the Jenkins pipeline
sonarqube
Docker
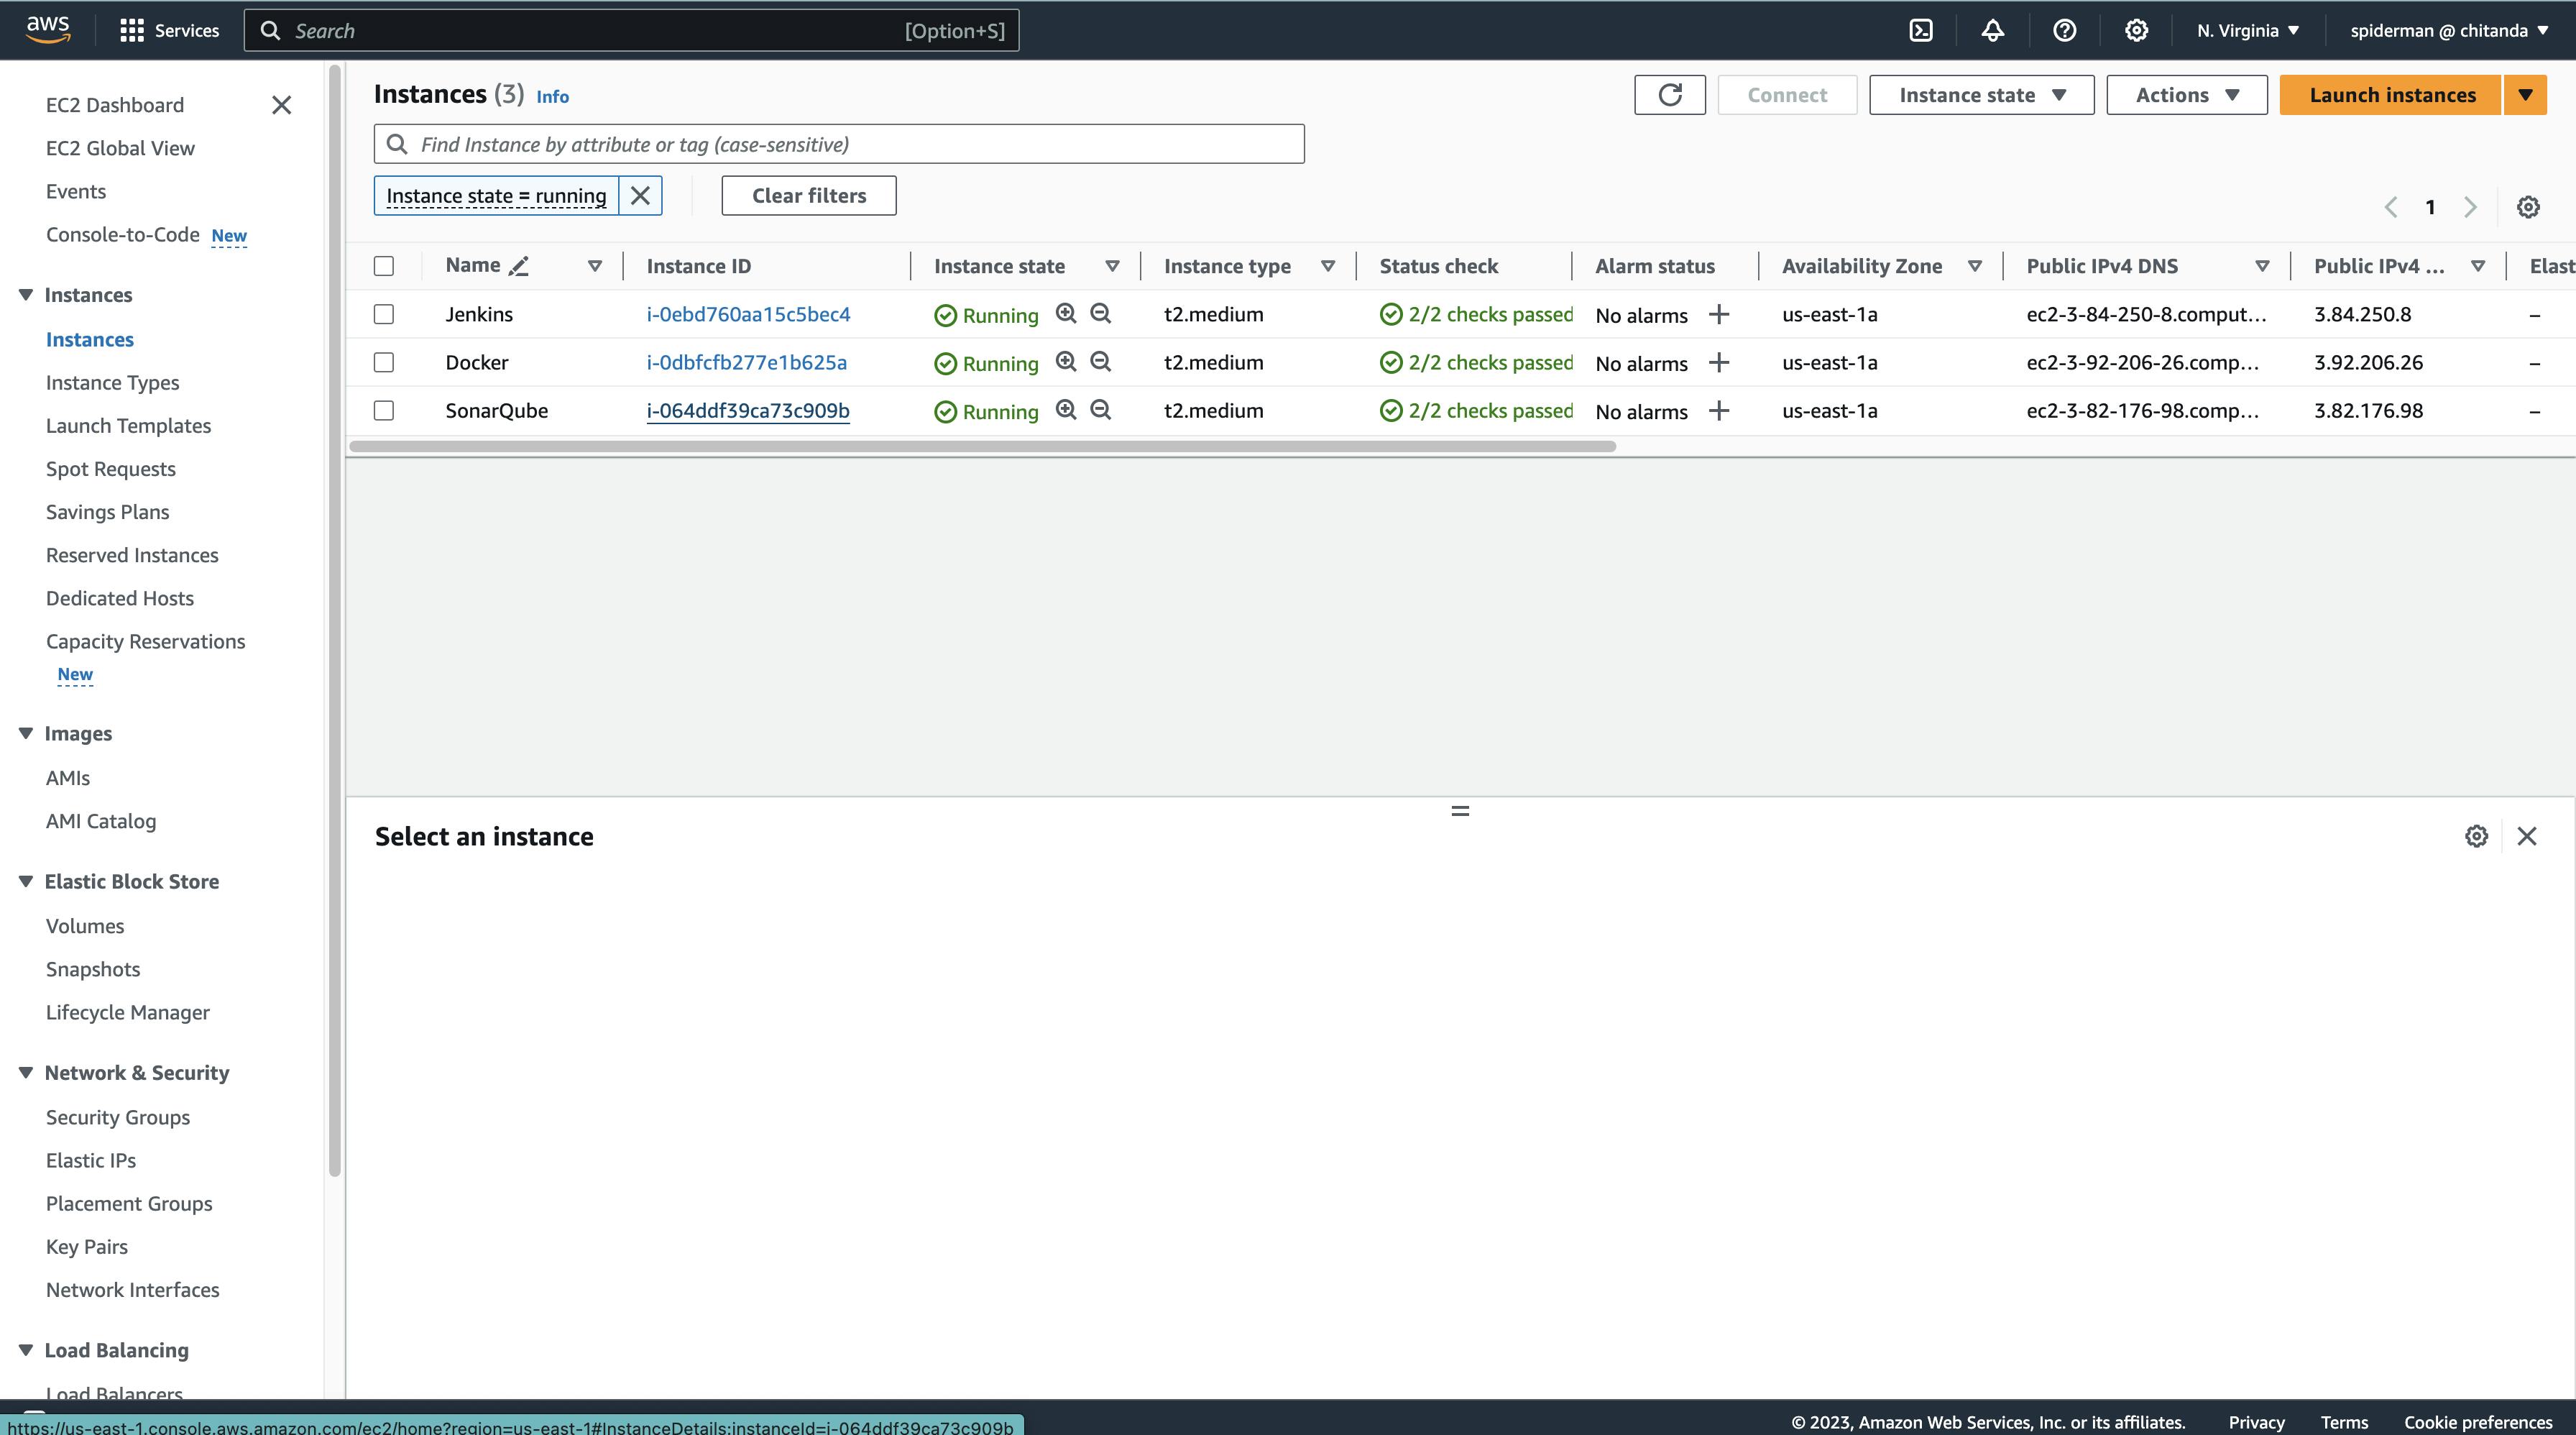
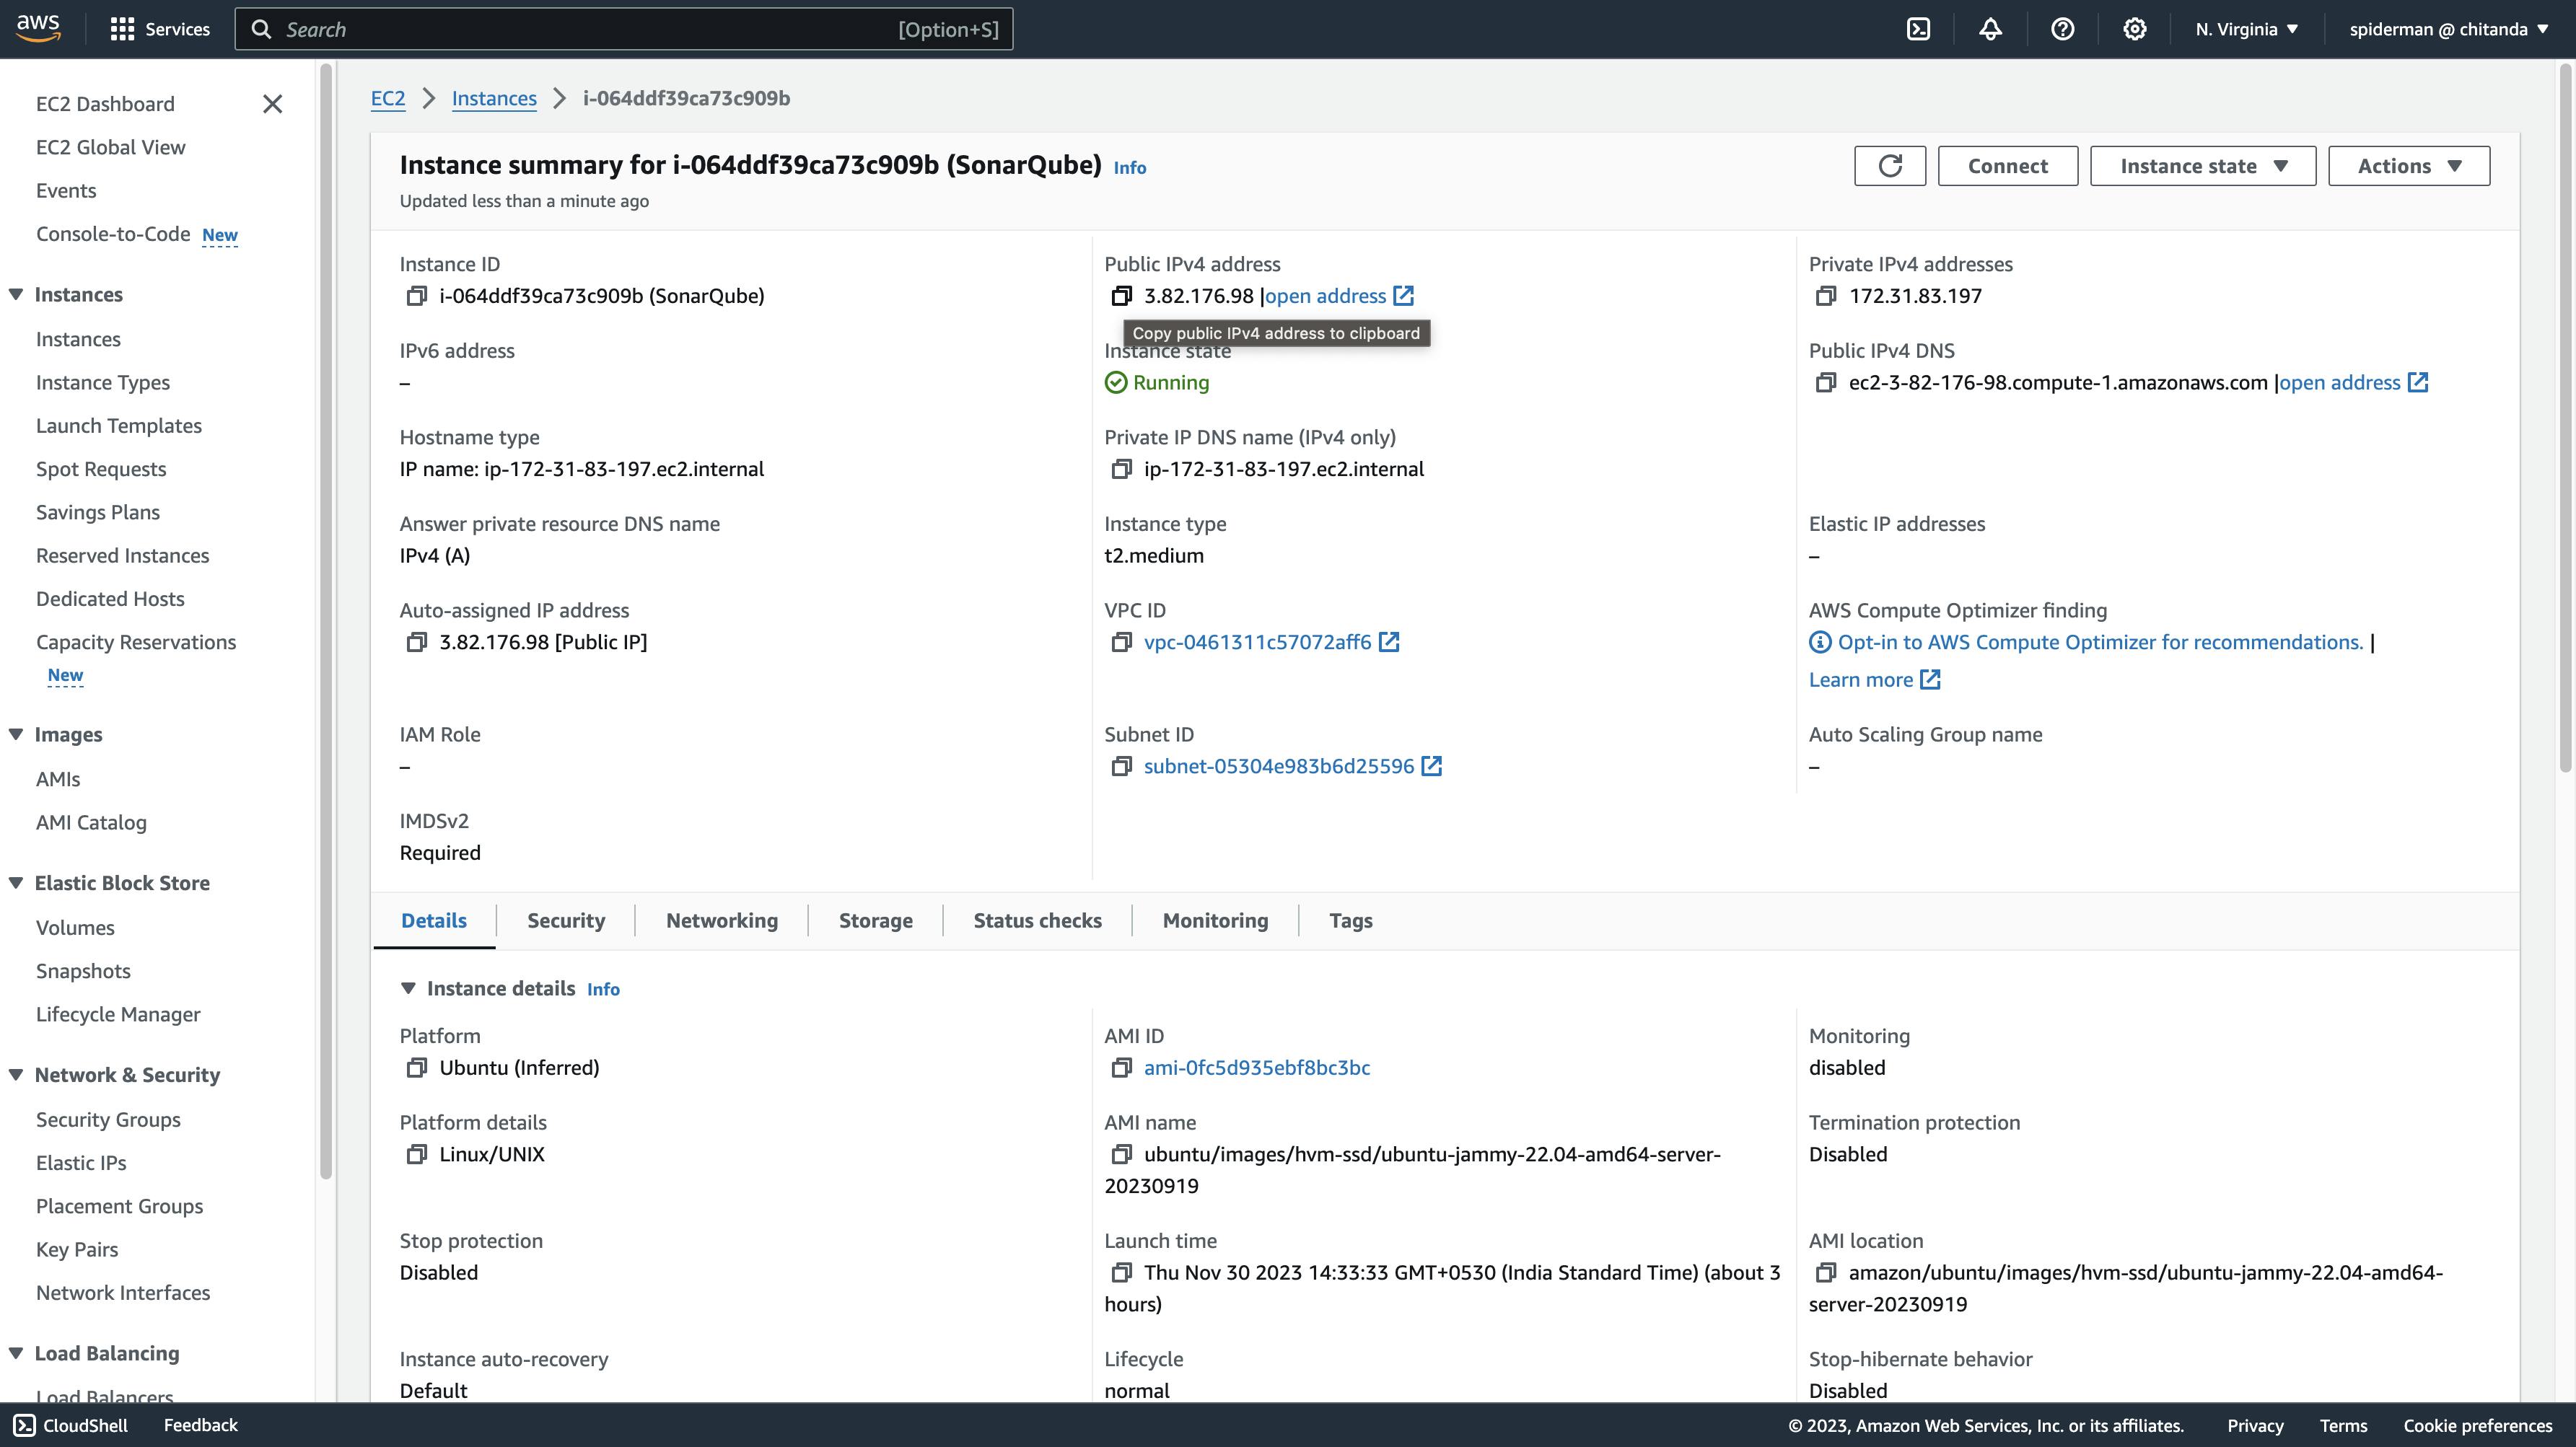
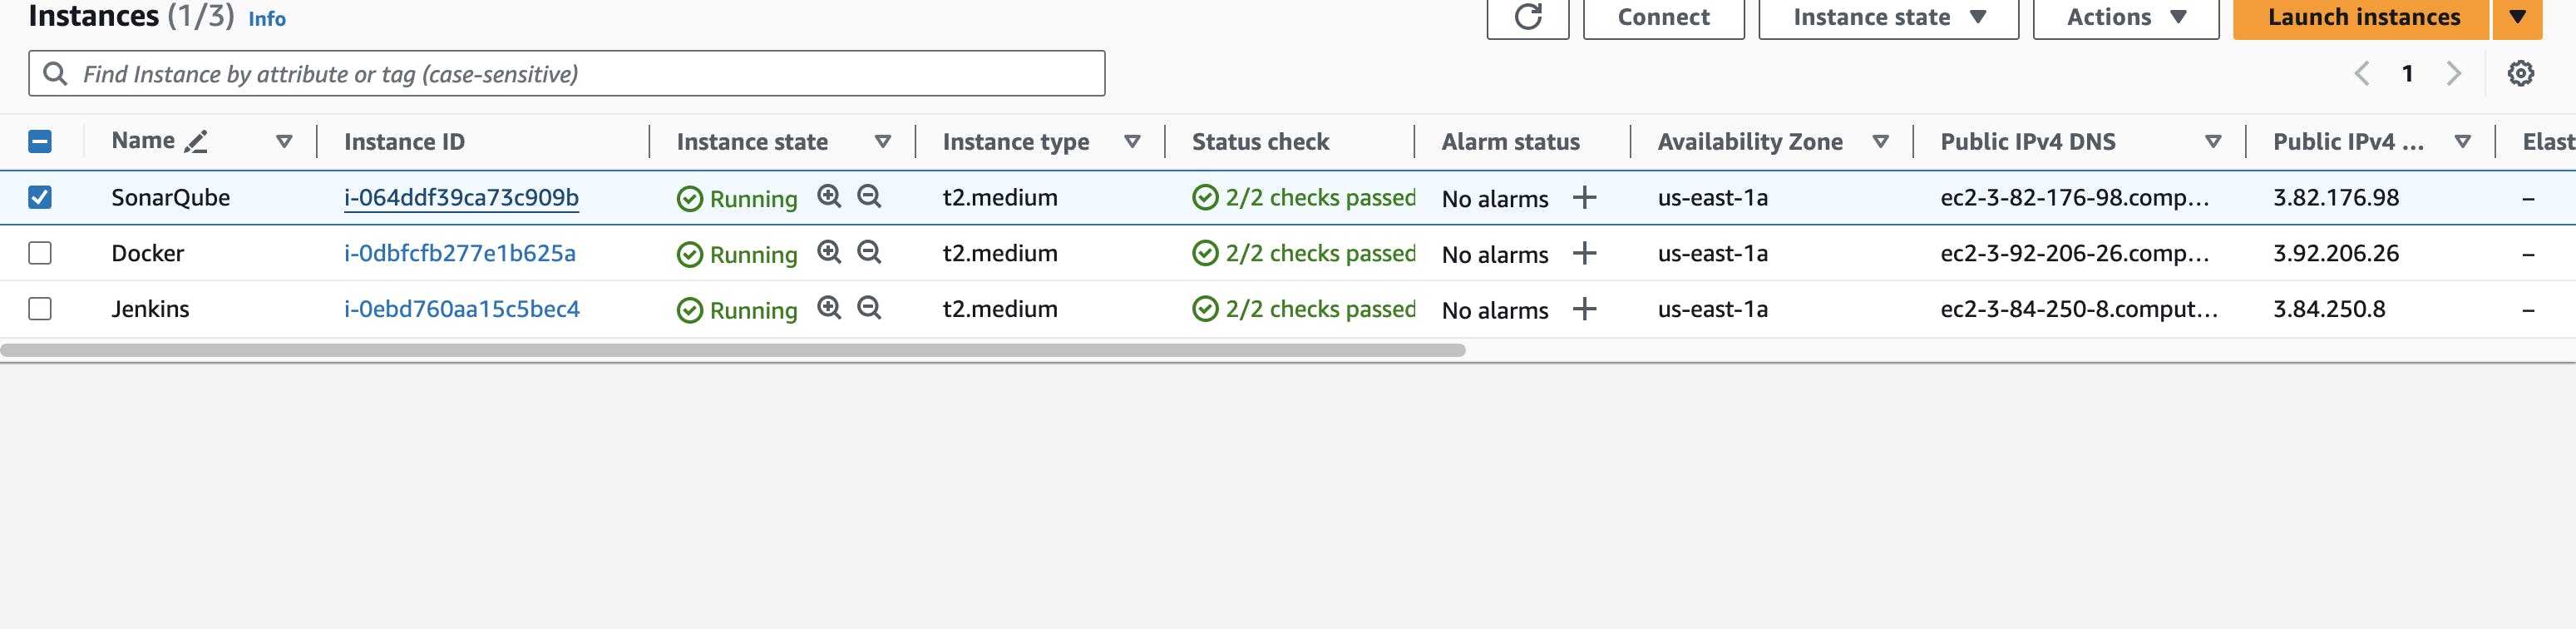
In AWS we will log in as an IAM user and create 3 separate EC2 instances:
One for Jenkins
One for Sonarqube
One for Docker
Follow these steps to launch the EC2 instances in AWS
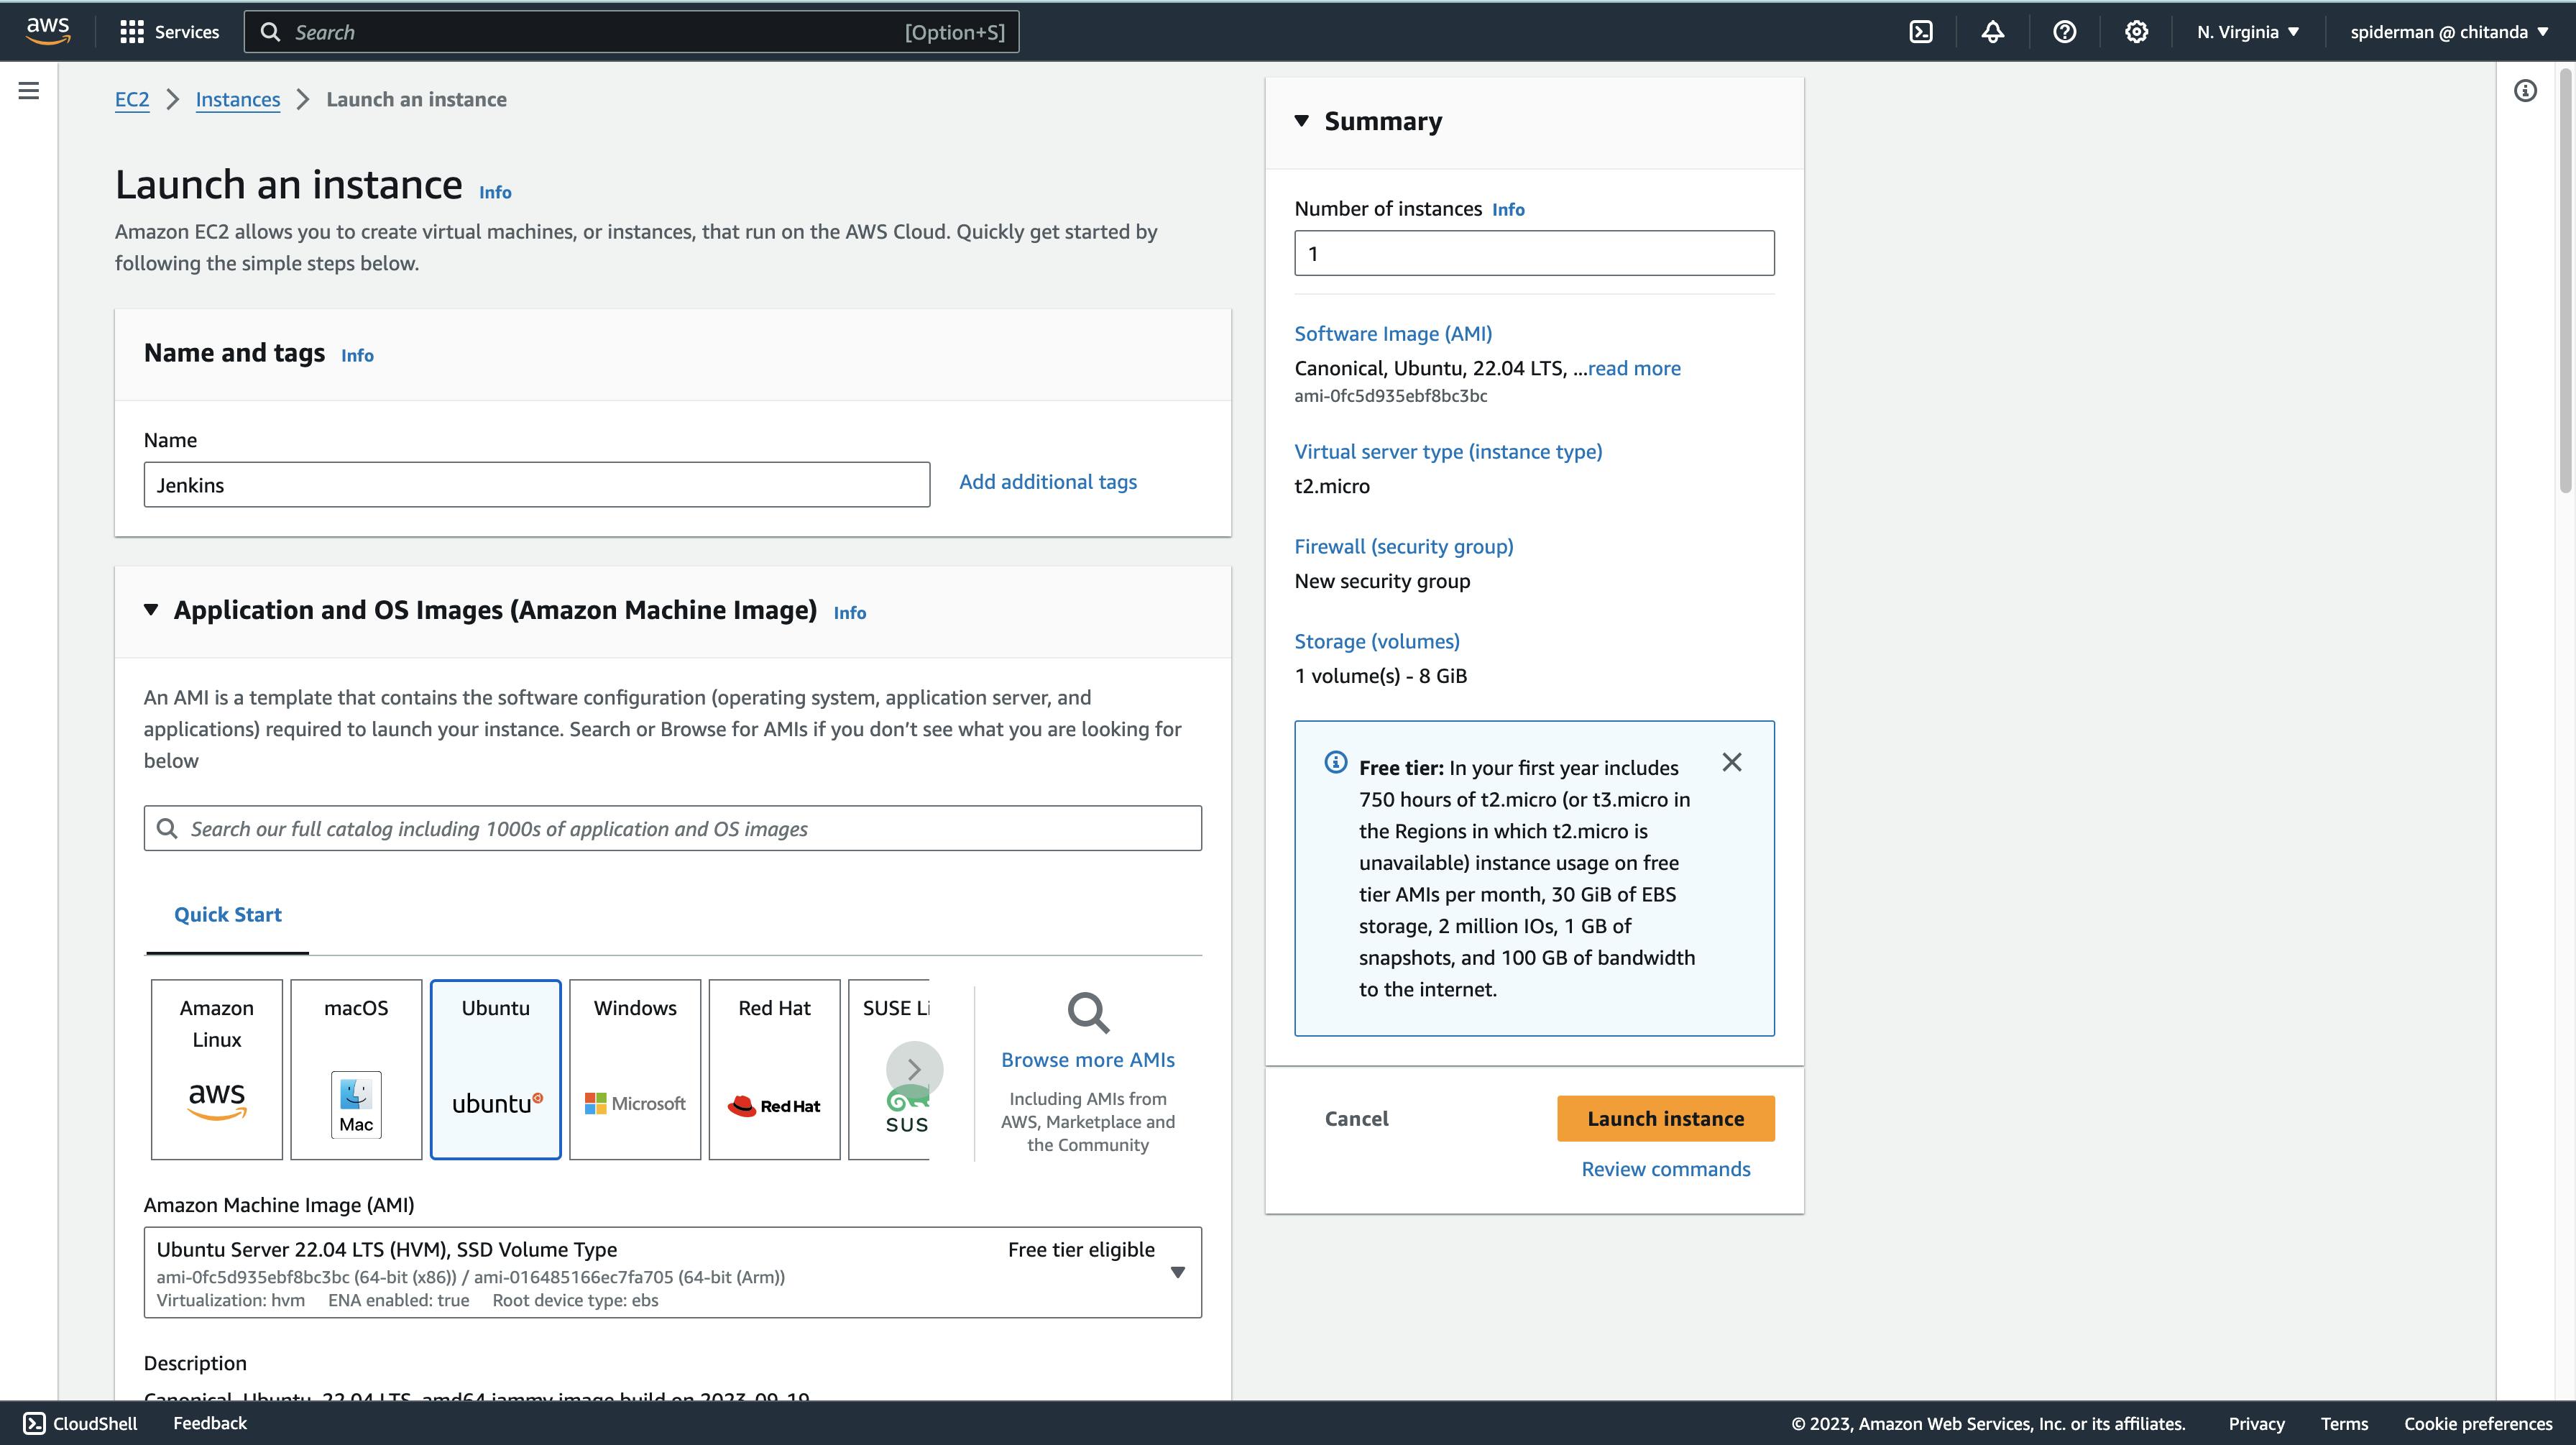
In the AWS dashboard that appears after you have logged in as an IAM user, go to the search tab type EC2 and select the first outlined link.

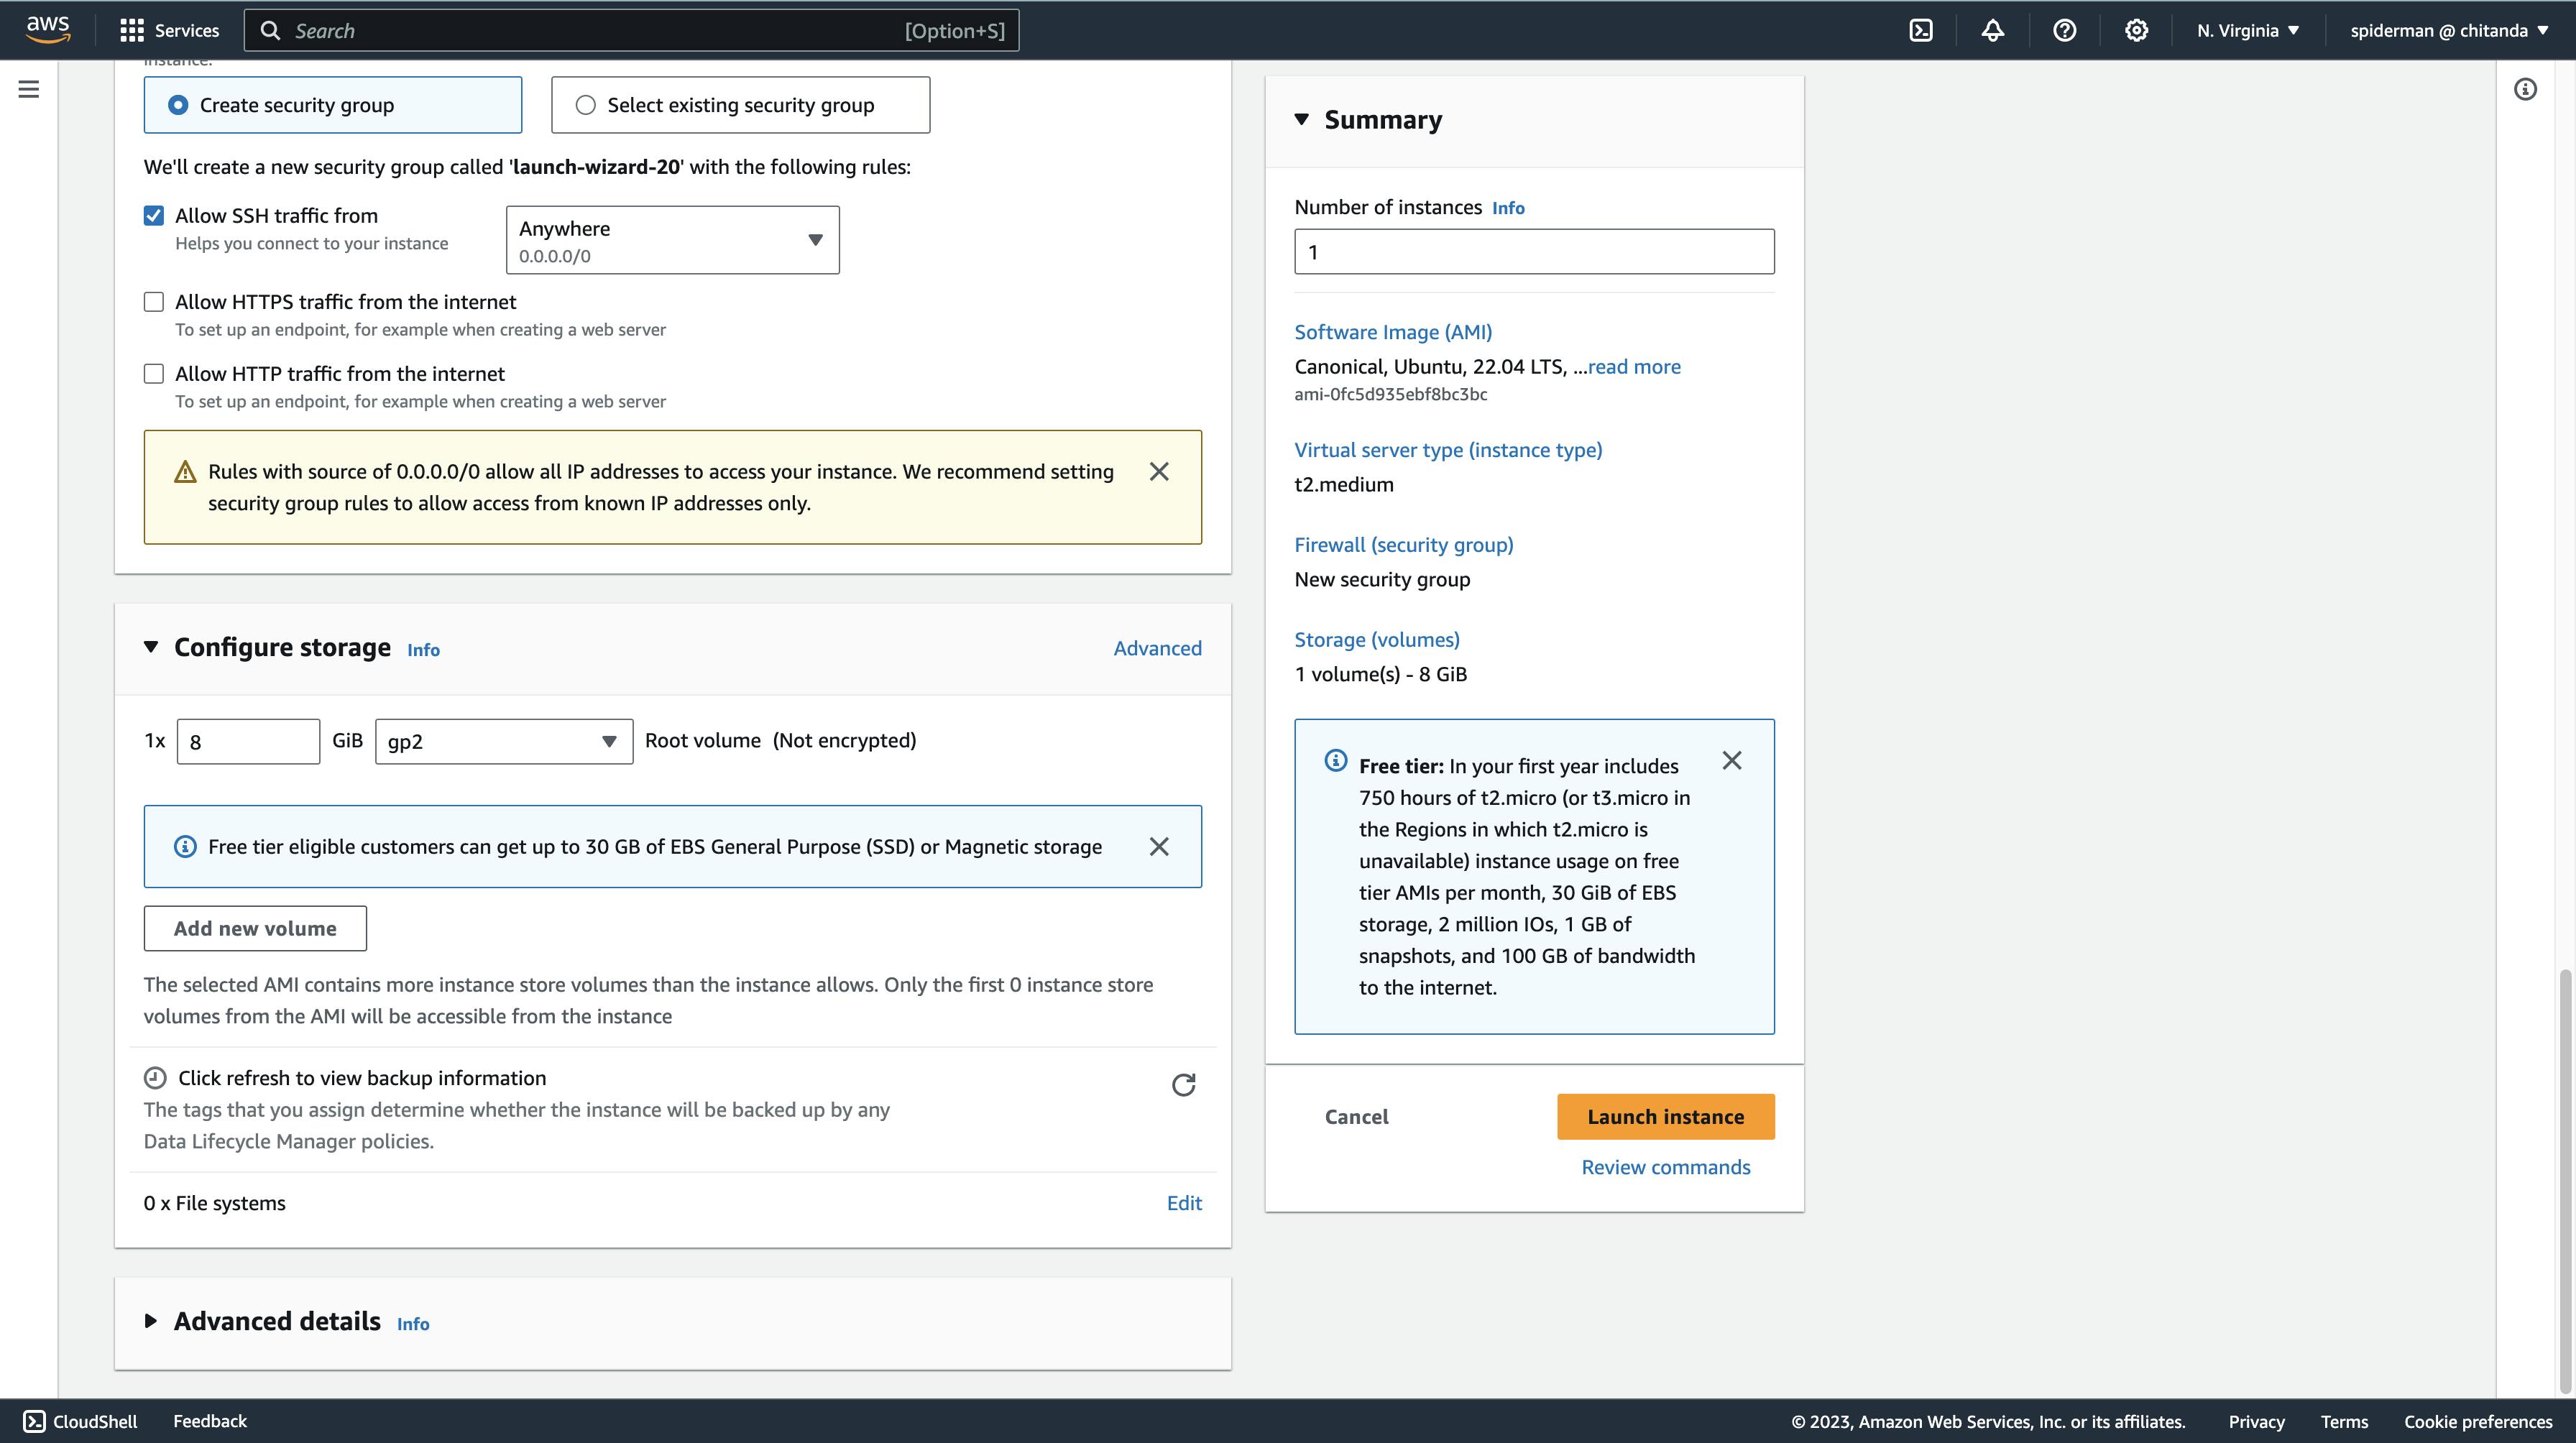
- Now click on the Launch instance button on the page
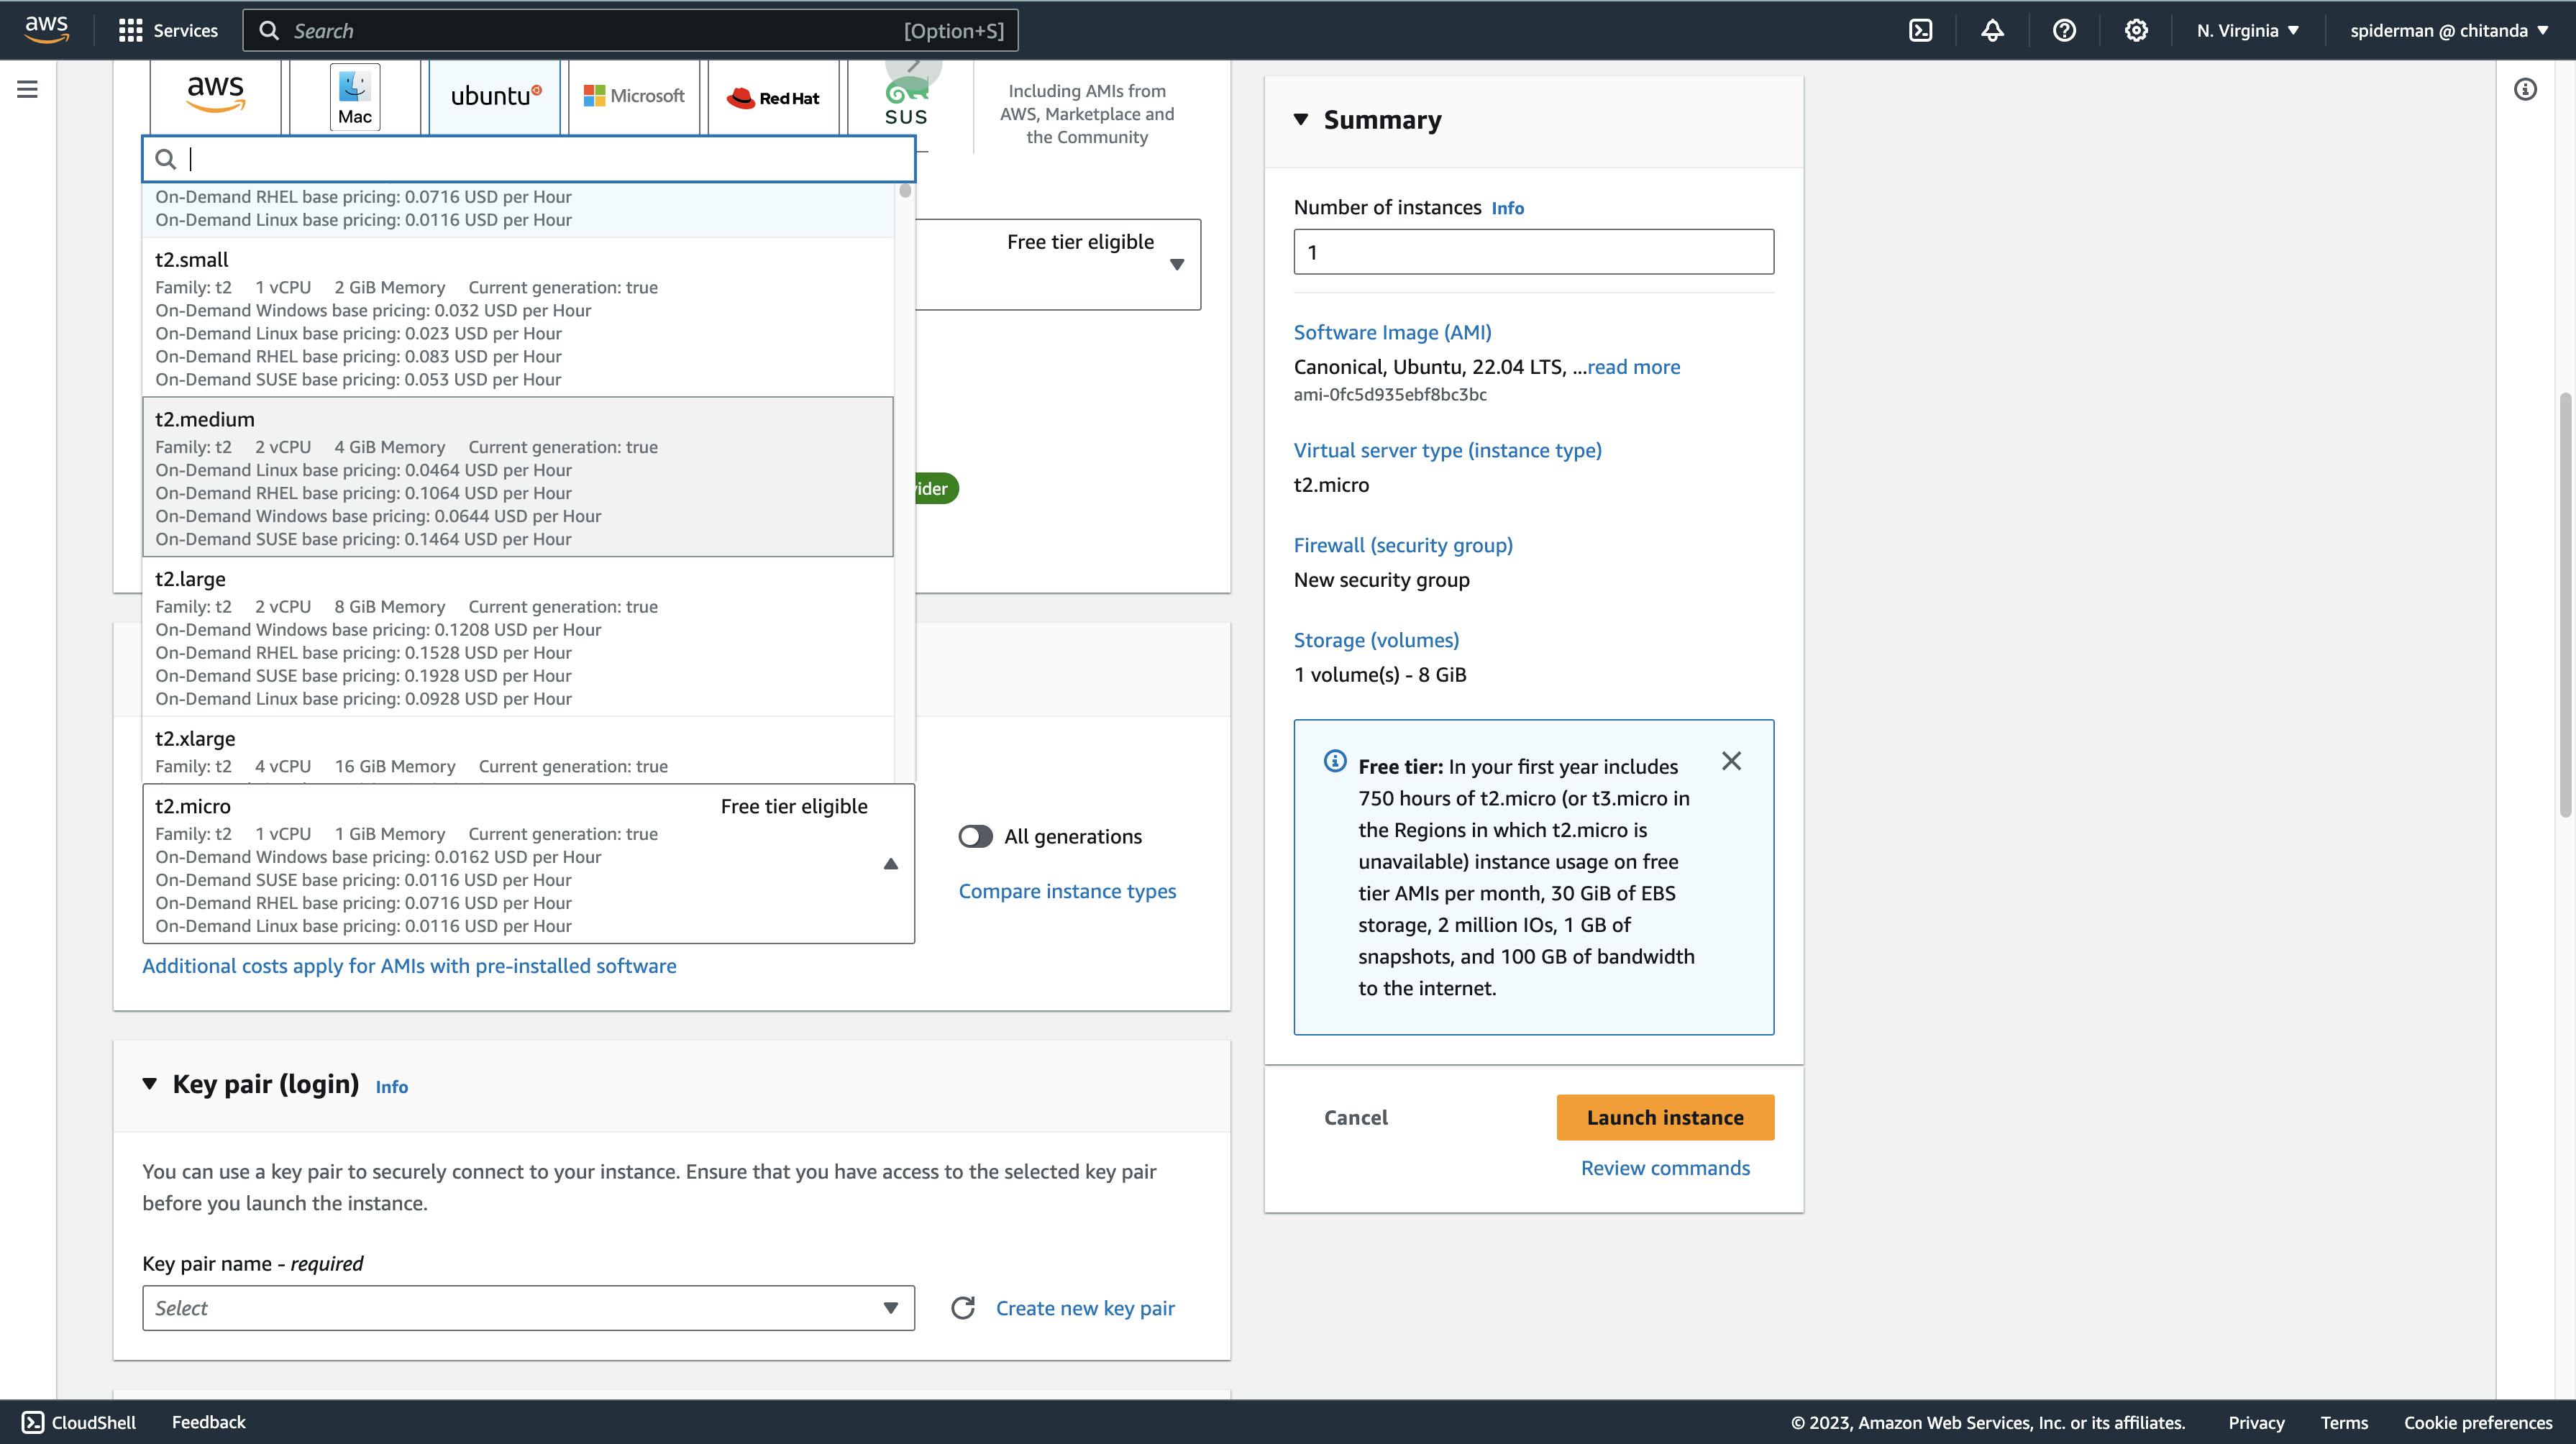
- Now apply the following configuration to the AWS EC2 instance.
select the instance type to be t2.medium
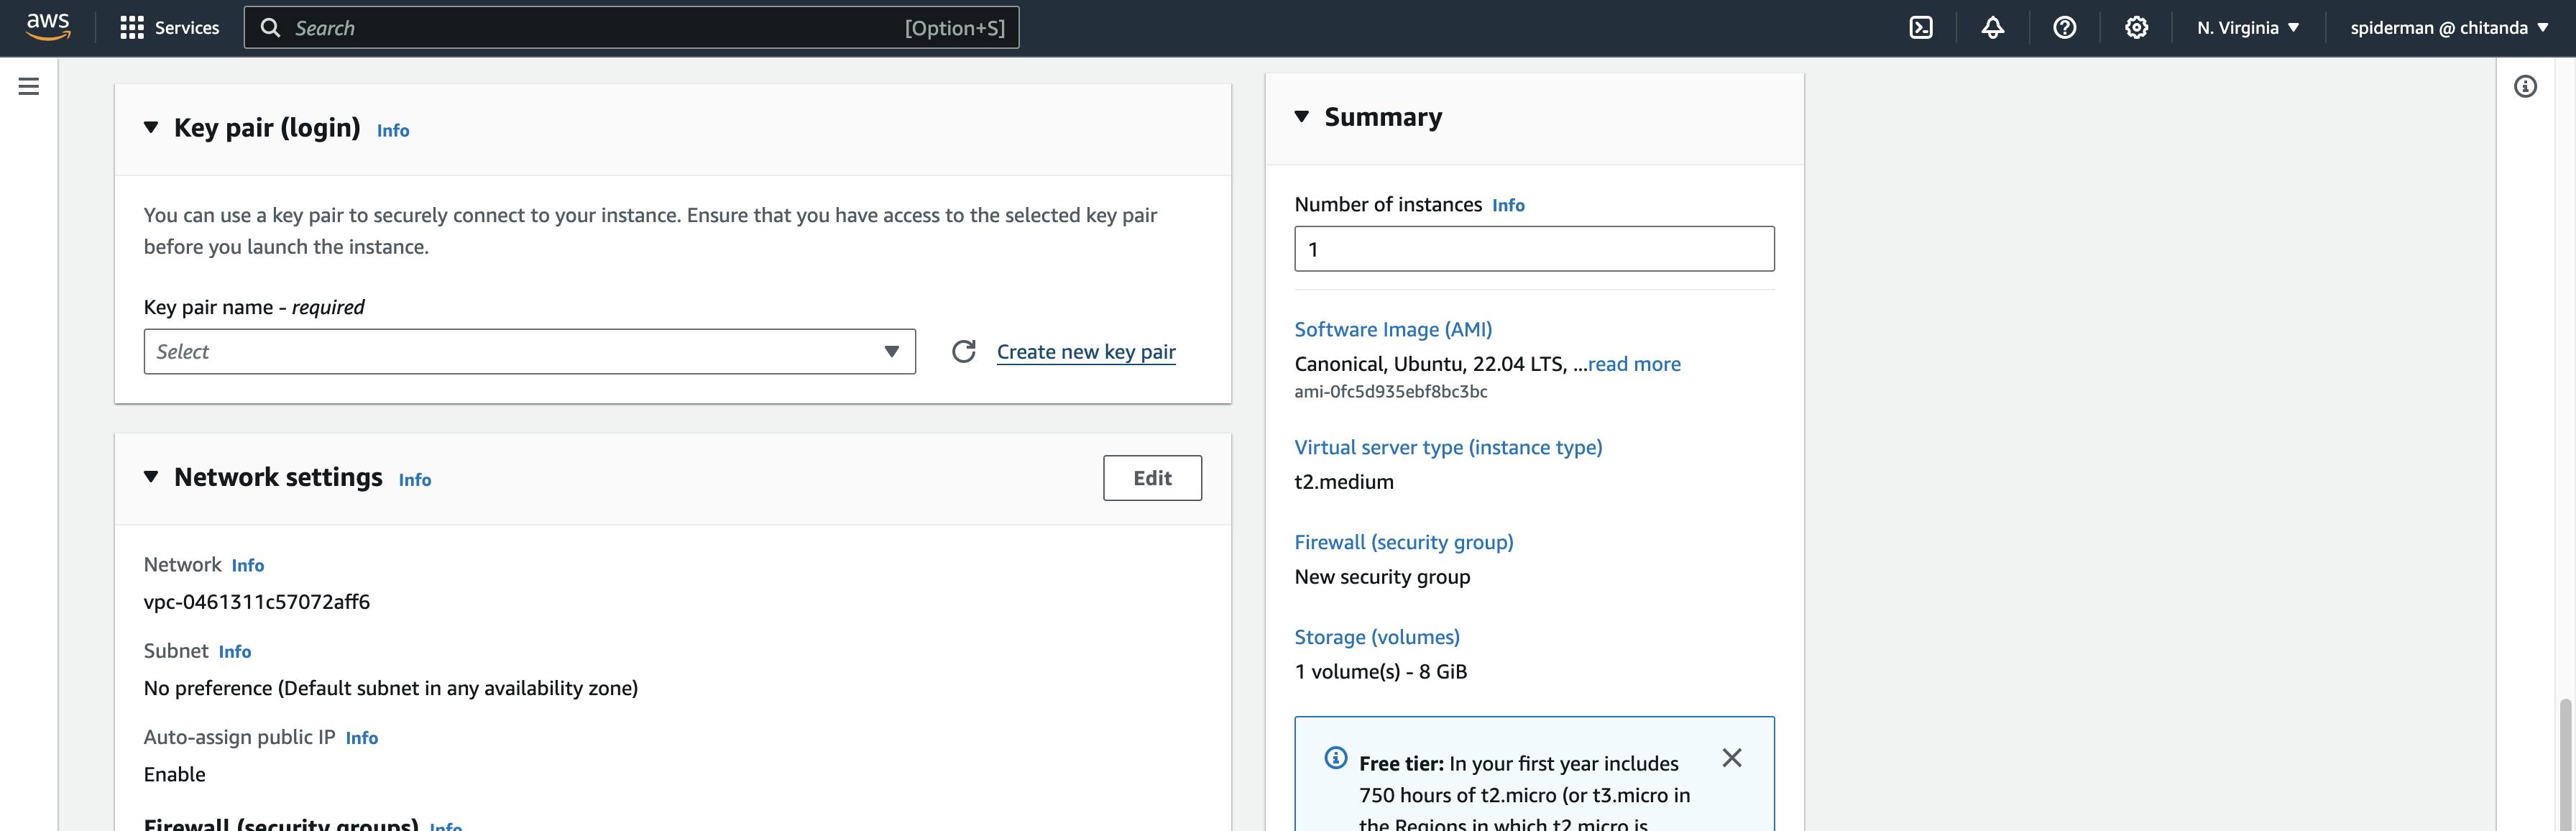
now create a new key-pair
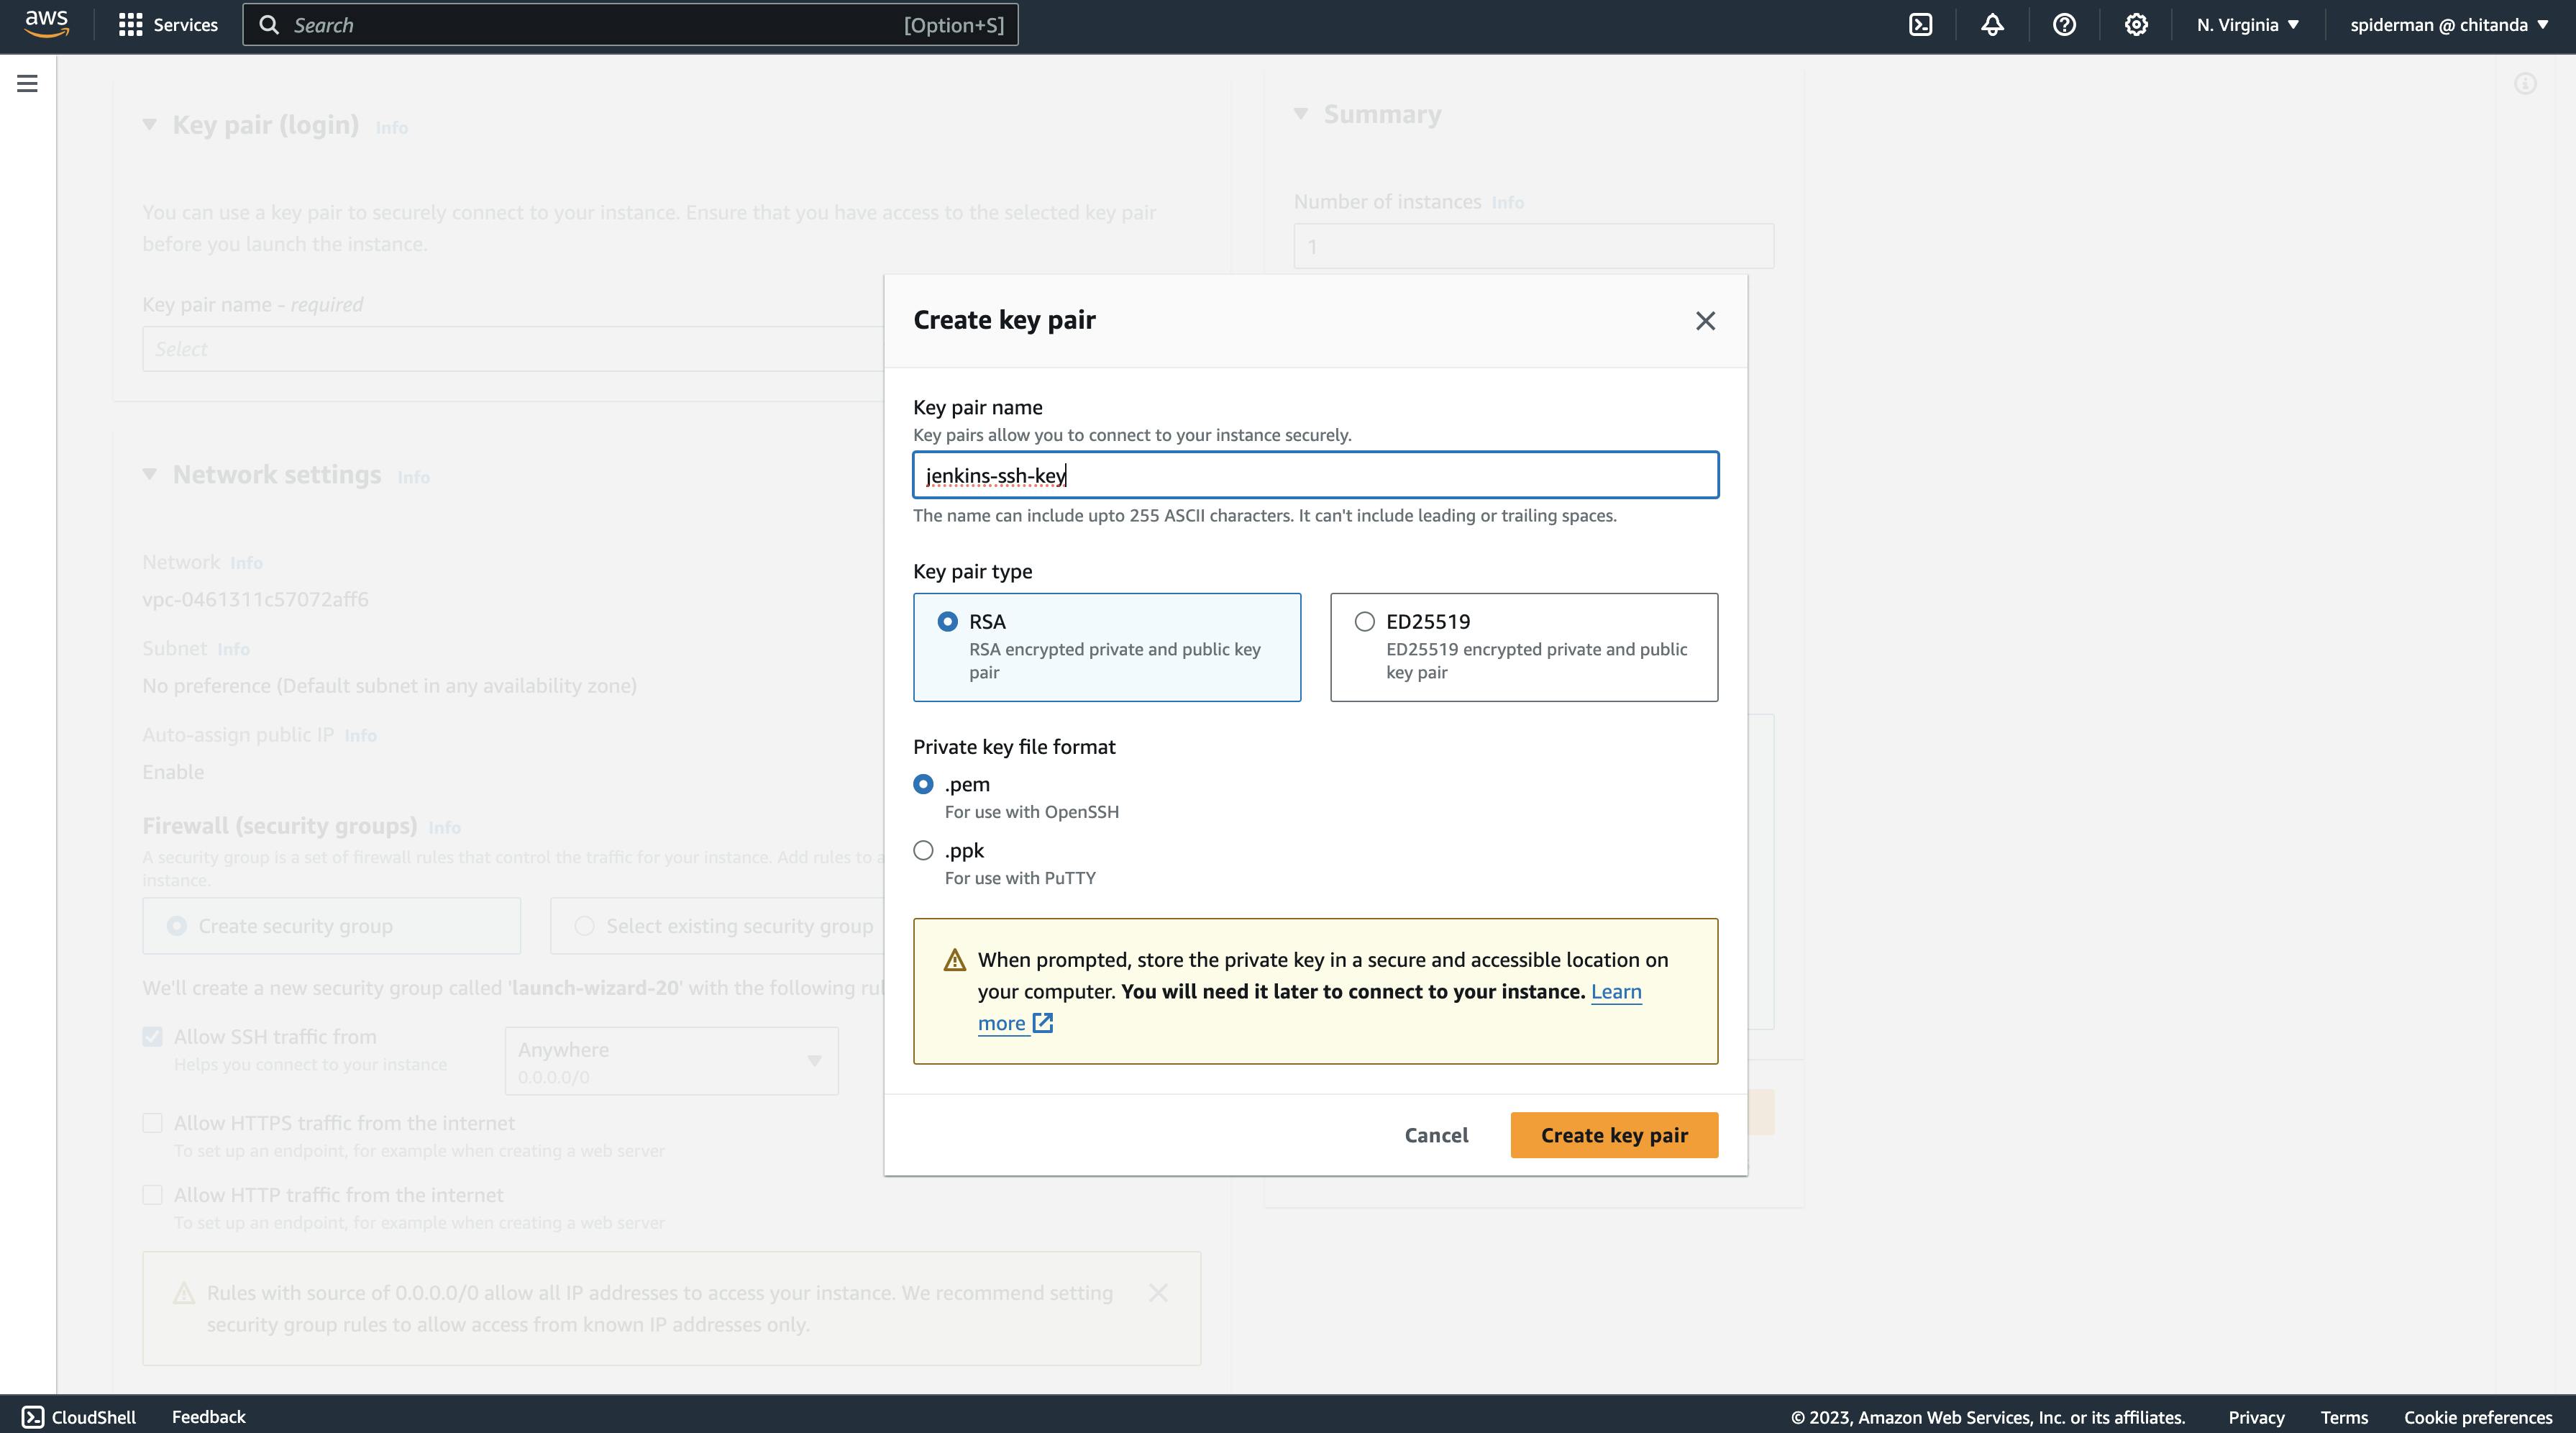
A key pair is essential for secure authentication and access control to your EC2 instances on AWS. We will be using this key pair to connect the EC2 instance to your own terminal on the local system and monitor it instead of opening the AWS console again and again.
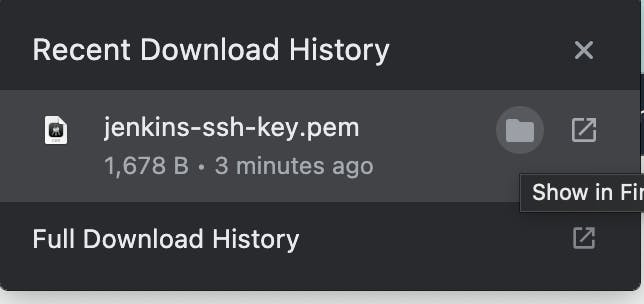
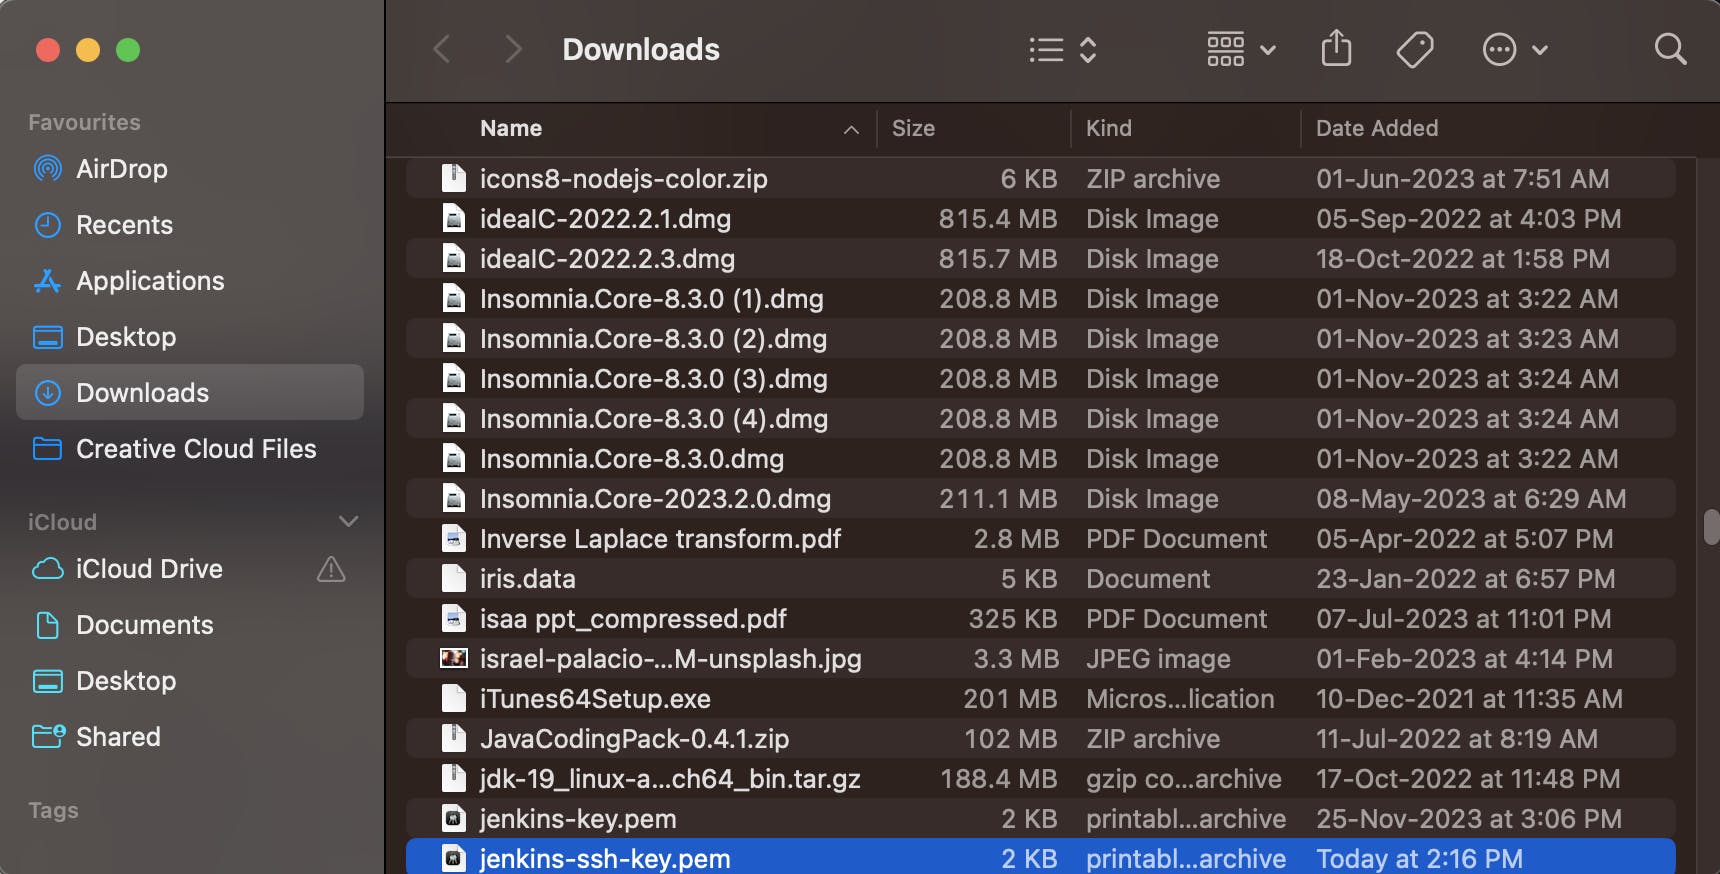
A .pem file by the name Jenkins-ssh-key.pem is now added to the /downloads directory in your system
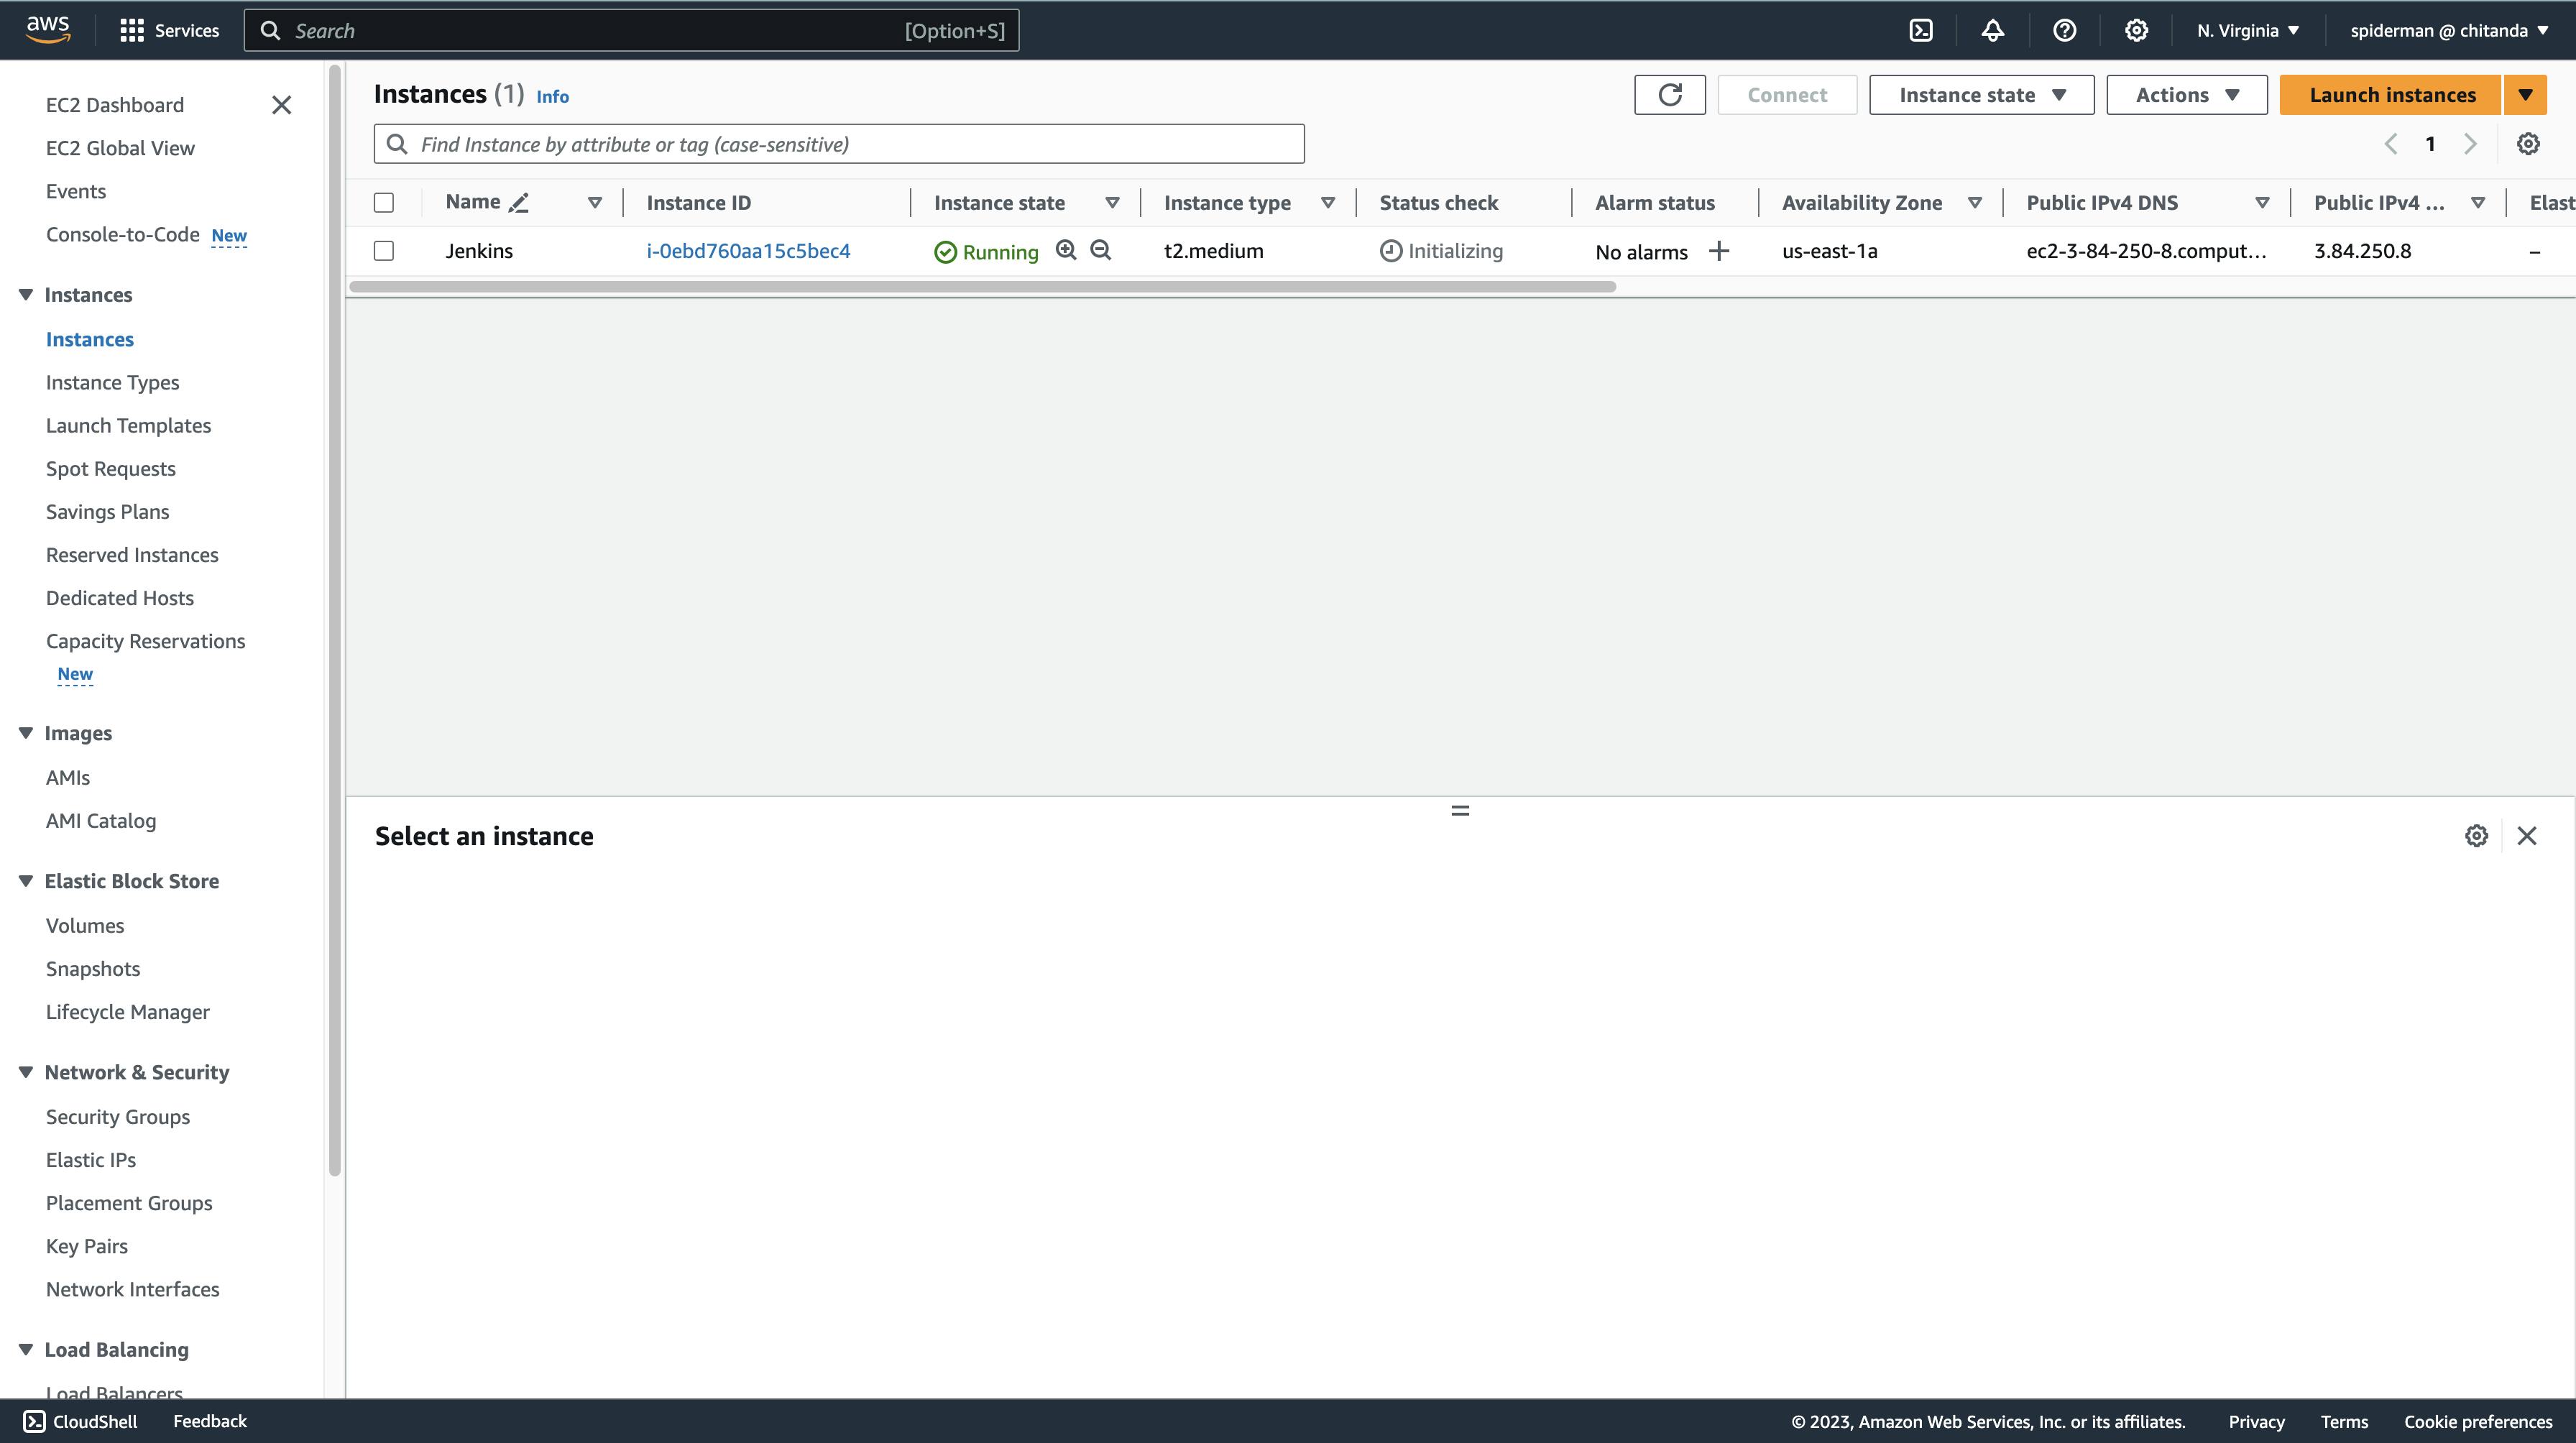
Now click on Launch instance in the bottom-left corner.
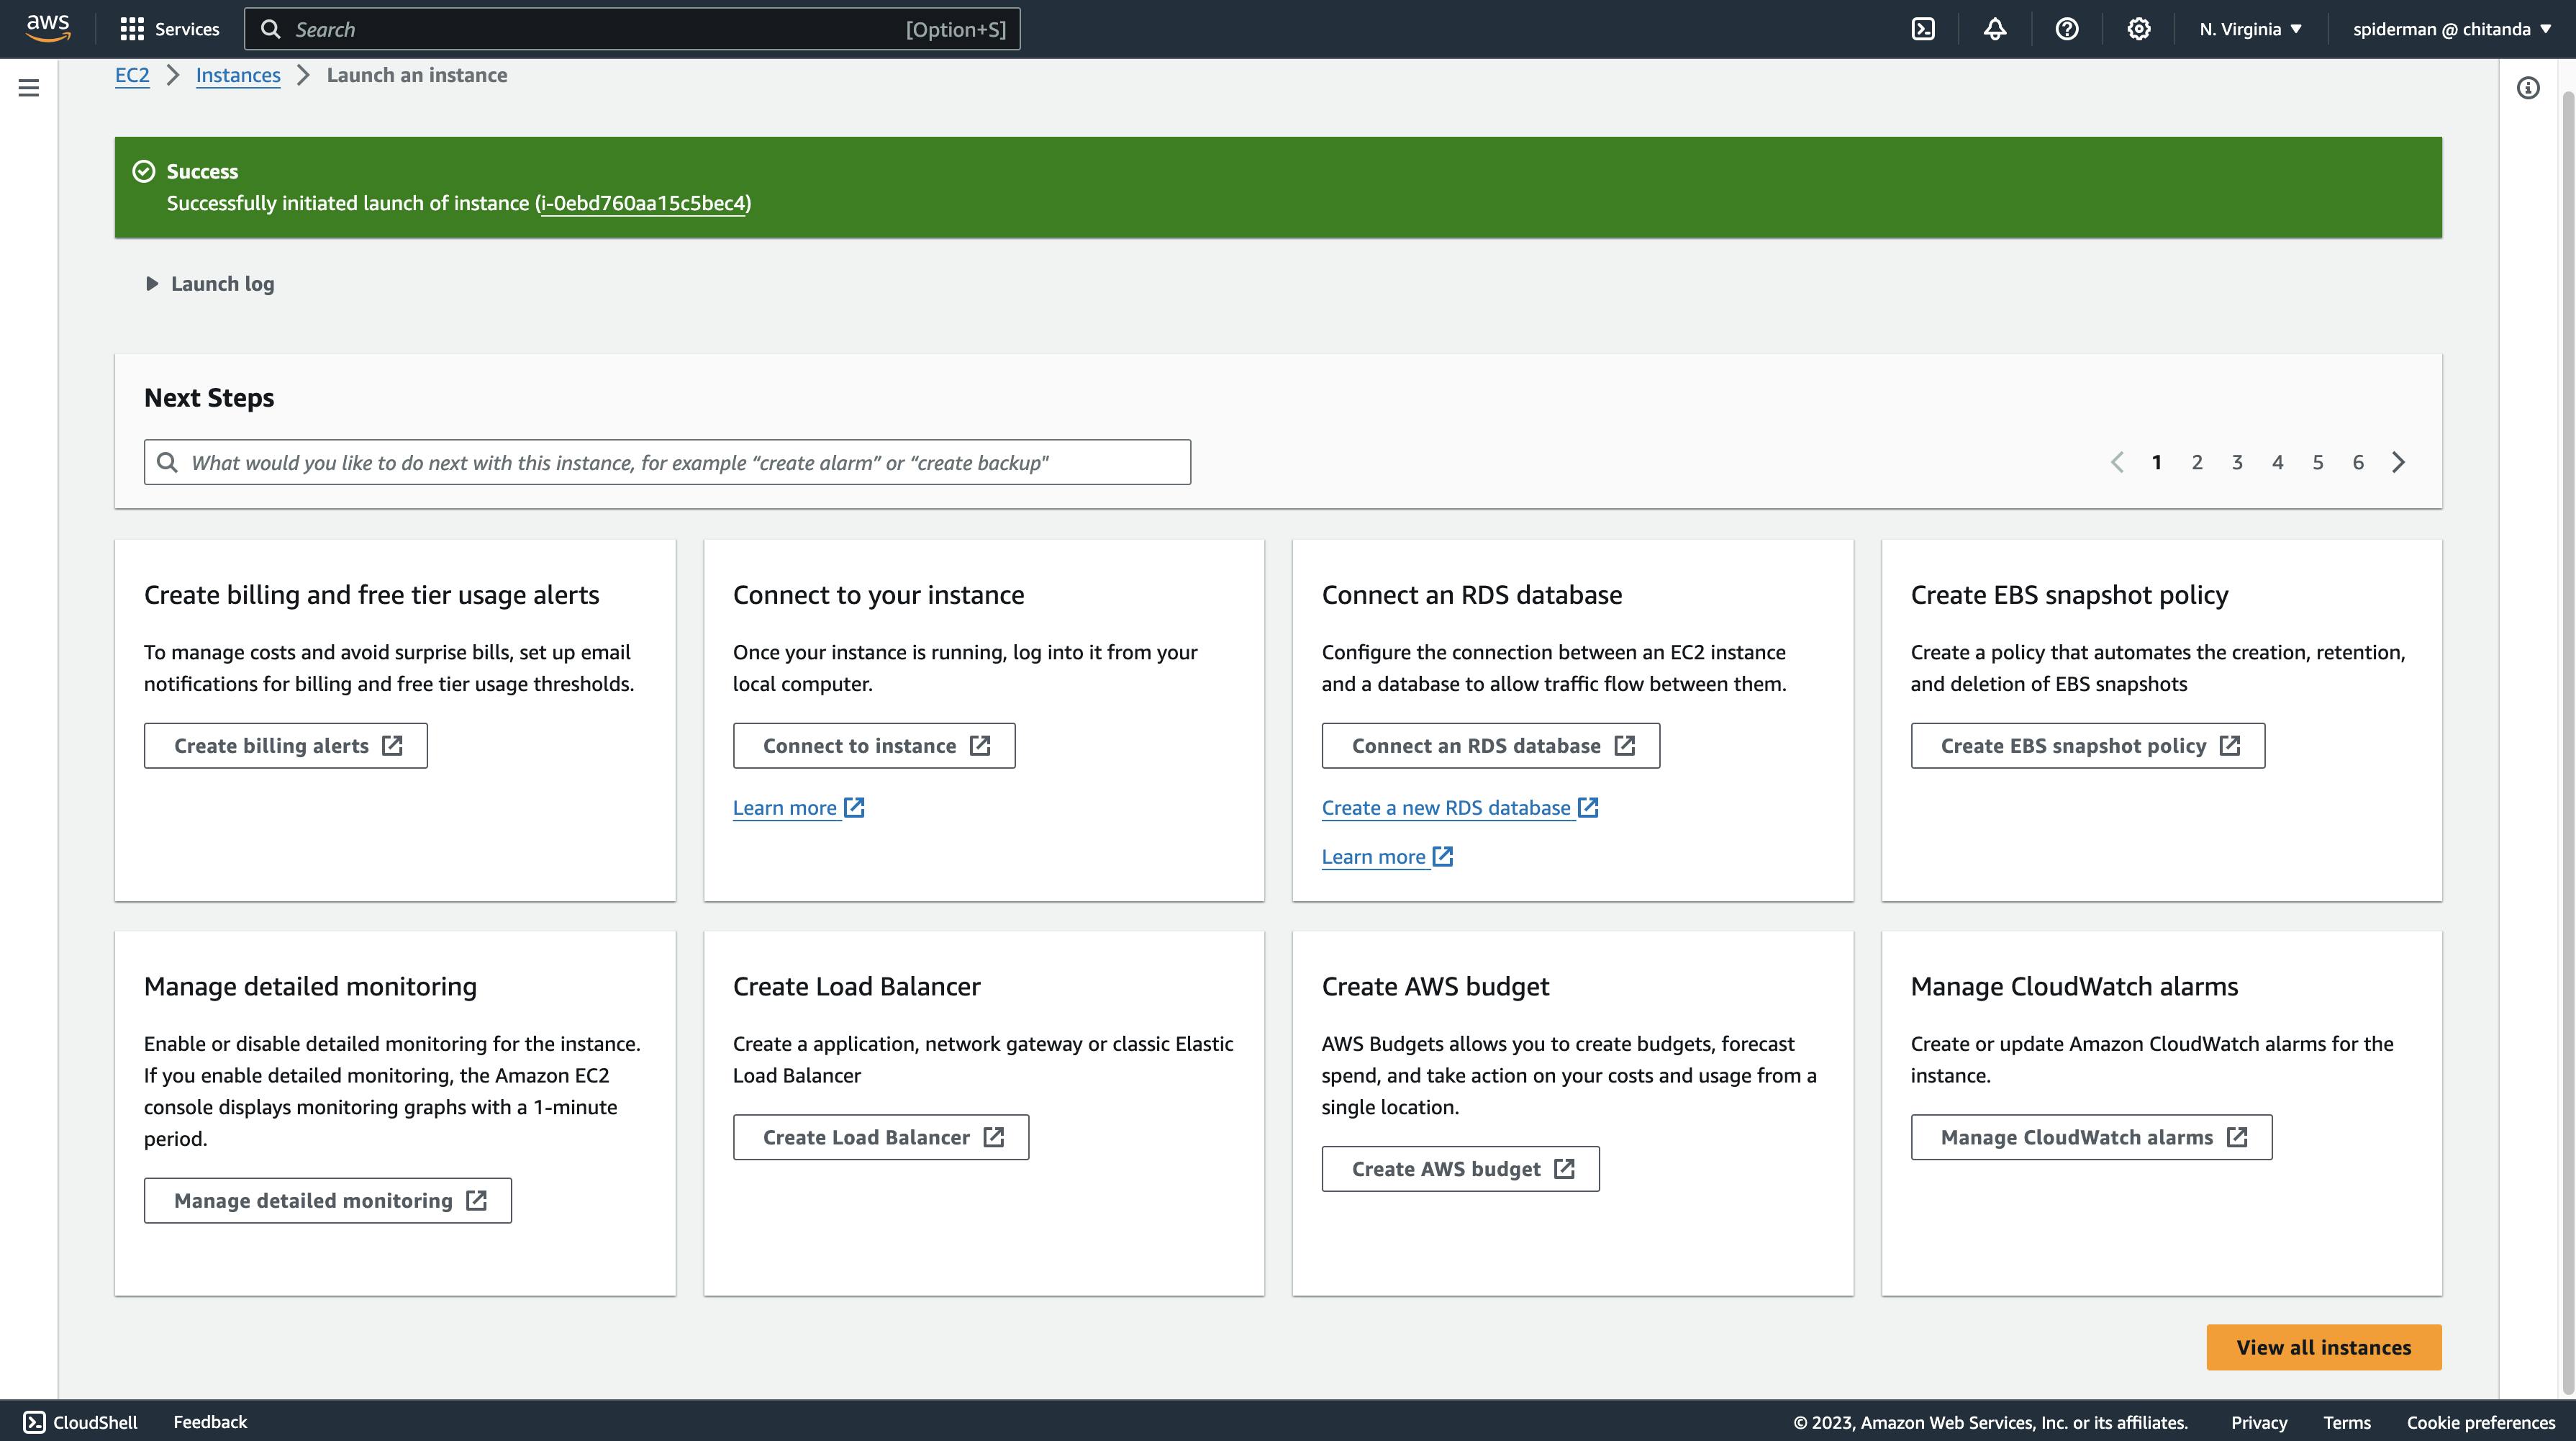
Access the newly launched instance by clicking on the view all instances on the bottom right corner.
Now create 2 more EC2 instances for Sonarqube and Docker each following the above steps, you can use the same key-value pair that you are using for Jenkins.
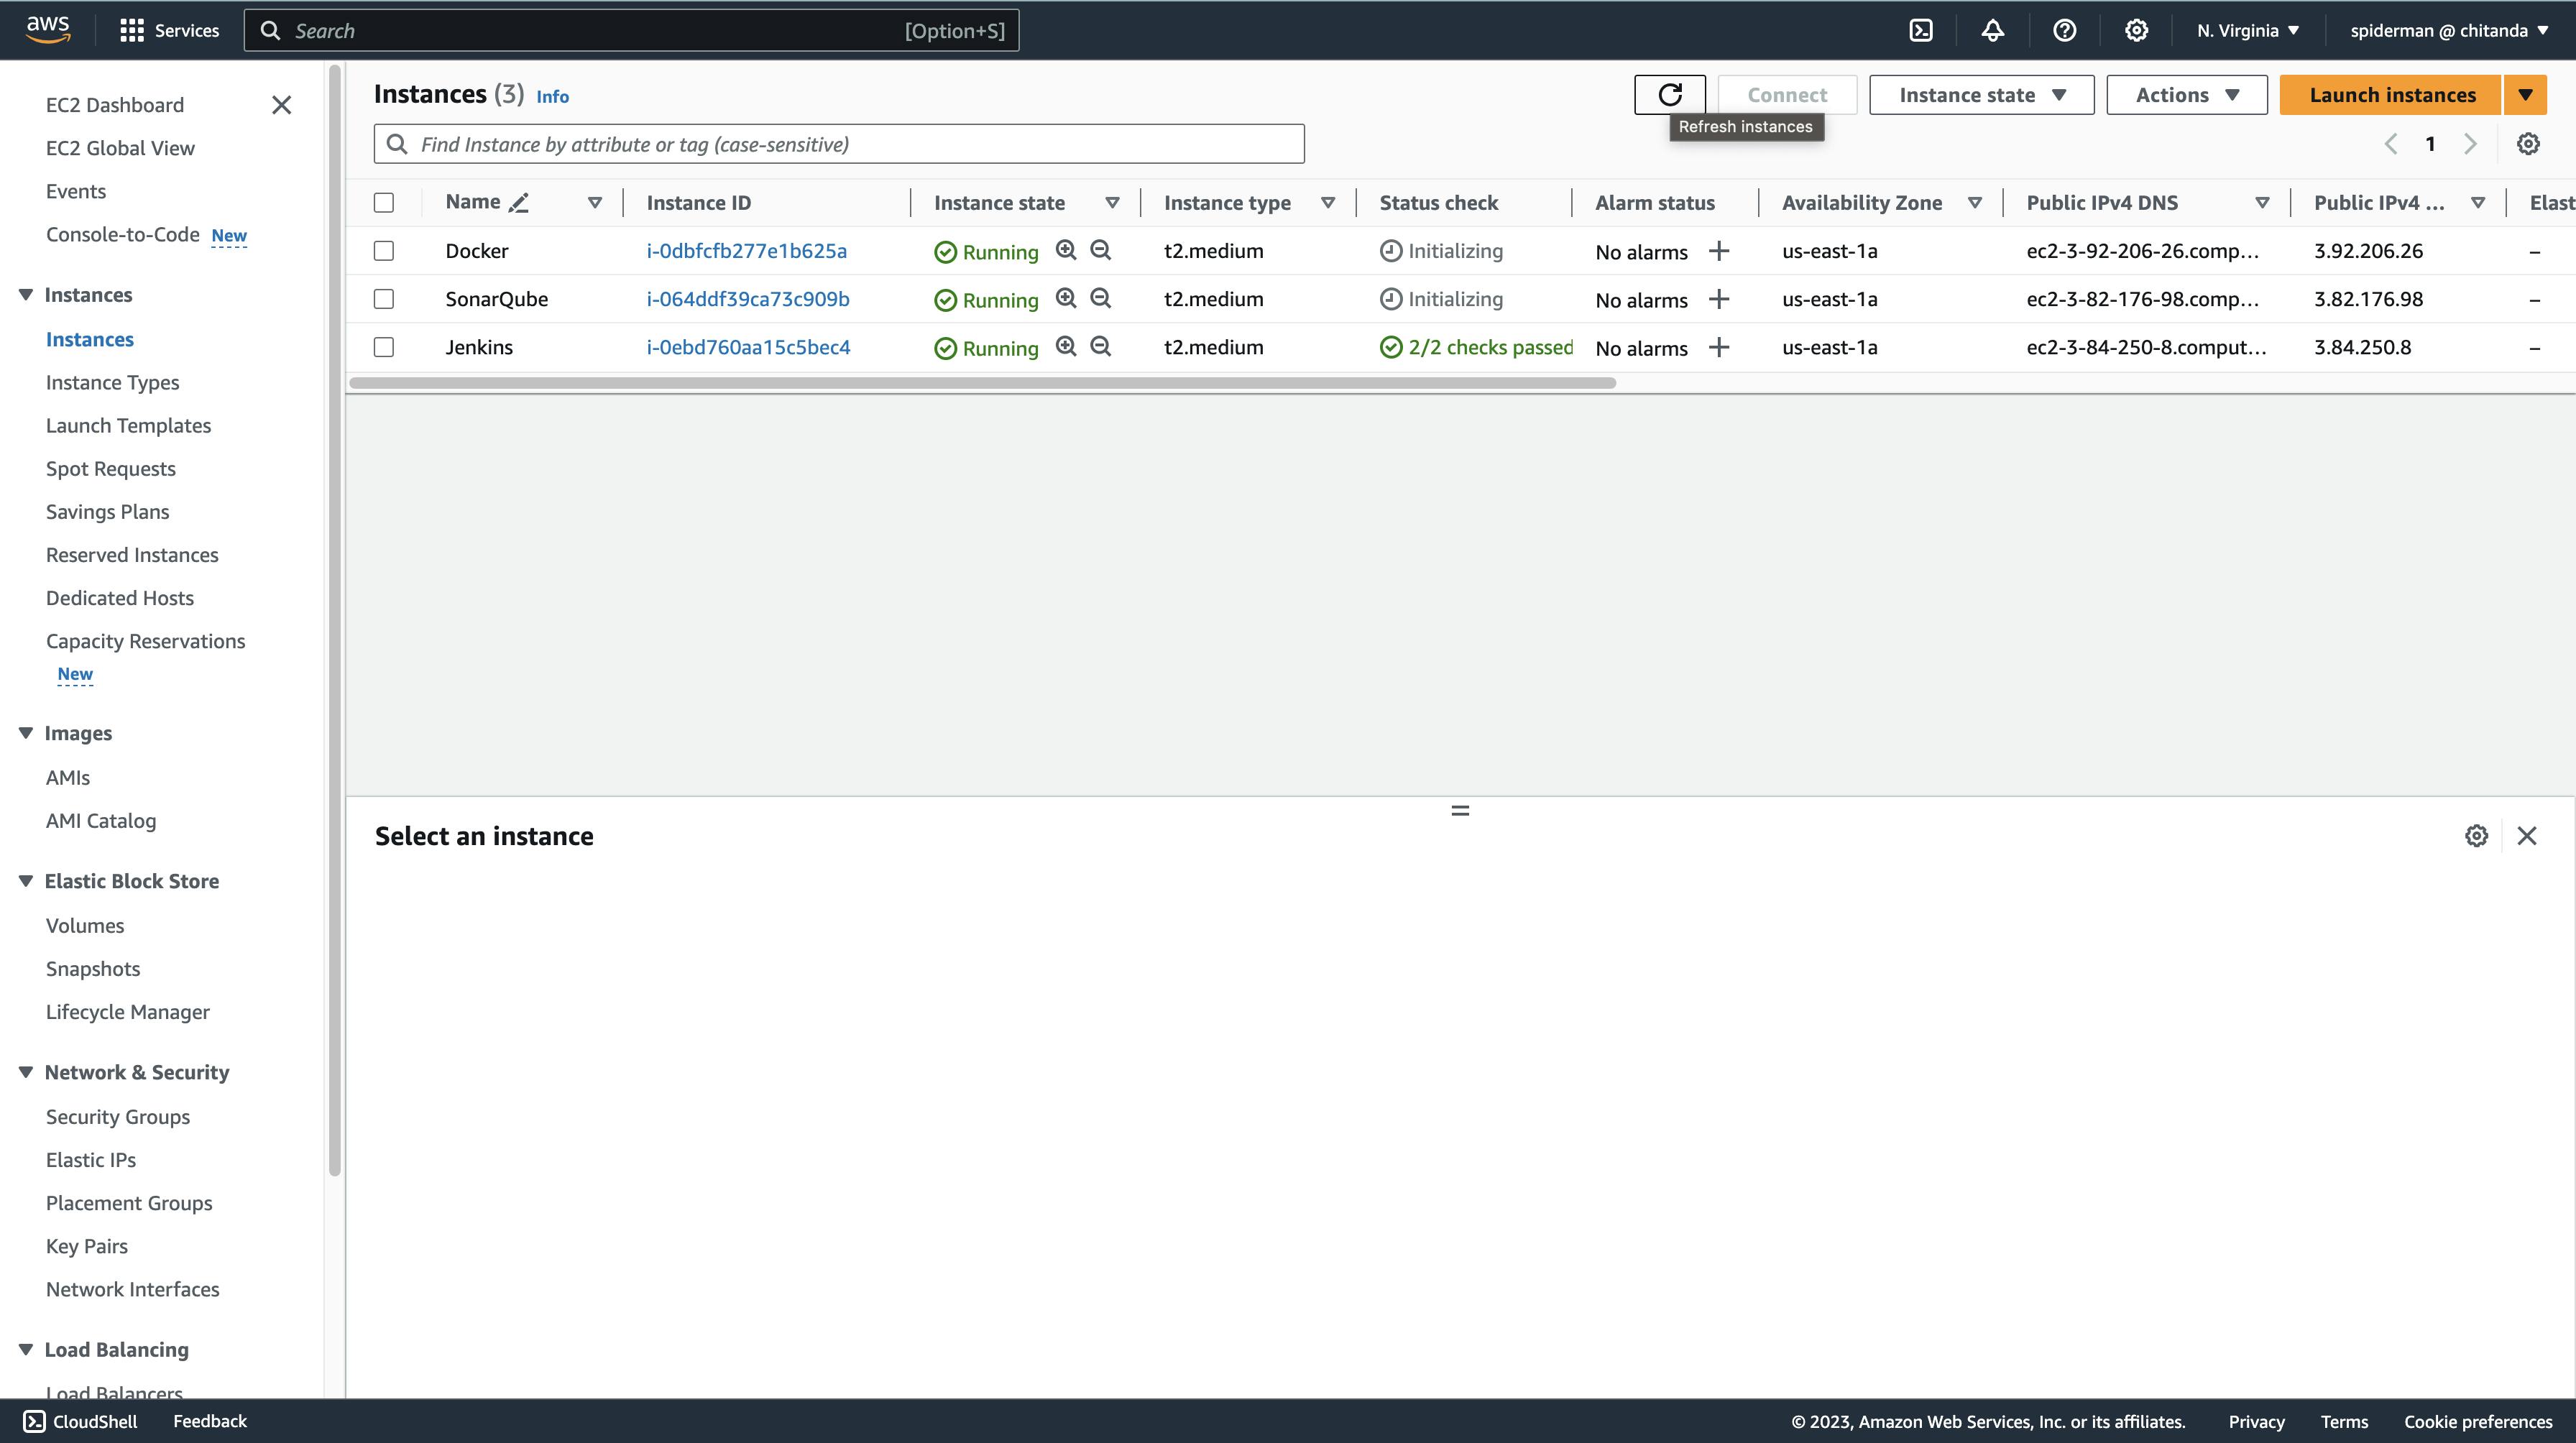
The Status check may take some time to get updated, you can keep refreshing the page to confirm the Status check.
Connecting Jenkins instance to the terminal.
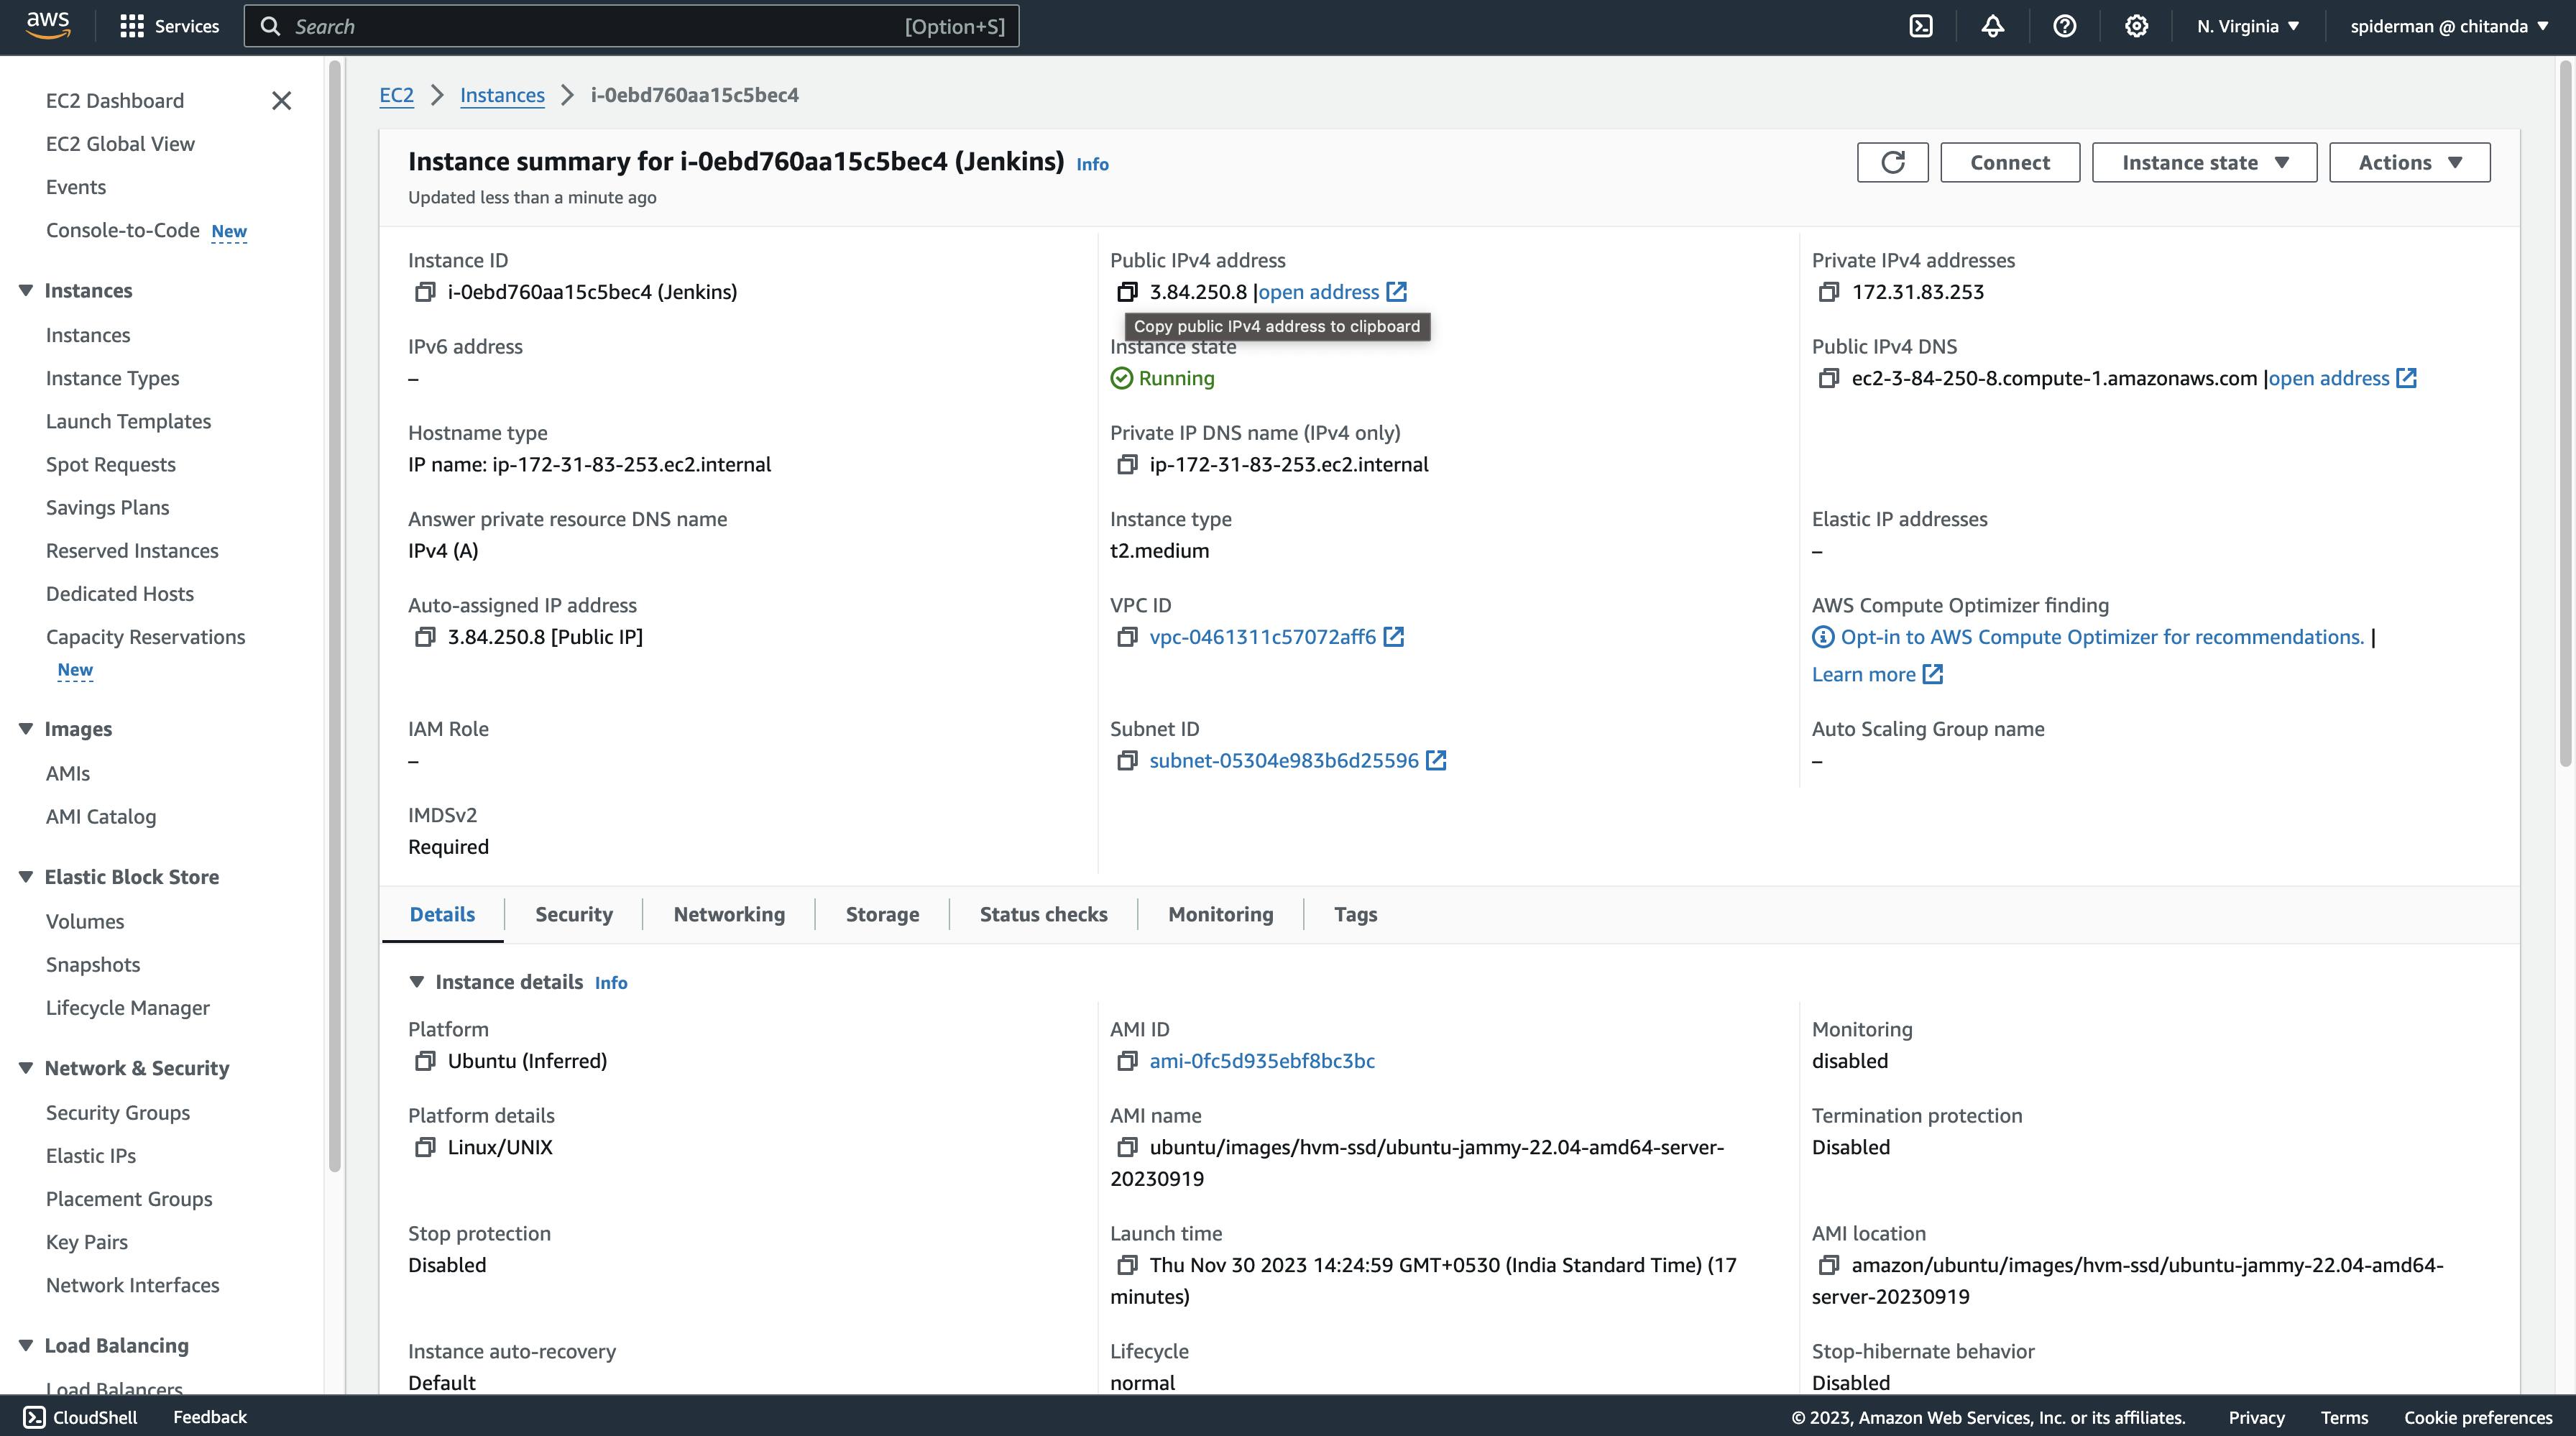
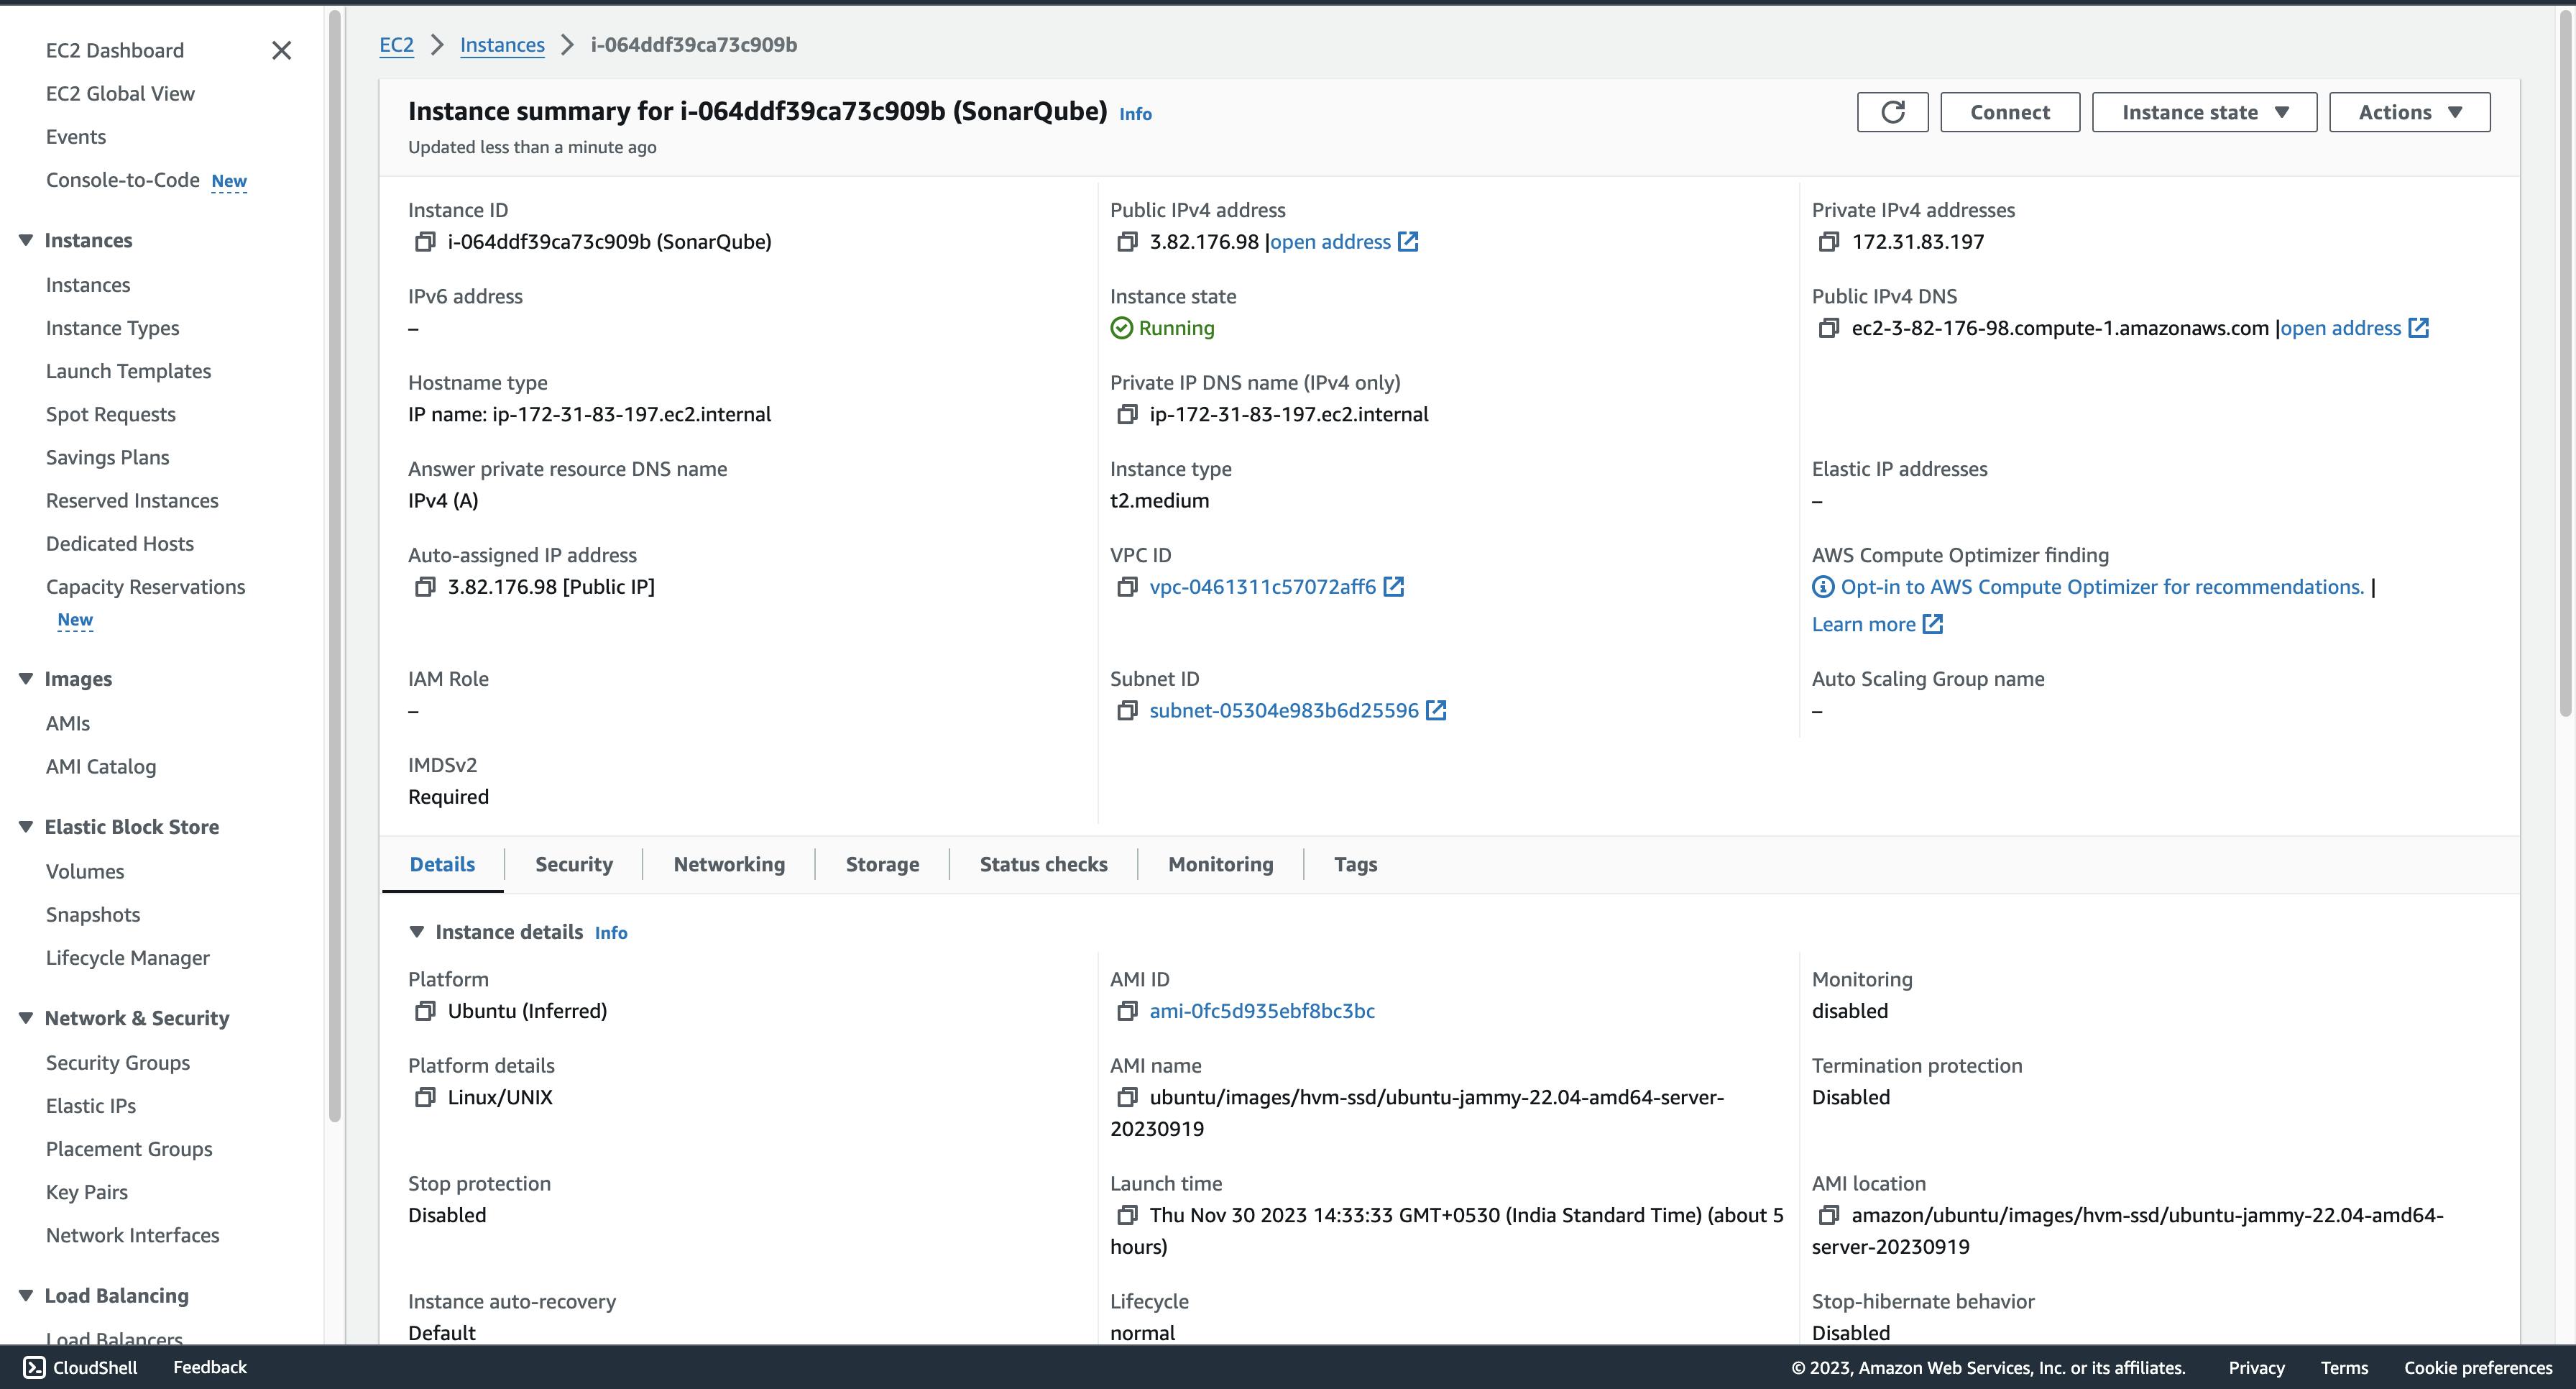
- click on the Instance ID
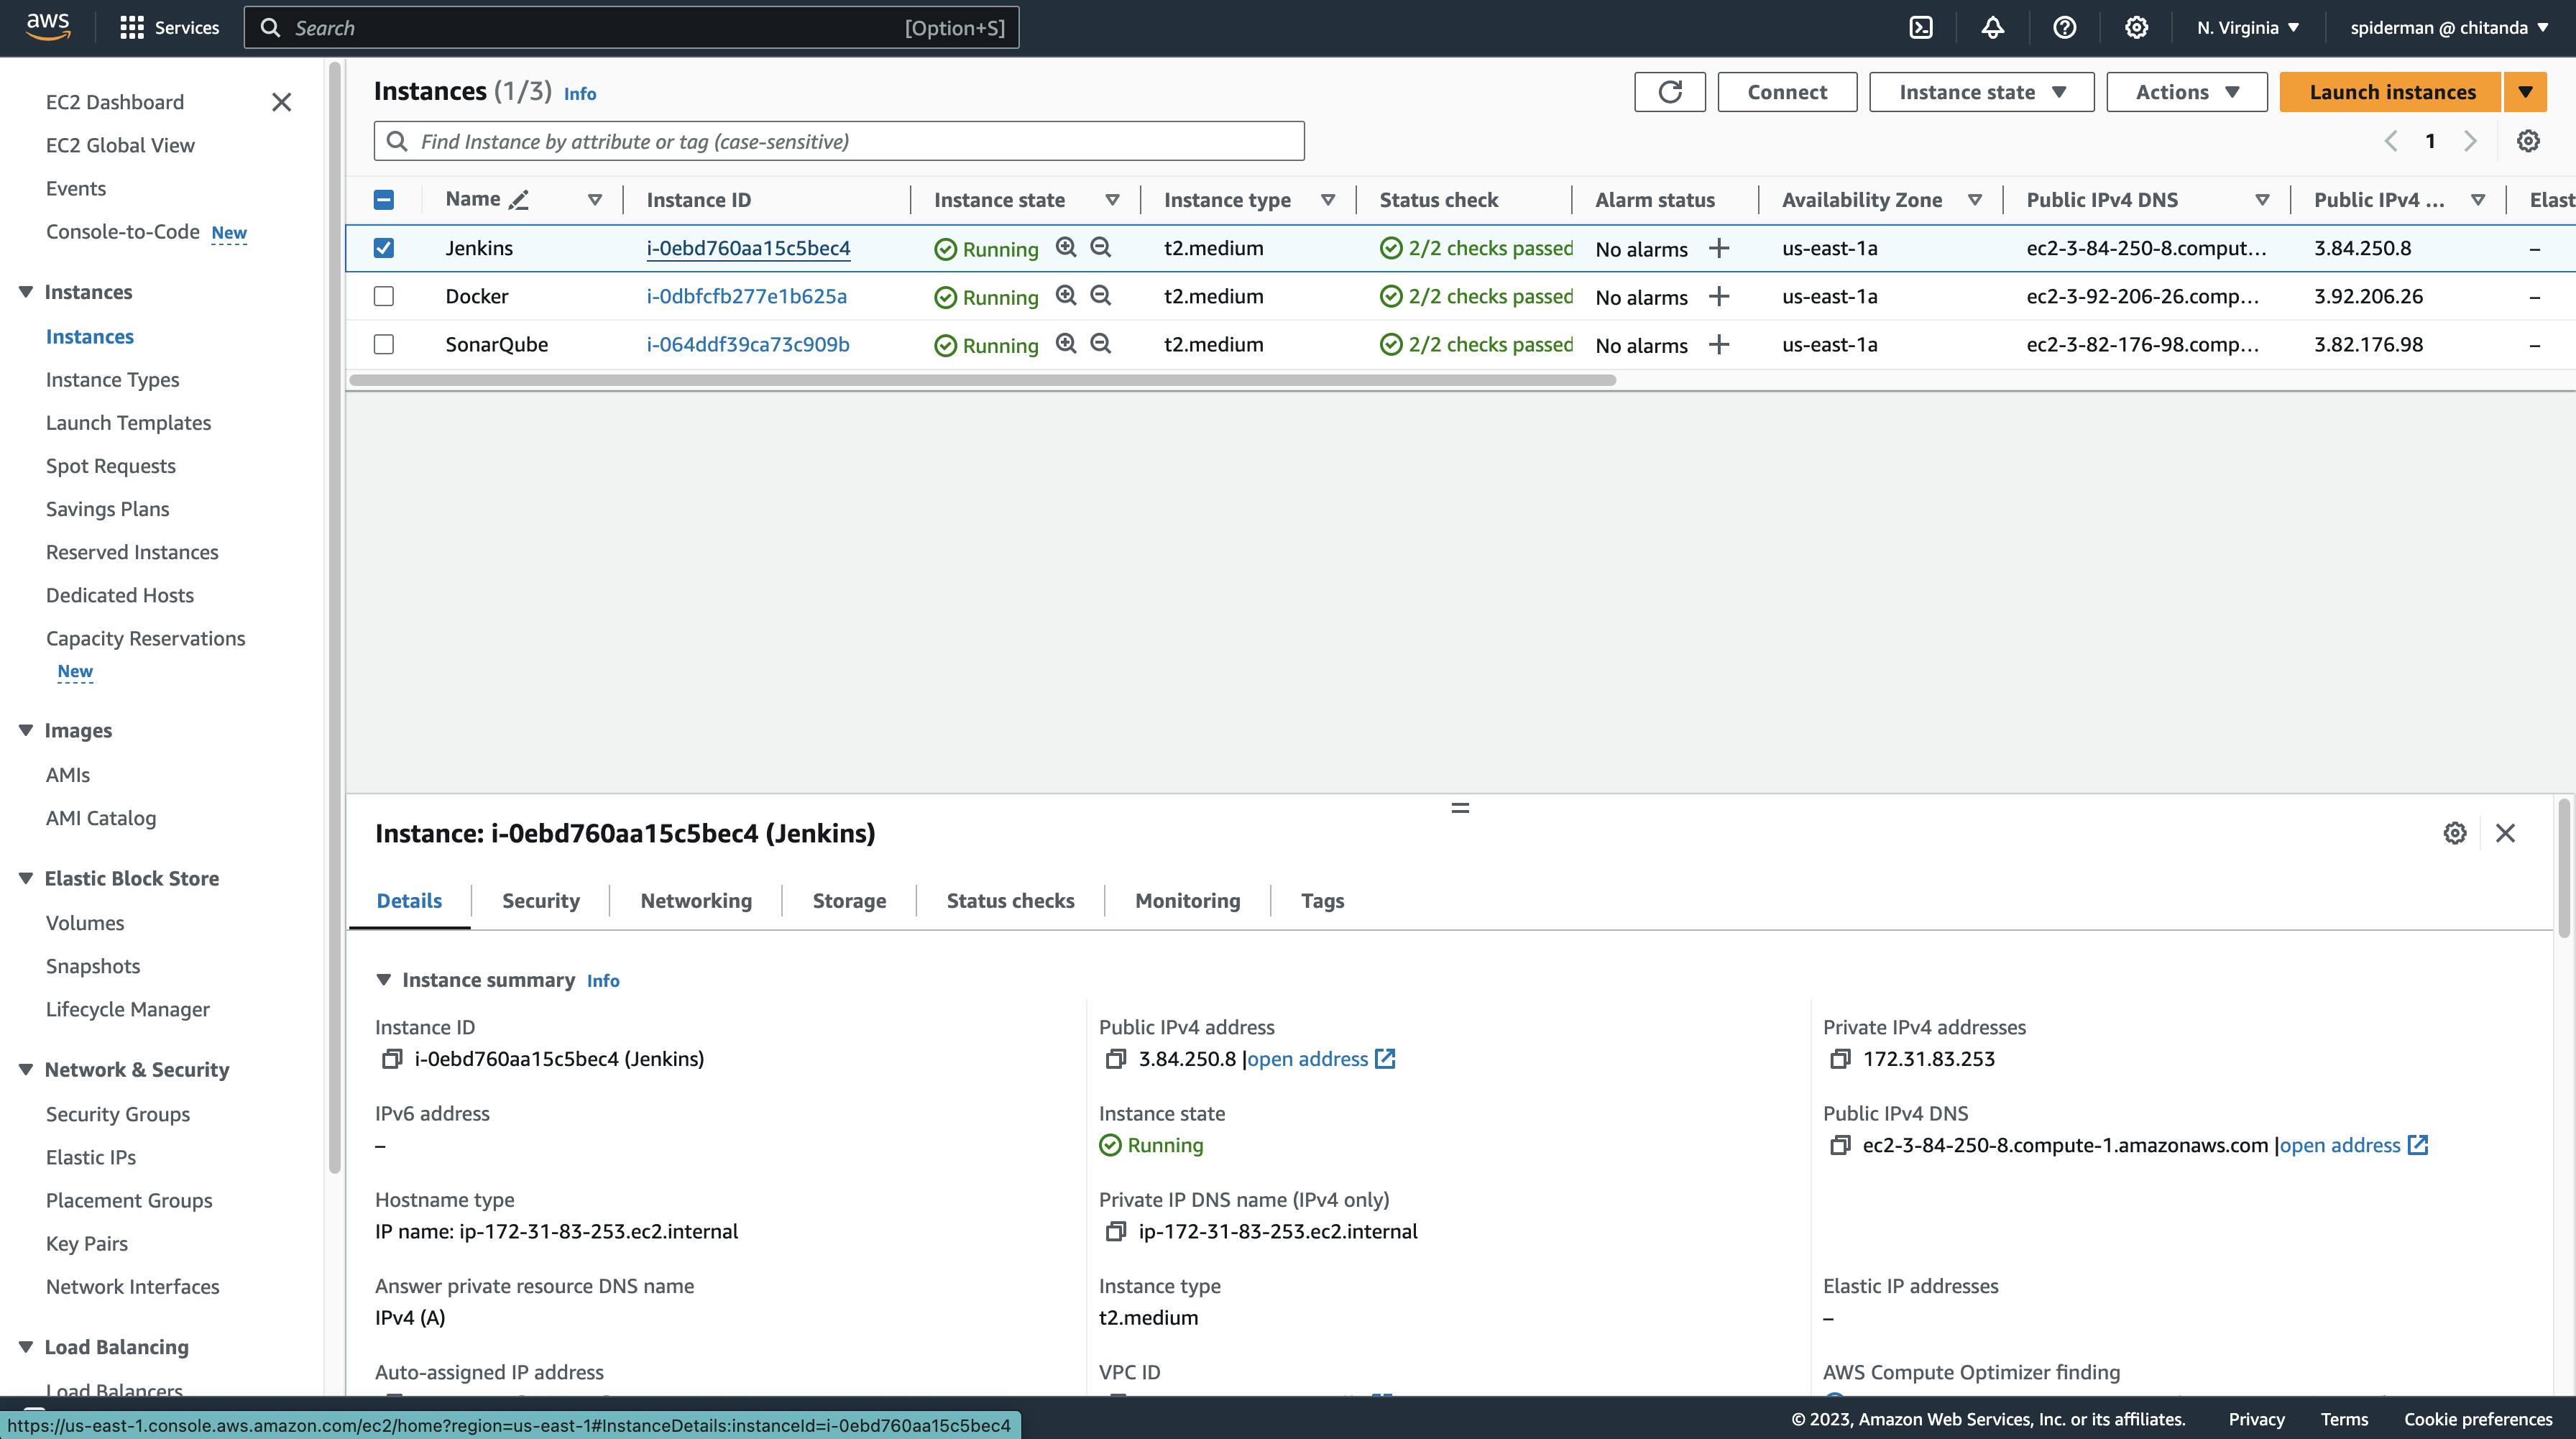
- Copy the public IP address
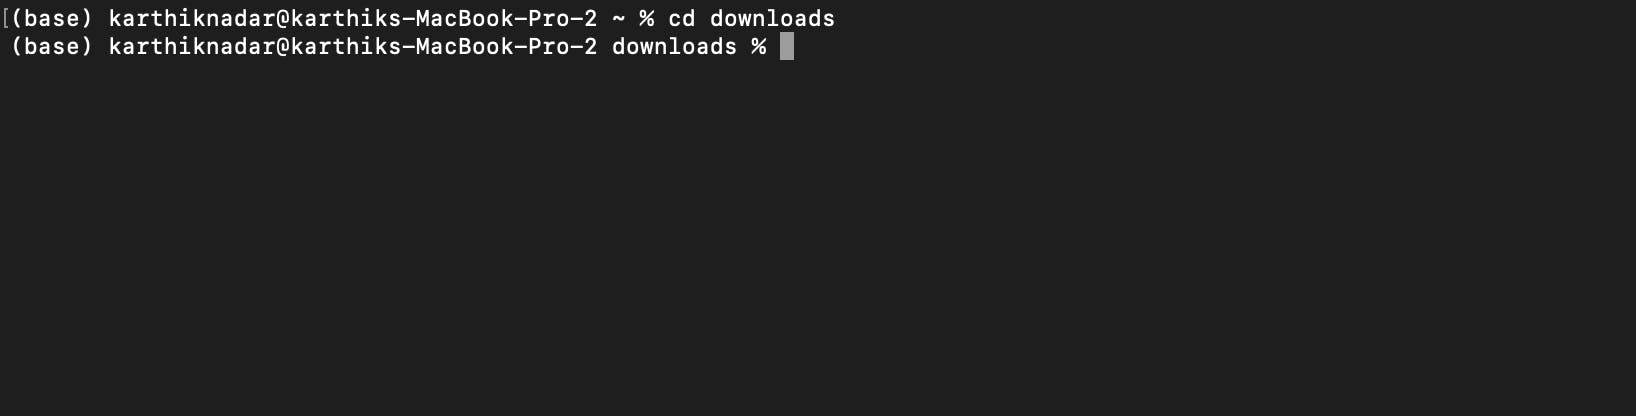
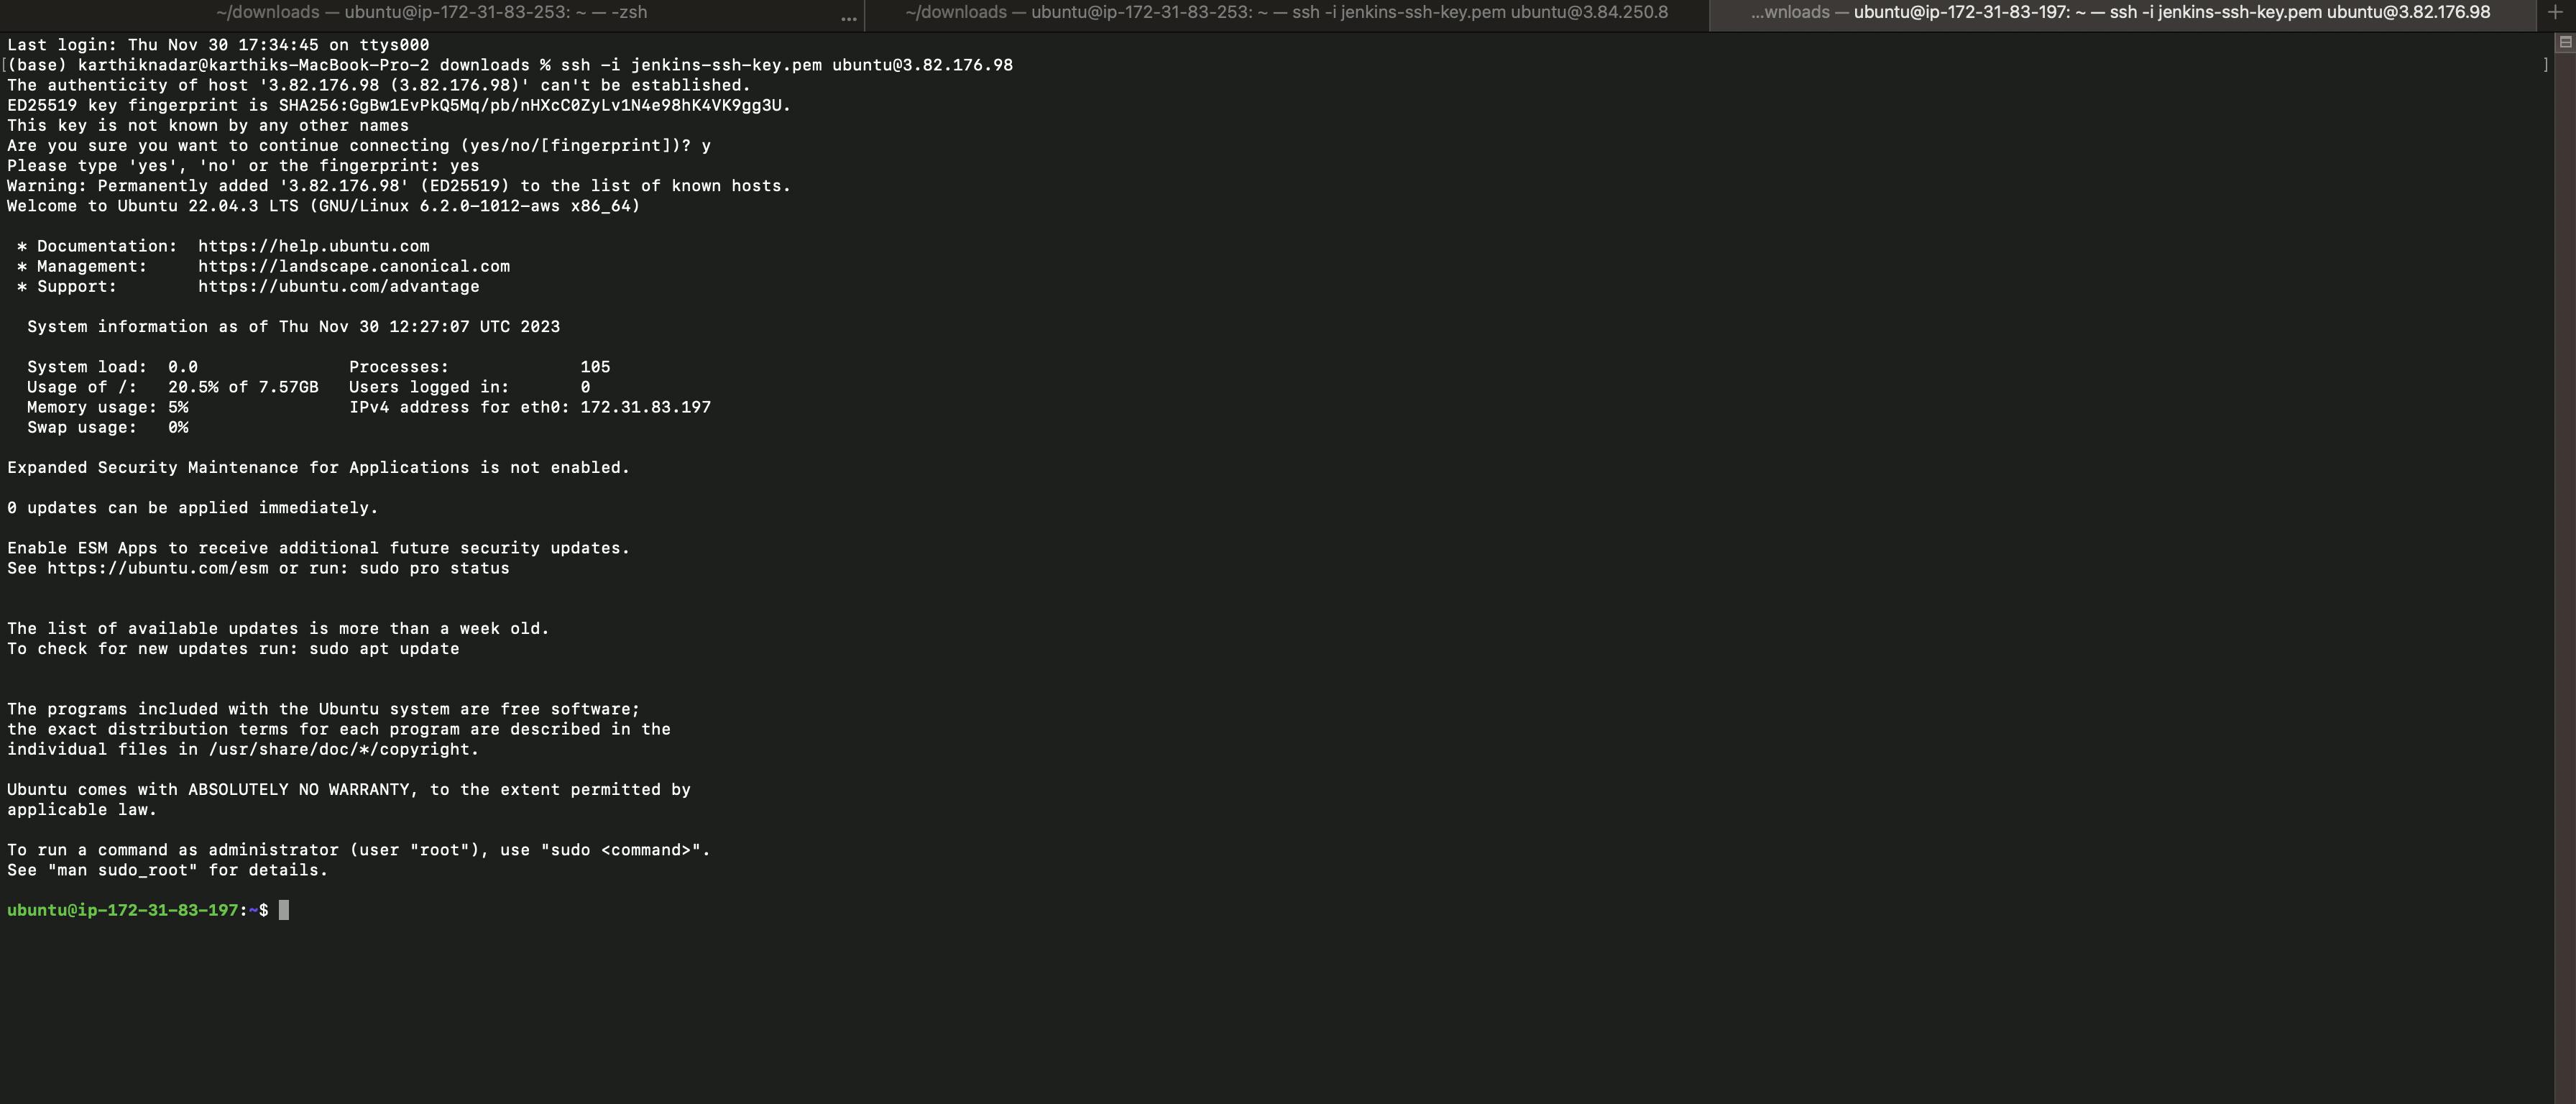
- open your terminal, and write the following command to navigate to the downloads directory because the key-value pair is in this directory.
cd downloads
- Type the following command to connect the terminal to the EC2 instance
ssh -i <name_of_key_value_pair>.pem ubuntu@<public_ipv4_address>
name_of_key_value_pair is the key-value pair that is present in the downloads directory downloaded when creating the instance.
public_ipv4_address is the address you copied by navigating to the Instance Id of the Jenkins EC2 instance.
You will get the following error on writing the command
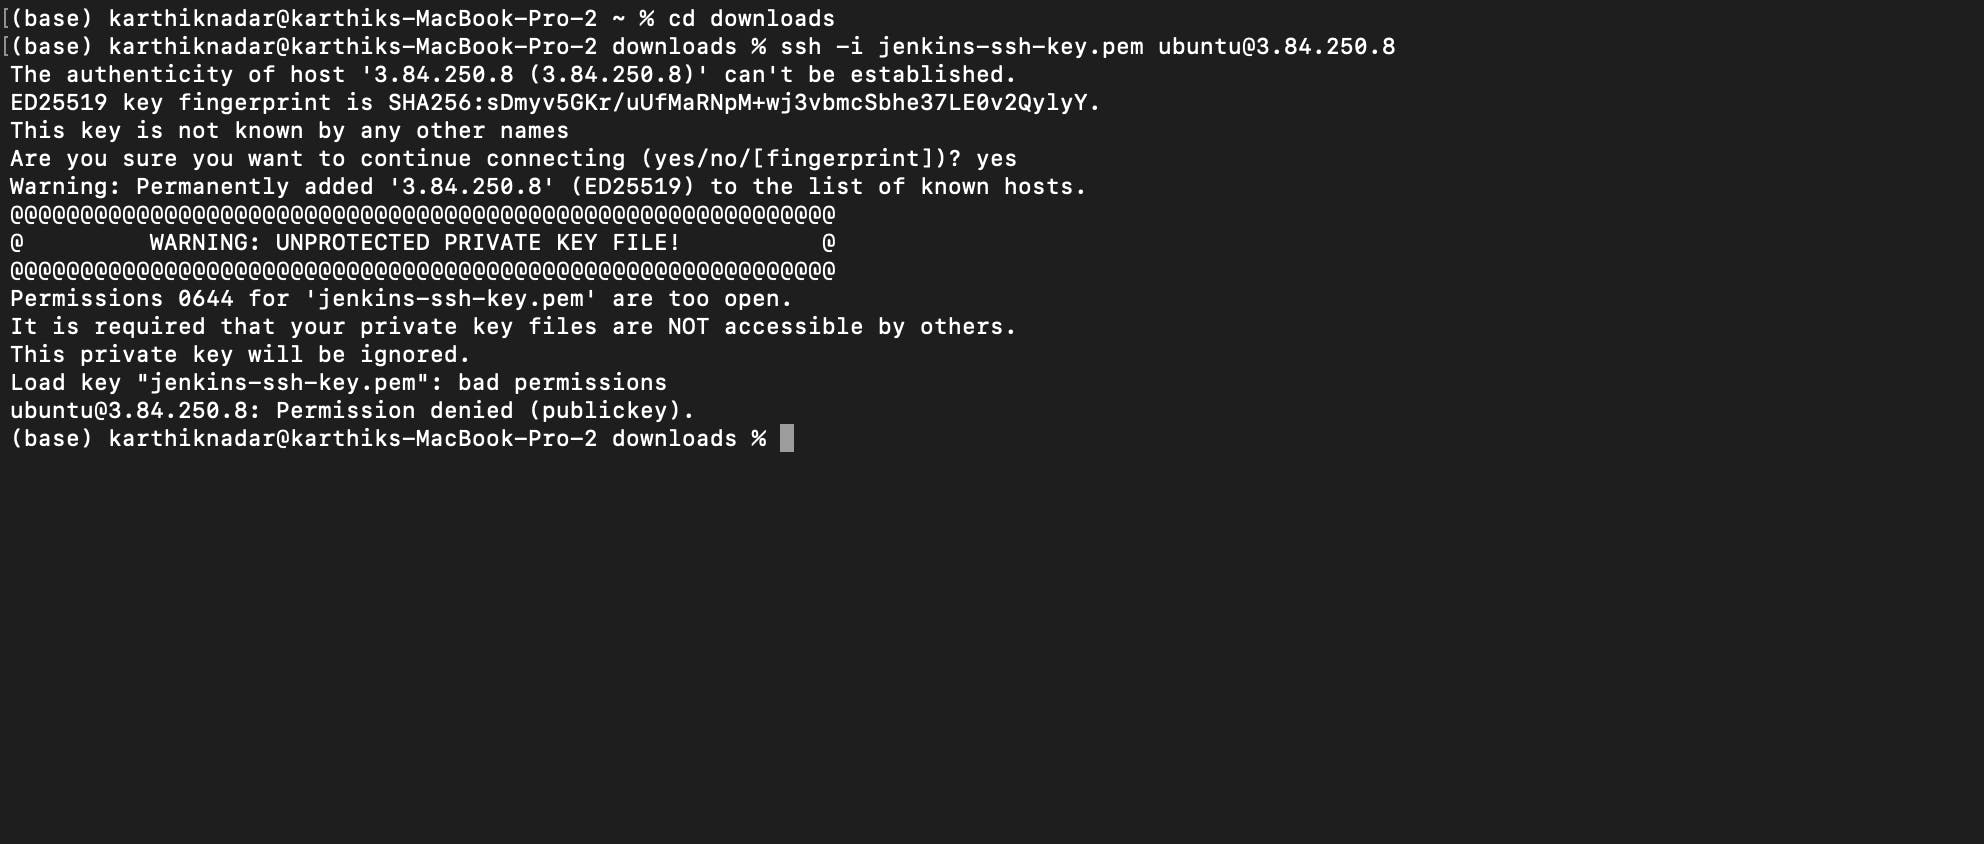
This issue basically wants us to update the rules such that the instance can only be accessed by us and not by anyone else, we configured the permissions using the following command
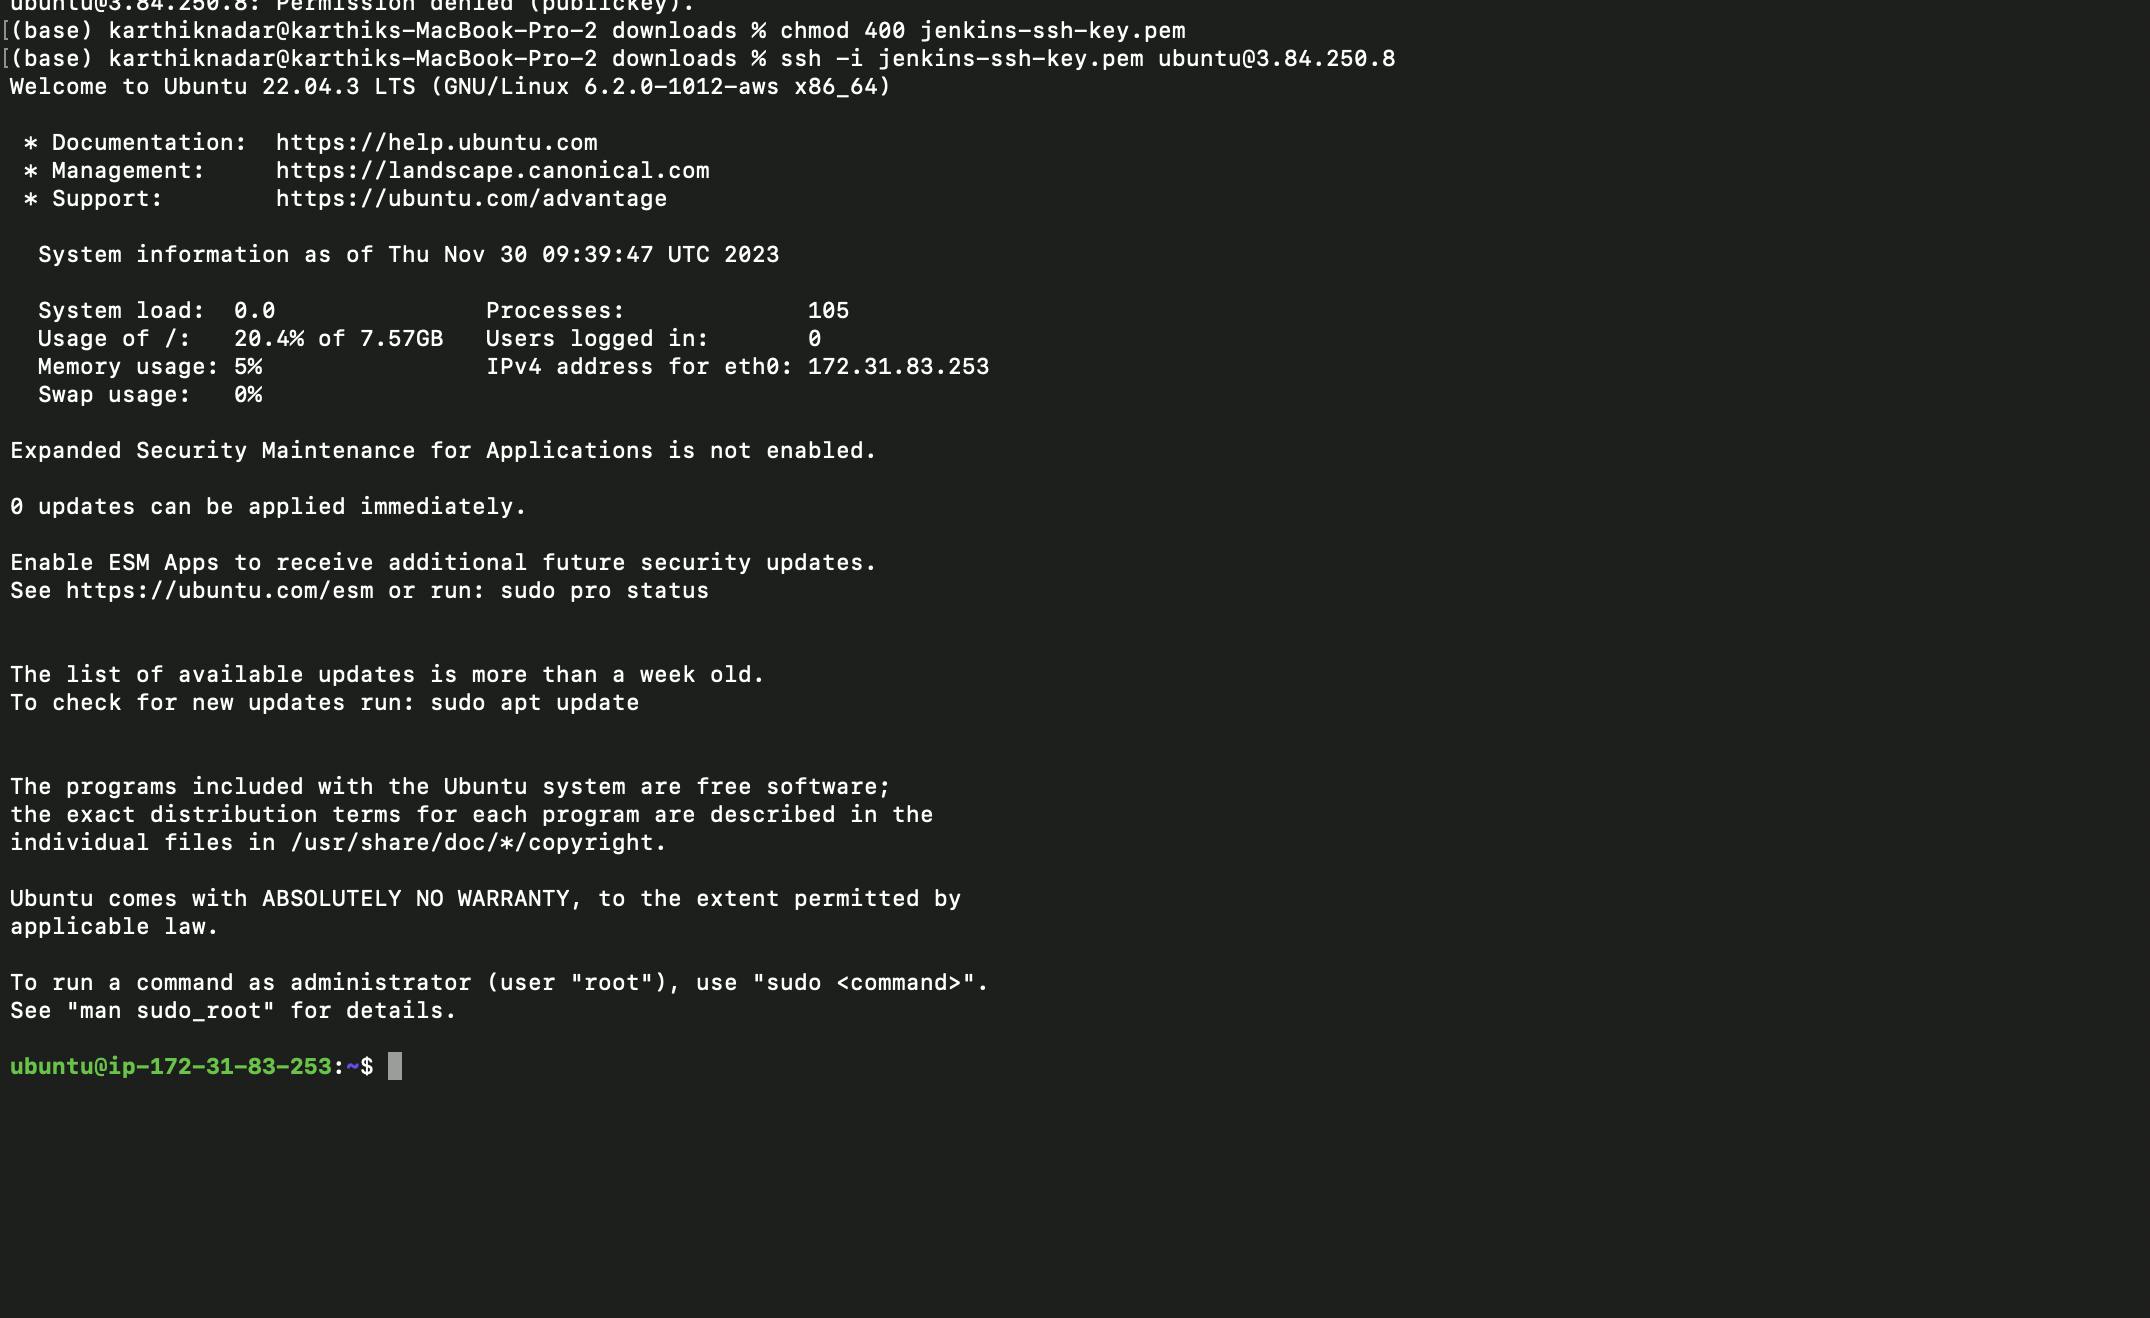
chmod 400 <name_of_key_value_pair>.pem
Now again run the following command to connect the terminal to the EC2 instance, it should connect perfectly.
ssh -i <name_of_key_value_pair>.pem ubuntu@<public_ipv4_address>
Type the following command in the terminal.
sudo apt update
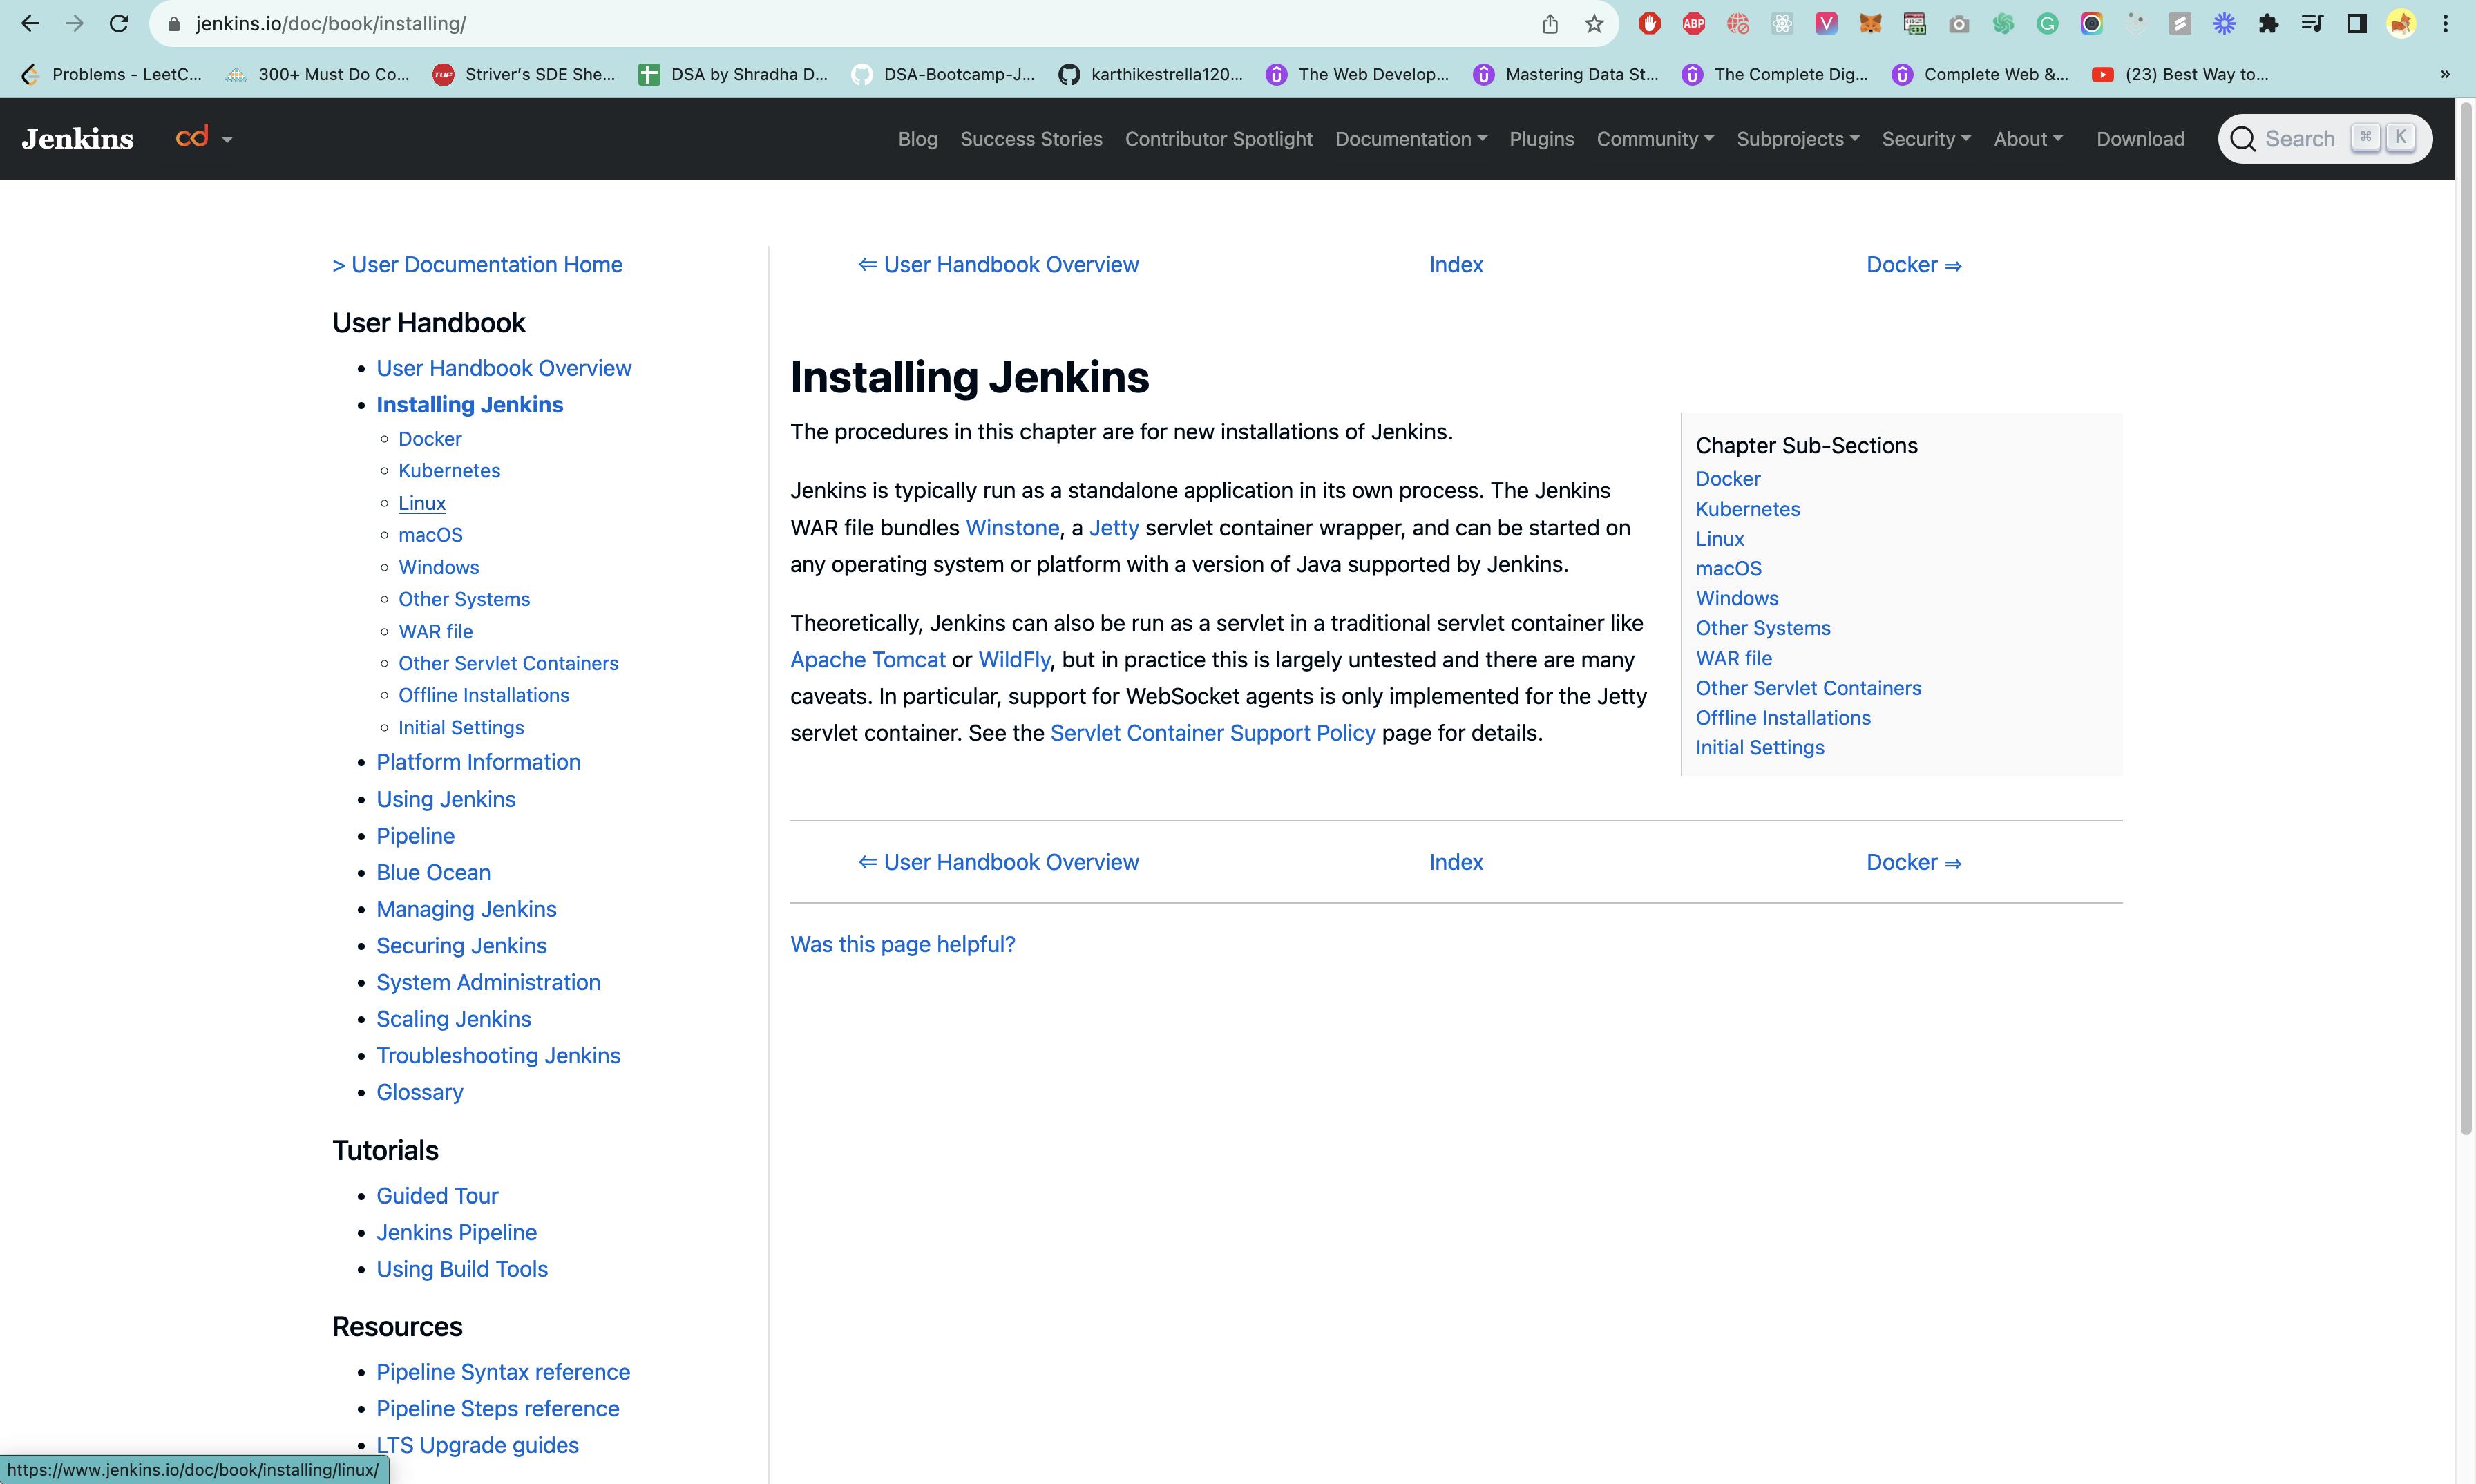
Now in the browser navigate to jenkins.io
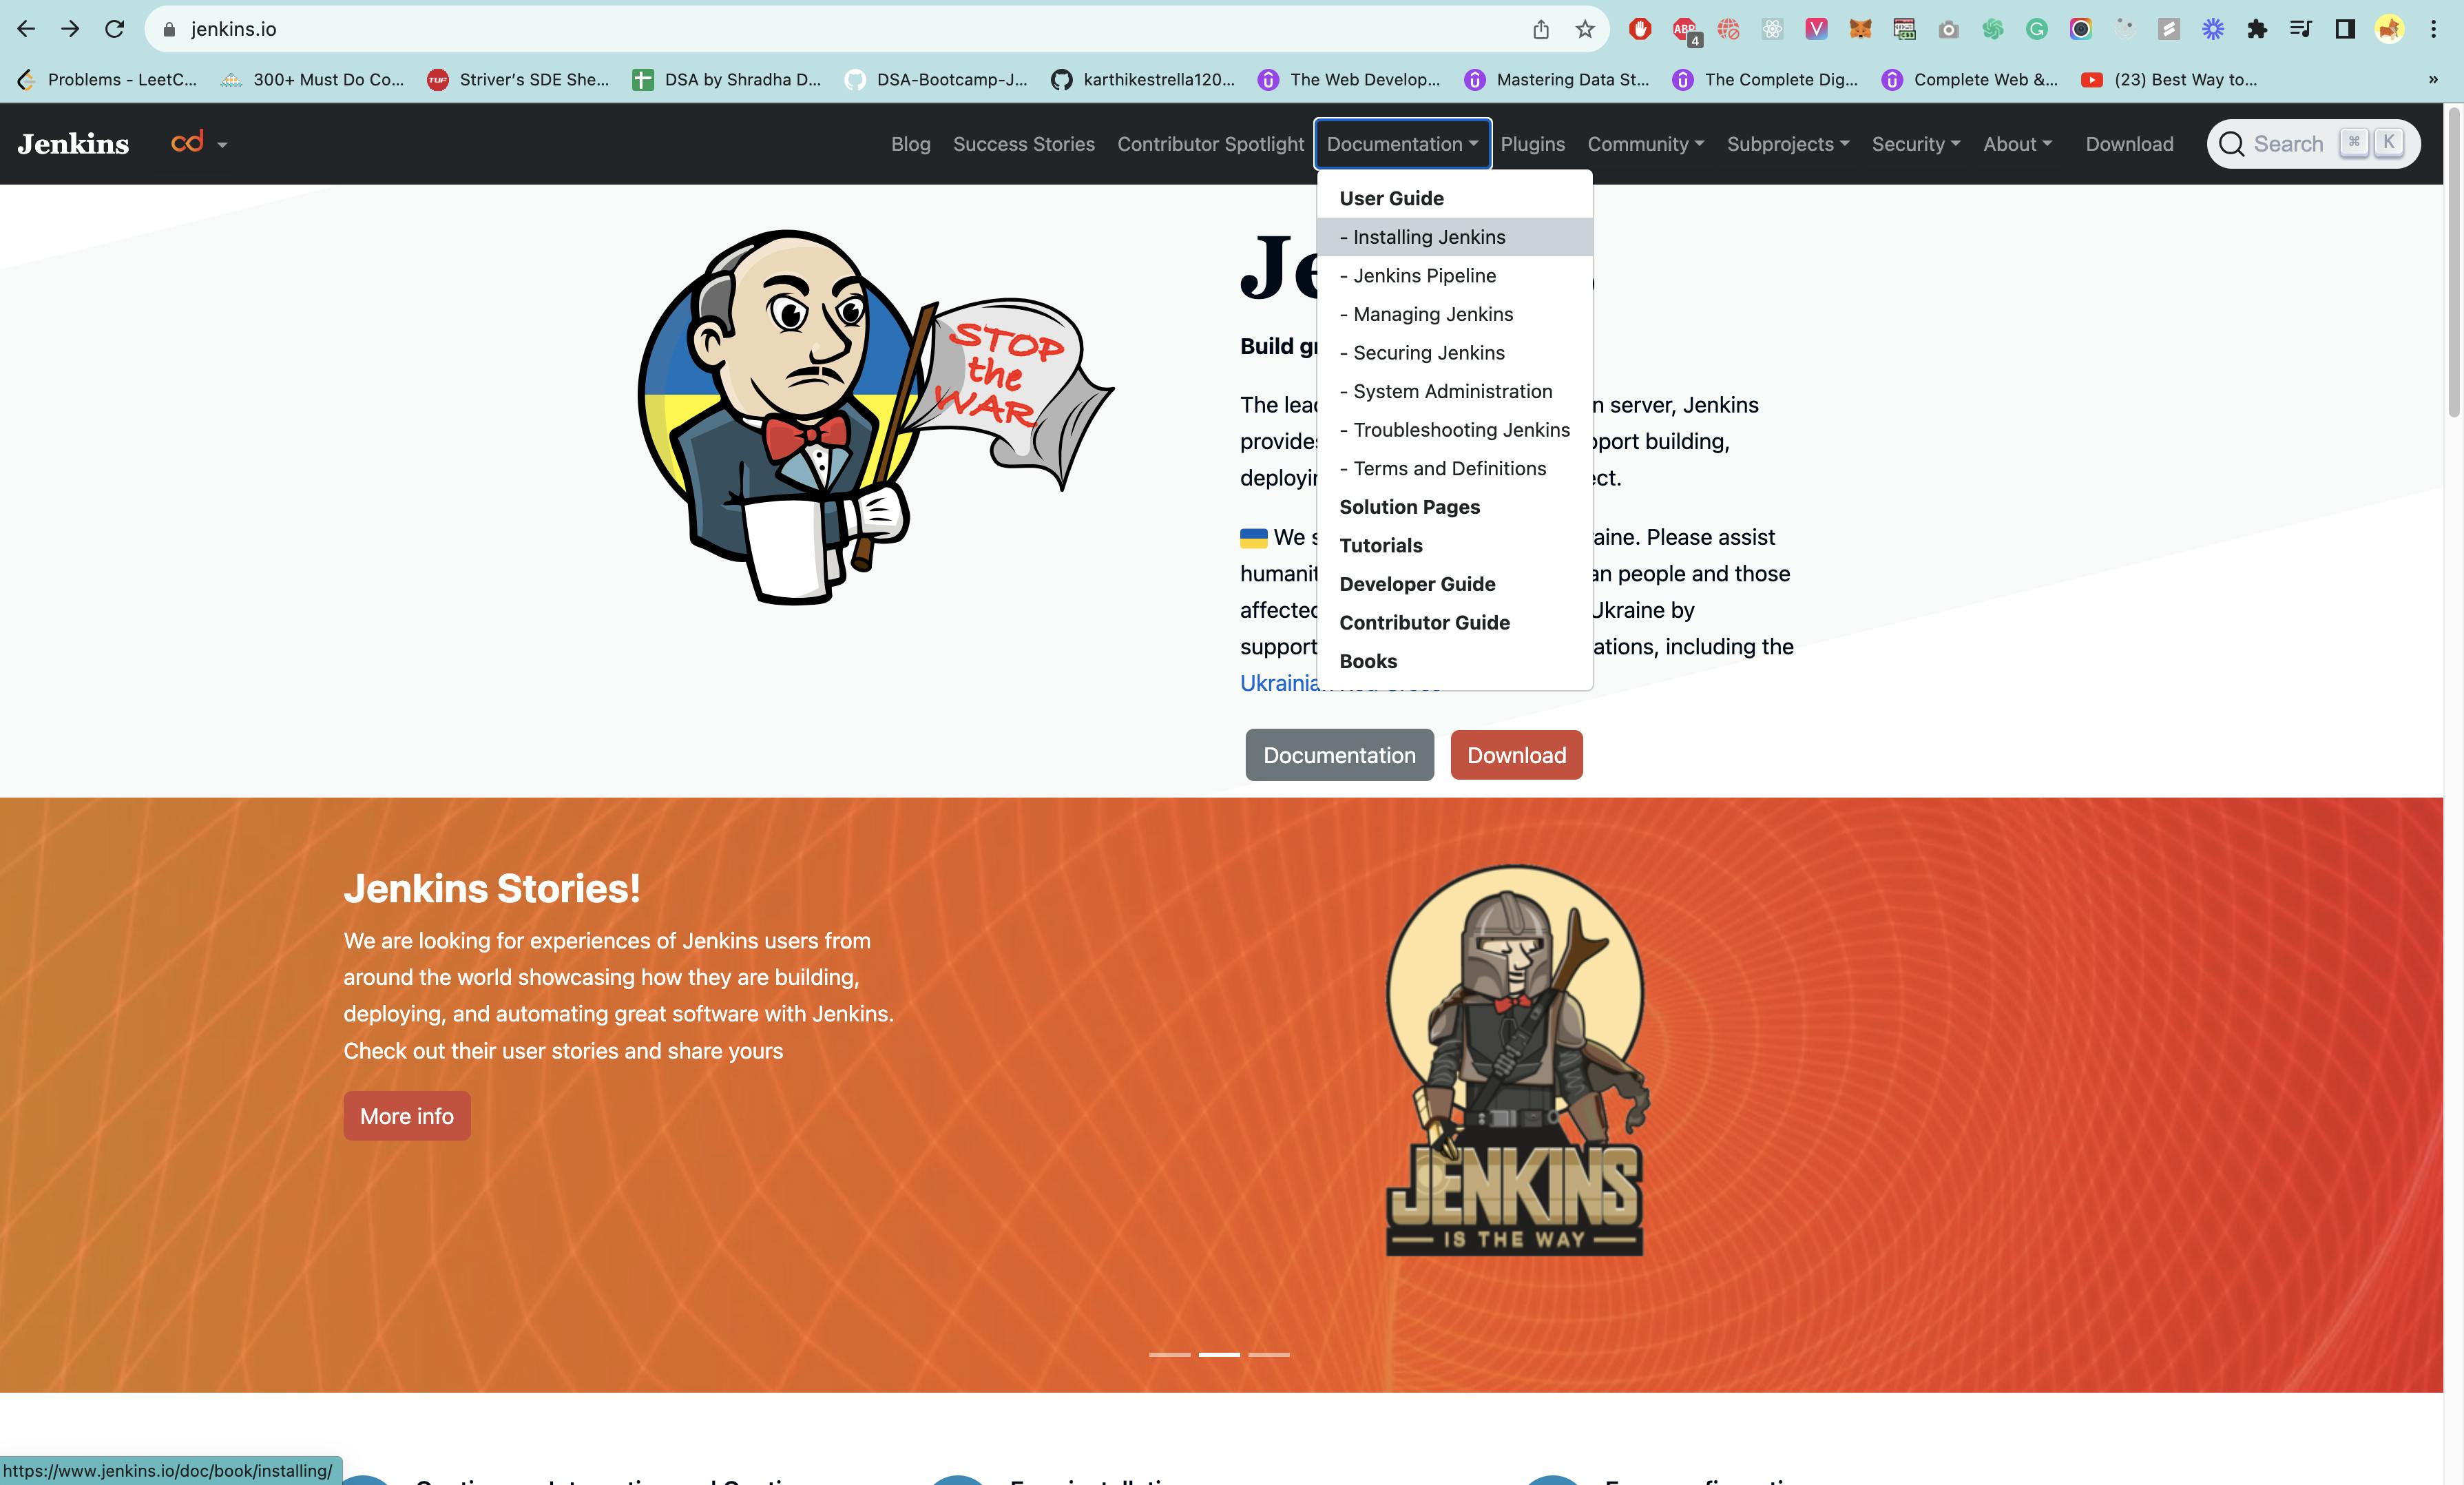
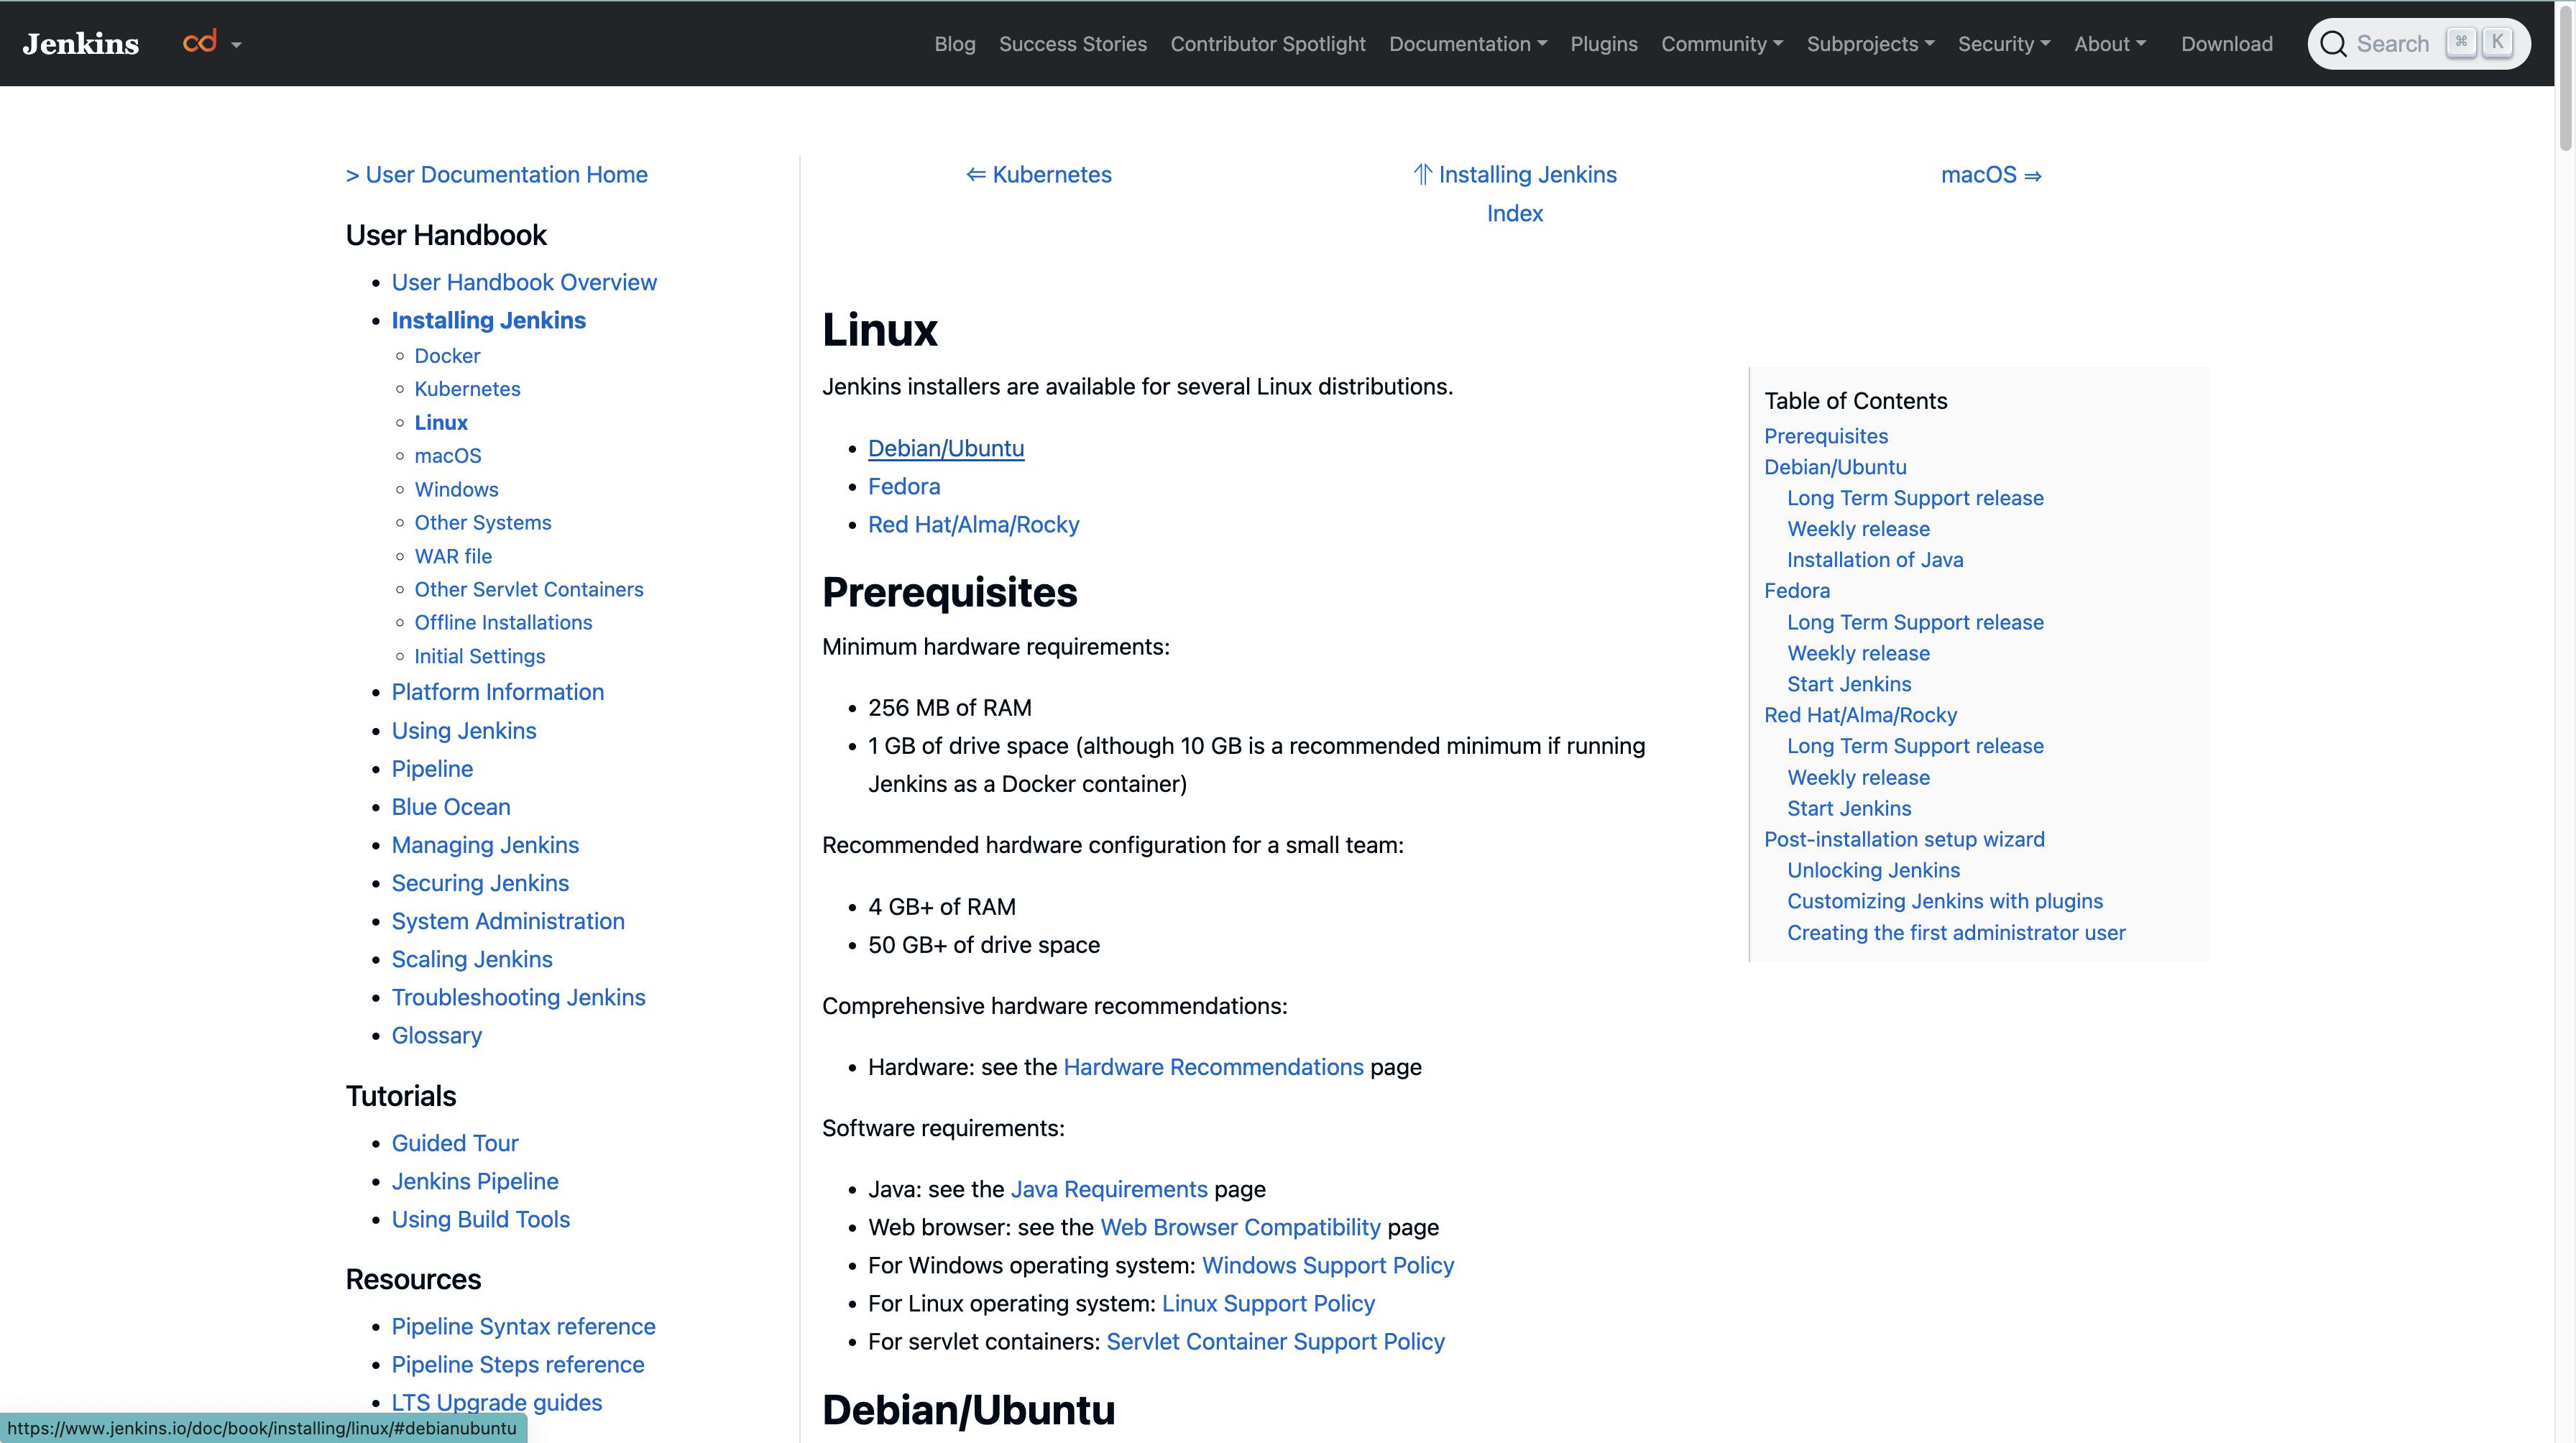
- Navigate to Installing Jenkins and select Linux
- Click on Debian/Ubuntu
- Paste the following command in the terminal
sudo apt install openjdk-17-jdk
java -version
- Select the LTS Bash command and paste it into the terminal

- Now the Jenkins server should be up and running, to confirm the same, run the following command.
sudo systemctl status jenkins

In case of any error, try running the following command
sudo systemctl start jenkins
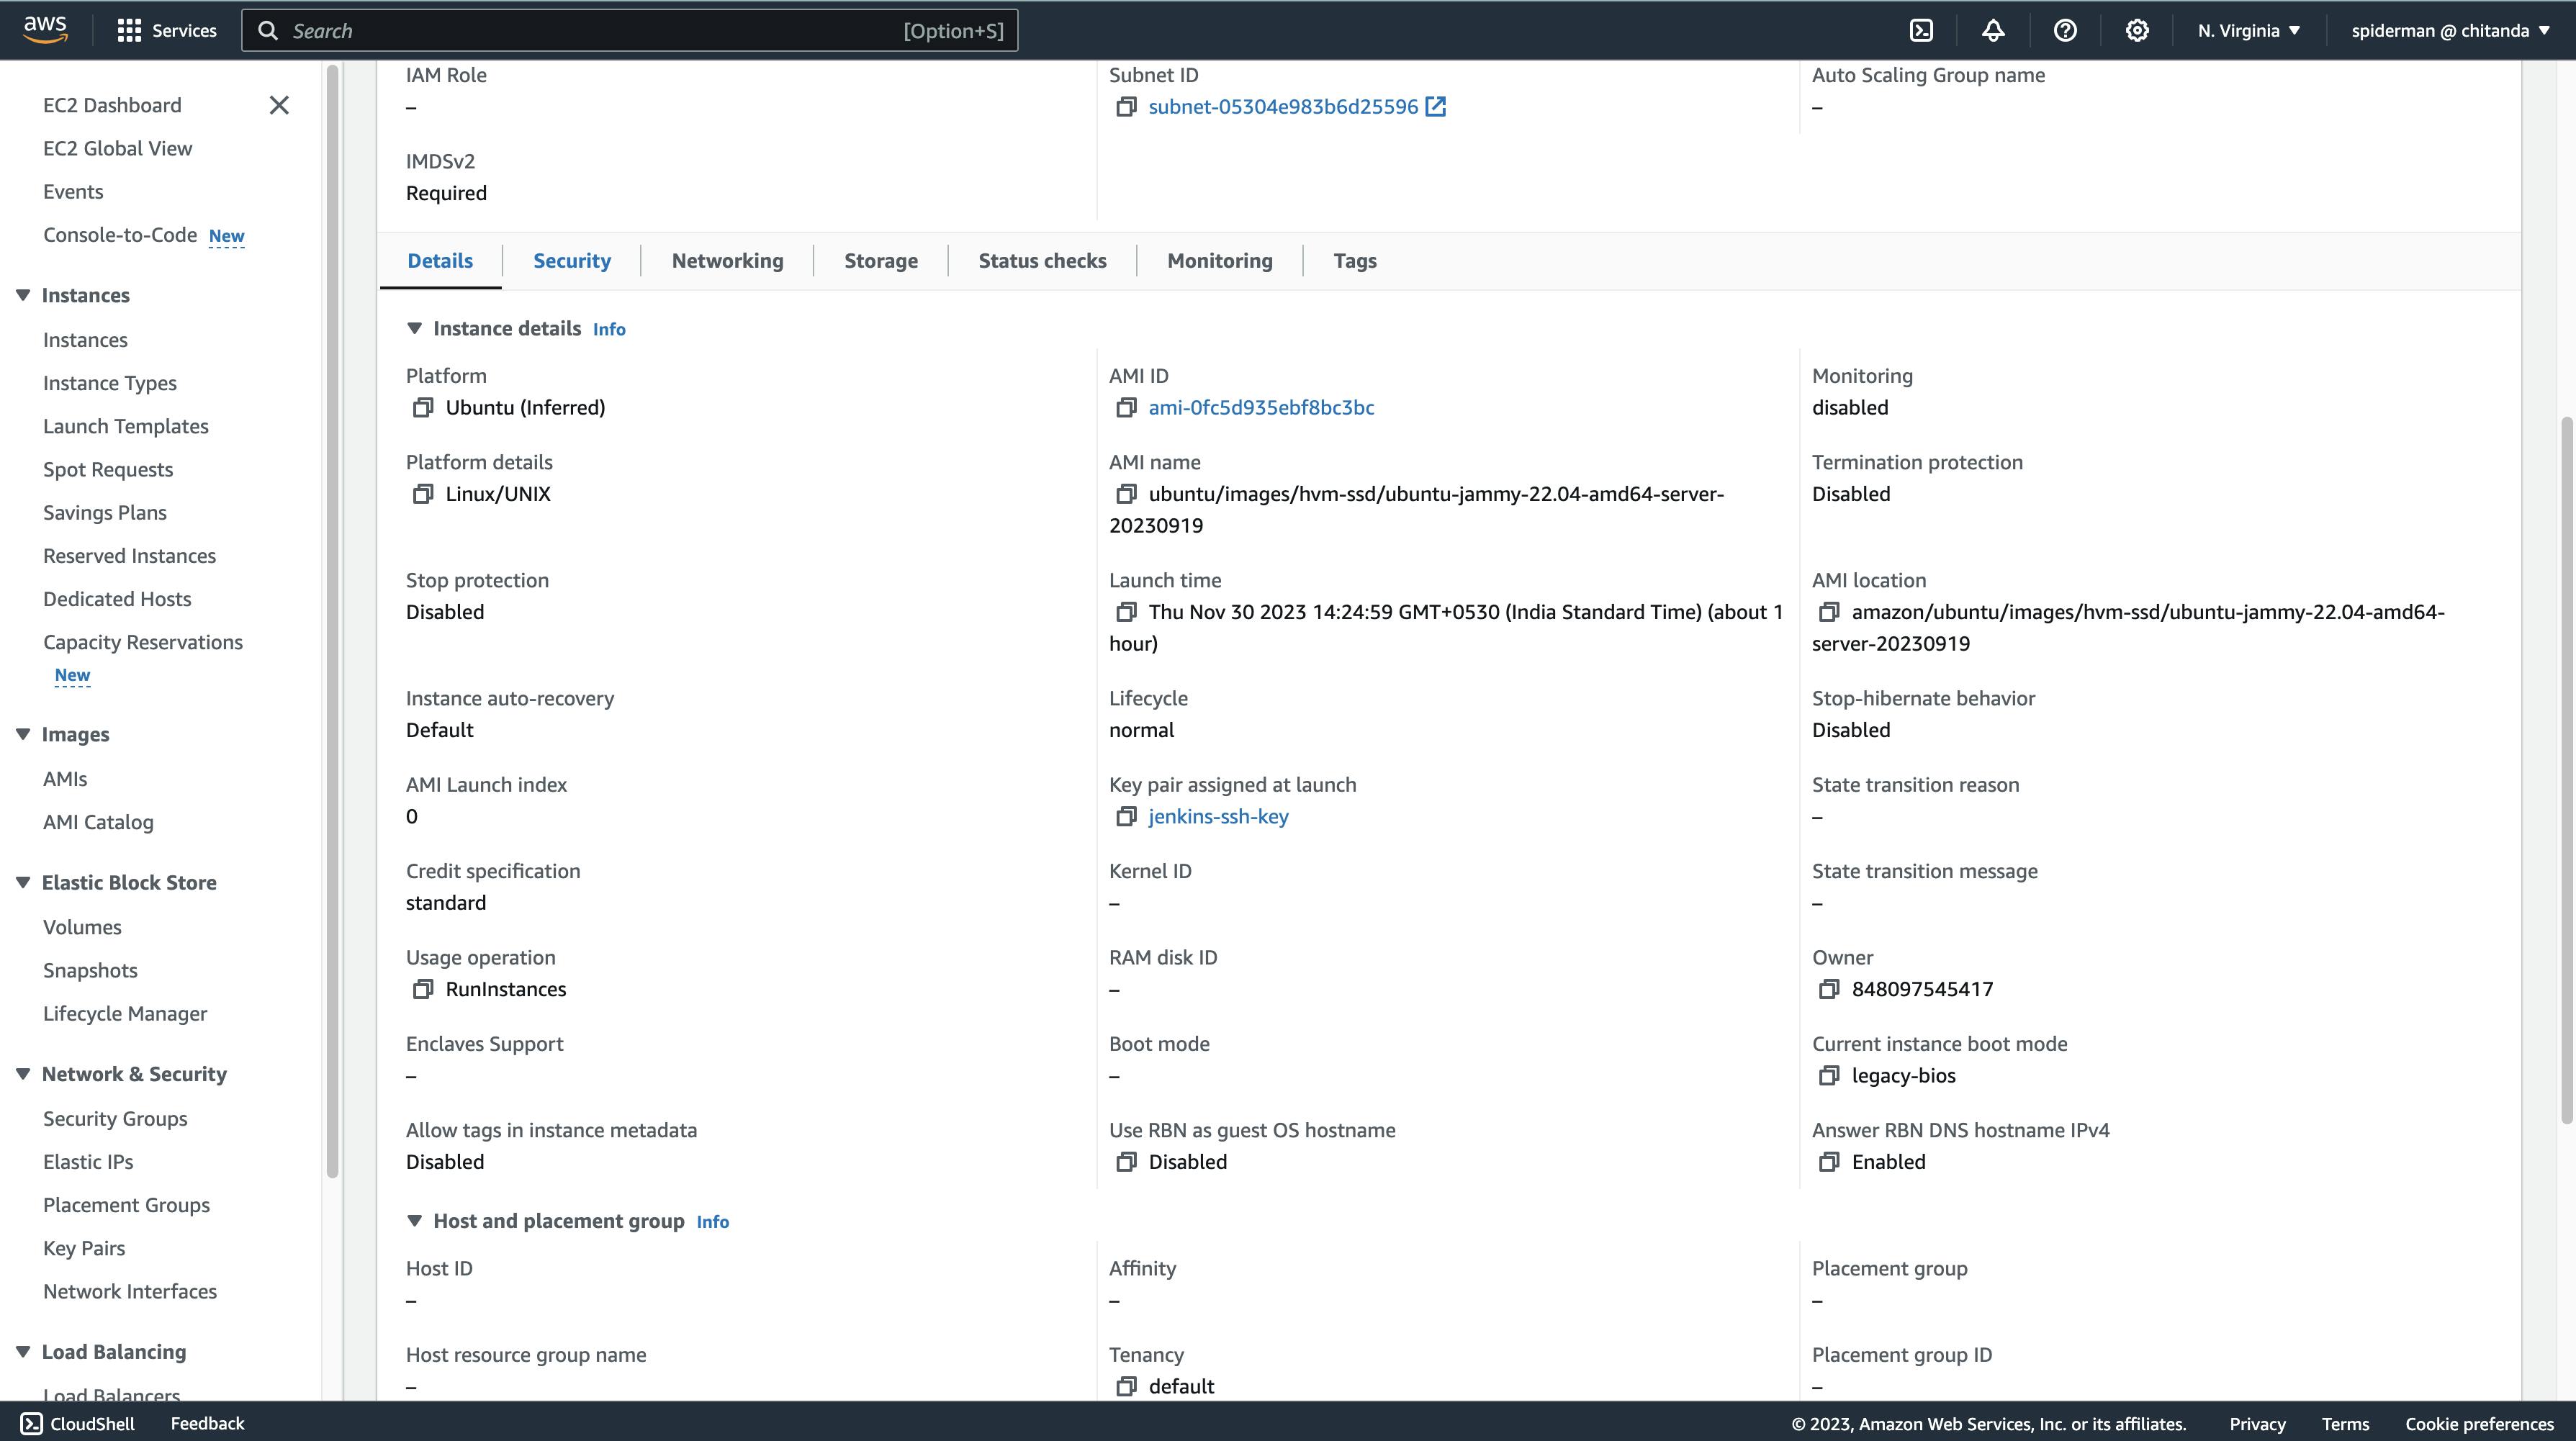
- Now we will update the security group of the Jenkins EC2 instance to be able to access Jenkins at port 8080 in our browser.
- Click on the Instance Id of Jenkins instance

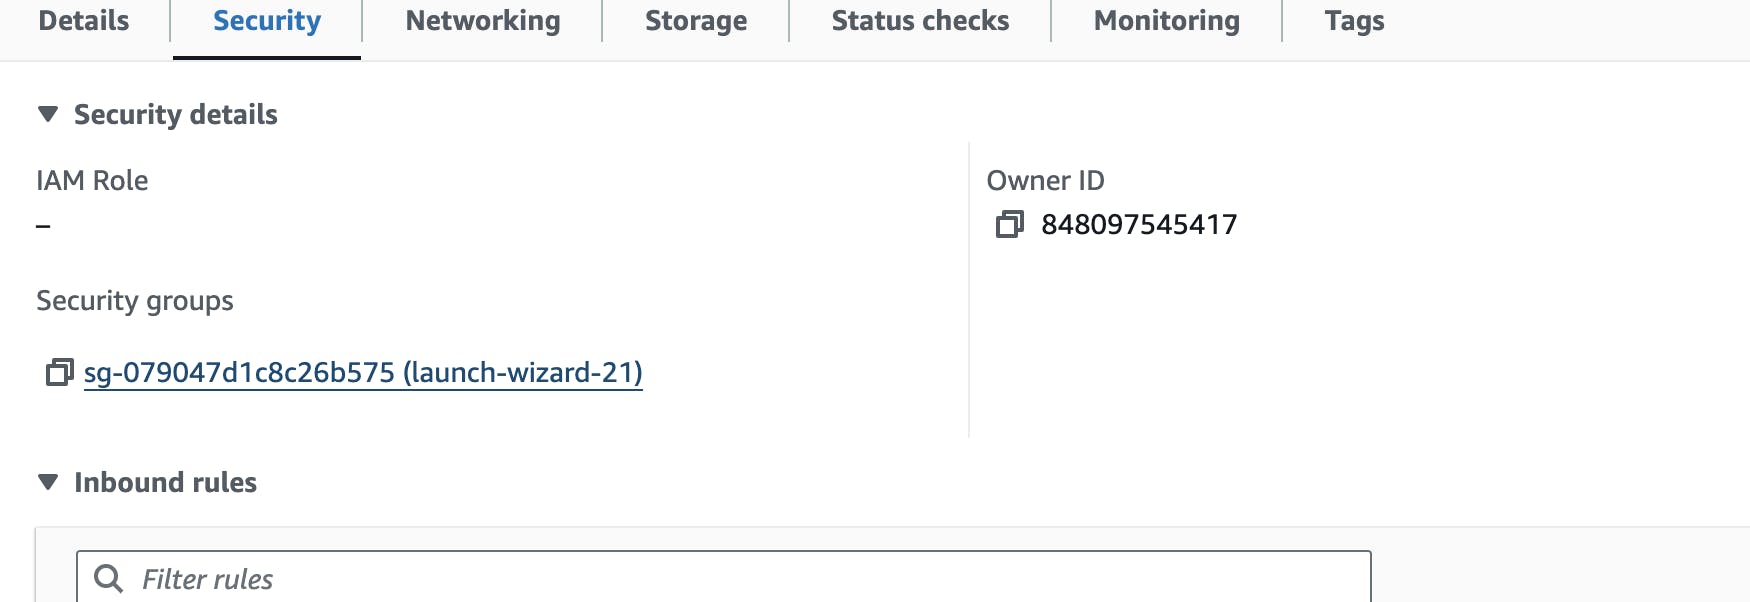
- Scroll down and click on Security.
- Now navigate to the link highlighted under security groups

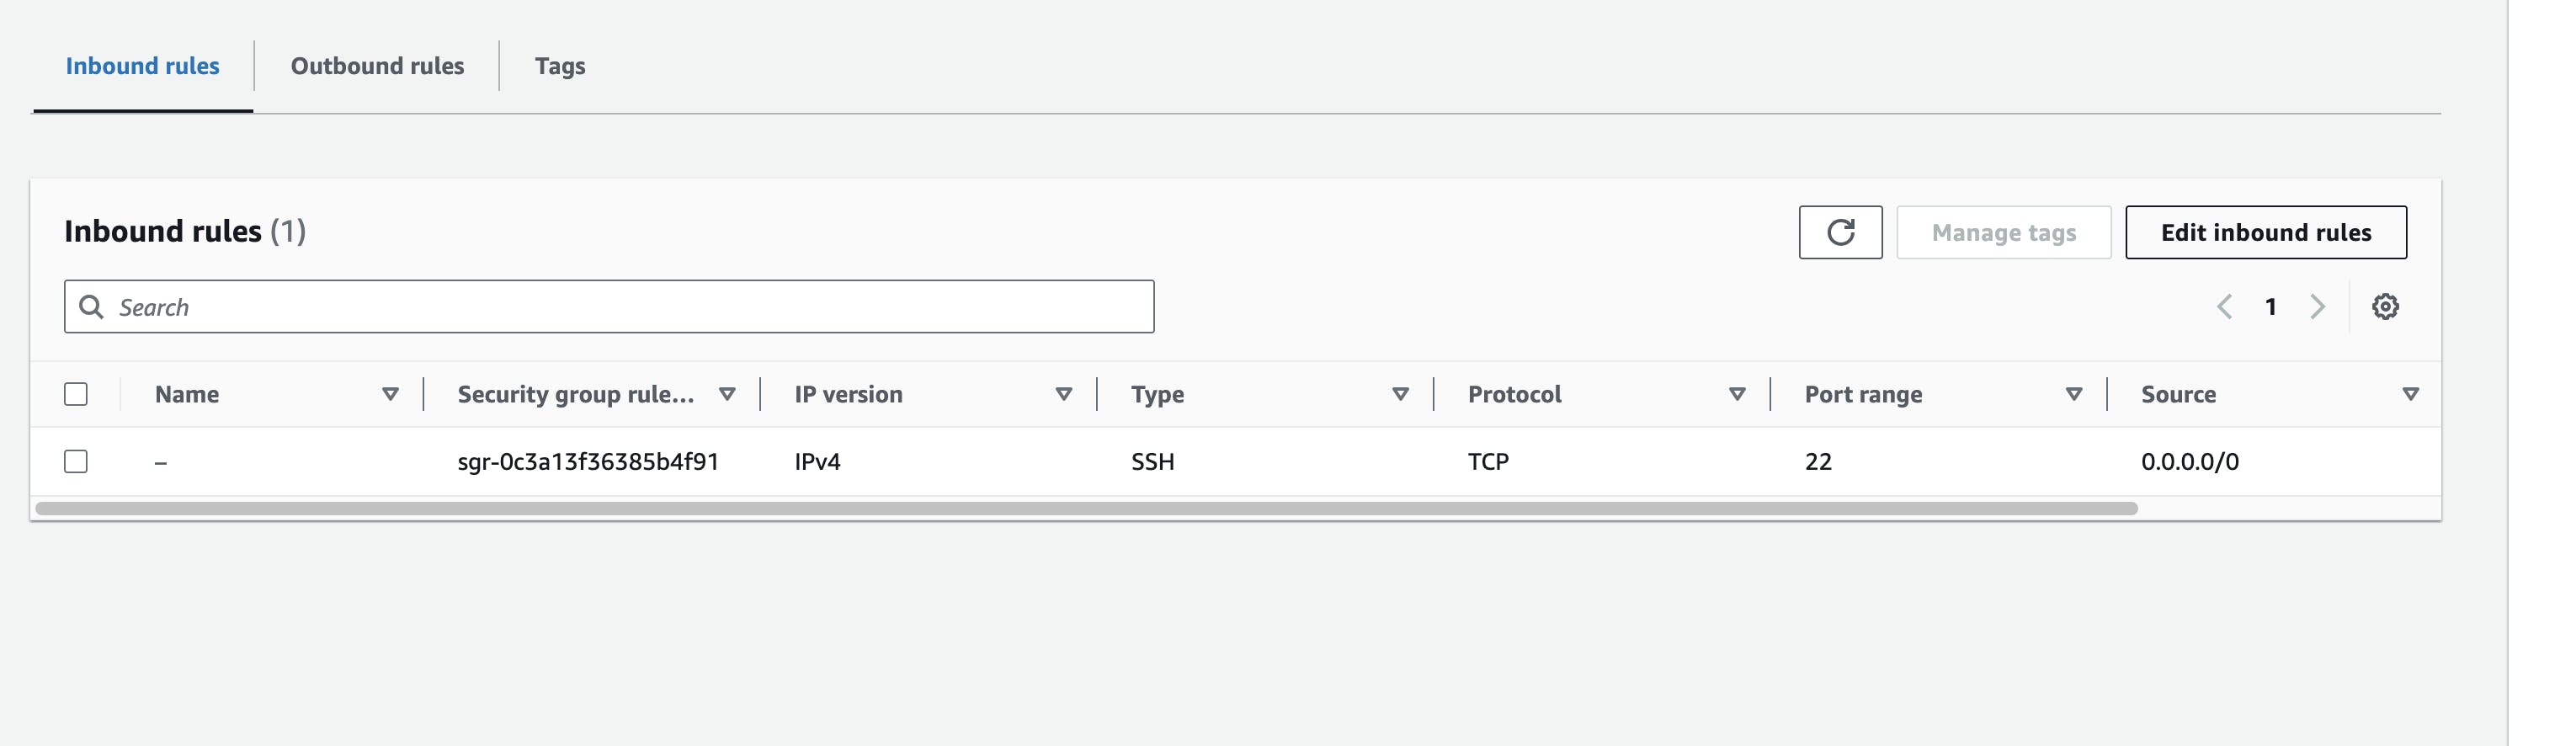
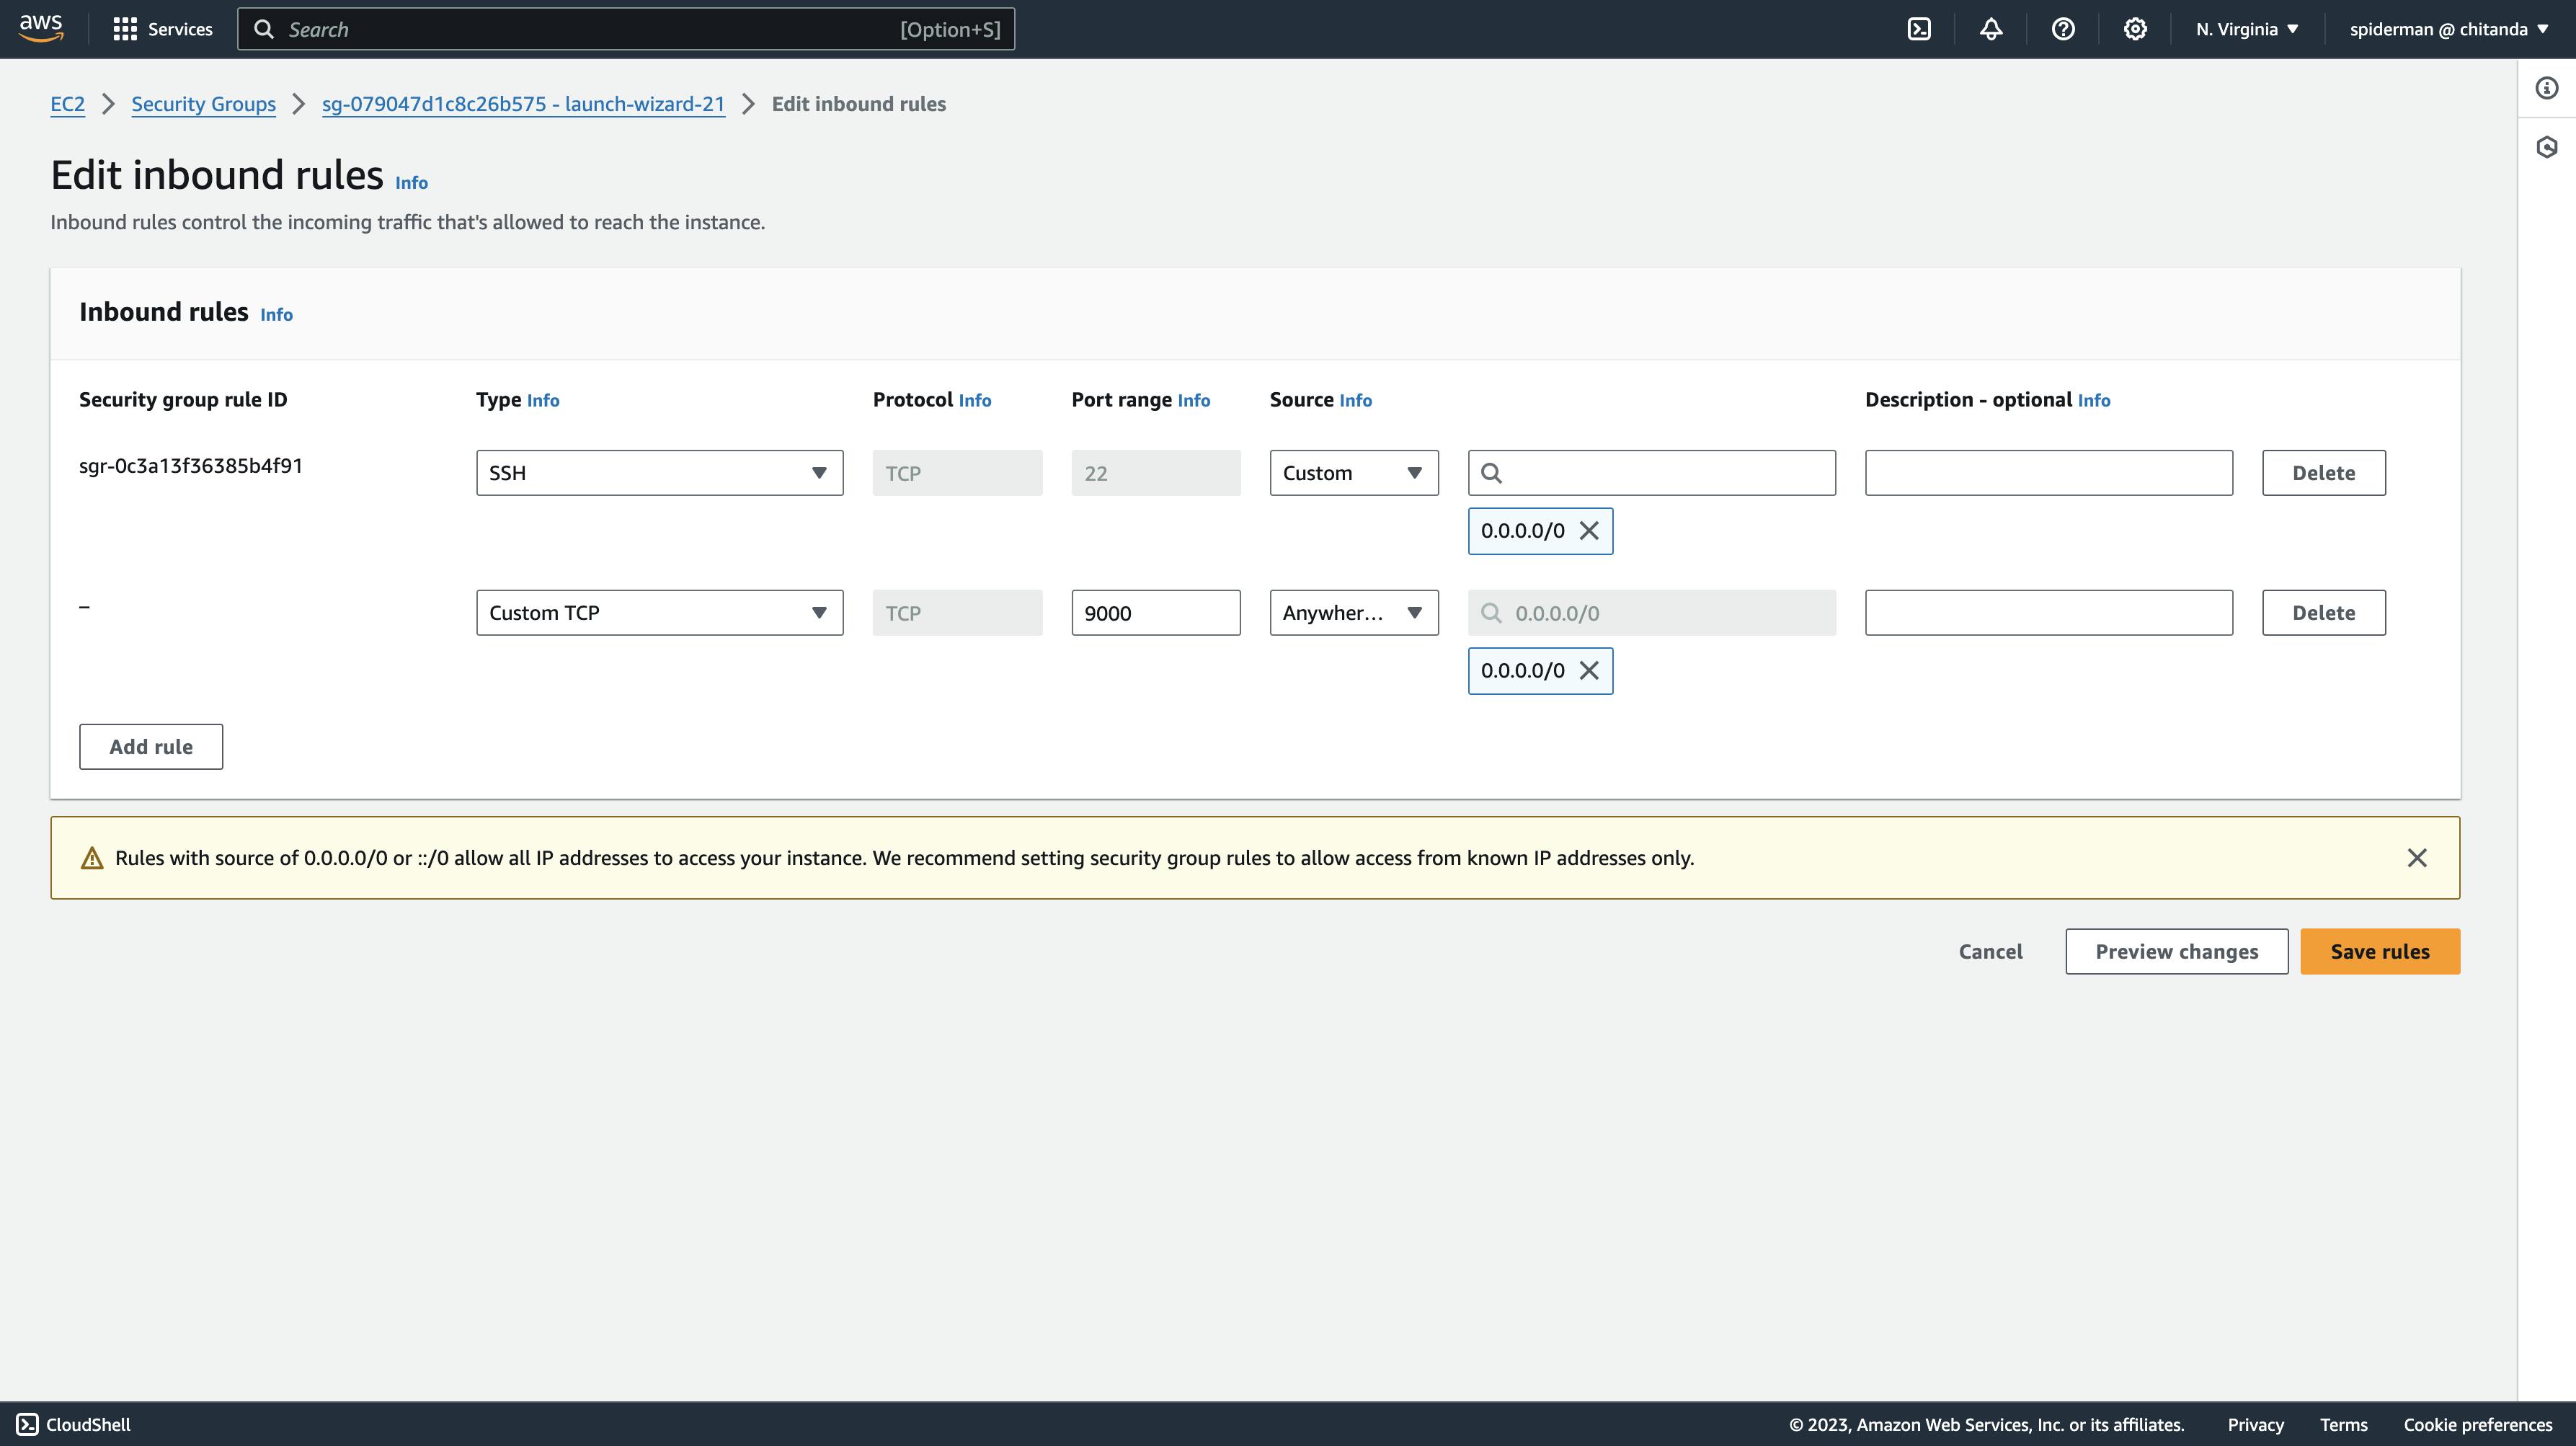
- click on edit Inbound rules.
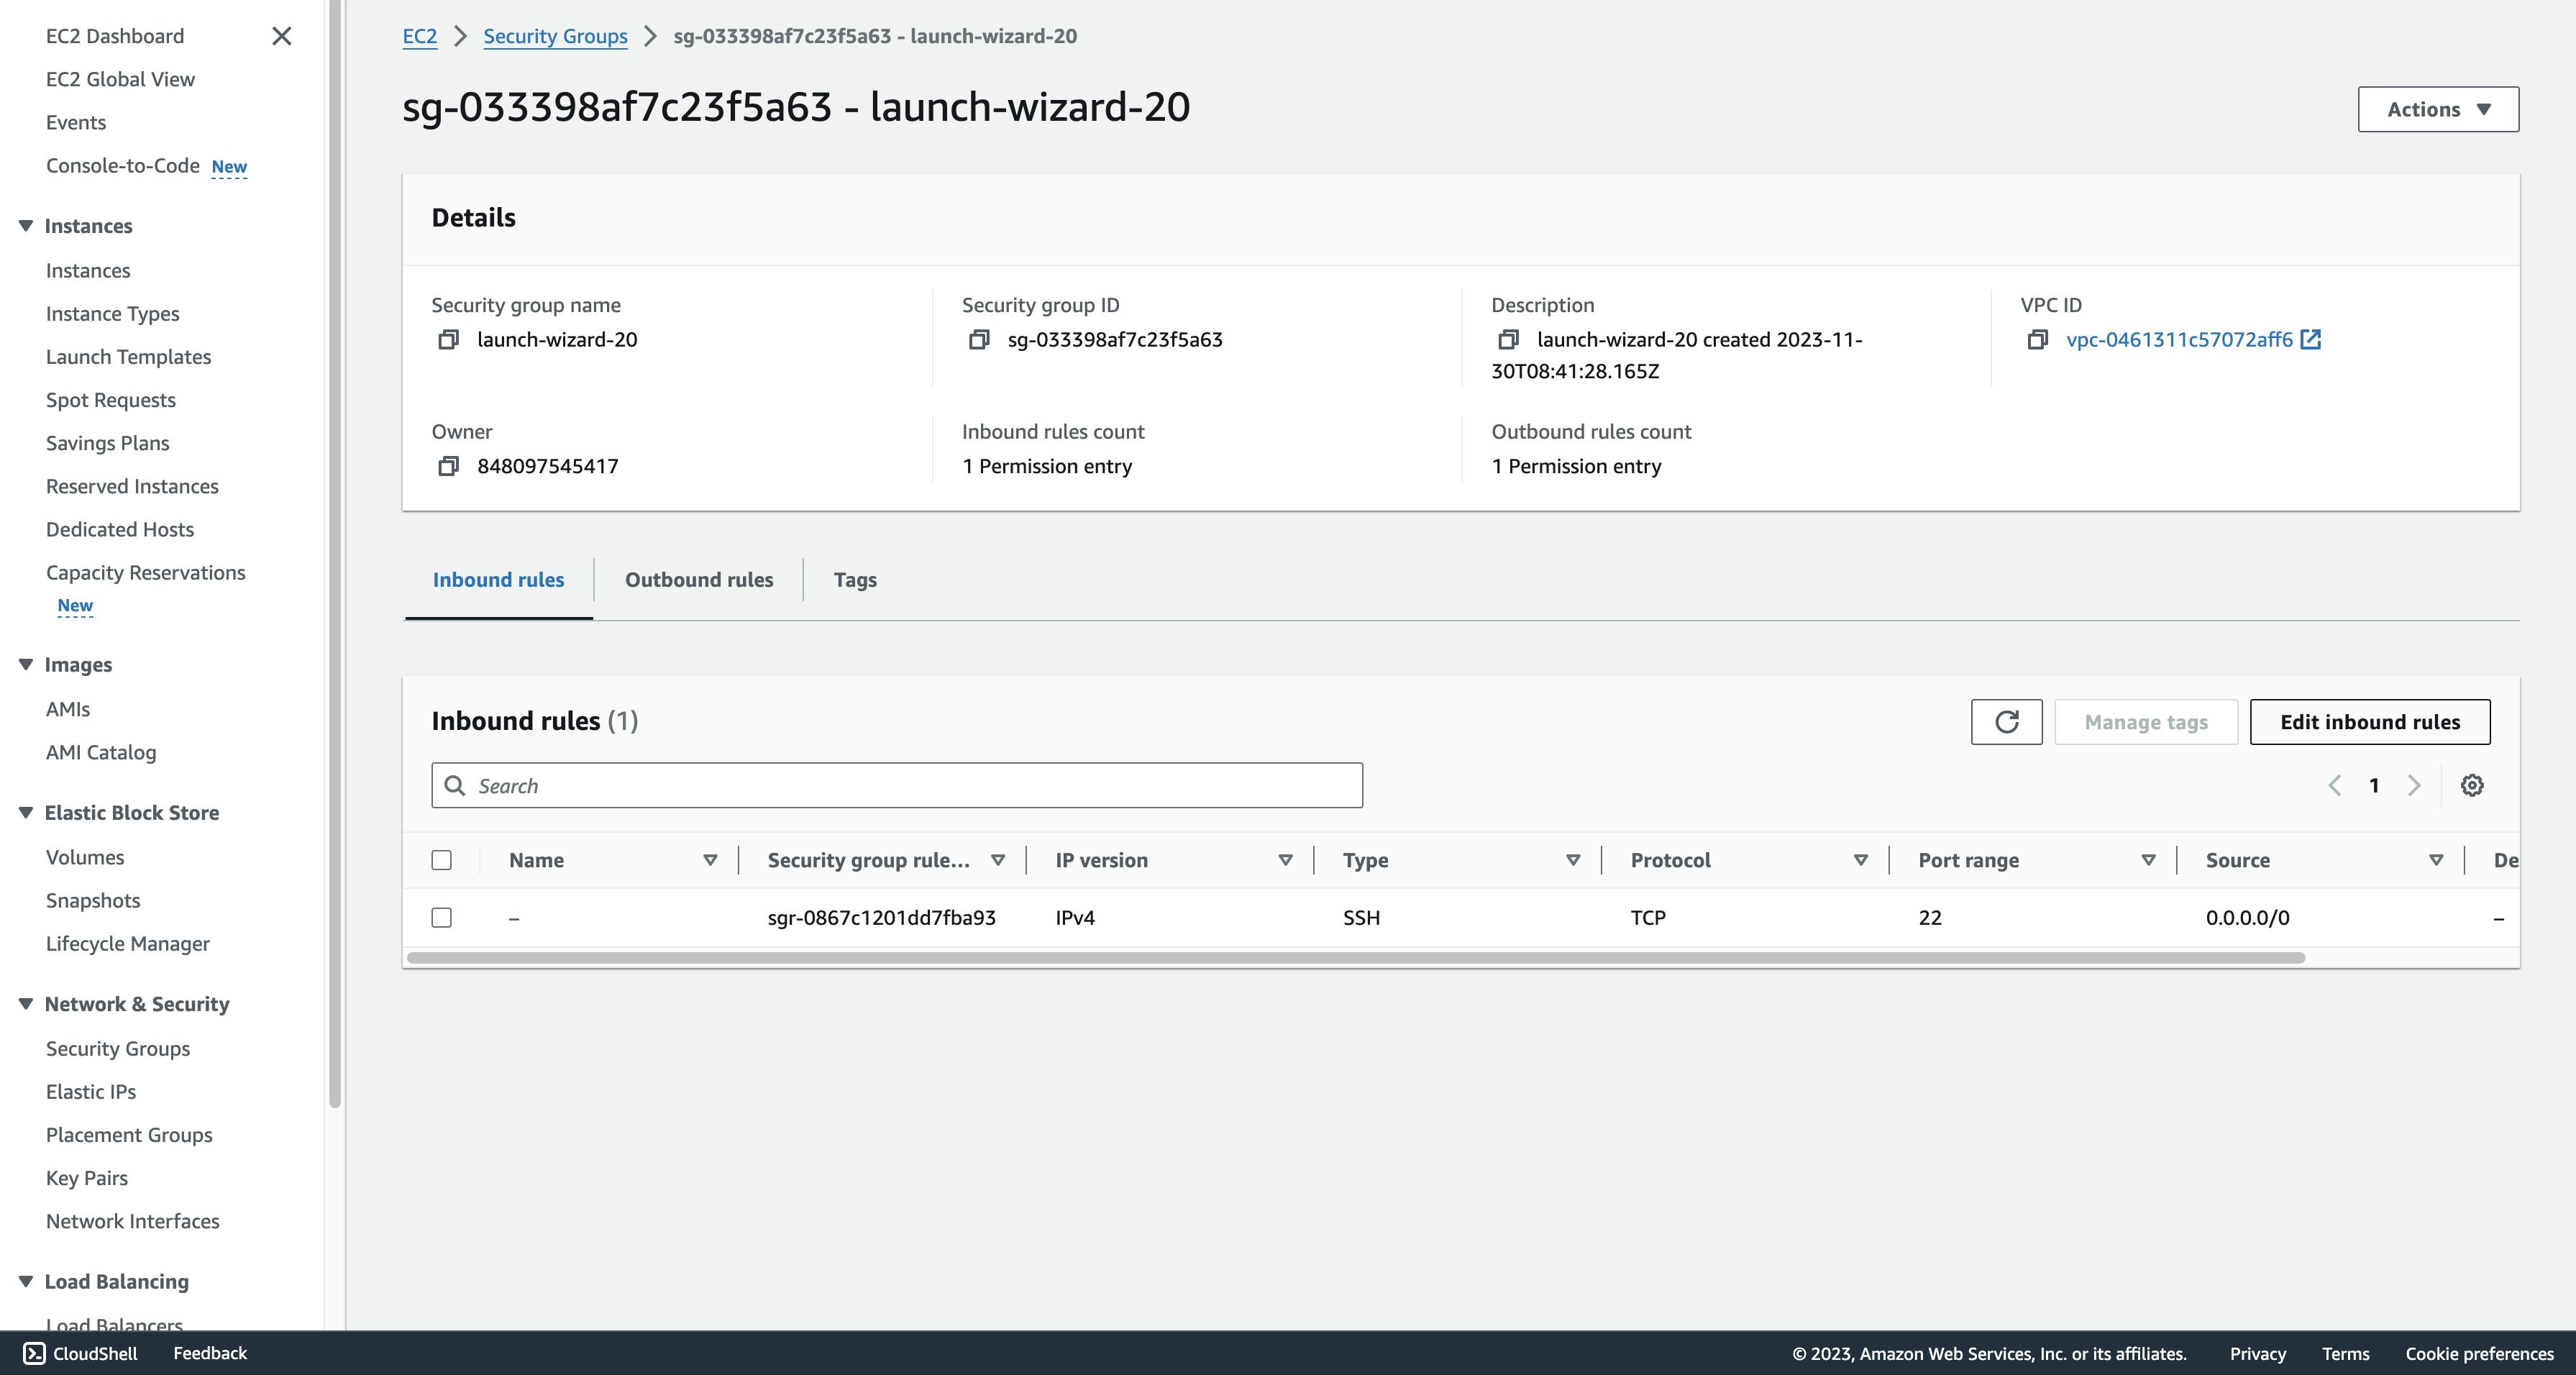
- Add the following configuration to access the Jenkins server at port 8080.

- Now in the browser, type the following to navigate to the Jenkins server.
<public_ipv4_address>:8080
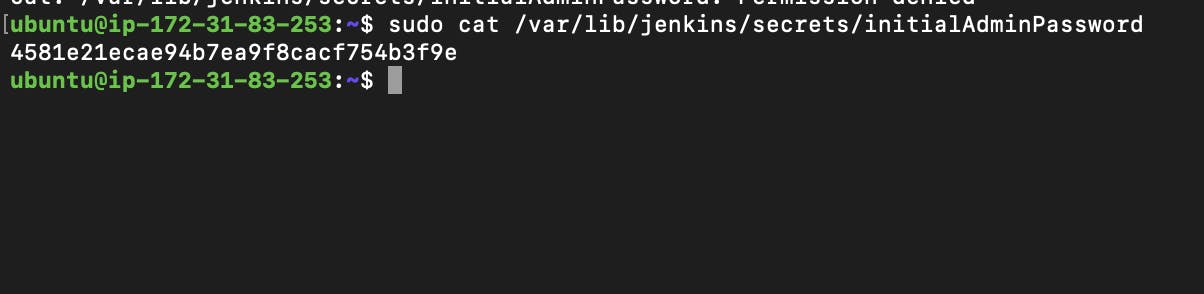
- To get the administration password, type the following command in the terminal.
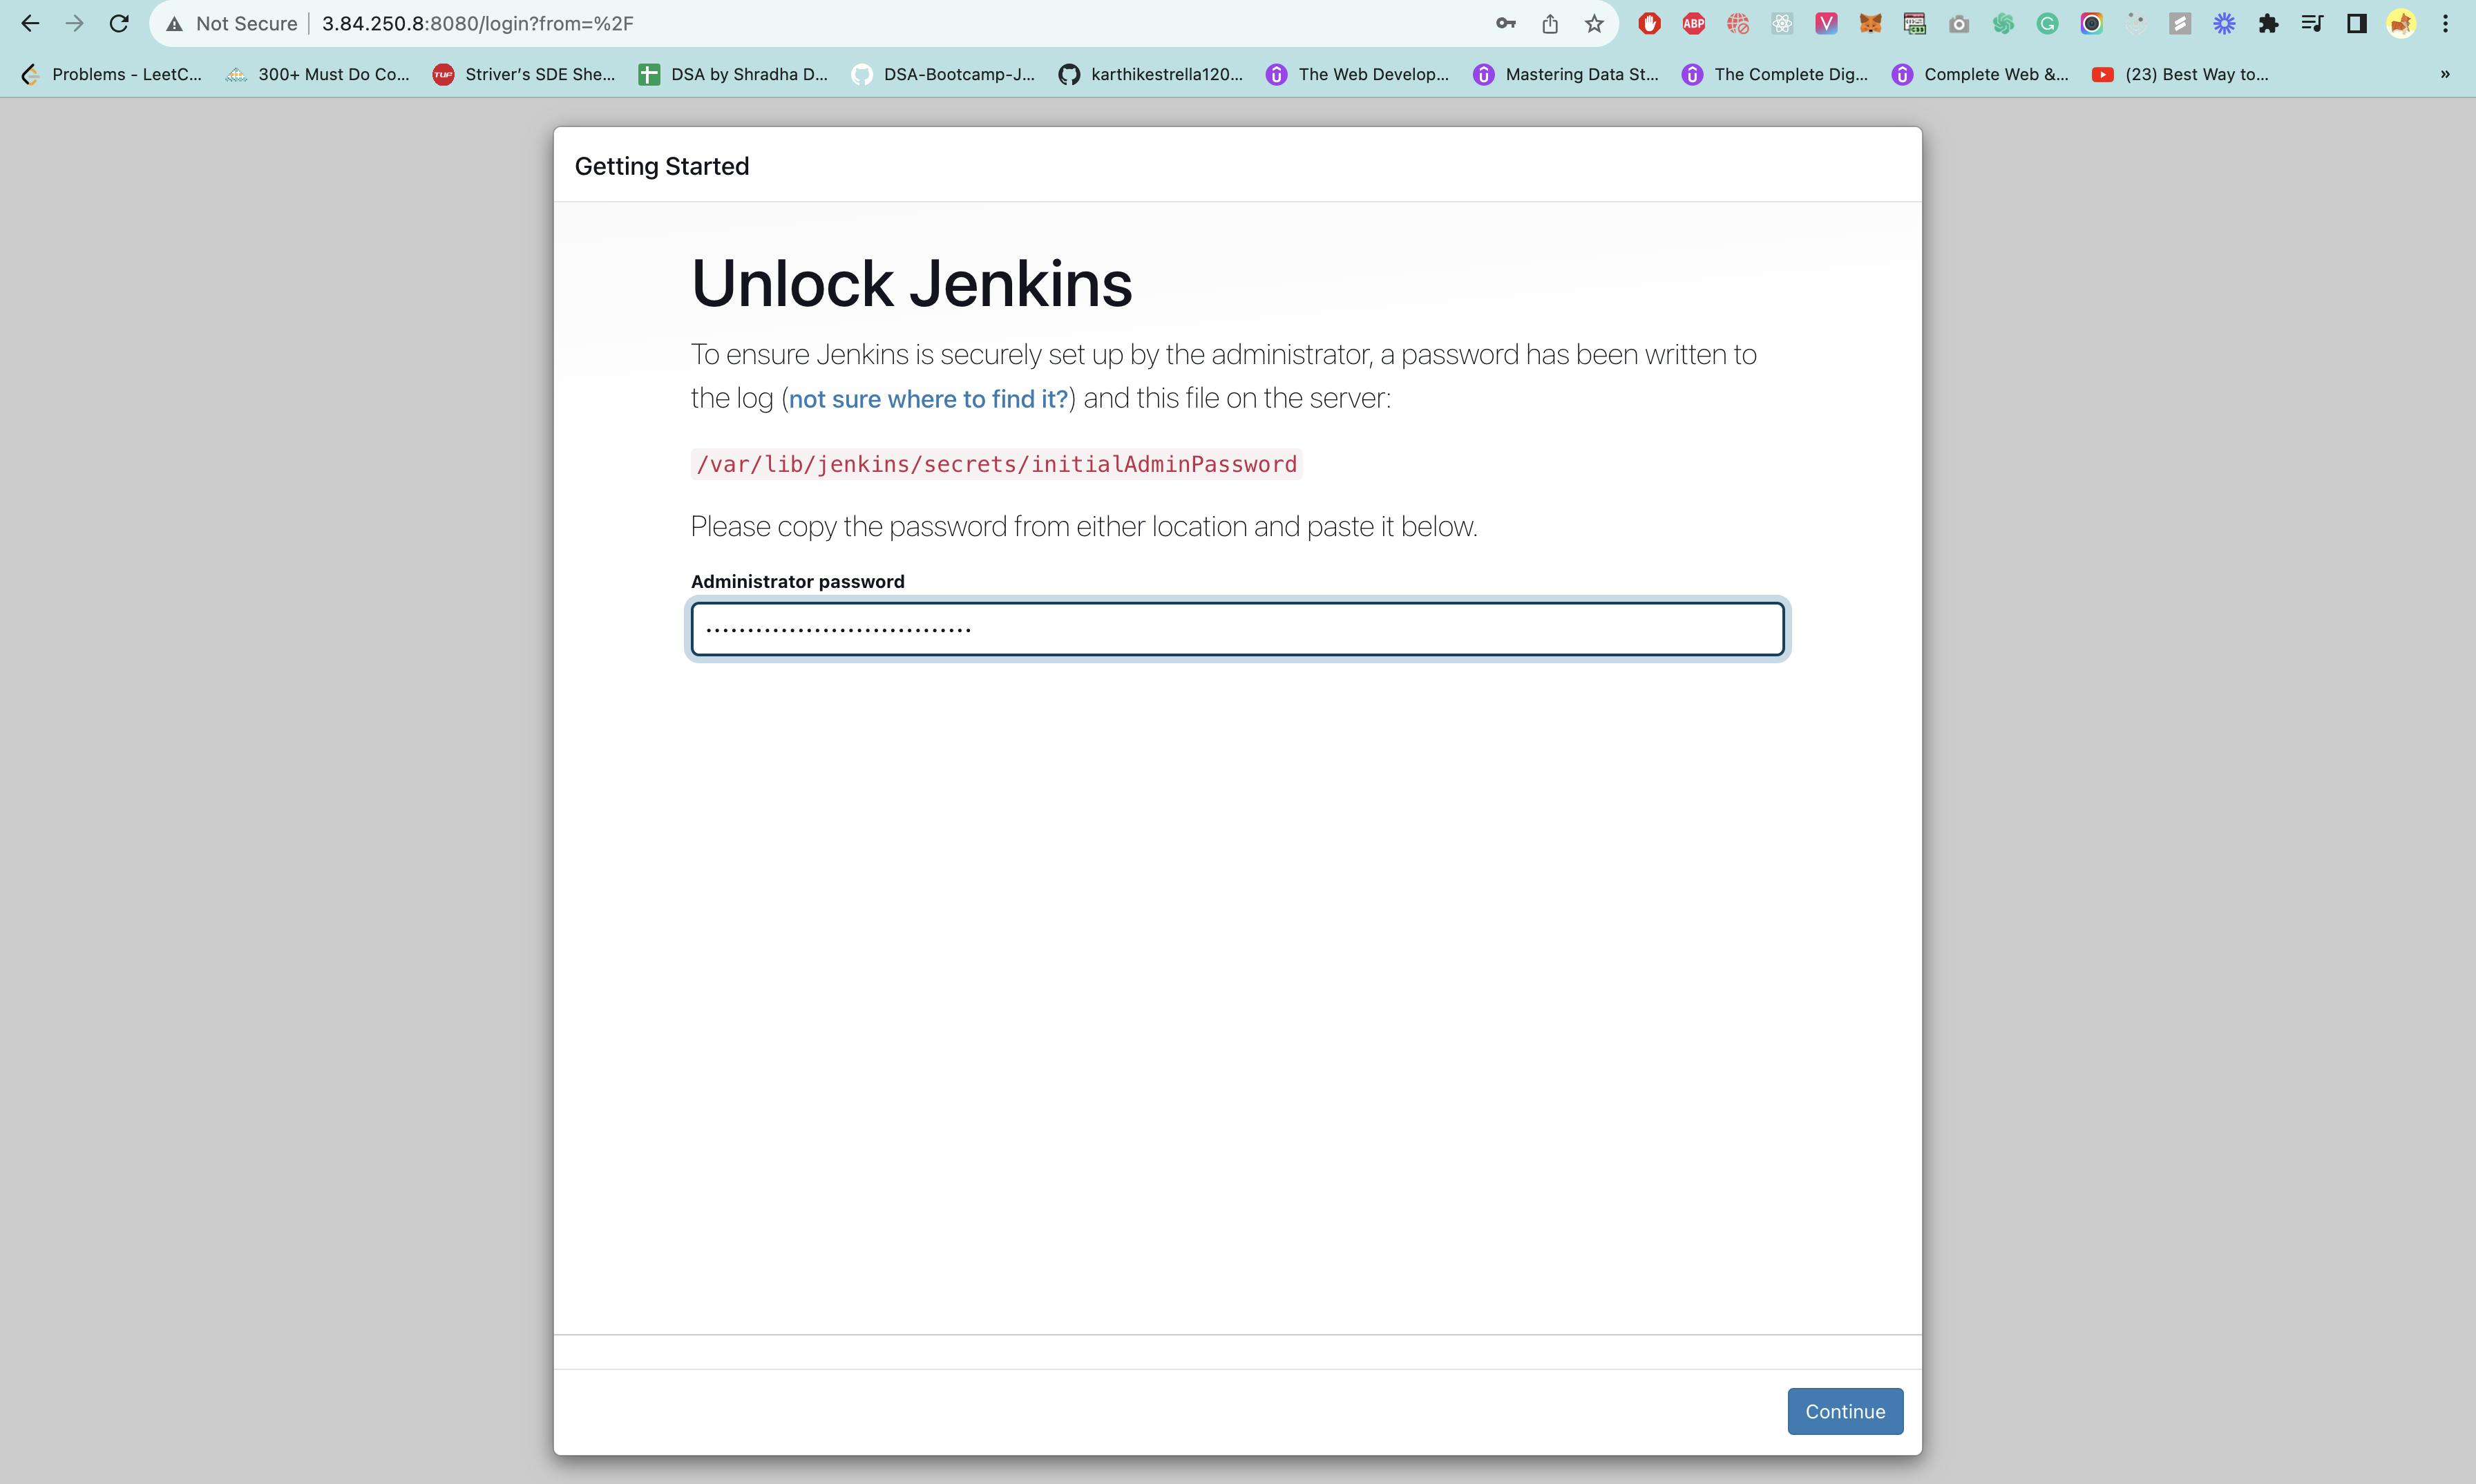
sudo cat /var/lib/jenkins/secrets/initialAdminPassword
- copy the password and paste it into the server.
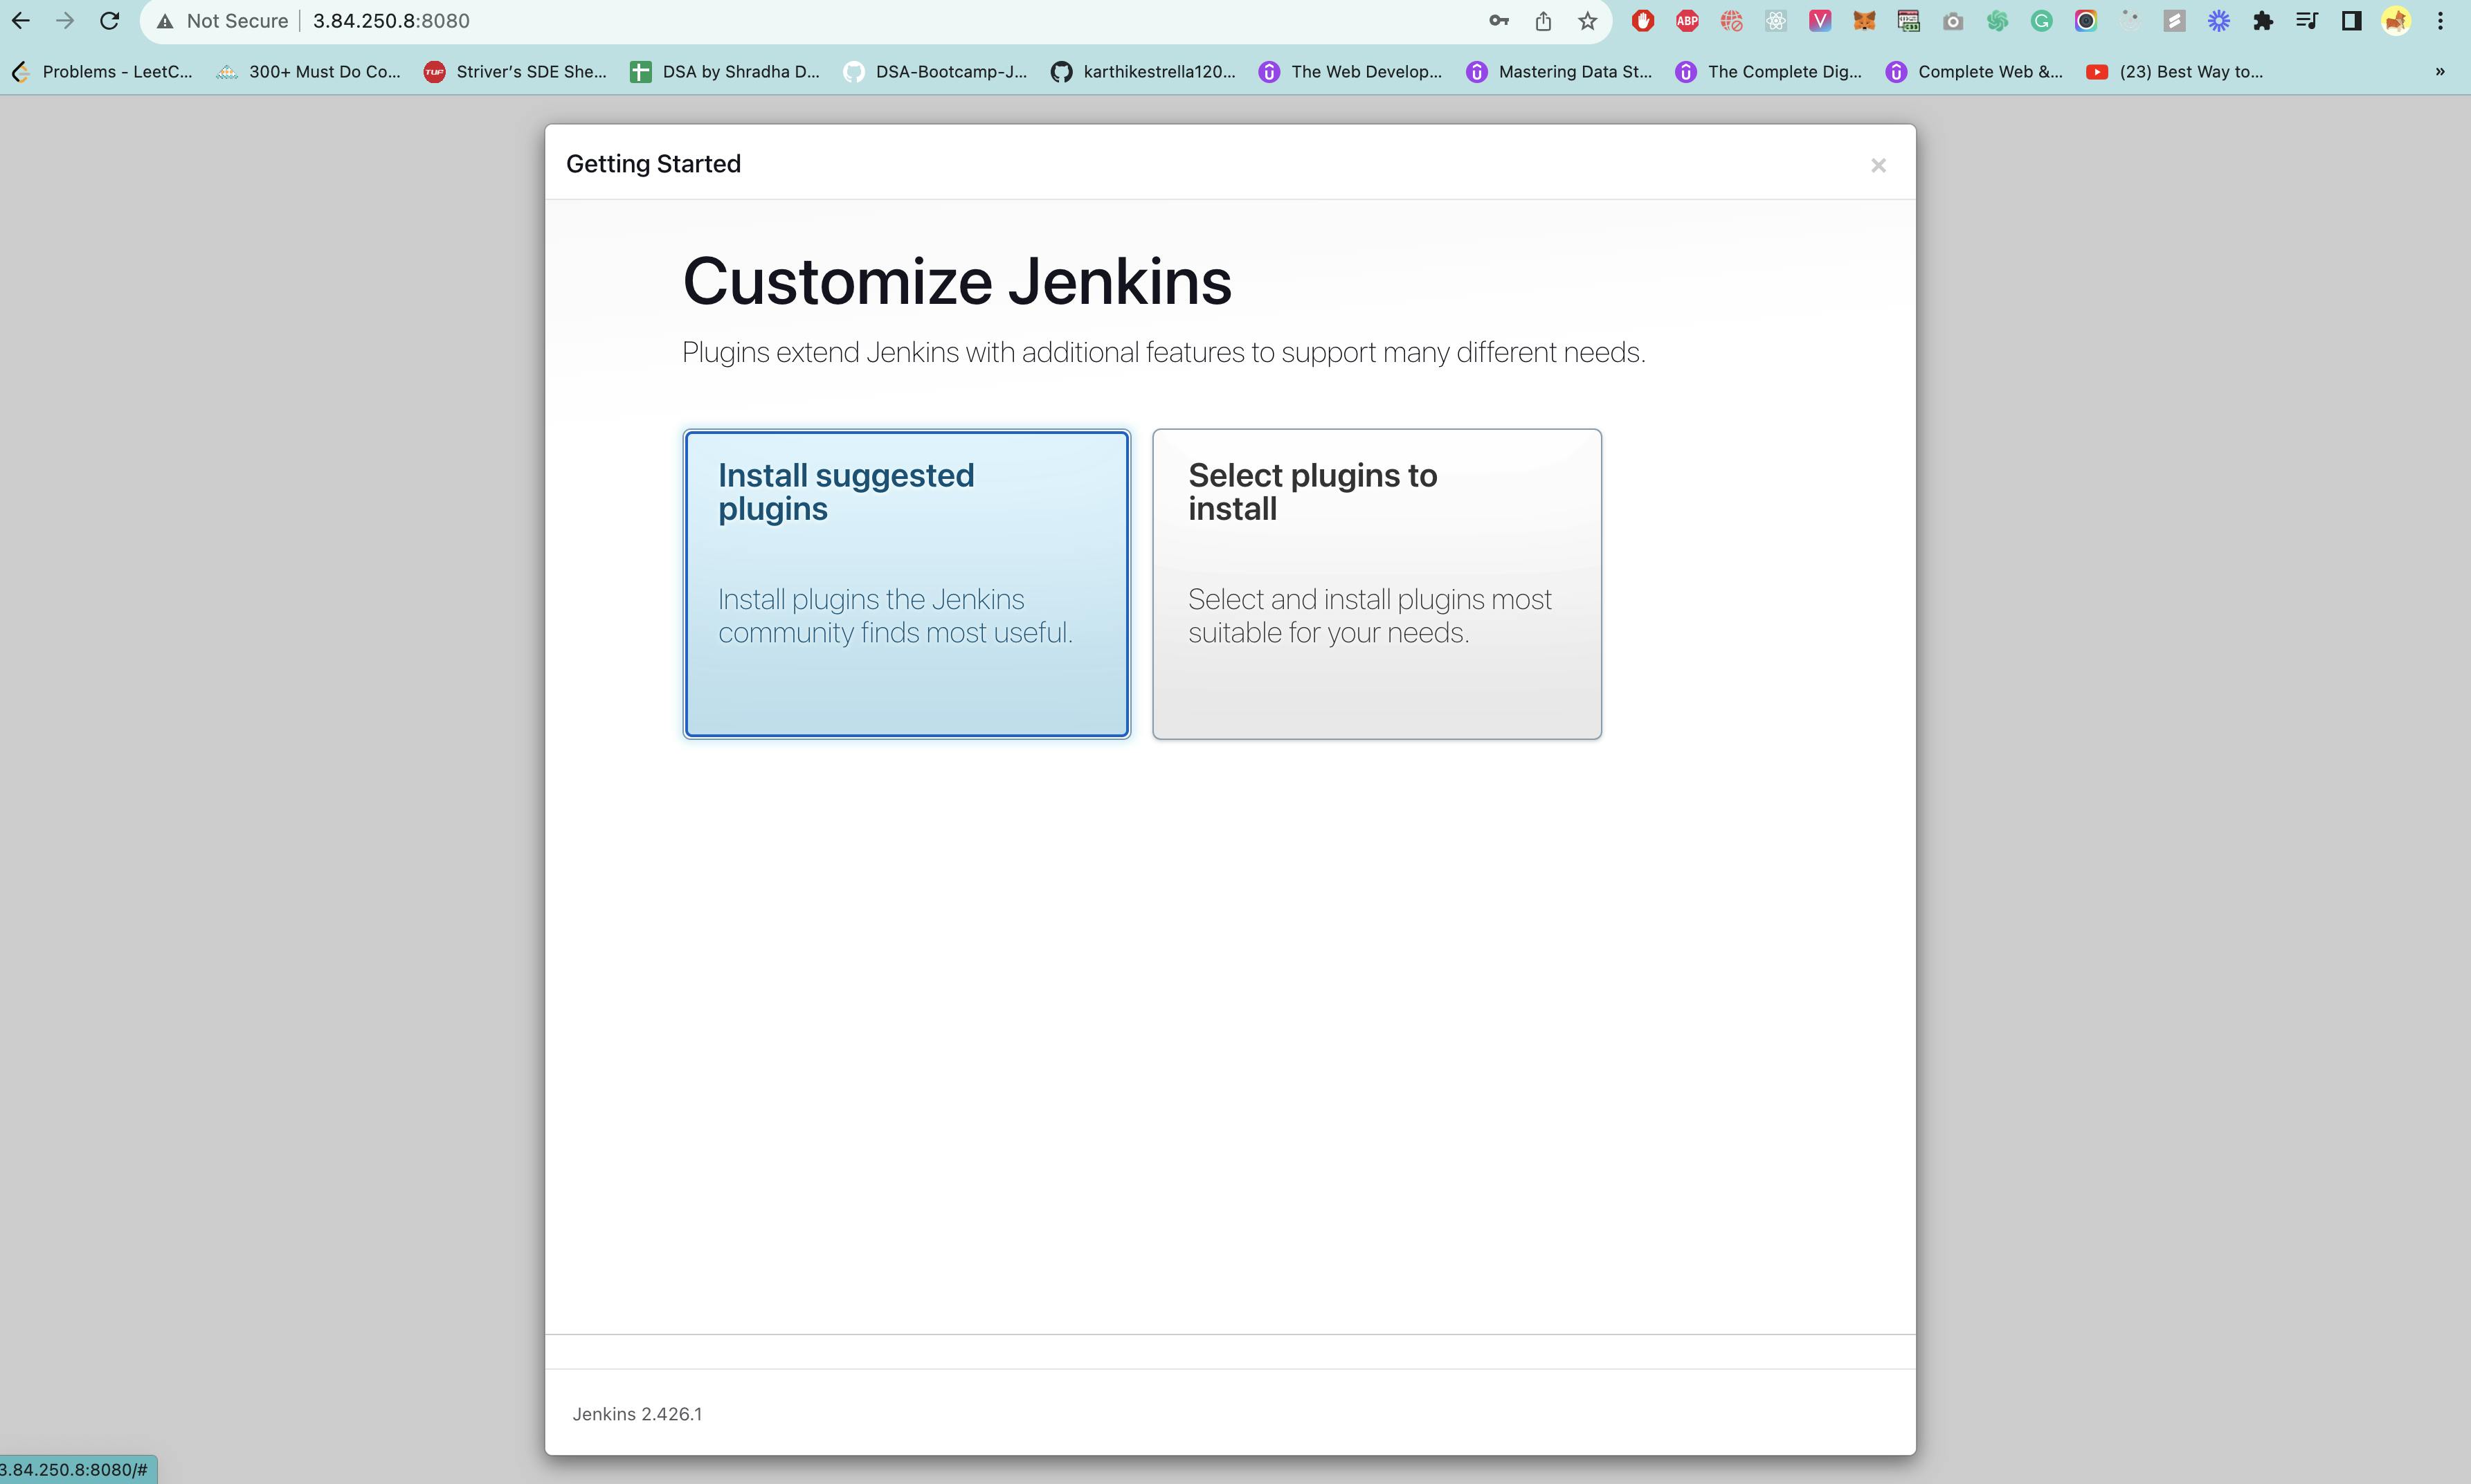
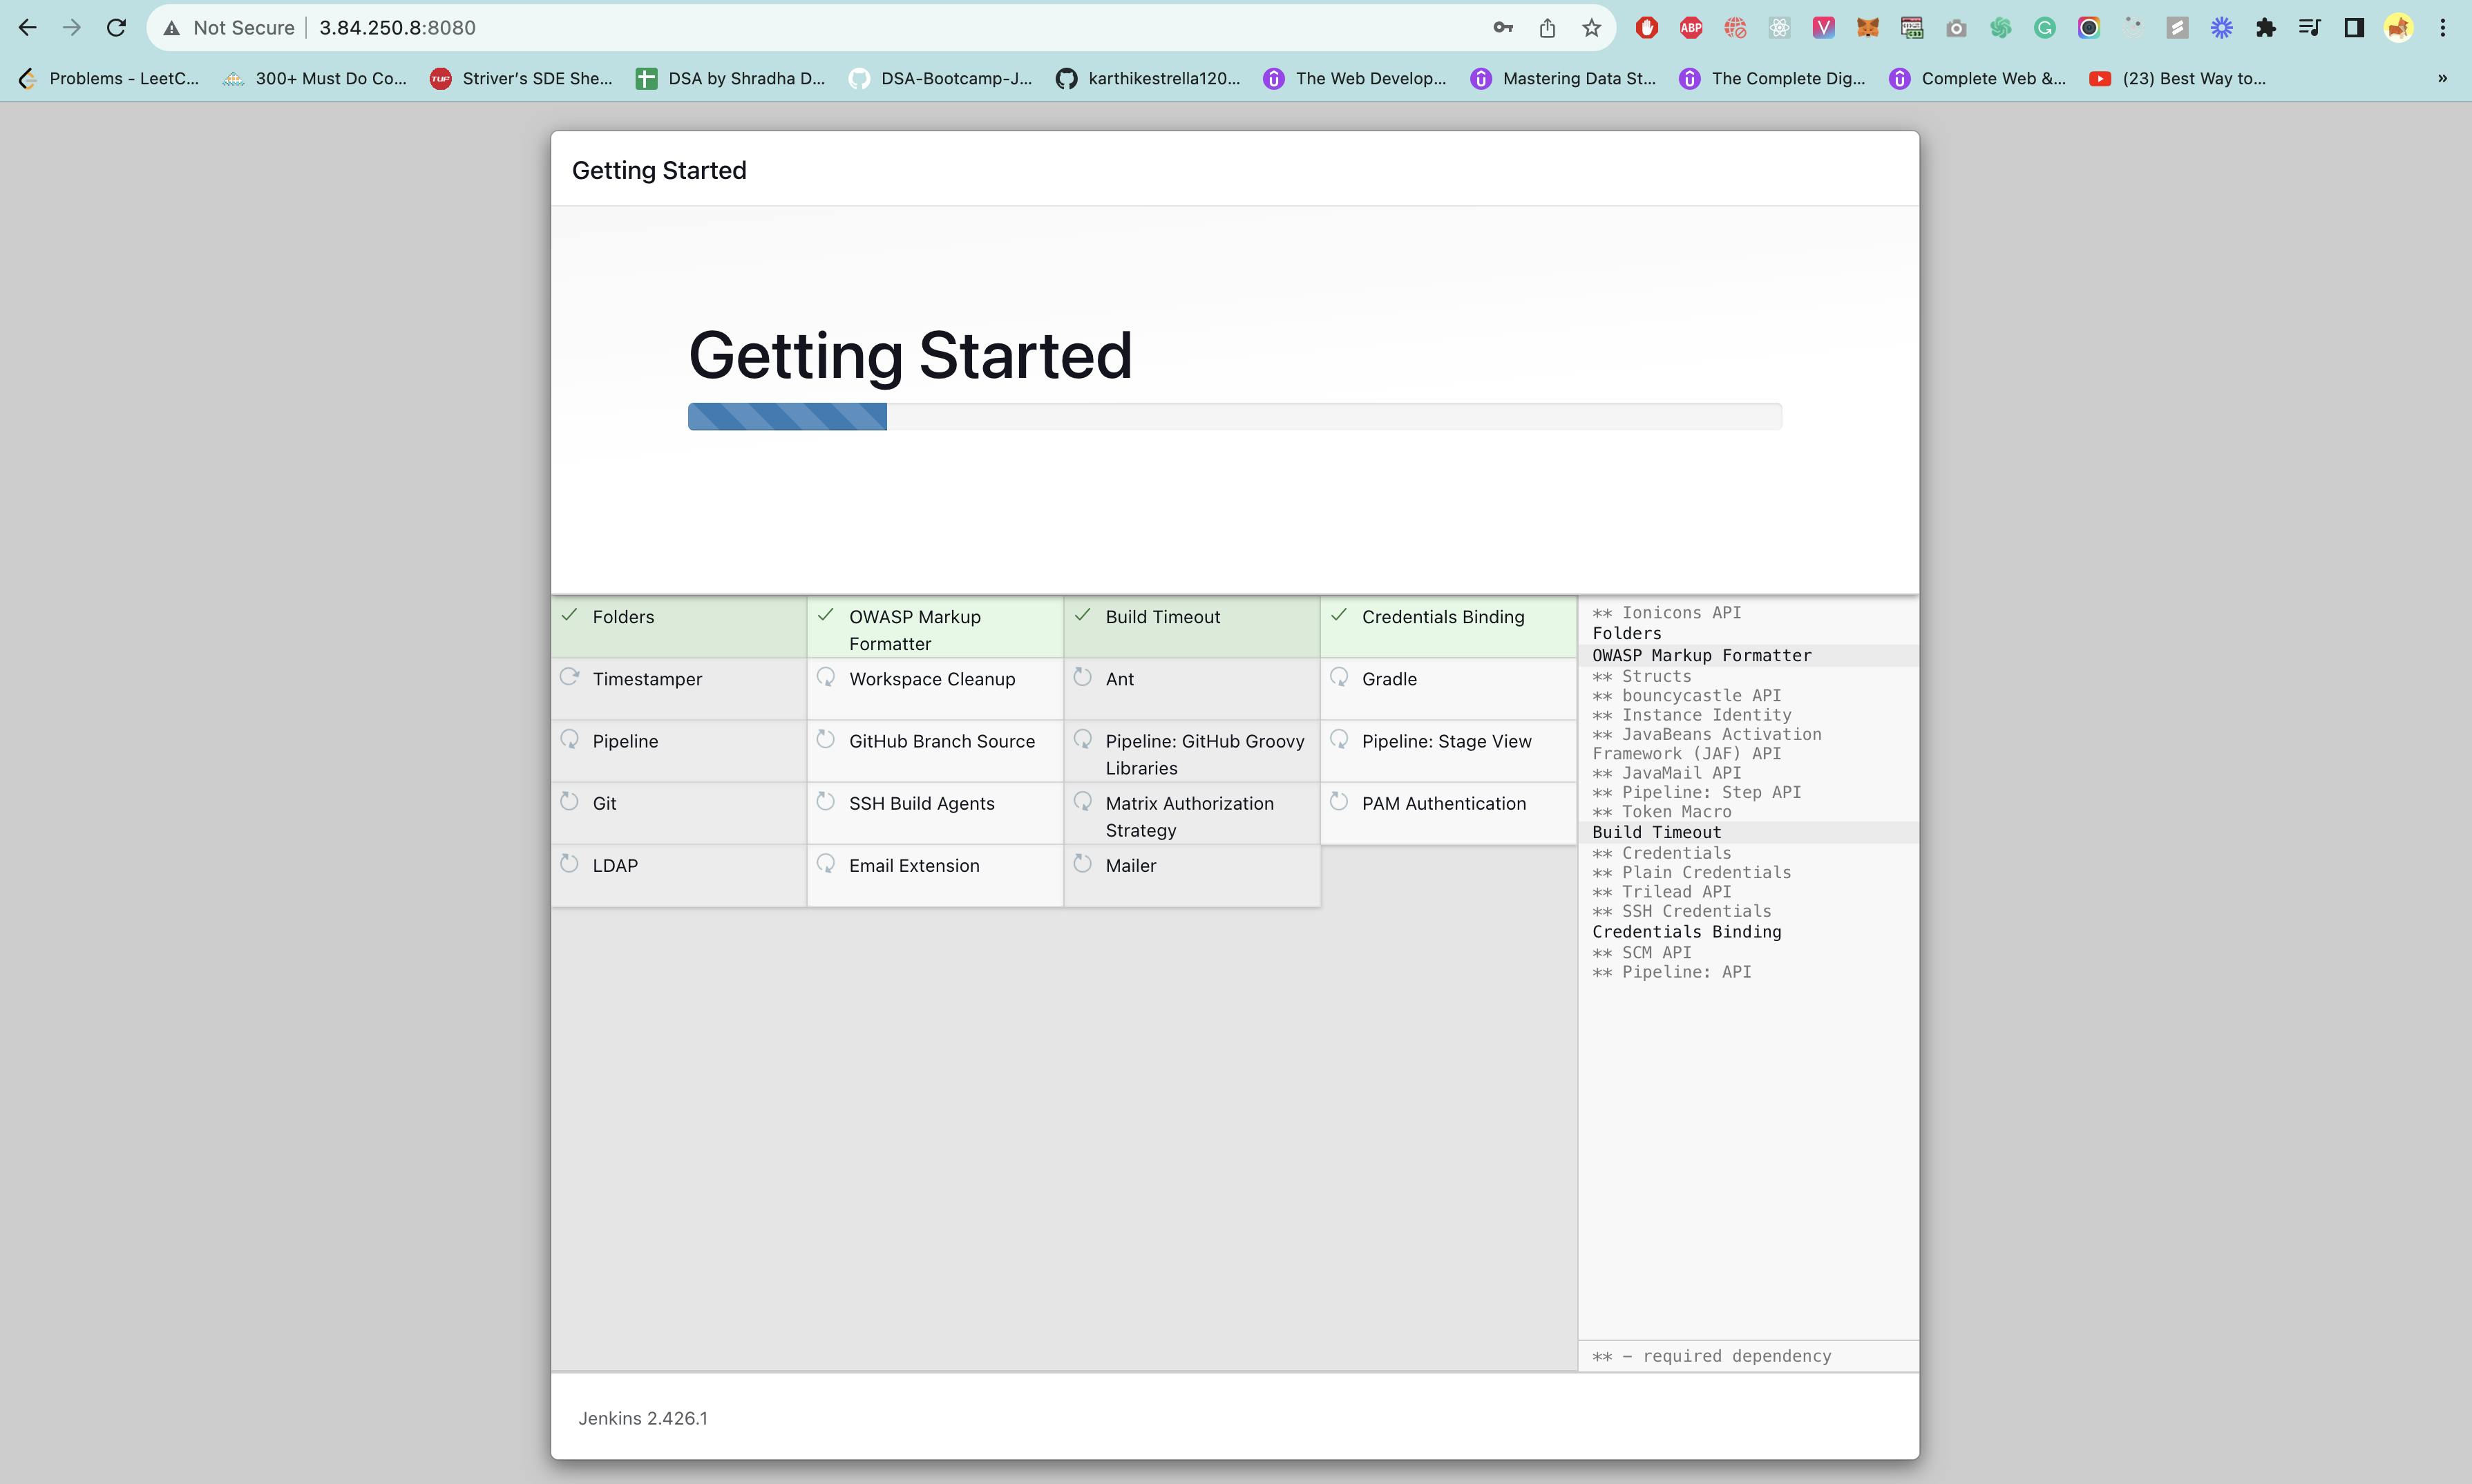
- Select Install suggested plugins.
- Fill in the credentials of the admin user

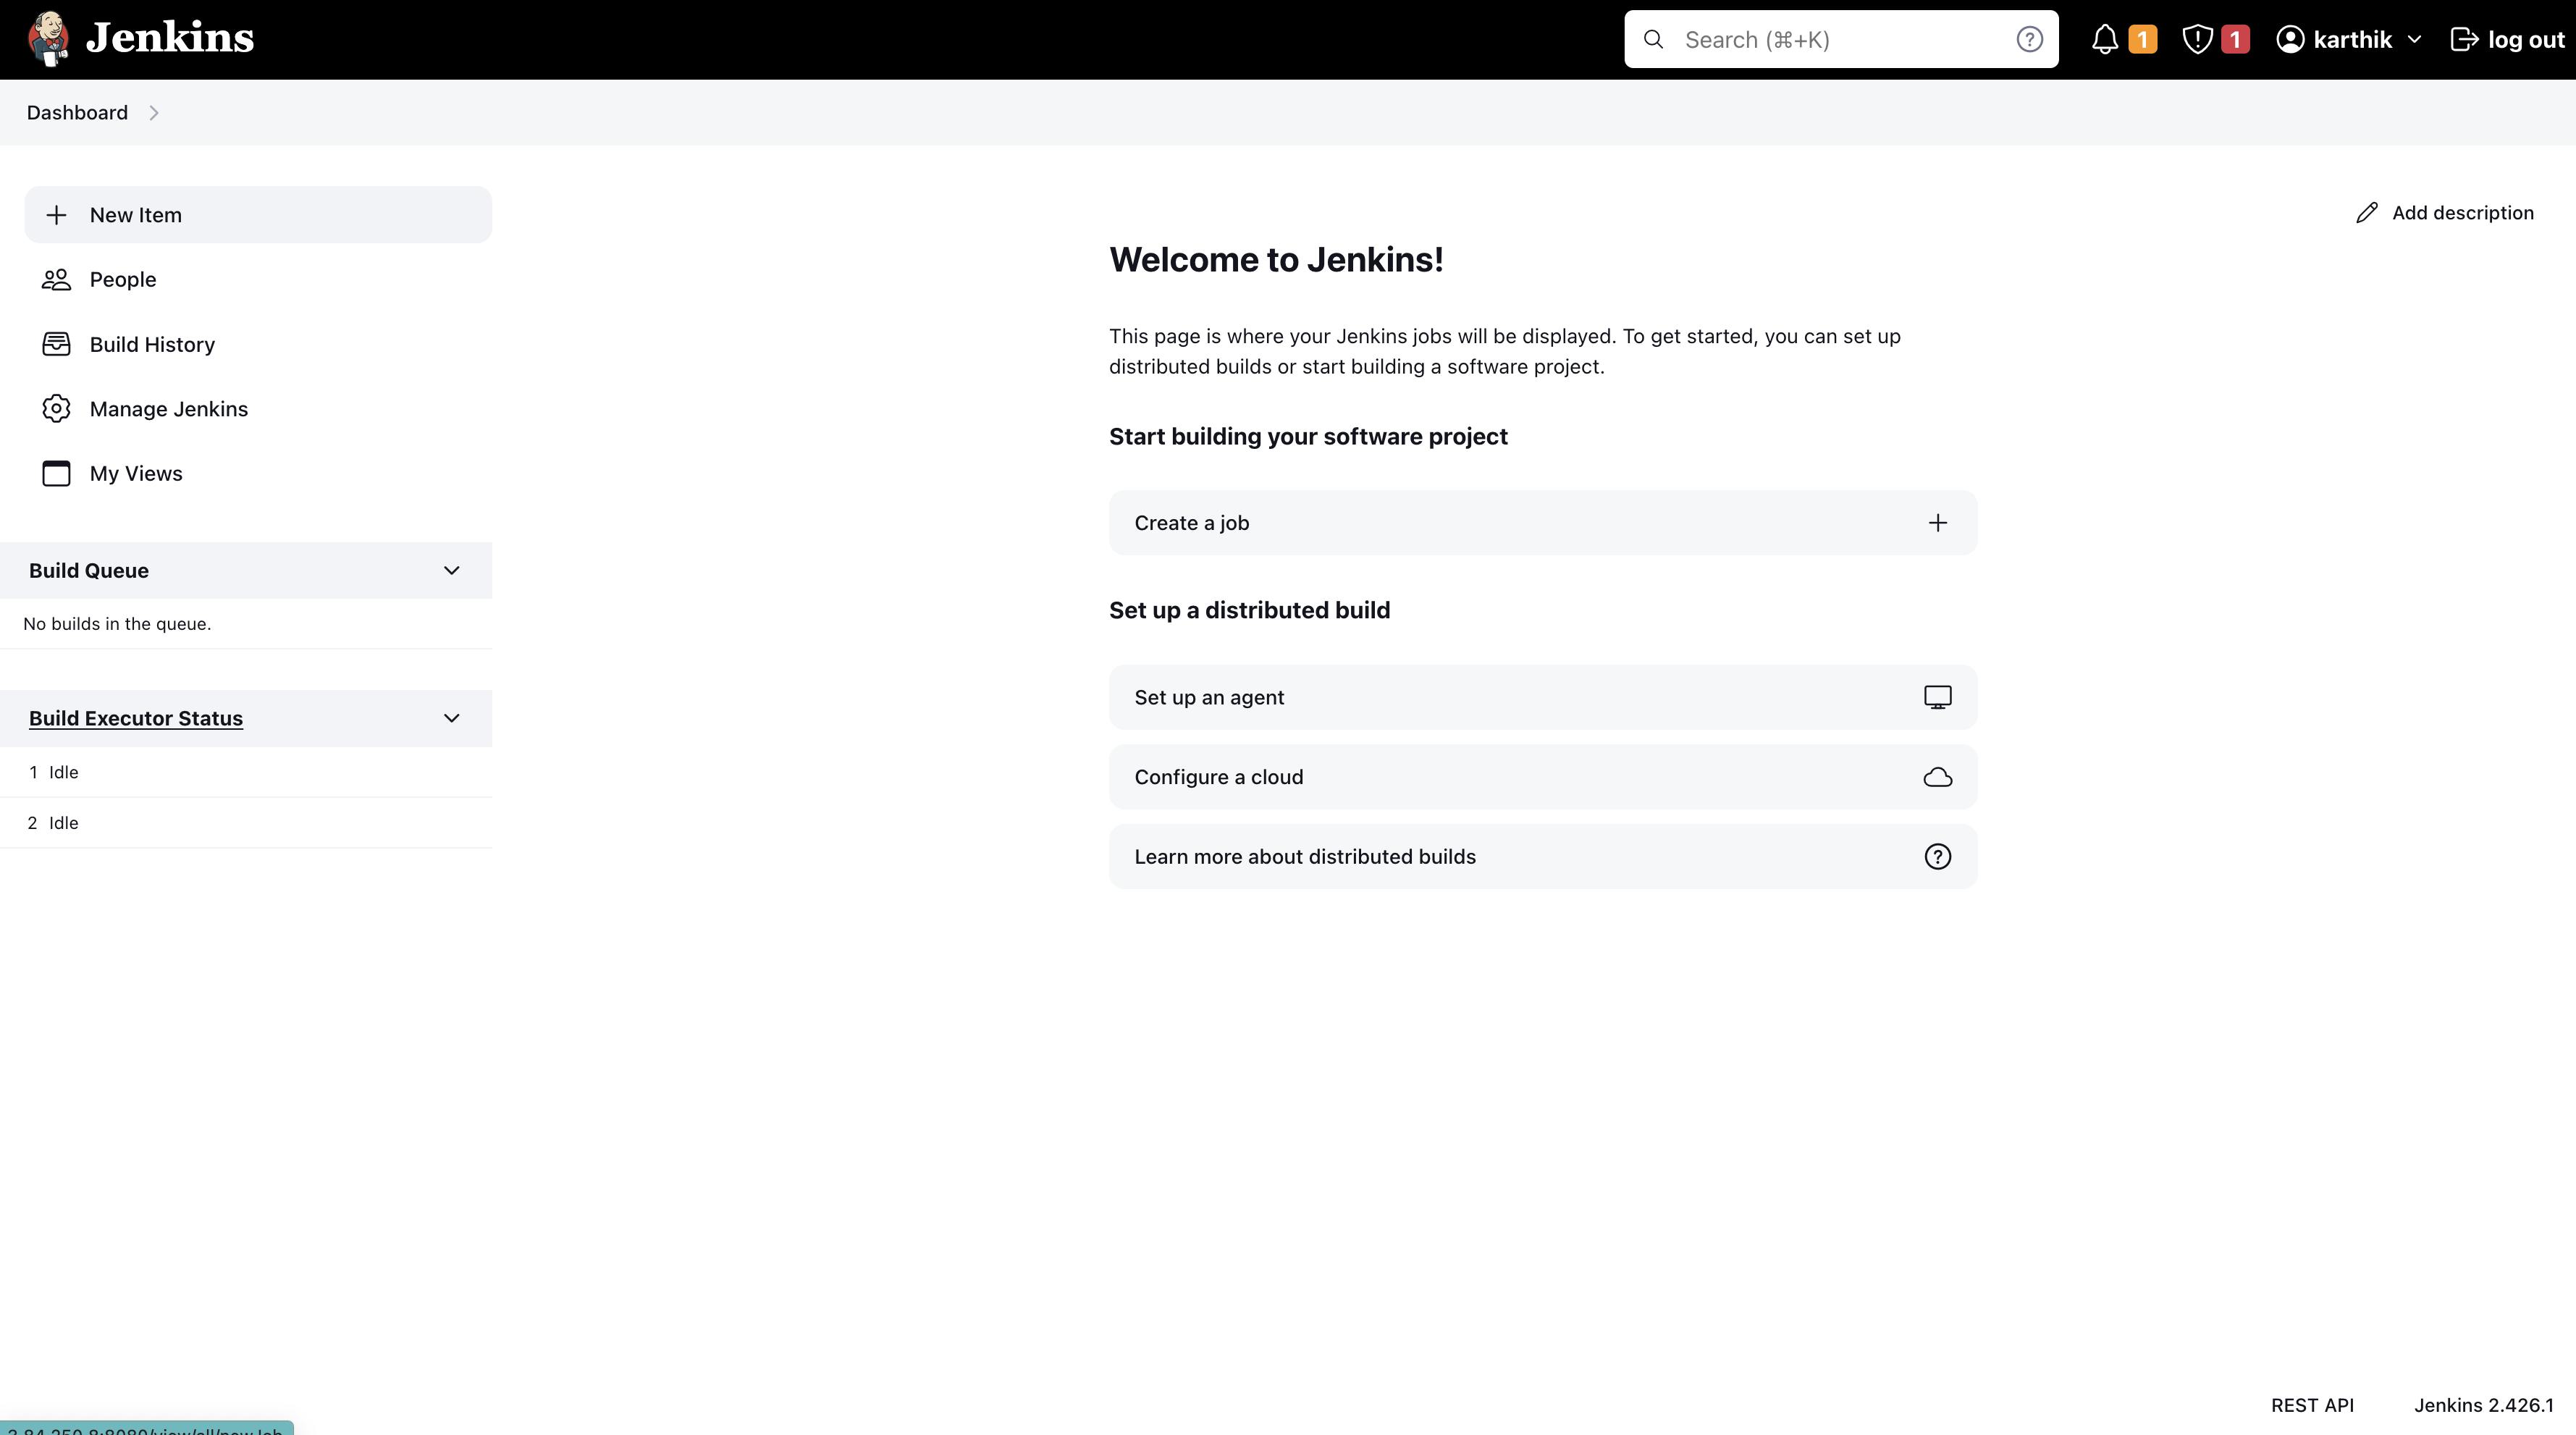
- Now click on New Item in the top left corner
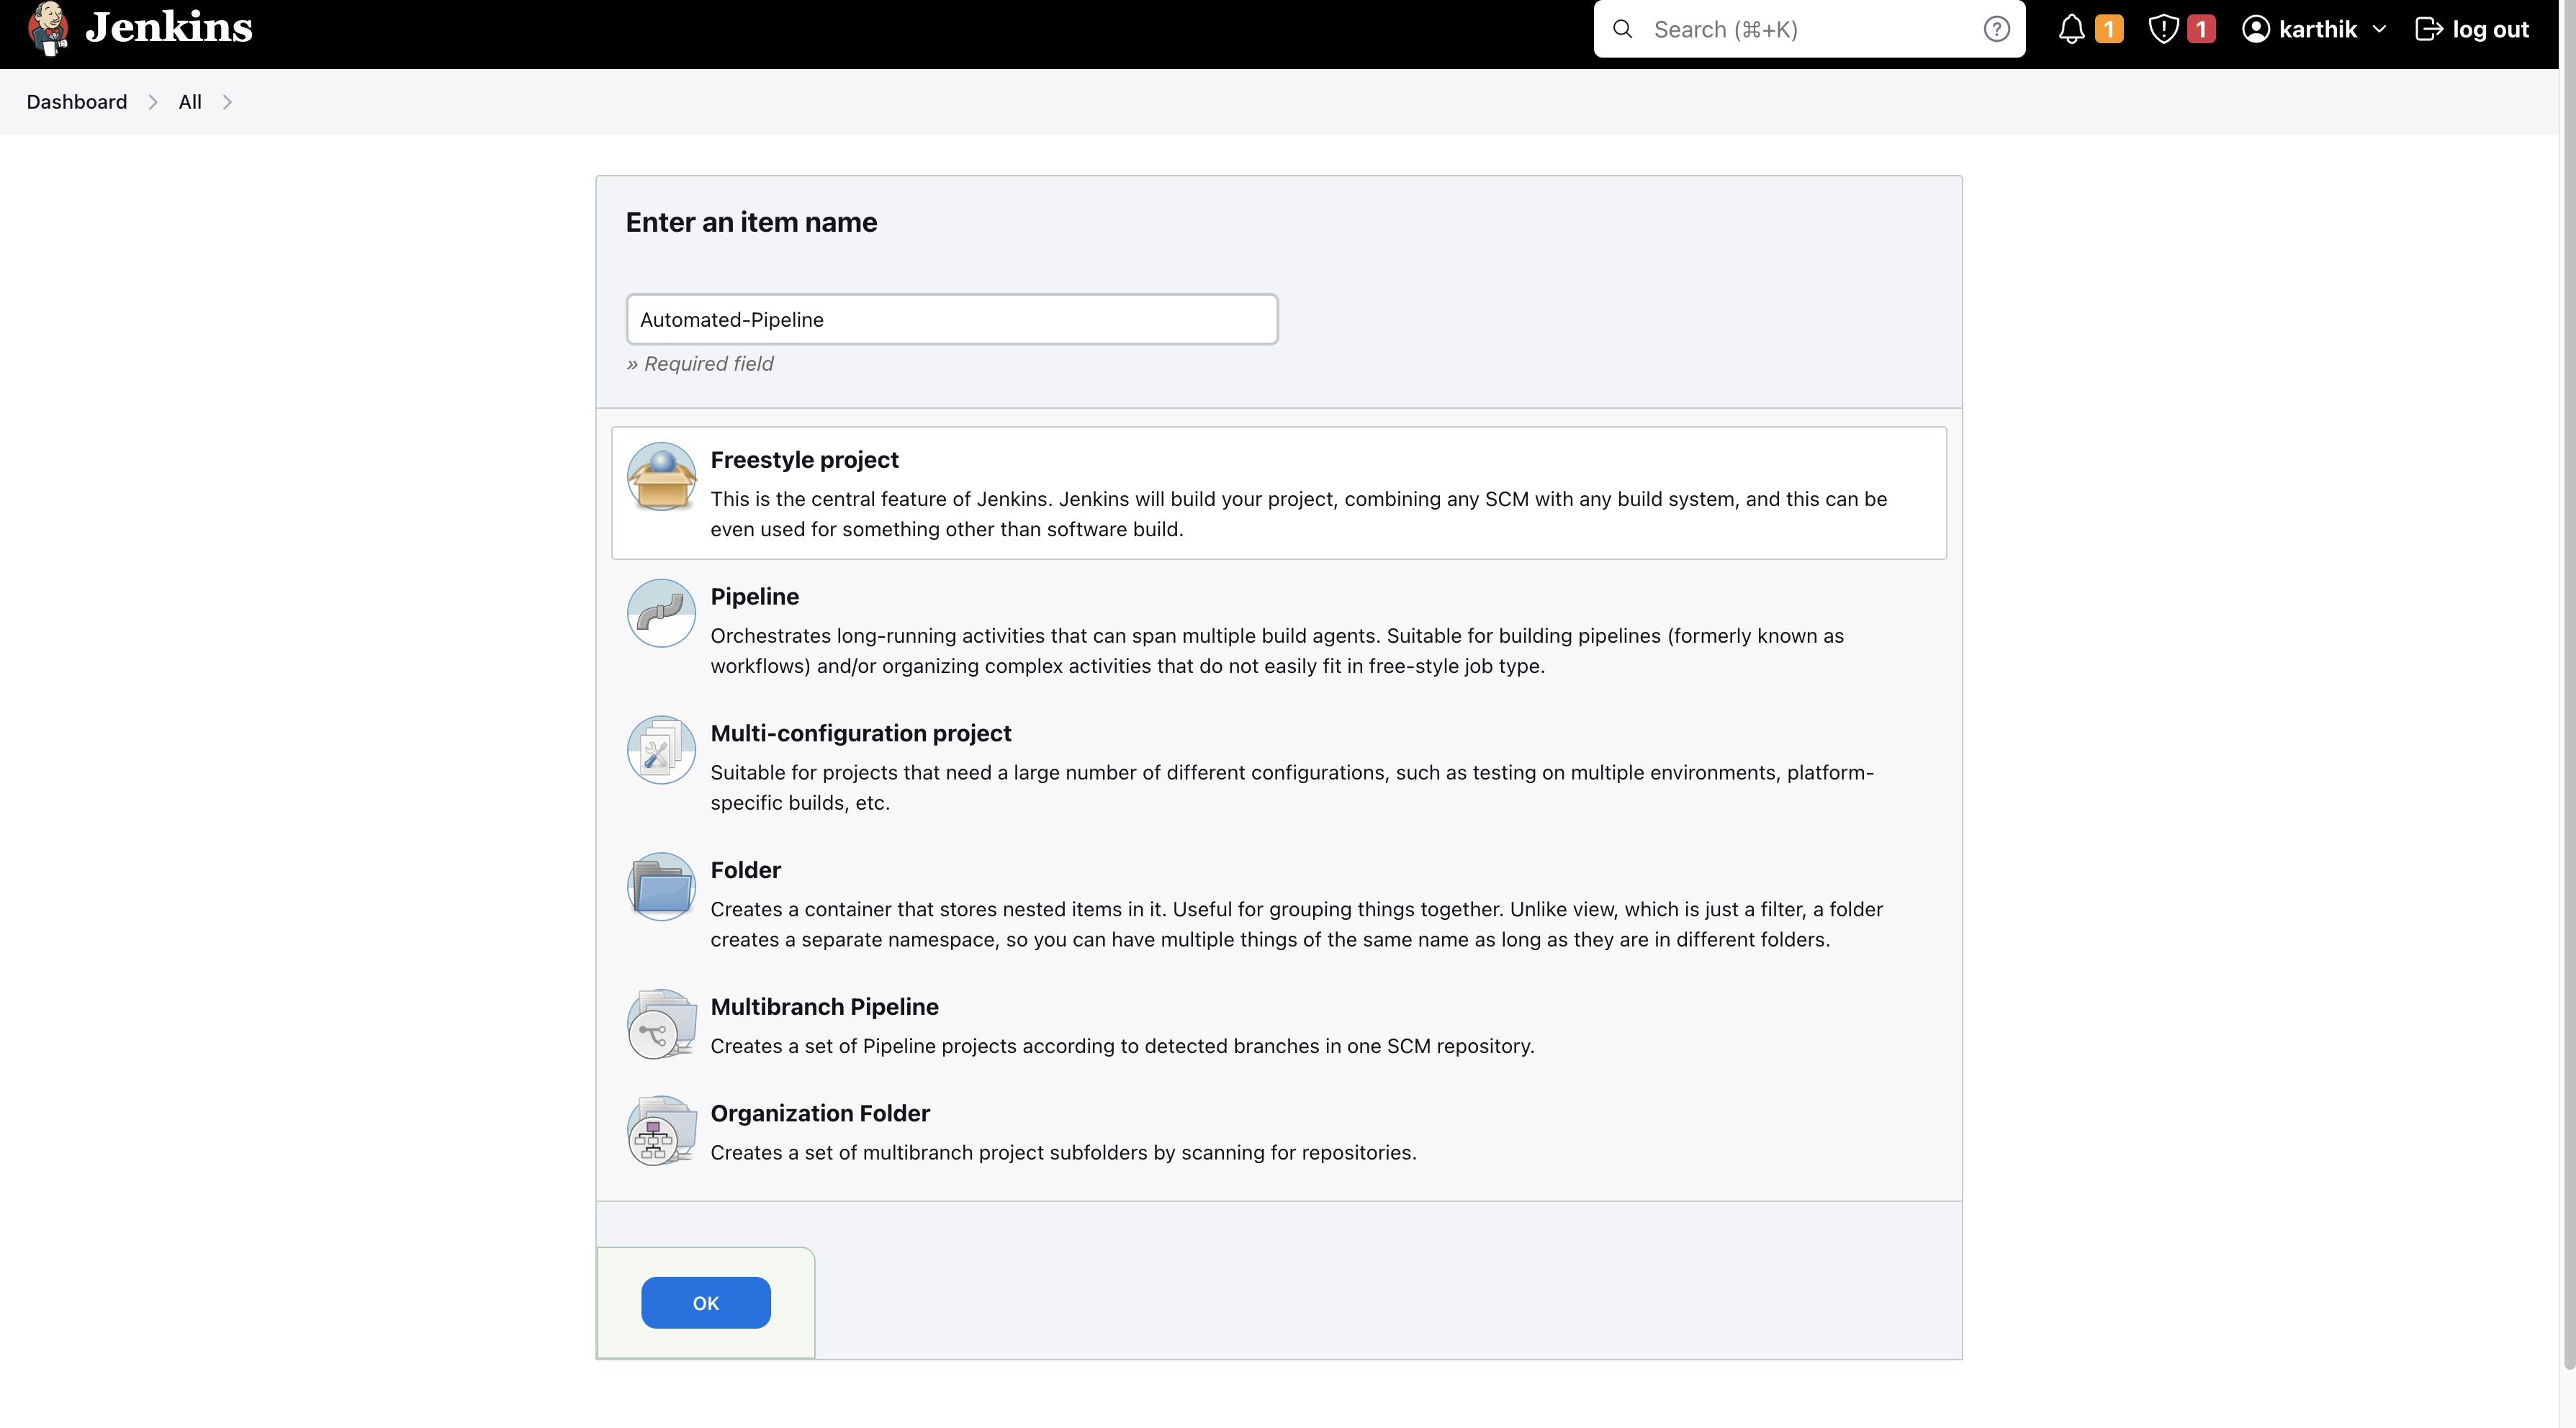
- Give any name to the project, select it to be a Freestyle project and click ok
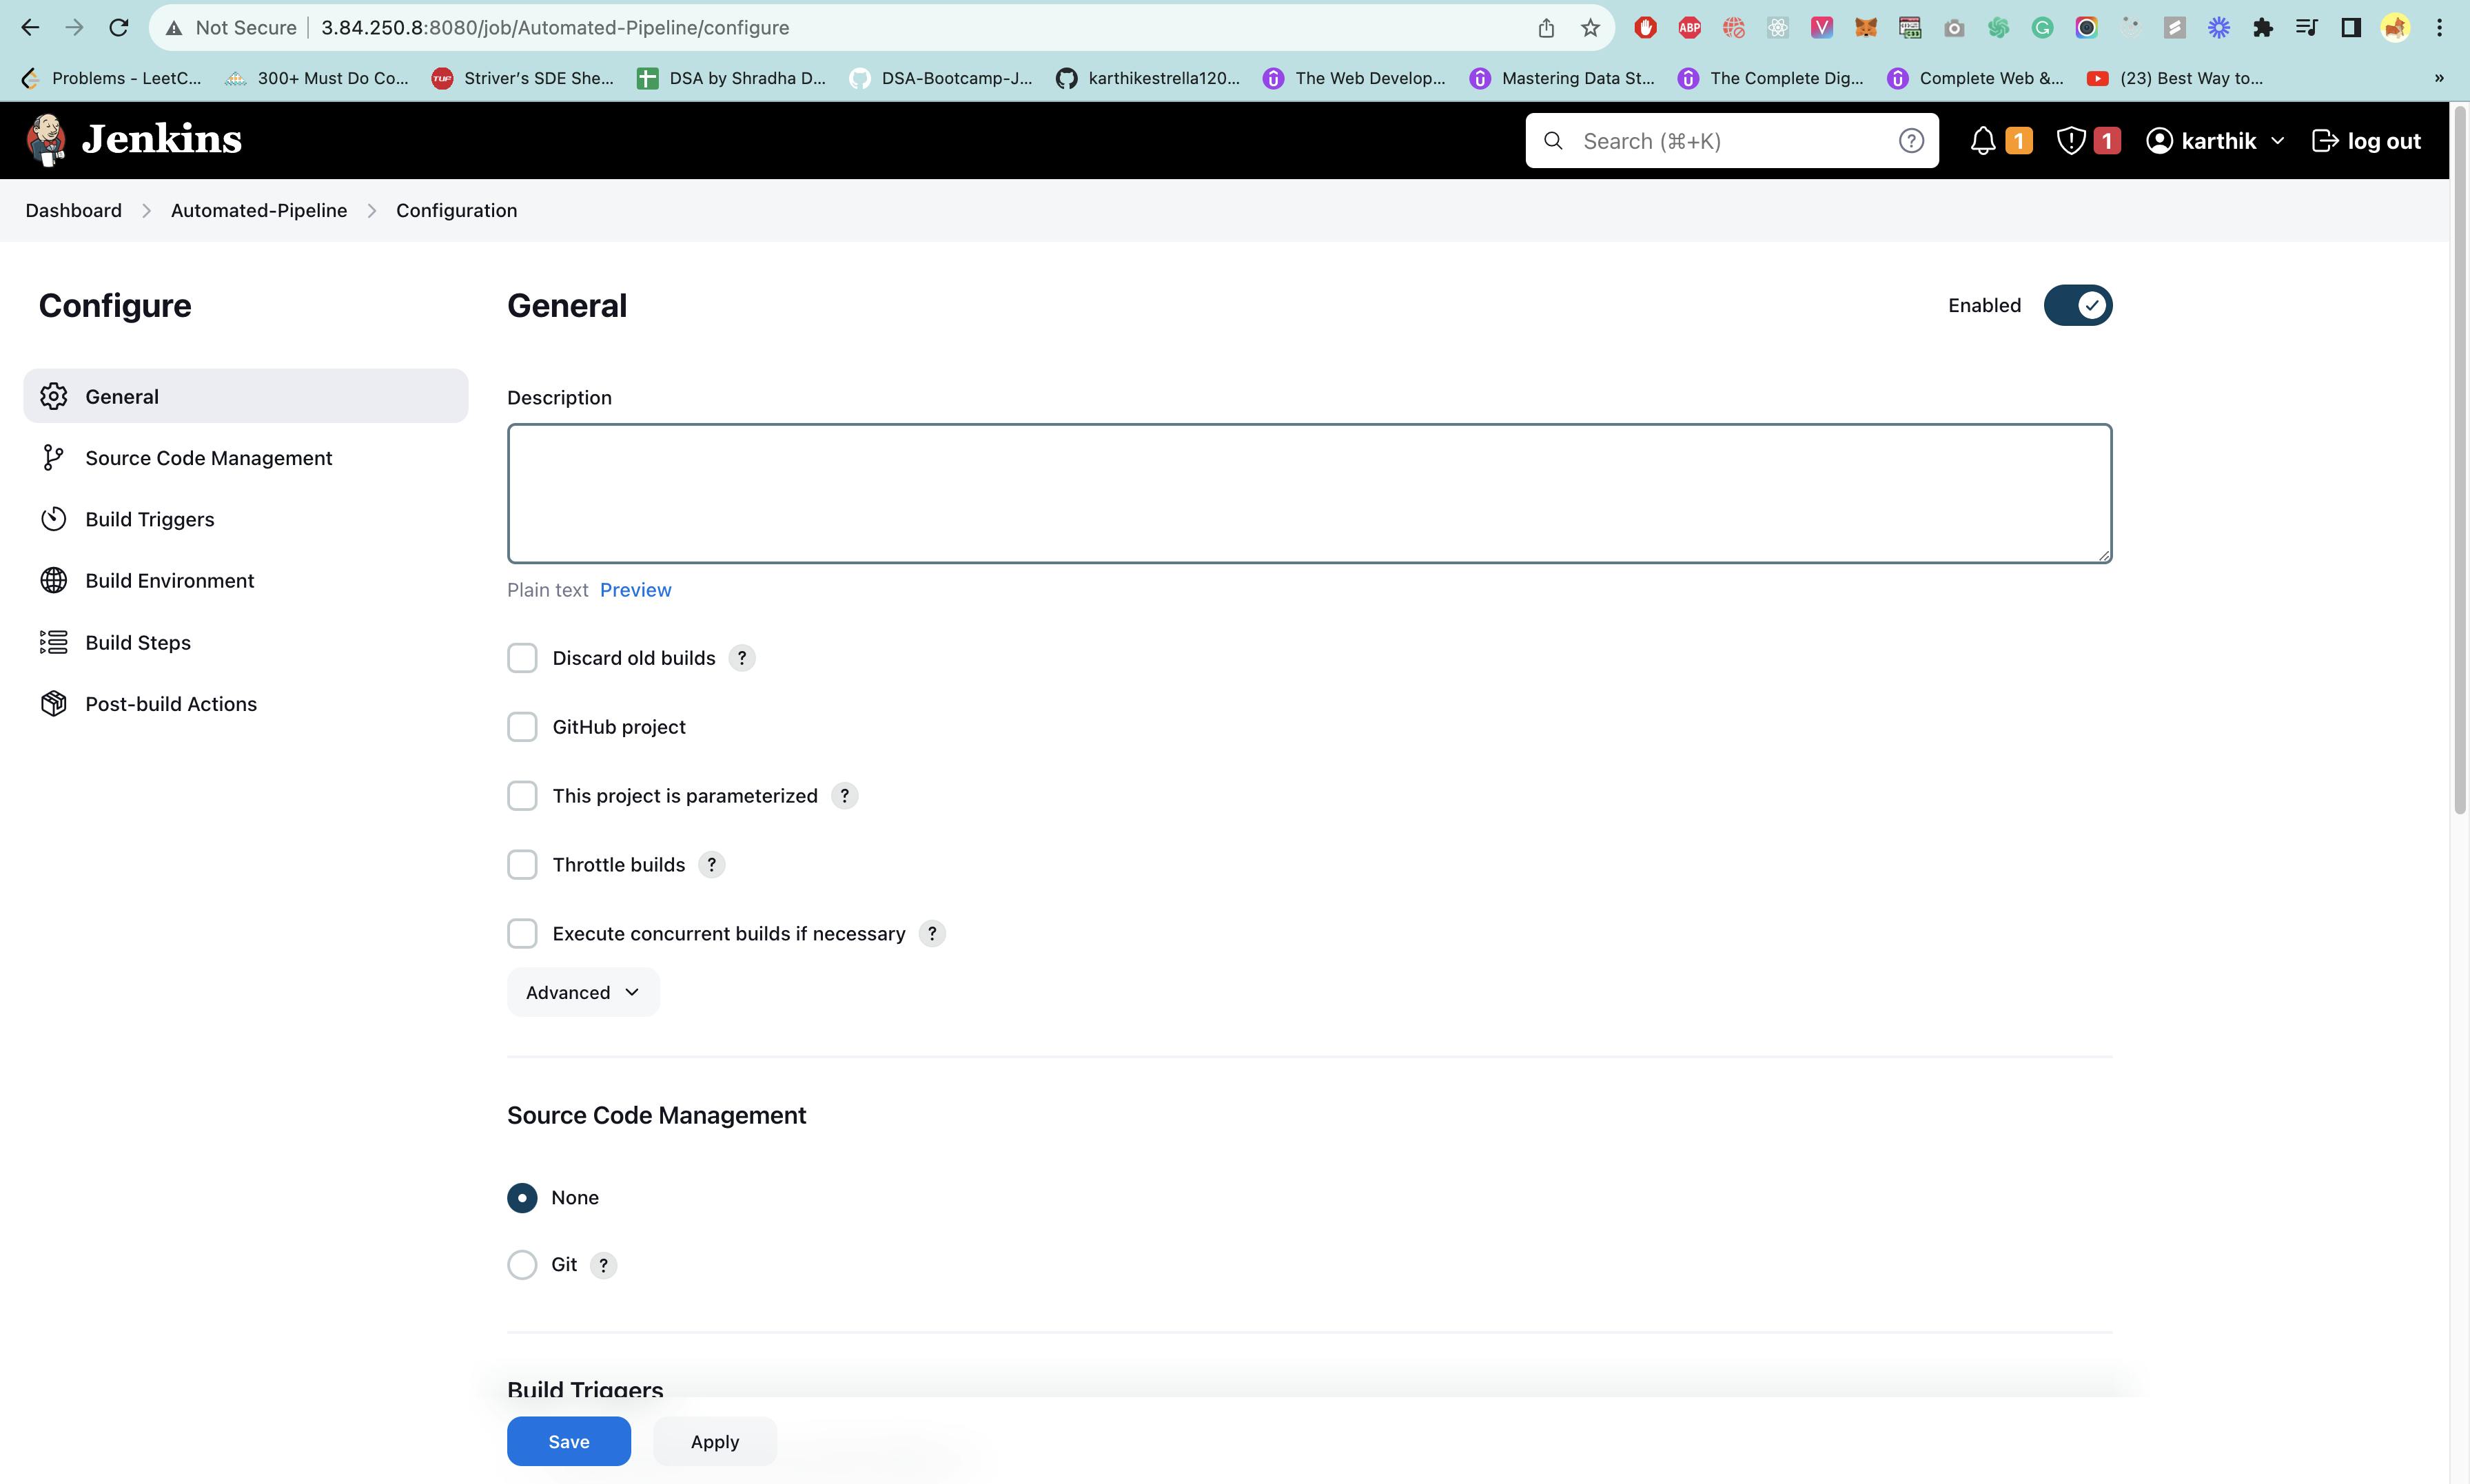
- Scroll down to source-code-management and select git, now add the URL of the repository.

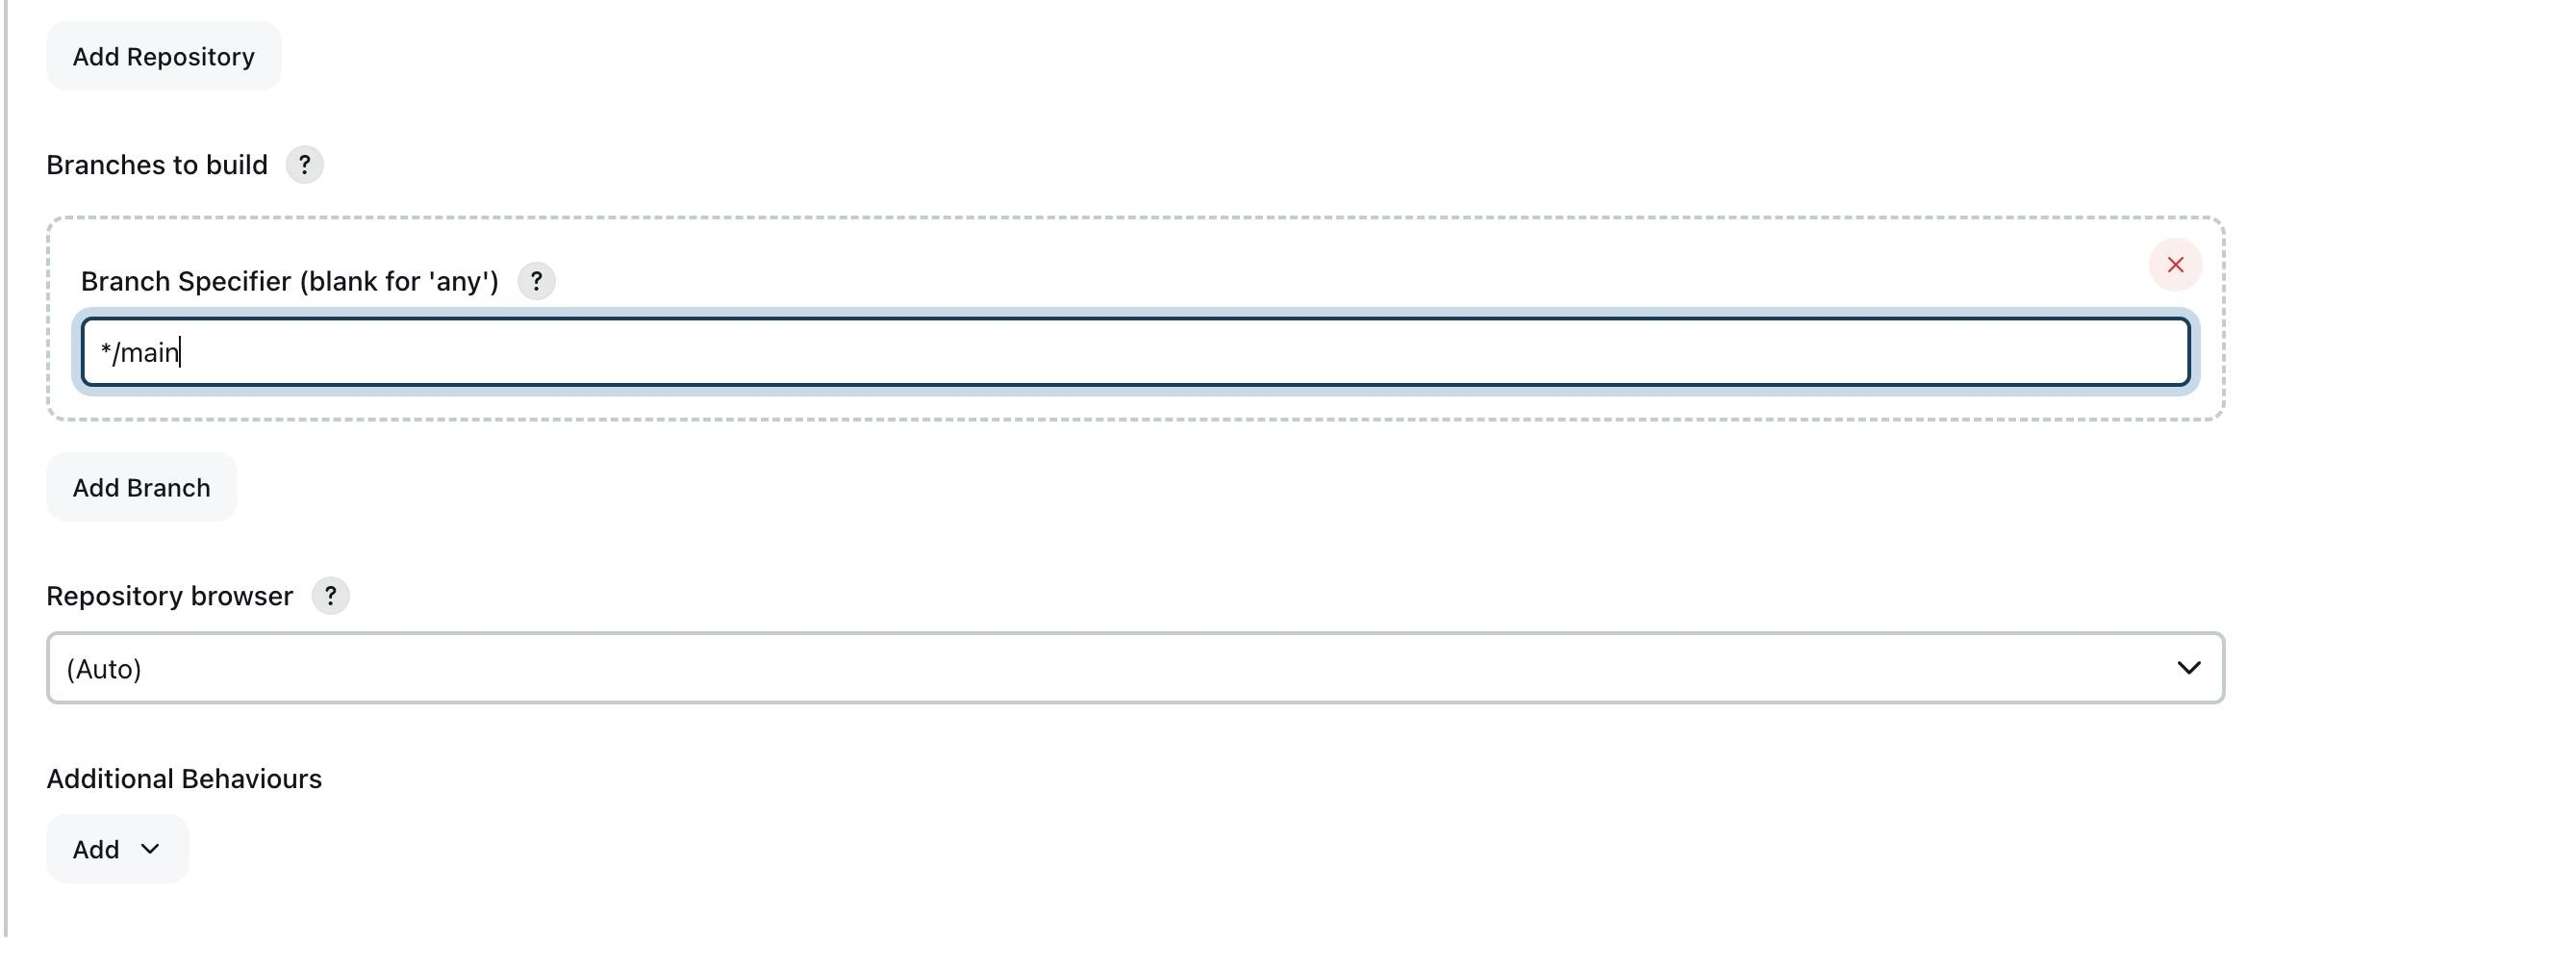
- update the branch to build to "main" because our repository code is on the main branch

- Scroll down to Build Triggers and select the following

This is done to automatically trigger the pipeline every time there is a change in the repository. Now we have configured Jenkins to pull our code from GitHub.
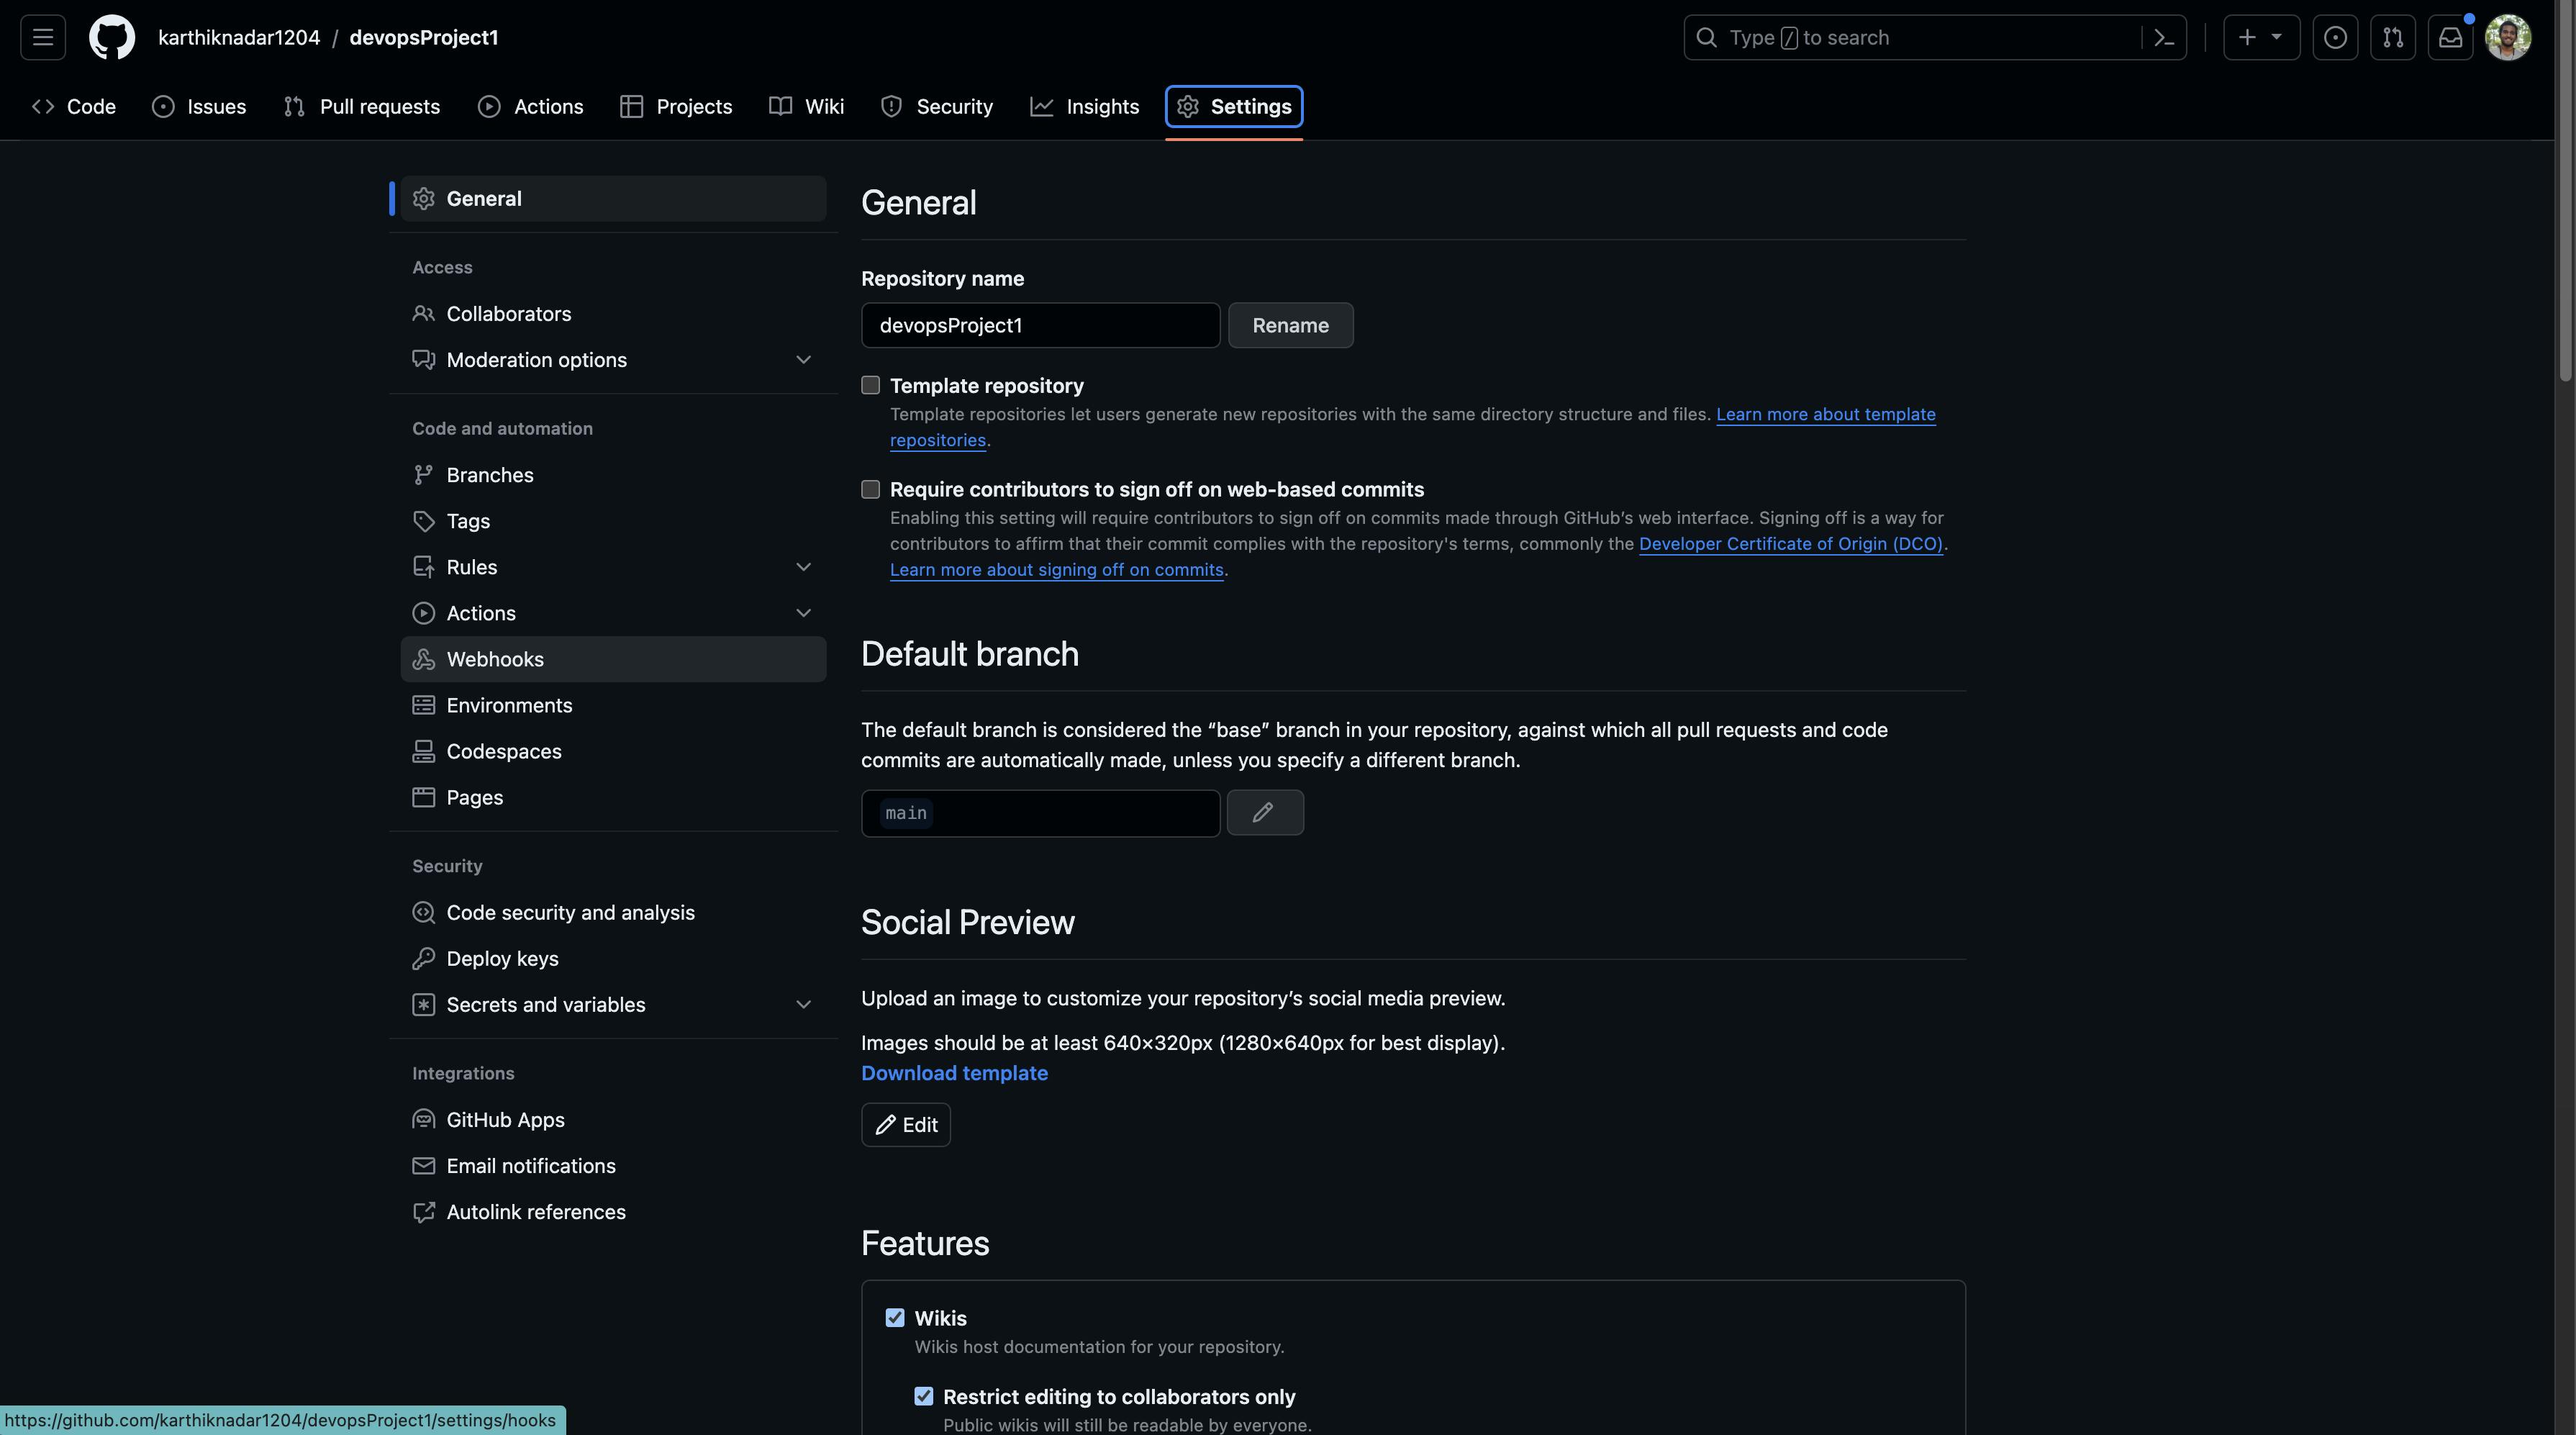
- Now configure the repository to push the code to Jenkins and activate the pipeline every time someone pushes code to the repository or submits a pull request.
- Go to Settings.
- Select Webhooks on the left sidebar.
- Now in the payload URL add the following
<public_ipv4_address>:8080/github-webhook/
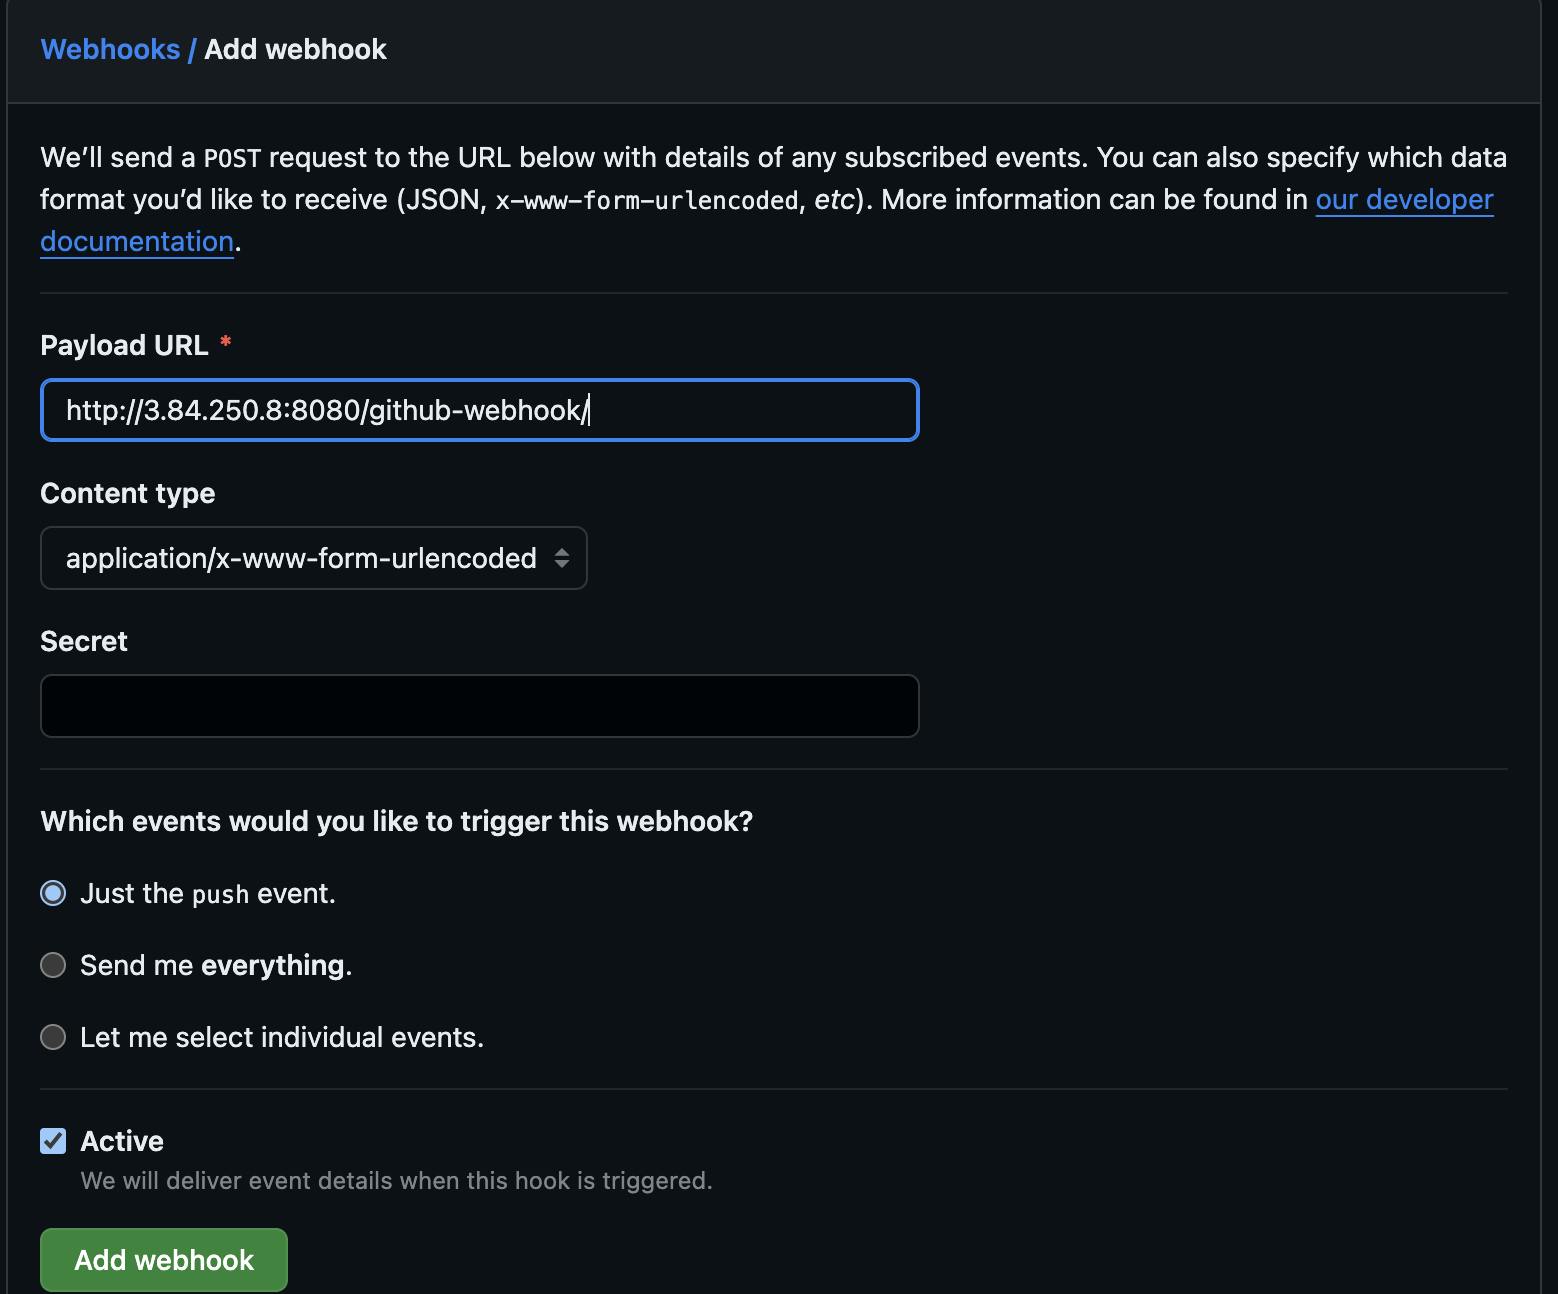
- Select "Let me select individual events"
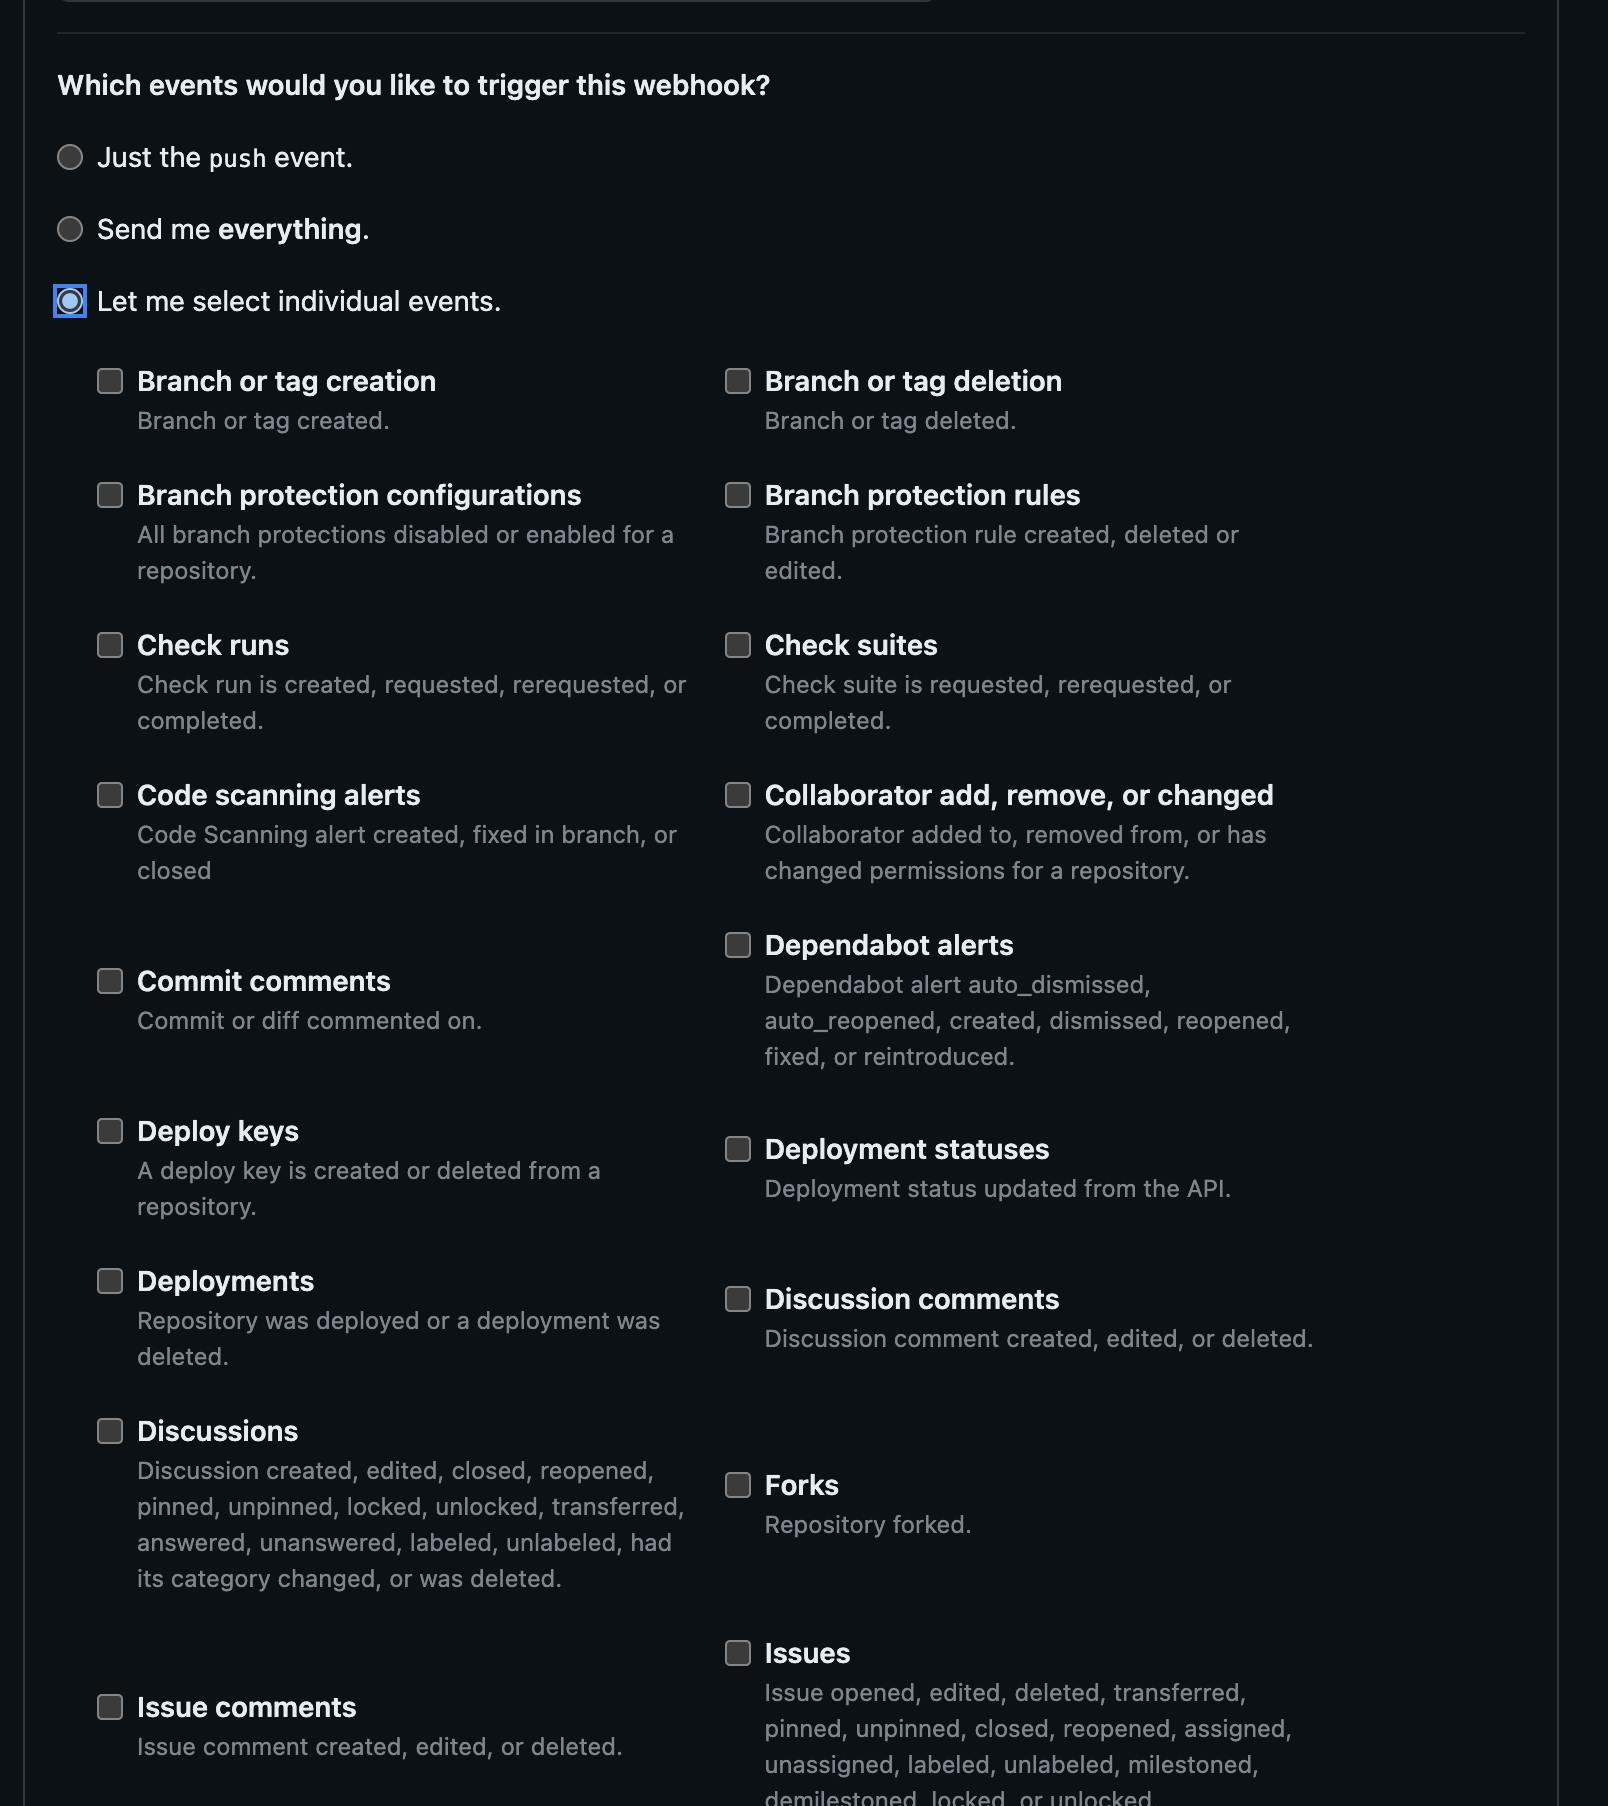
- select the following two options
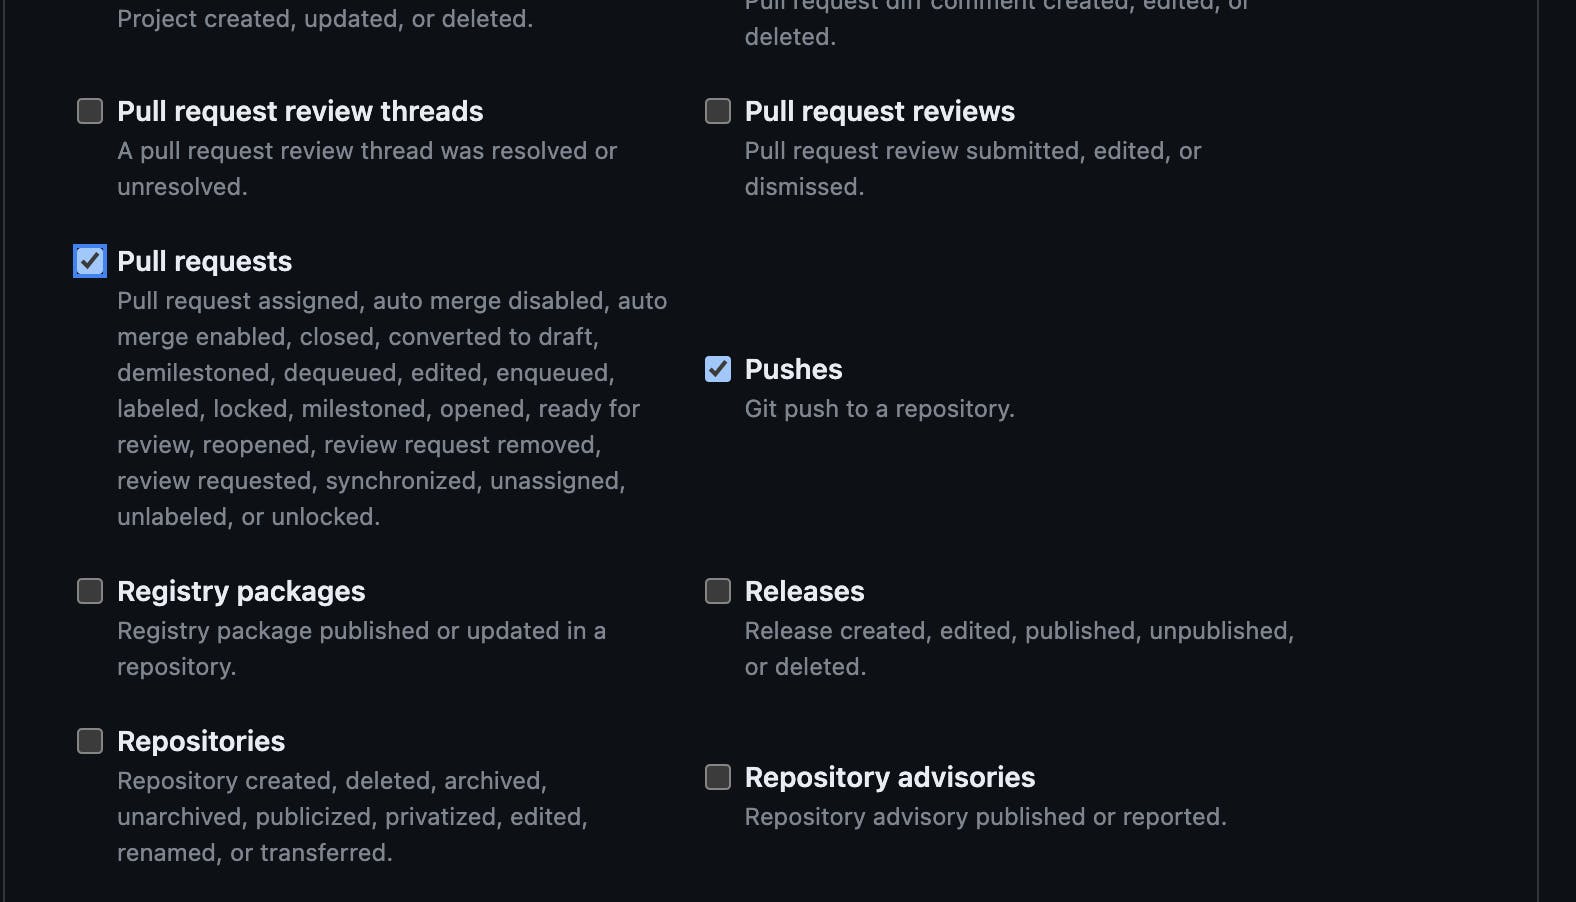
This basically means that each time code is pushed to the repository or if someone submits a pull request, the pipe will automatically be pushed to Jenkins and the pipeline will be triggered.

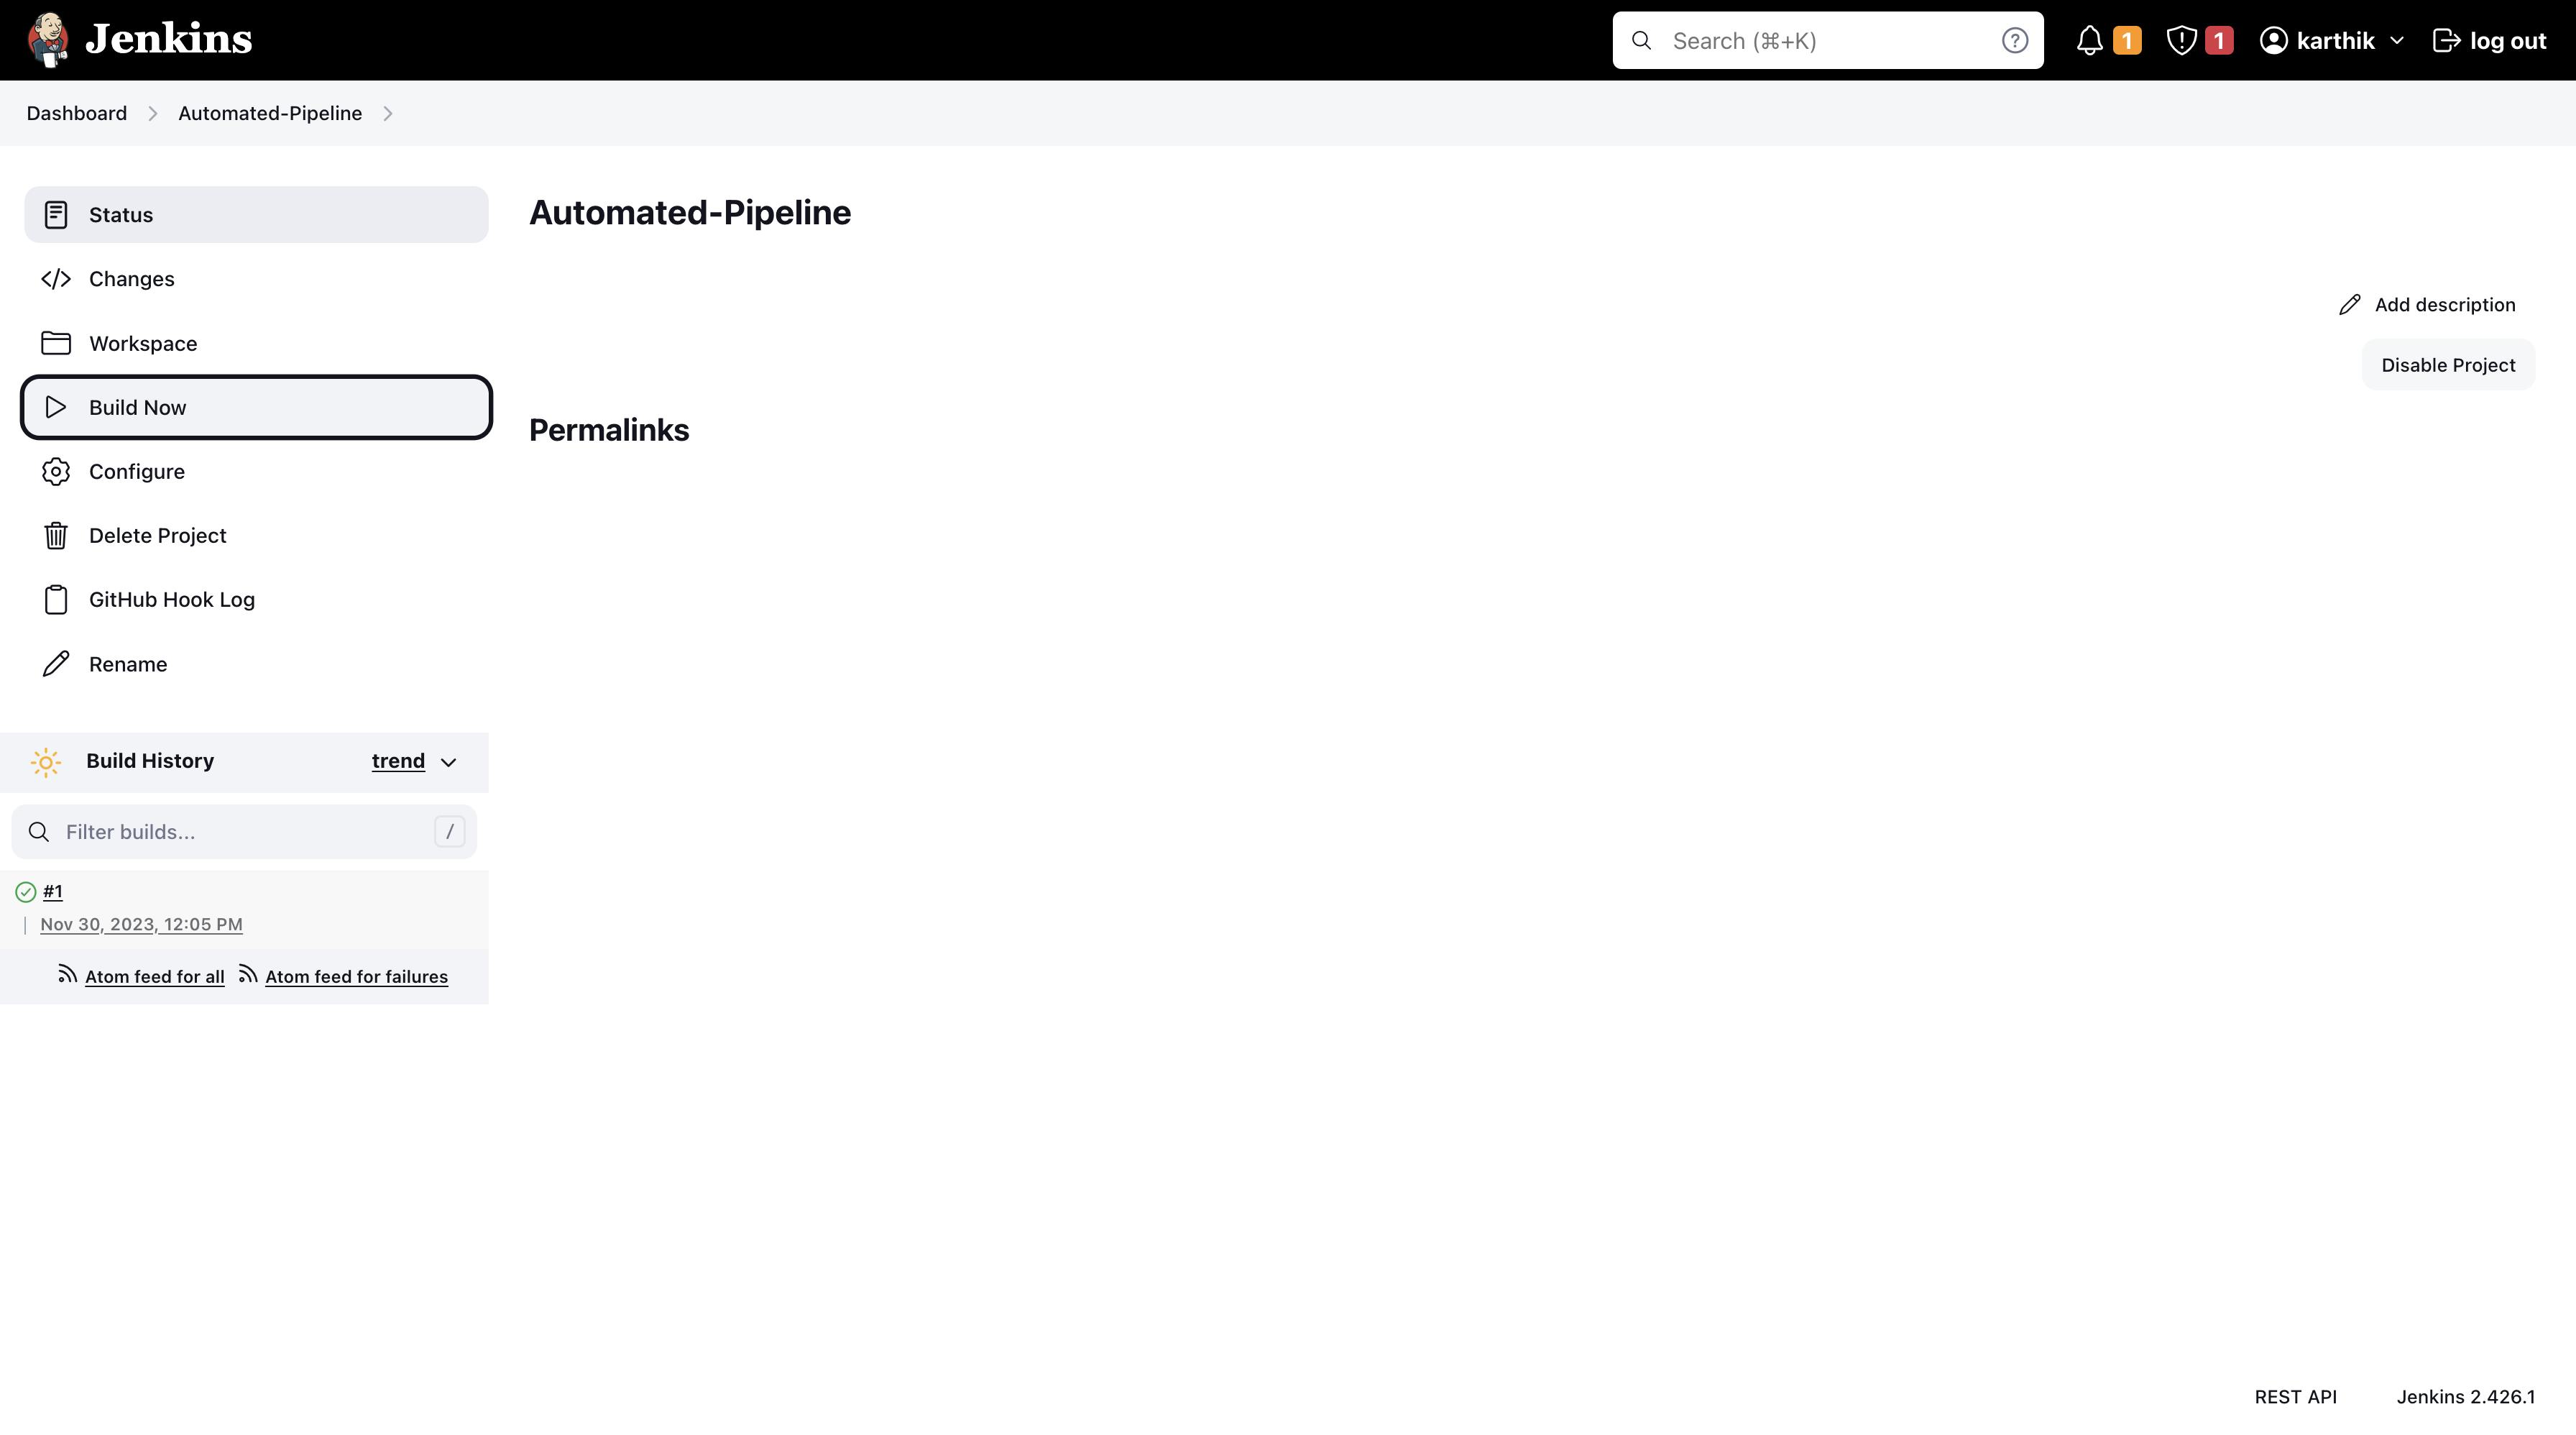
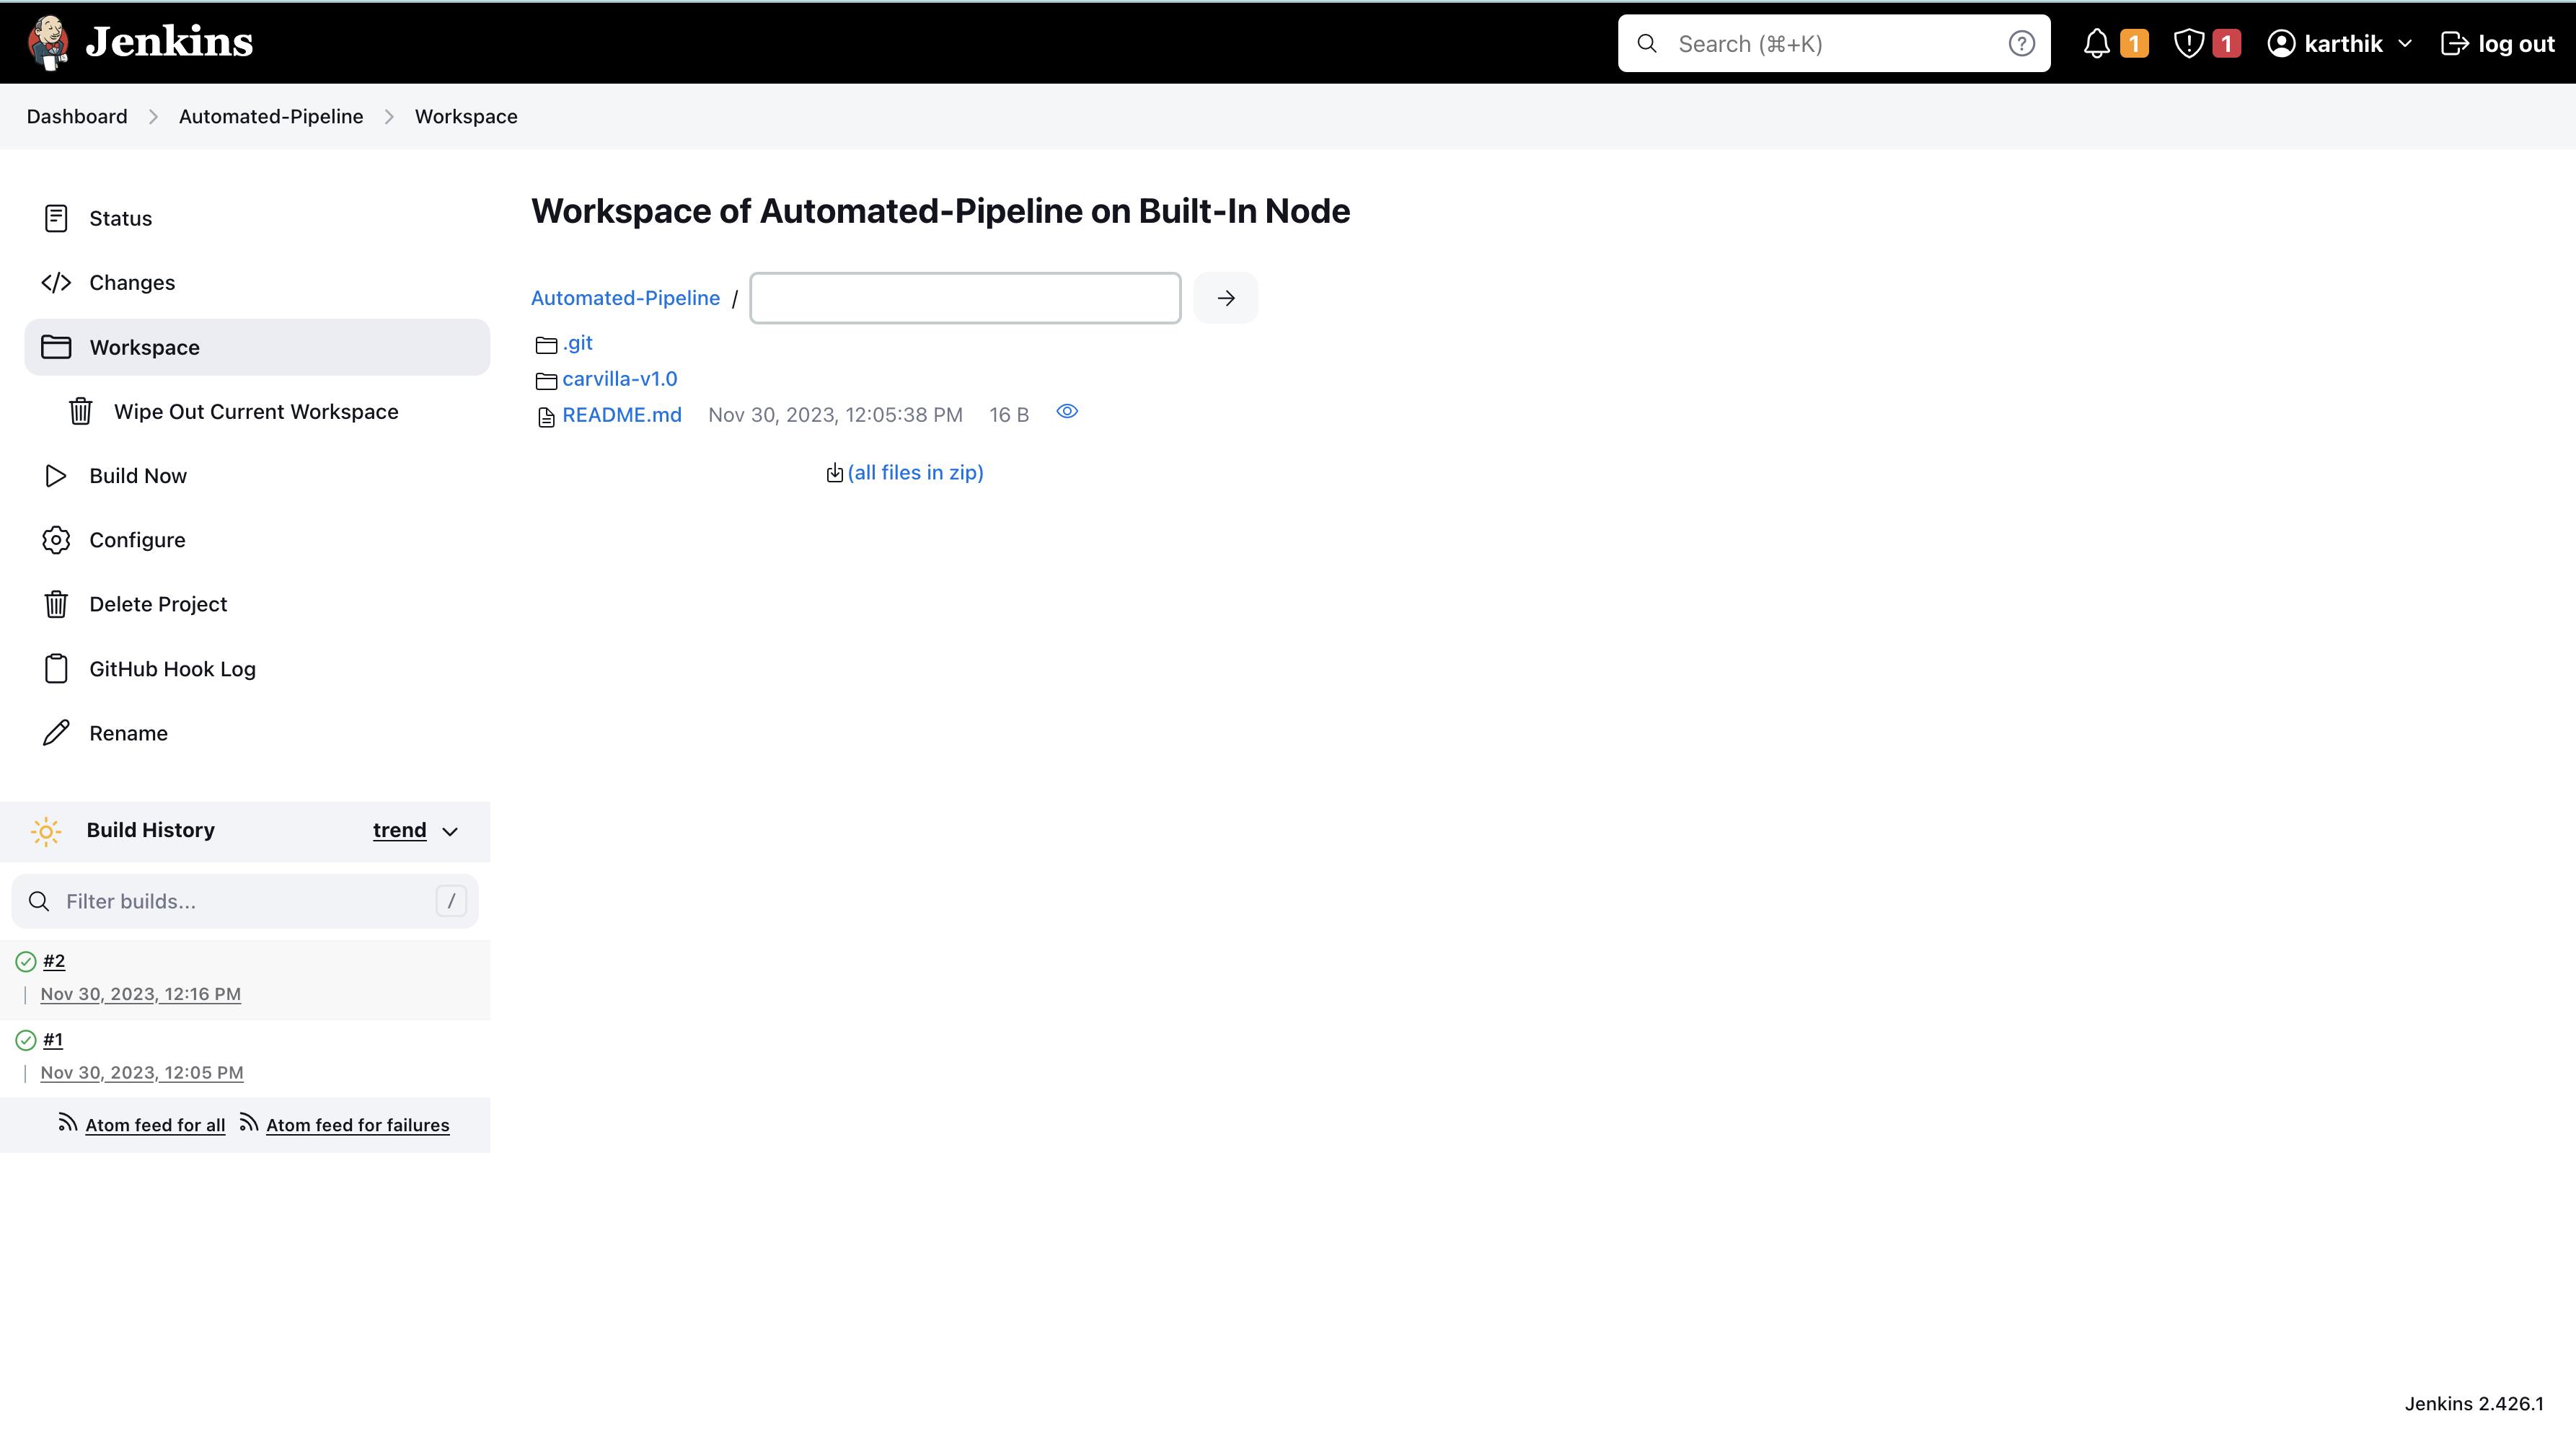
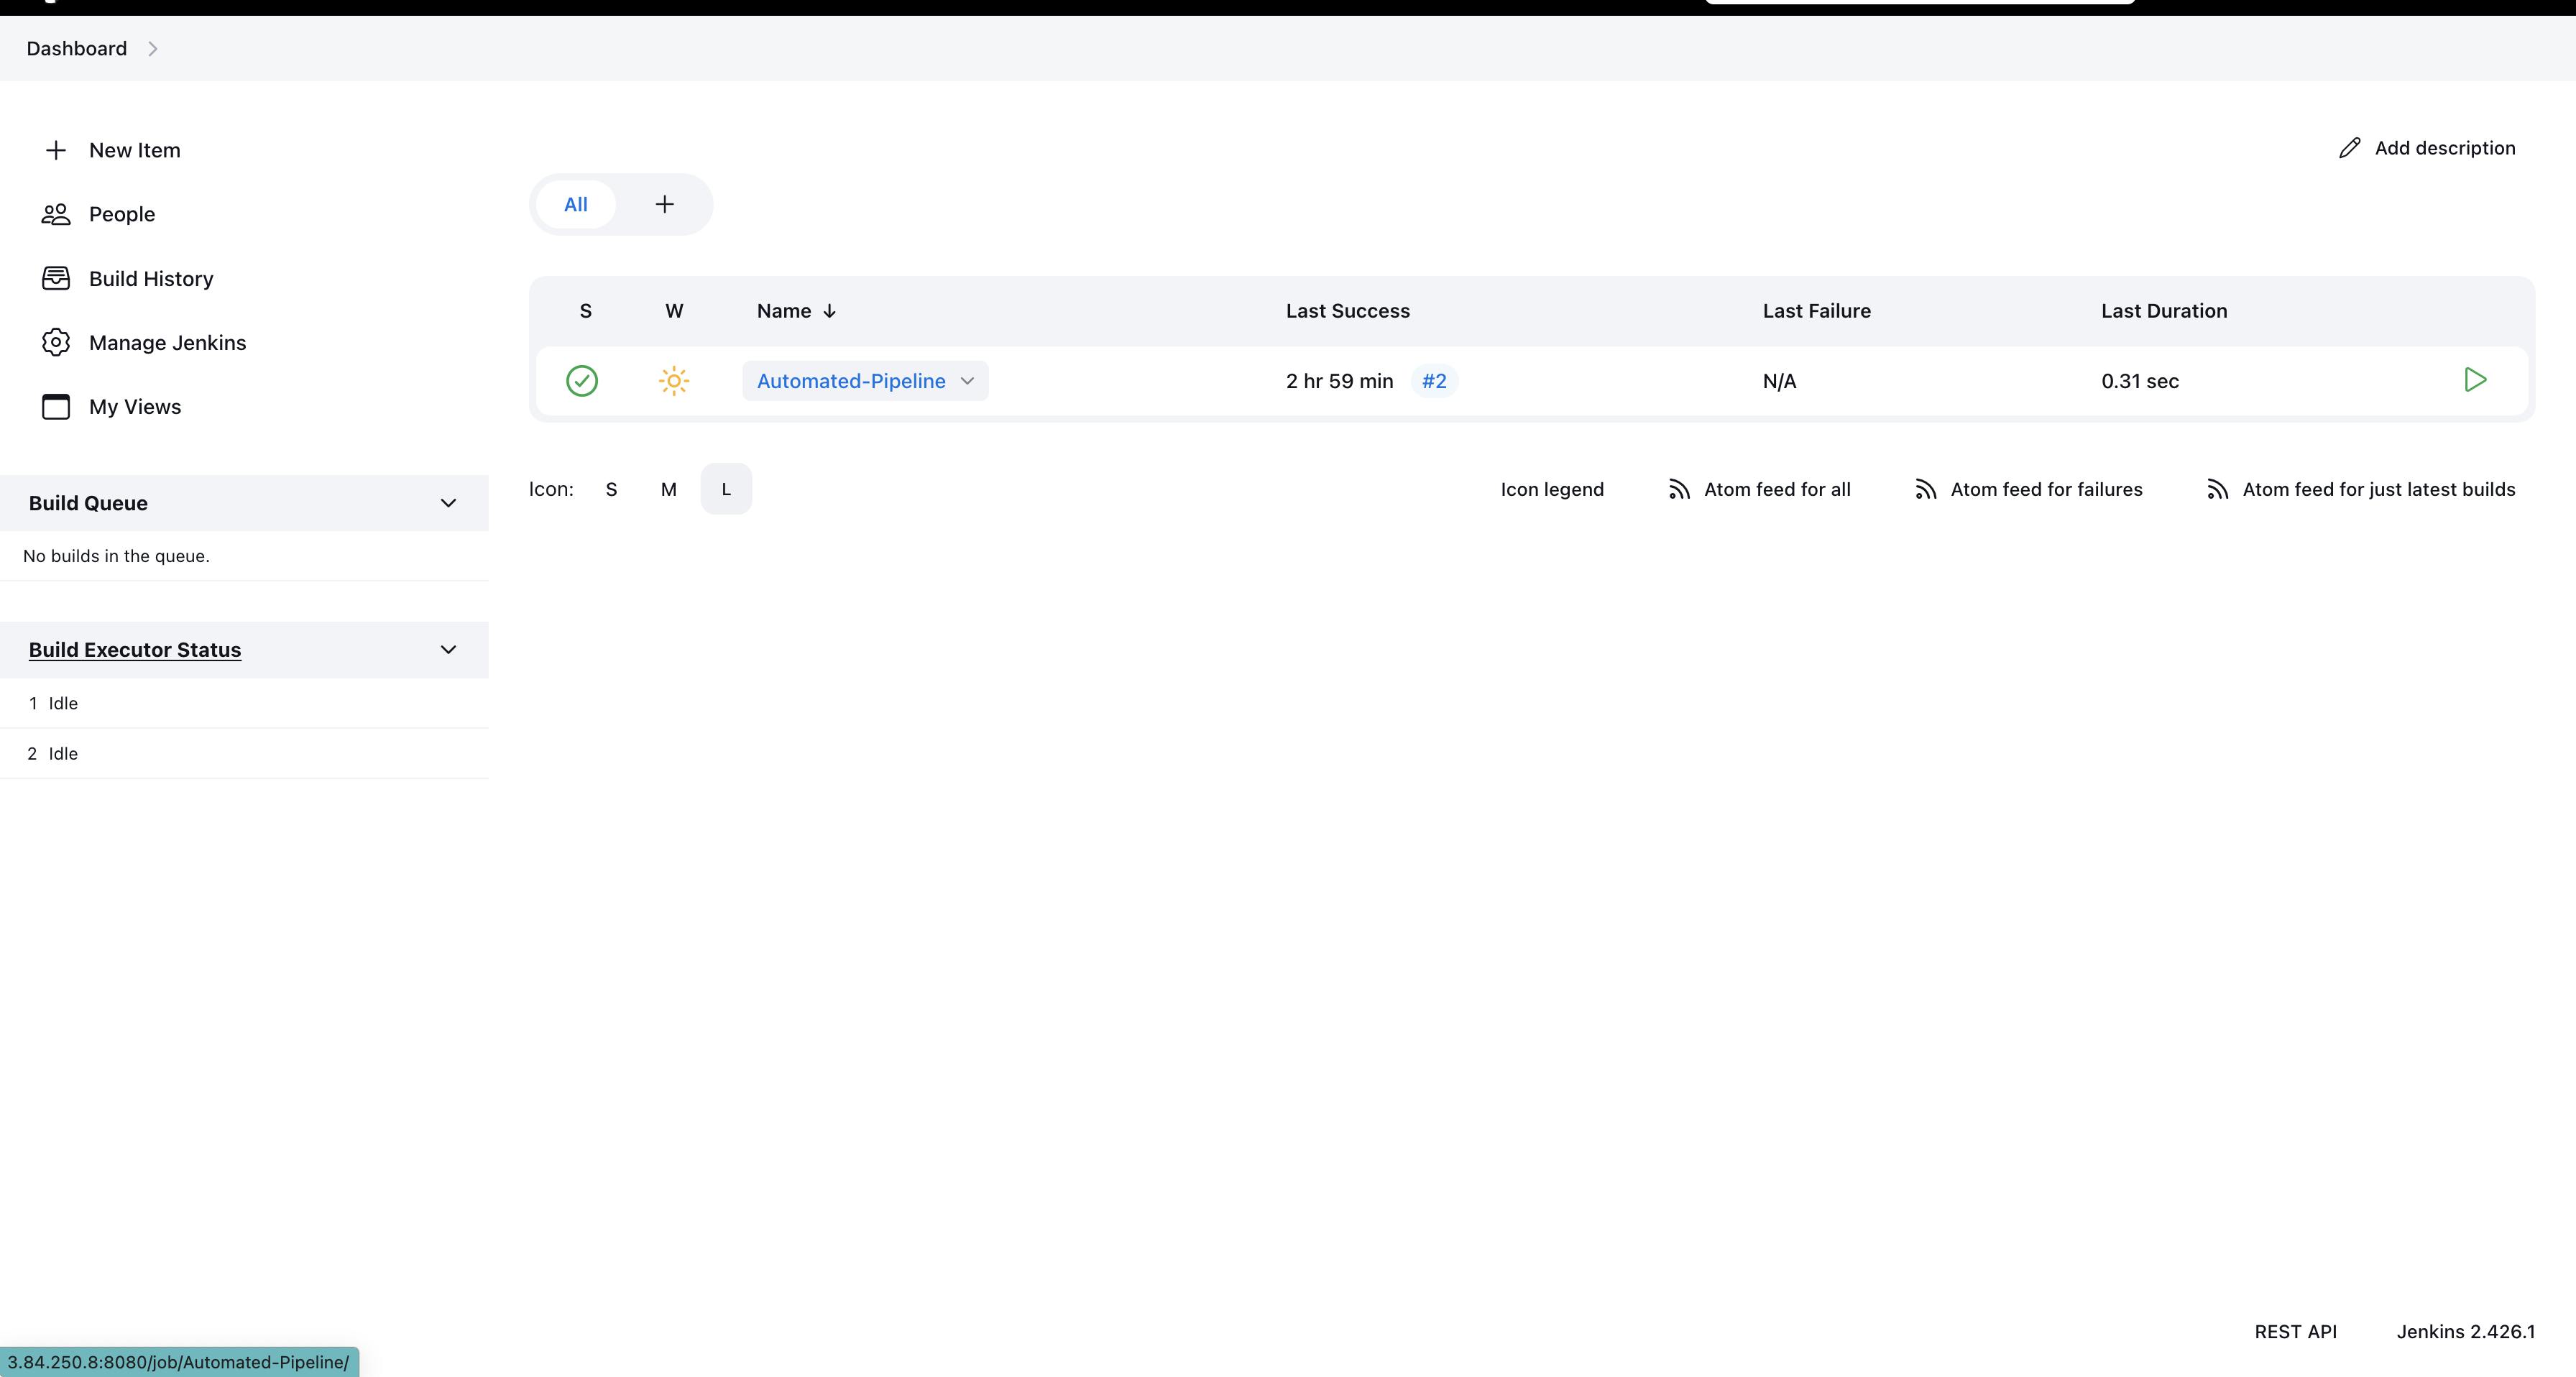
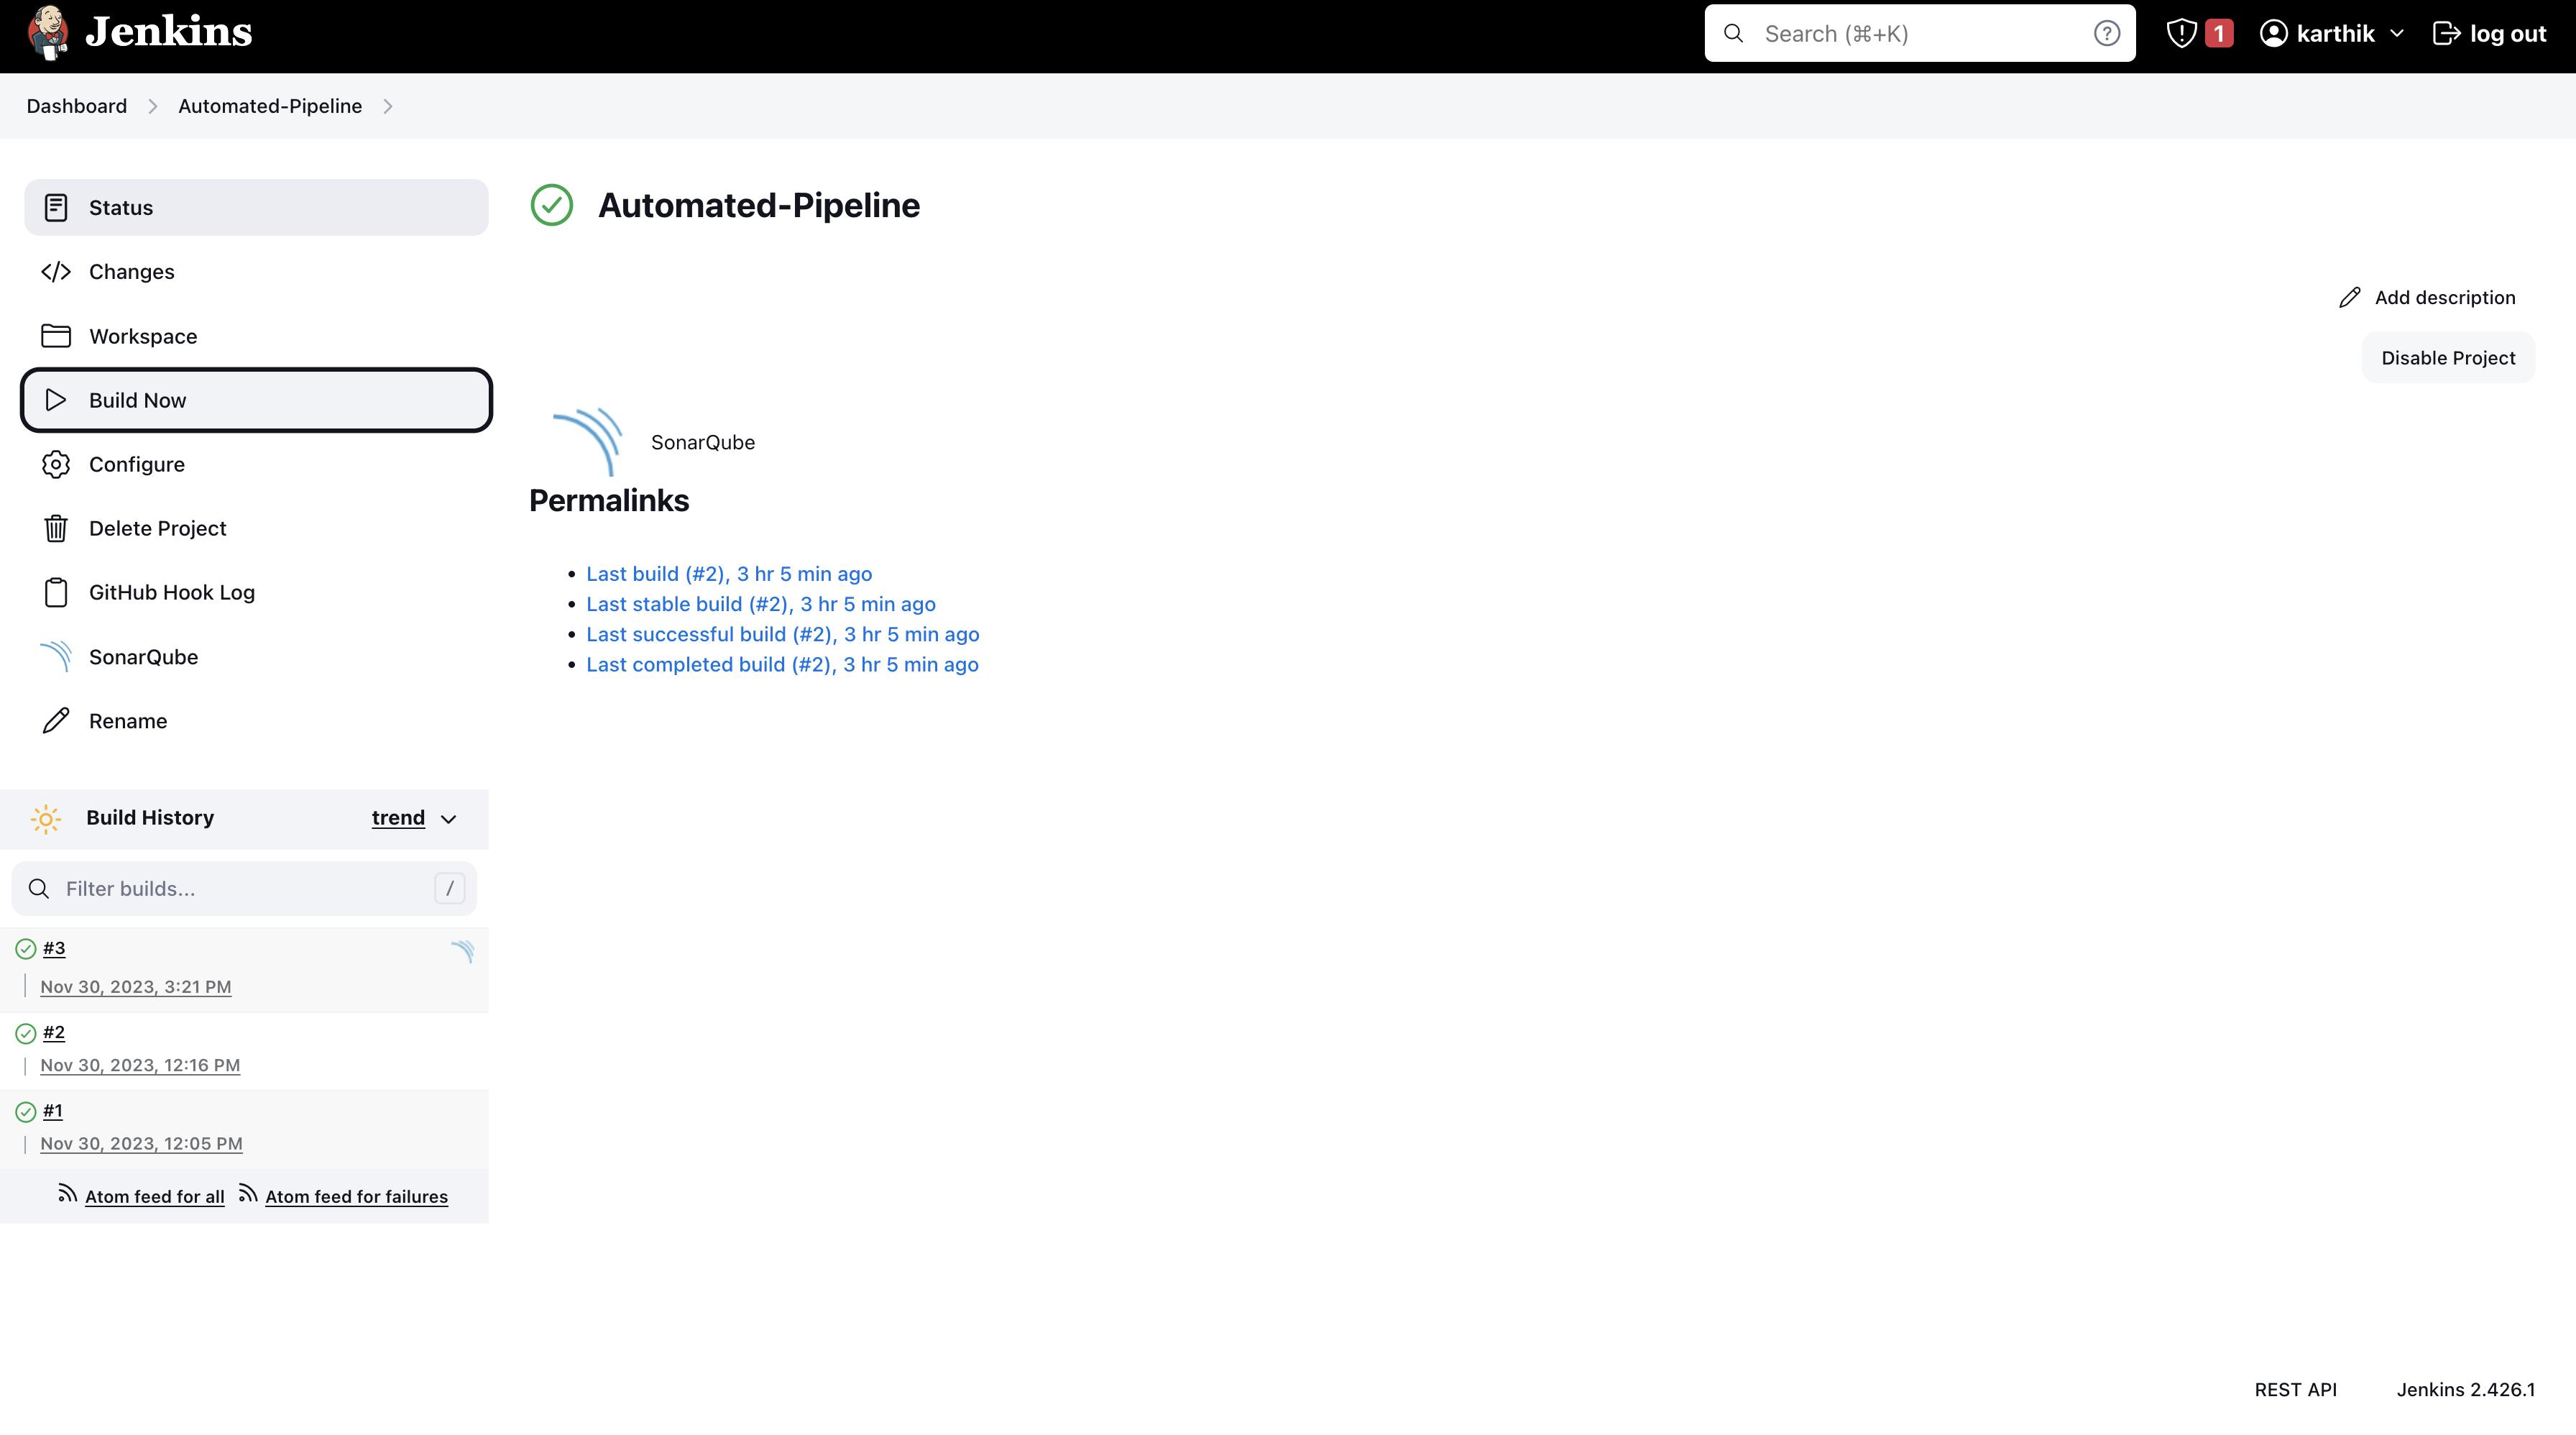
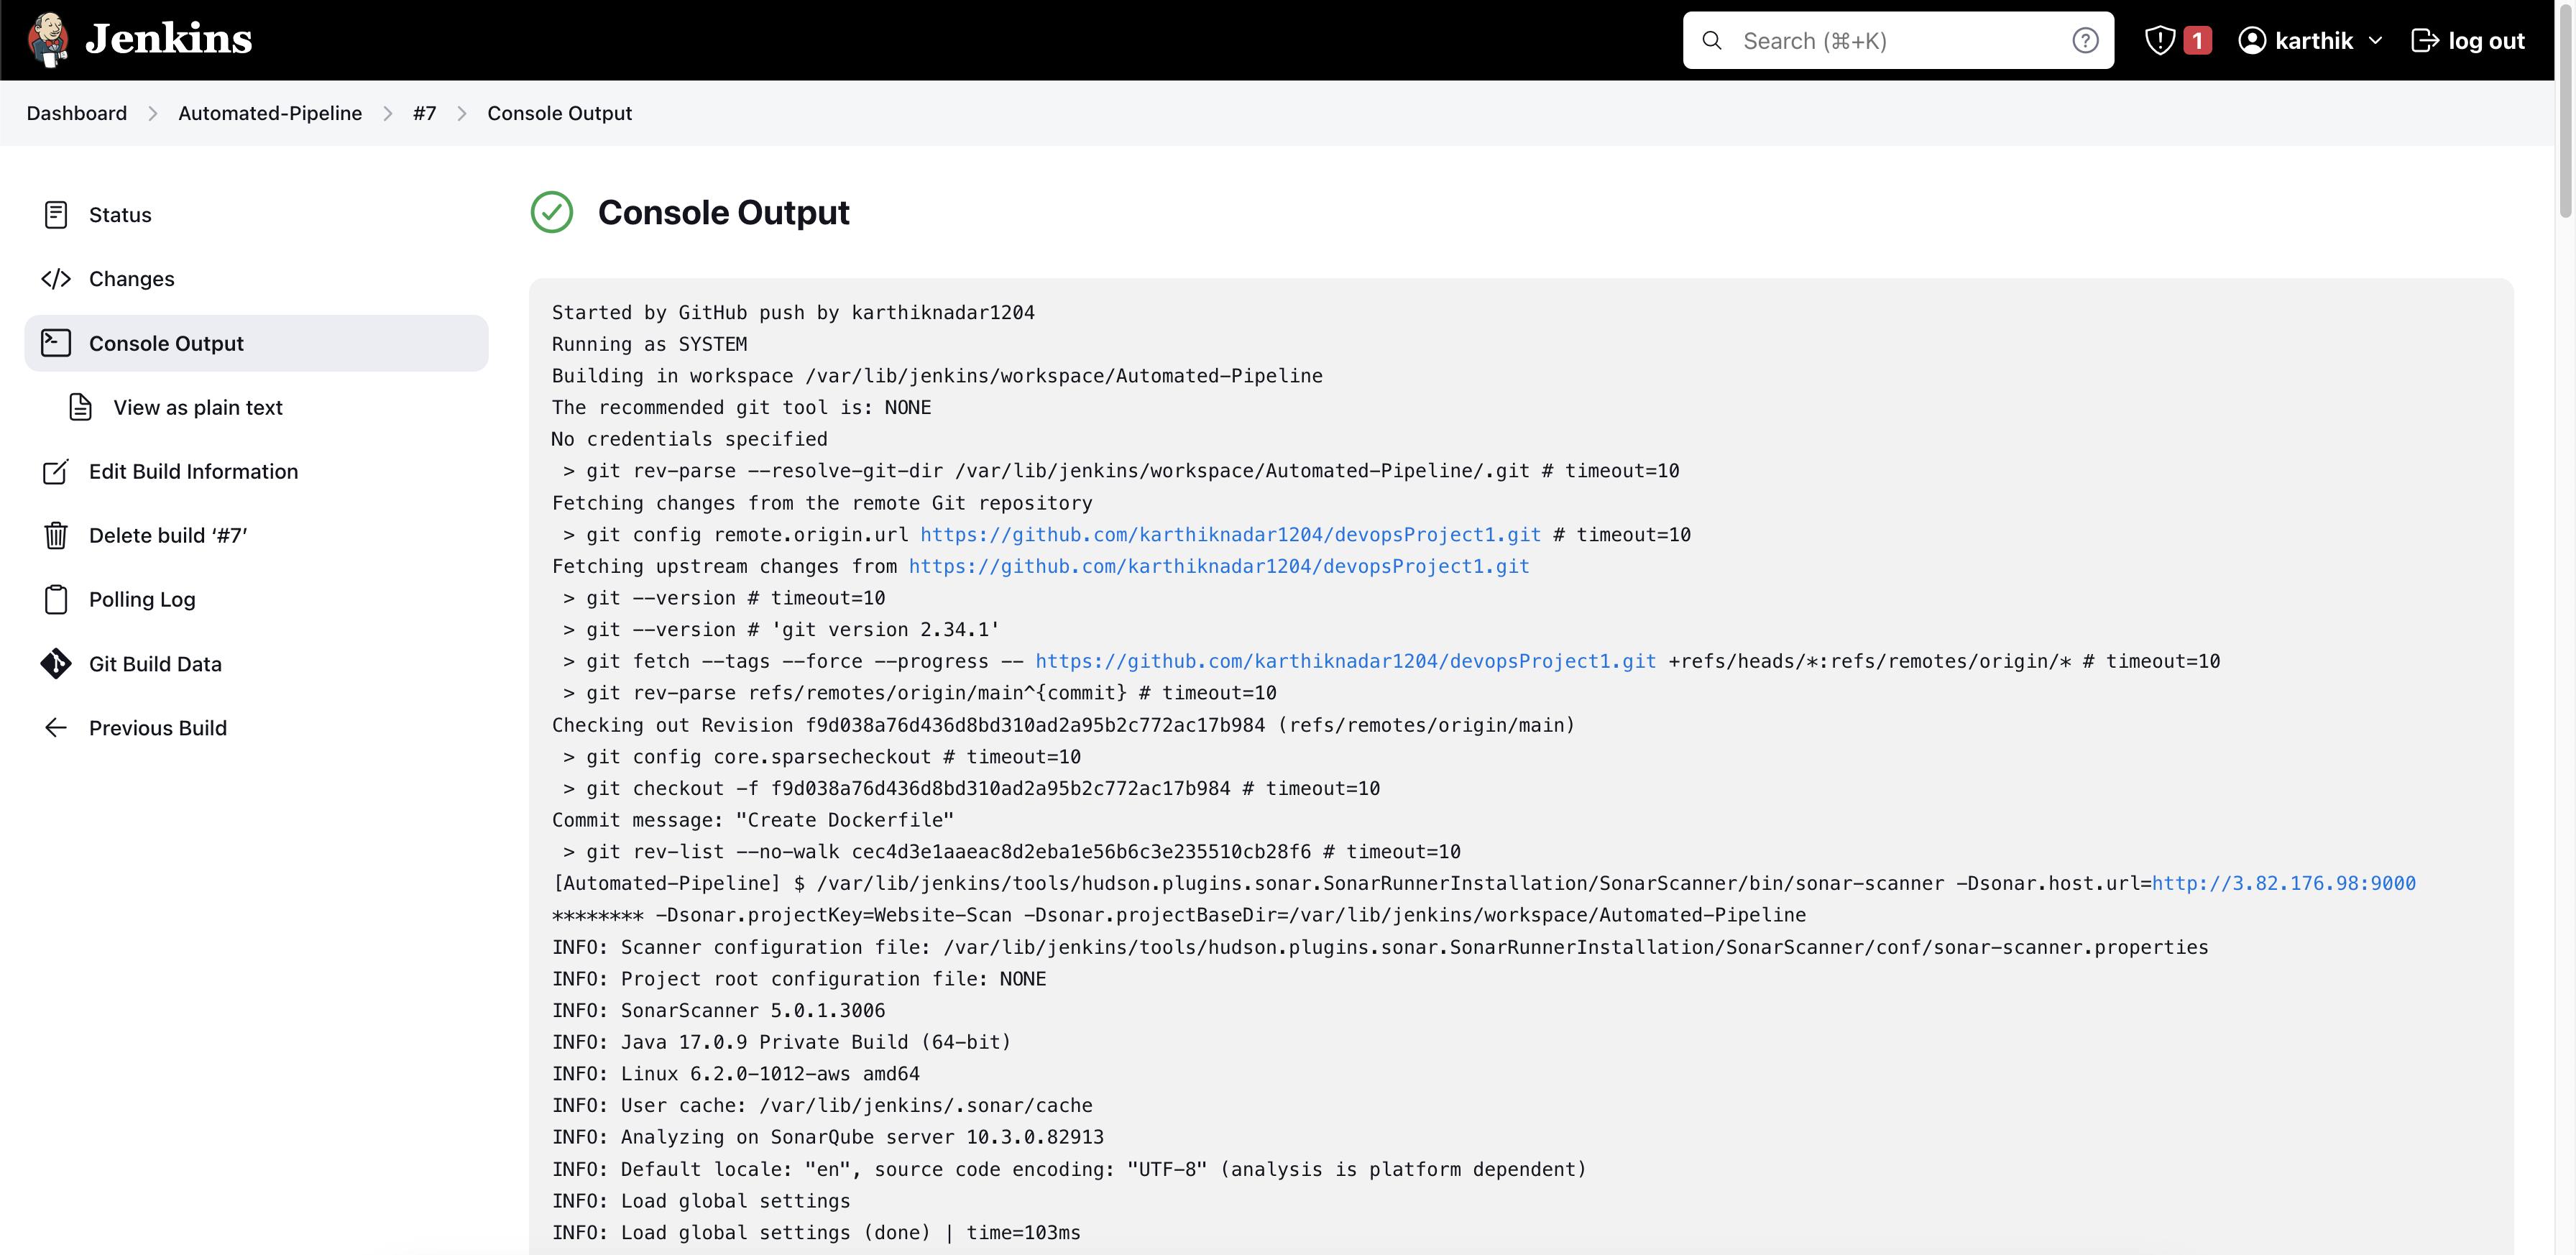
Now in the Jenkins server, click Build Now on the left sidebar
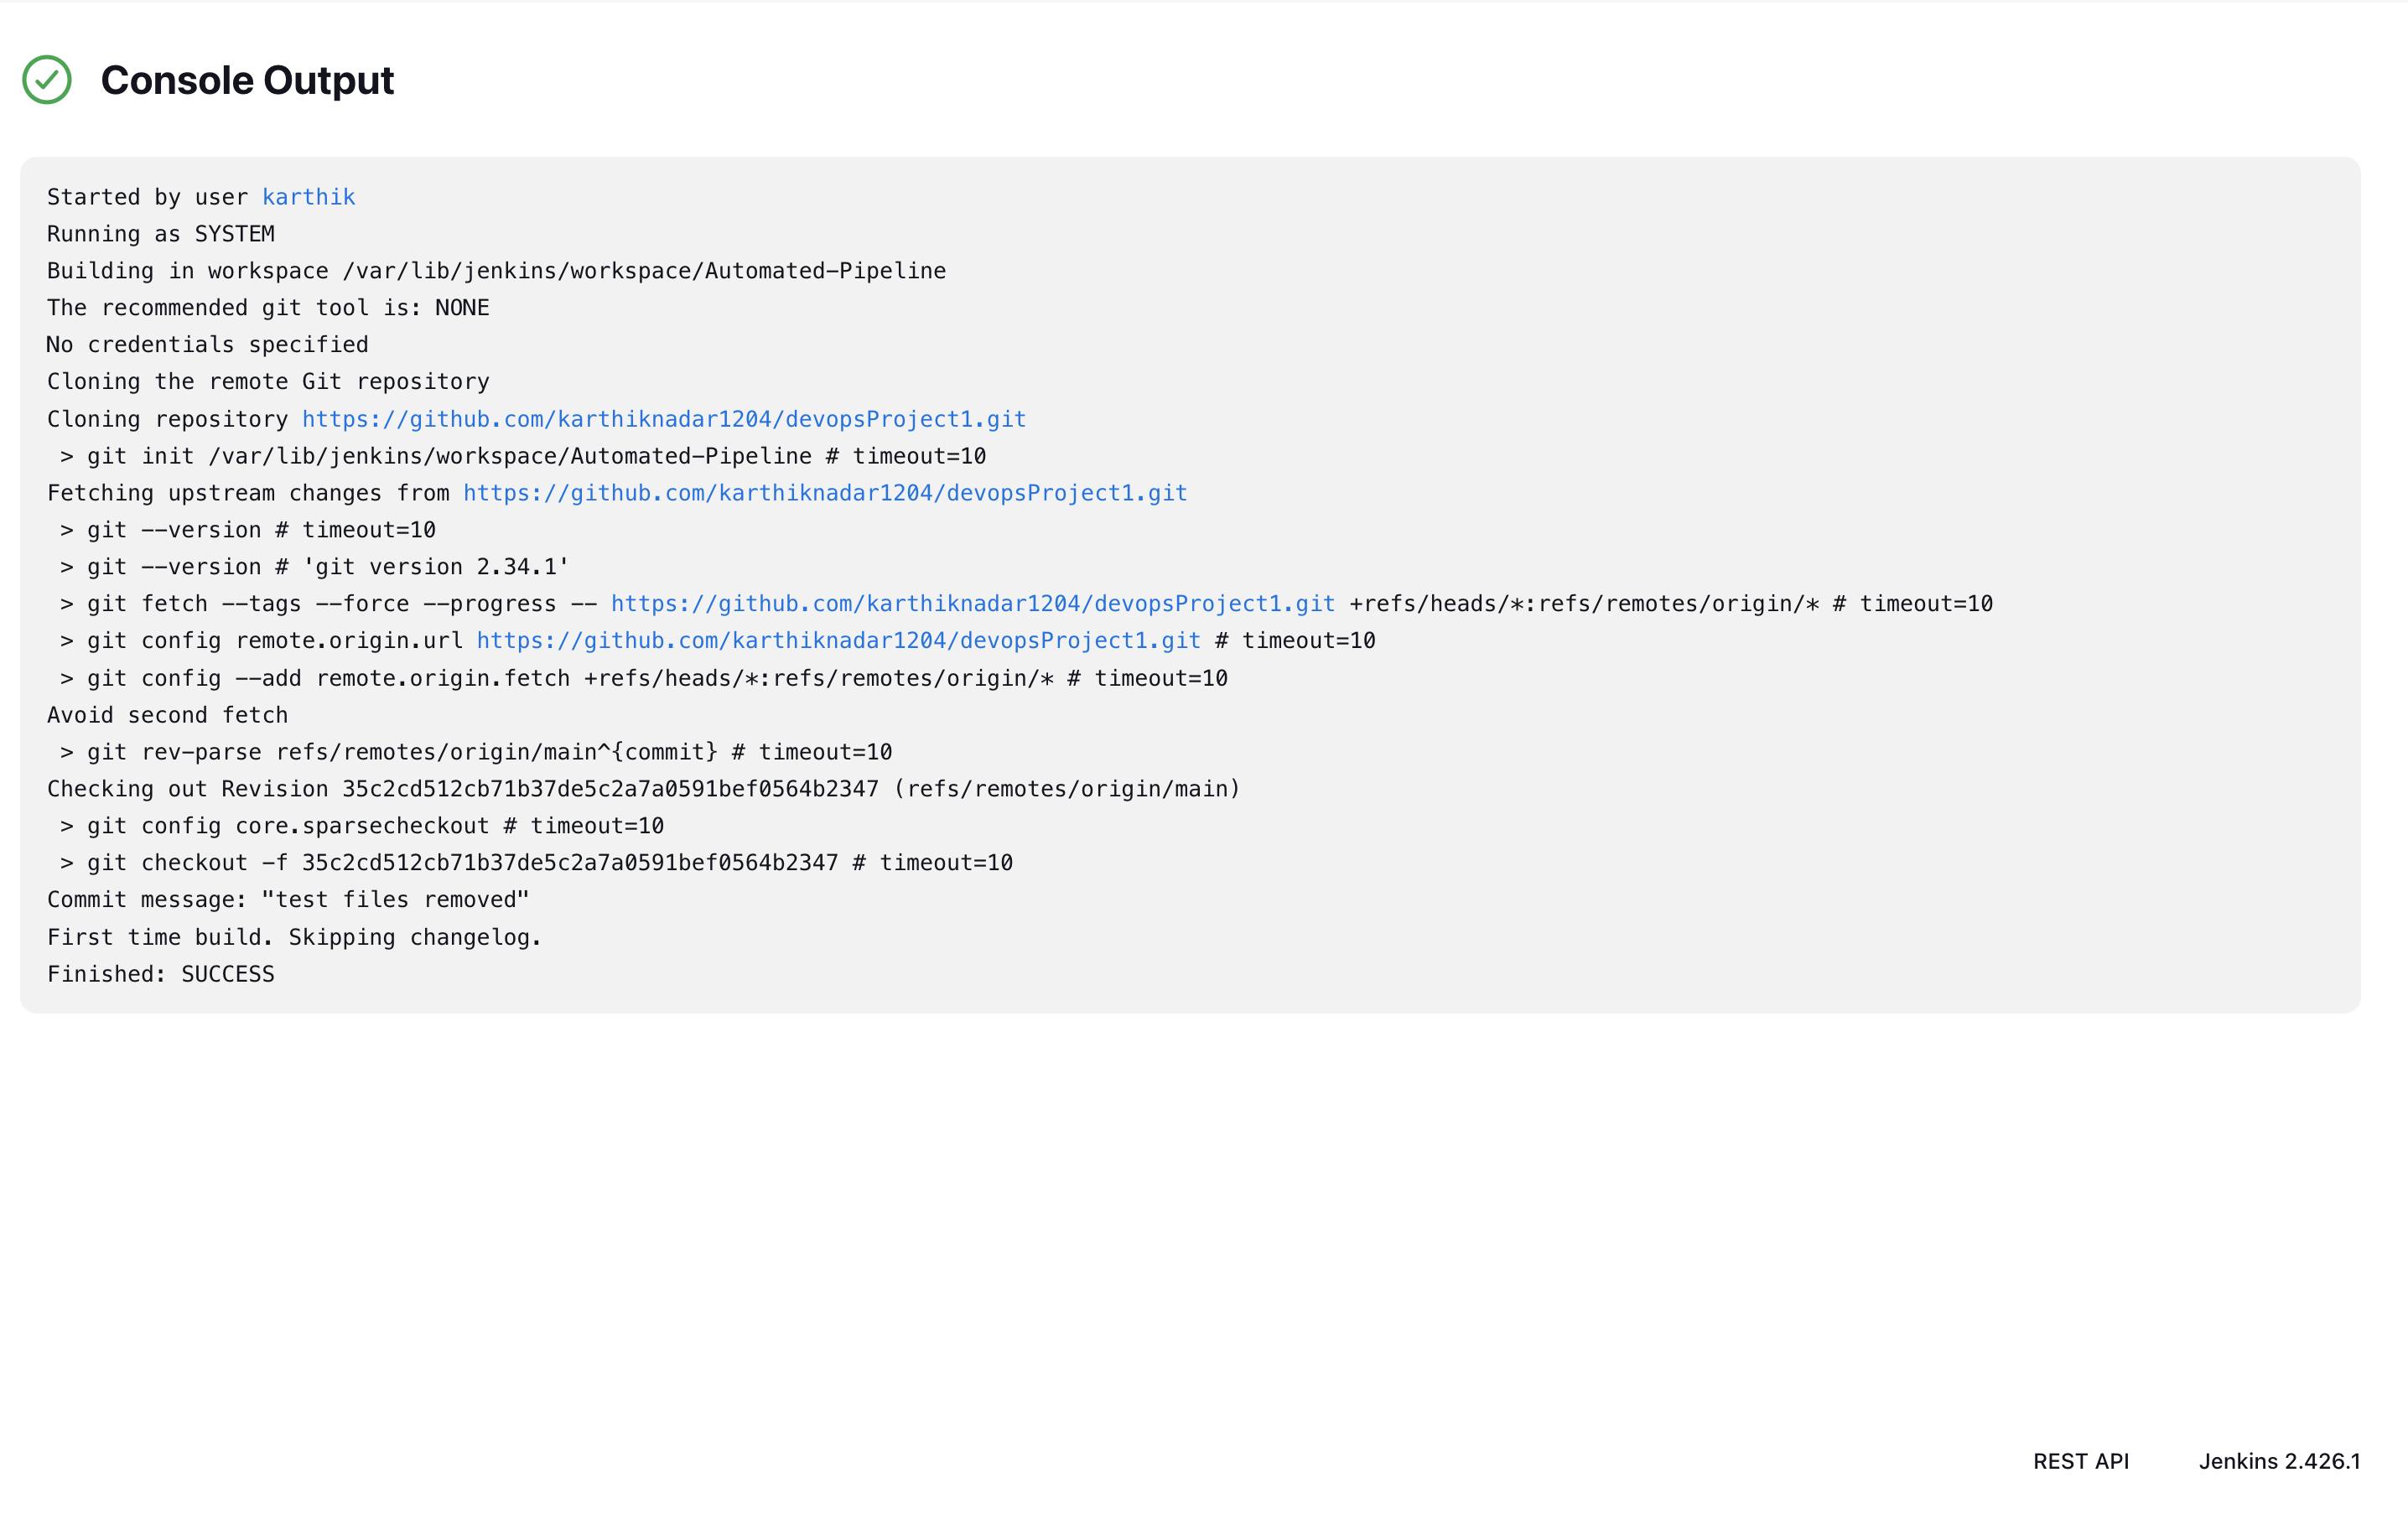
Now if you get a similar console output, it means that the build was a success and the code is being successfully pulled from githuba nd the pipeline works perfect fine
- further test the pipeline, well will manually try creating files and adding them to the repository and if the build is triggered, then we can confirm that the pipeline works perfectly.
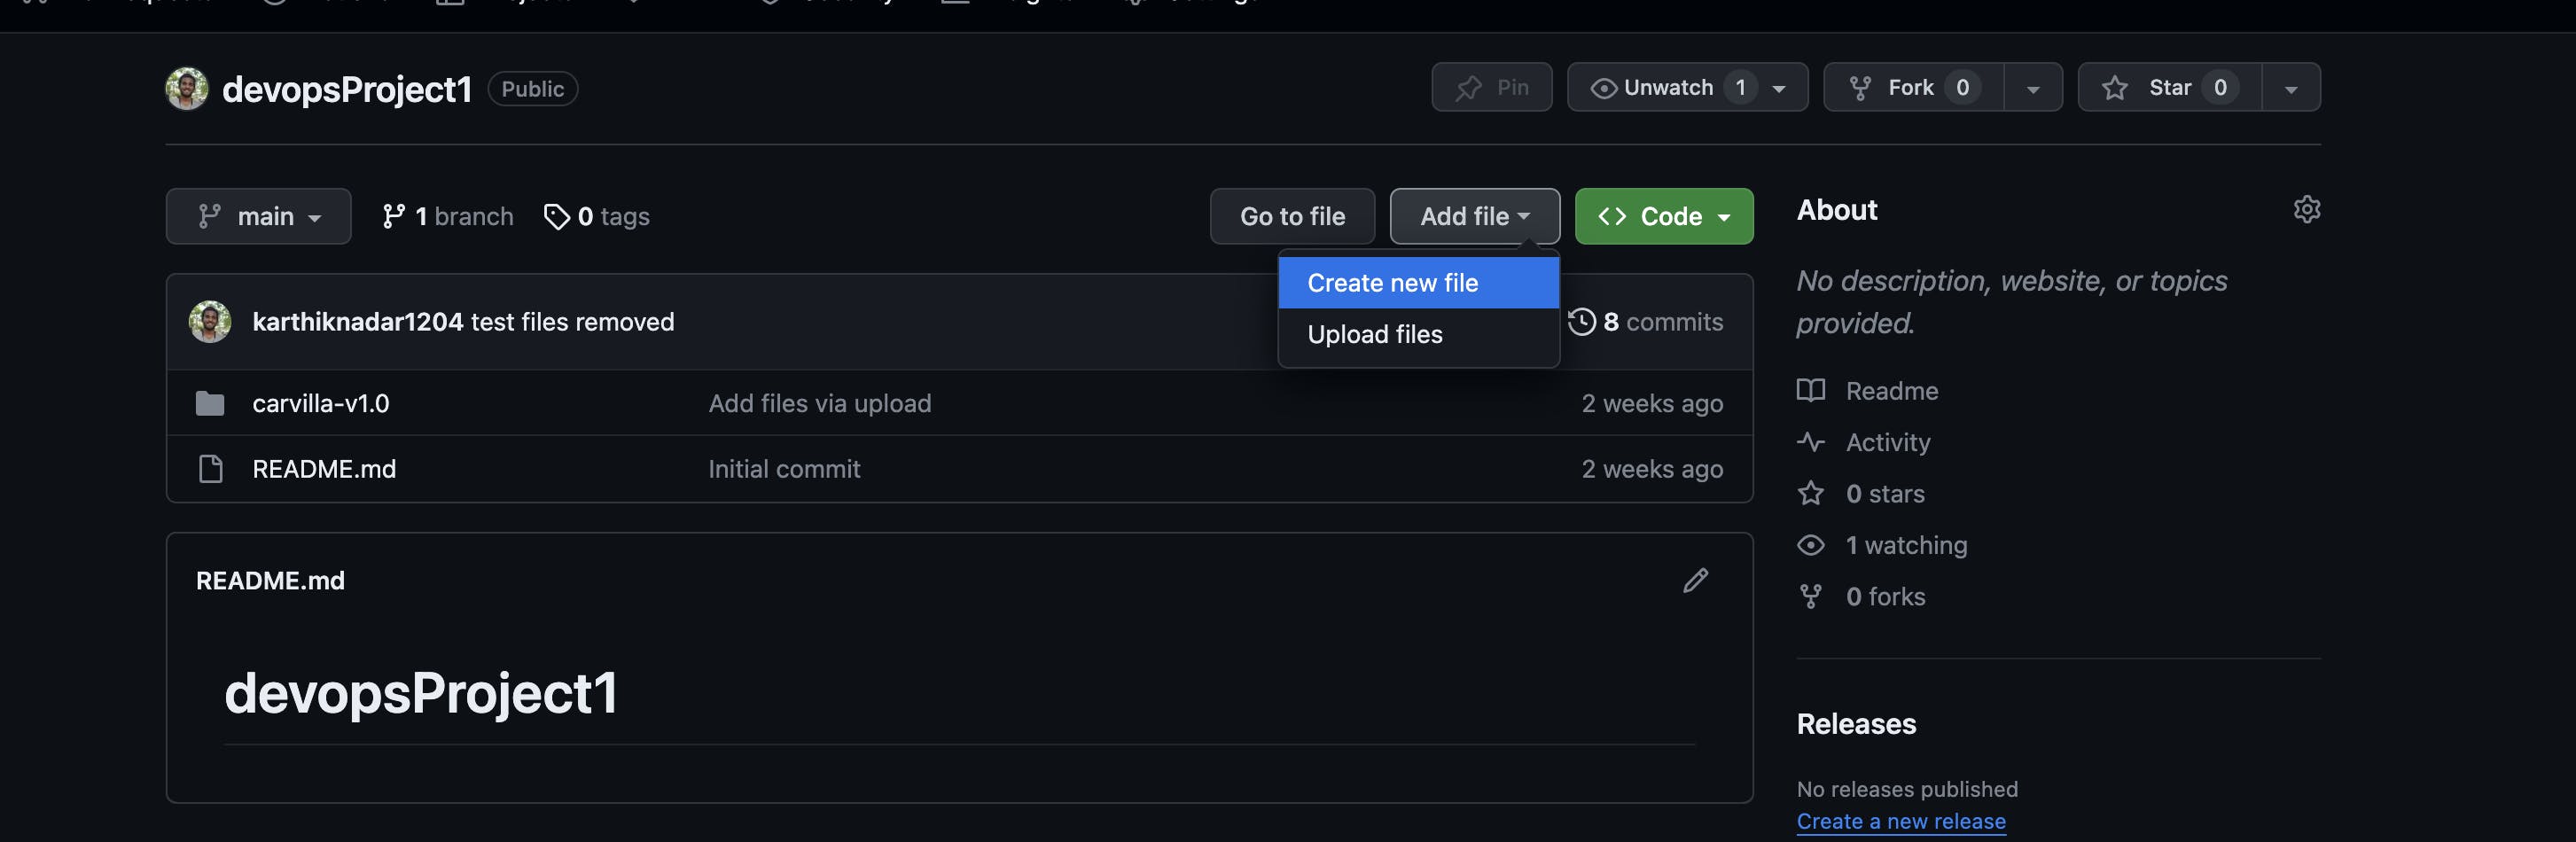
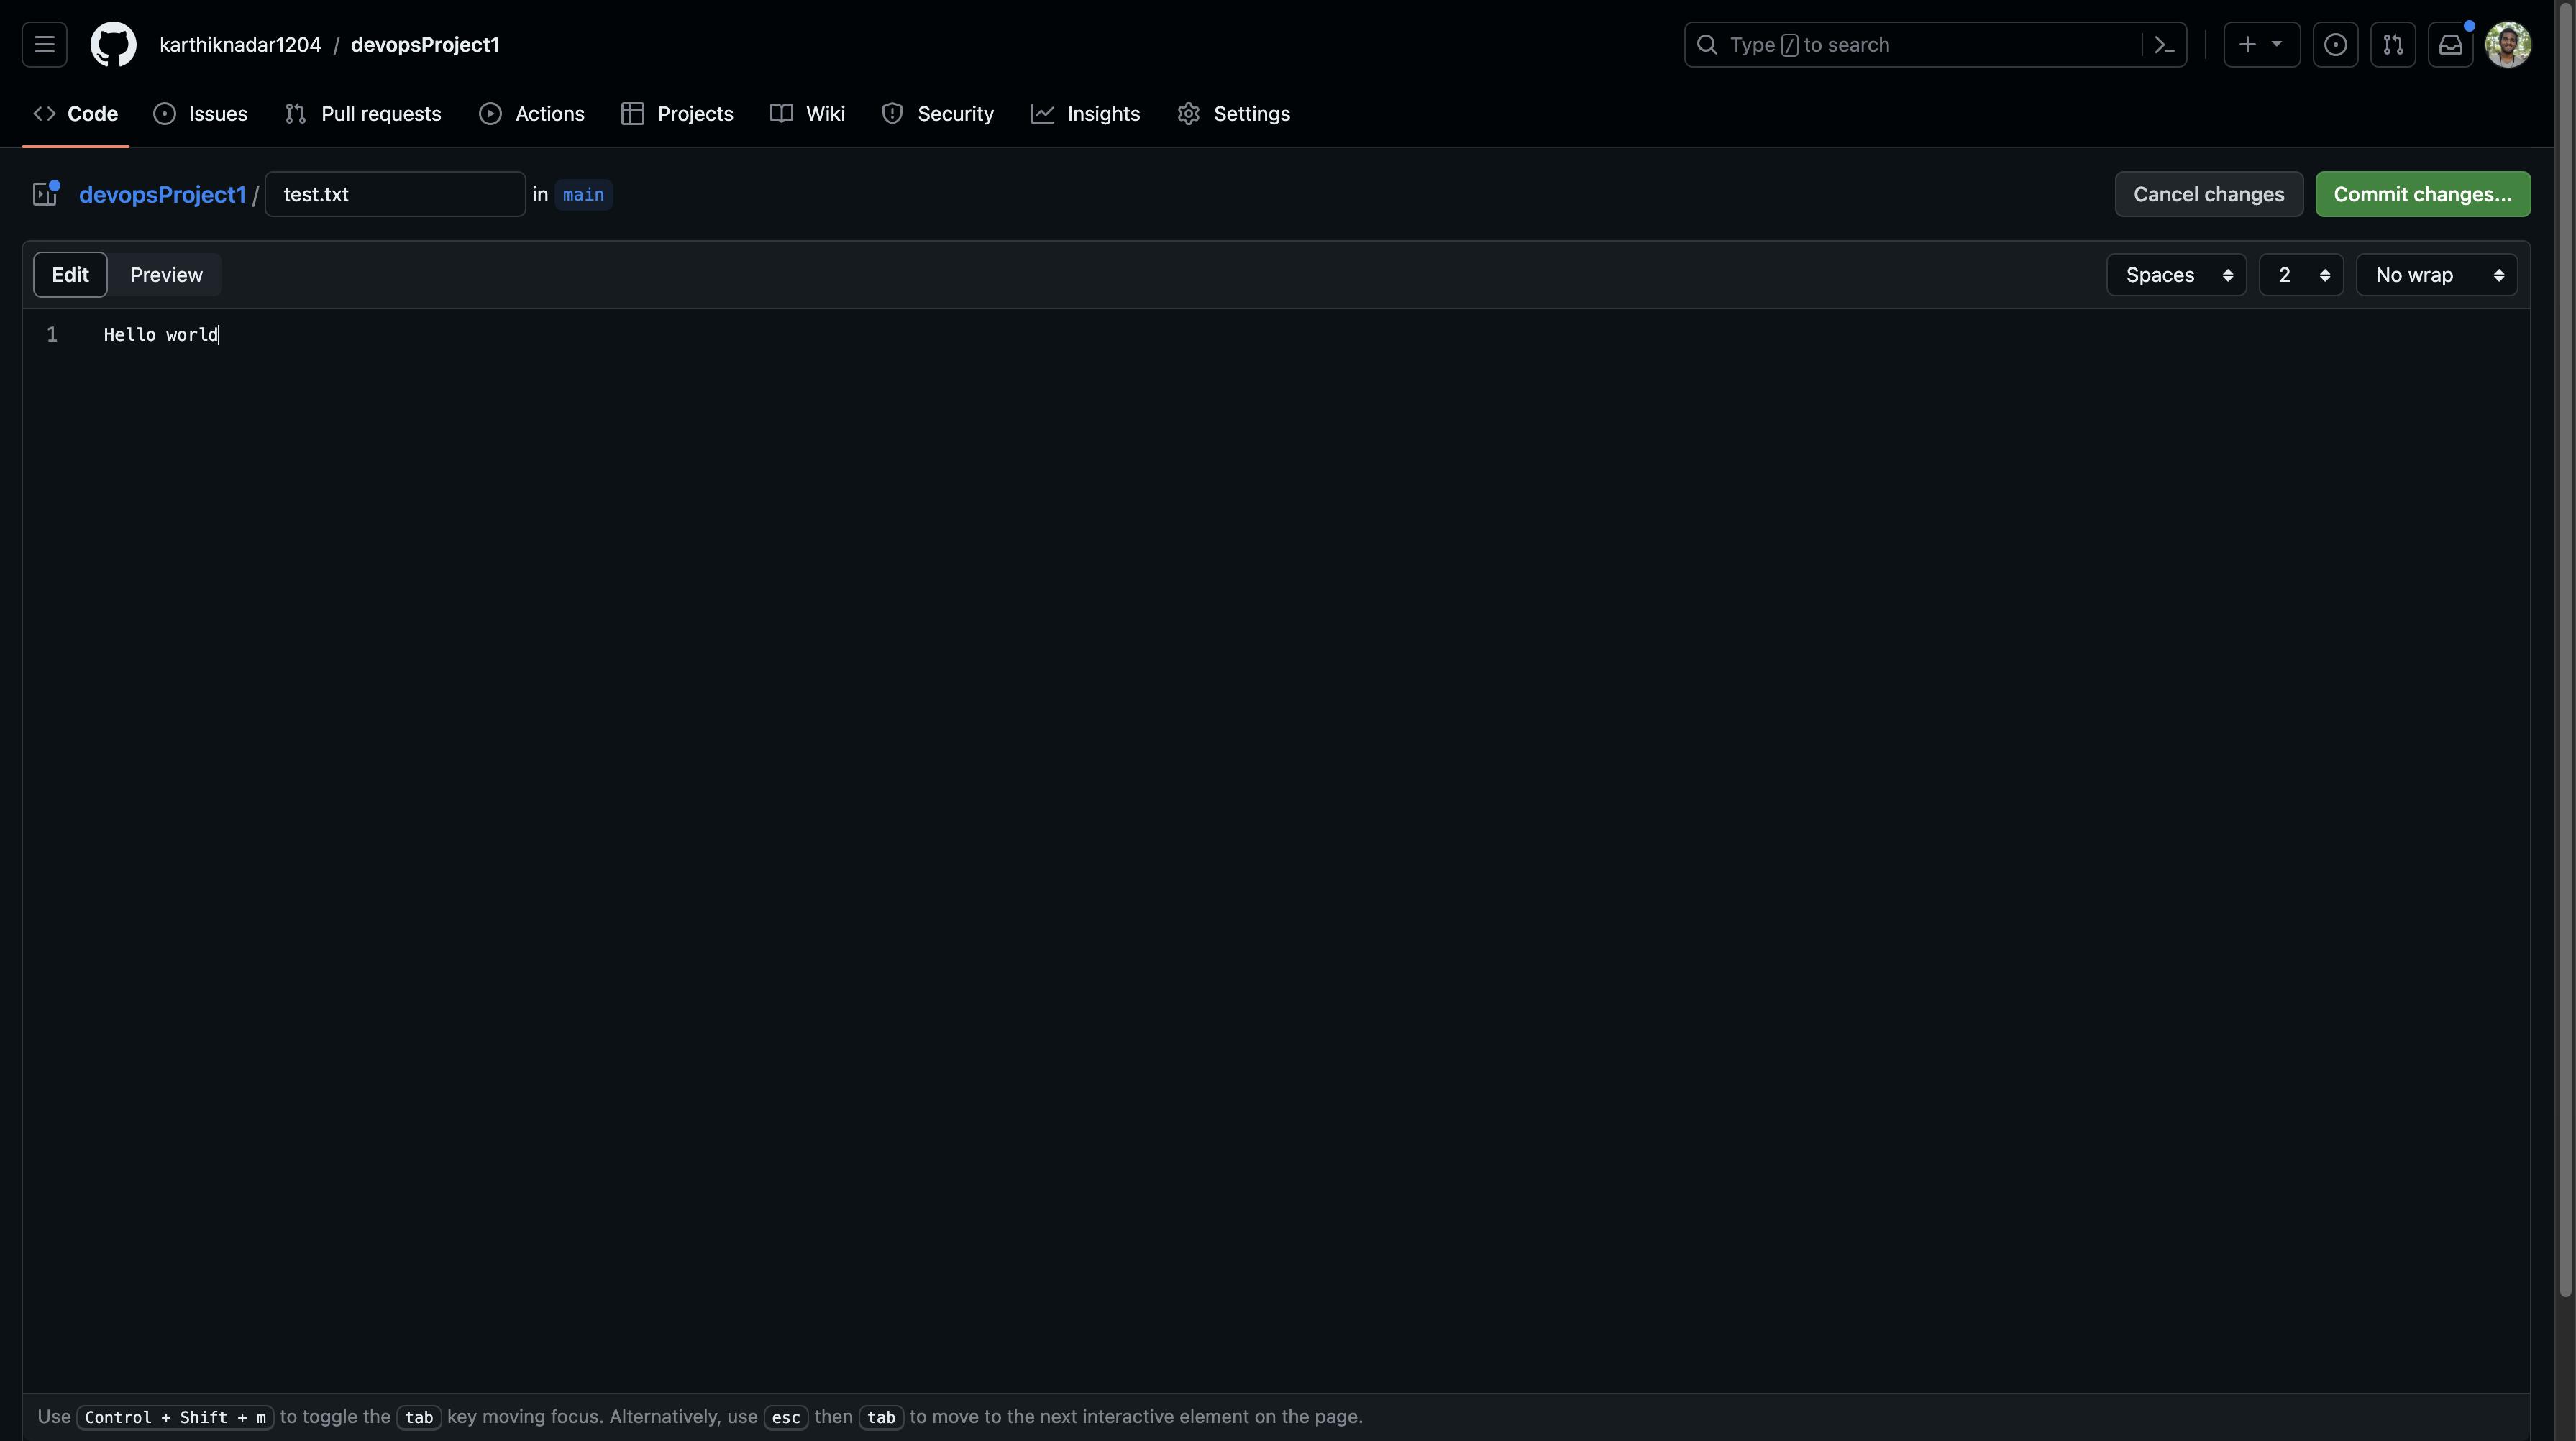
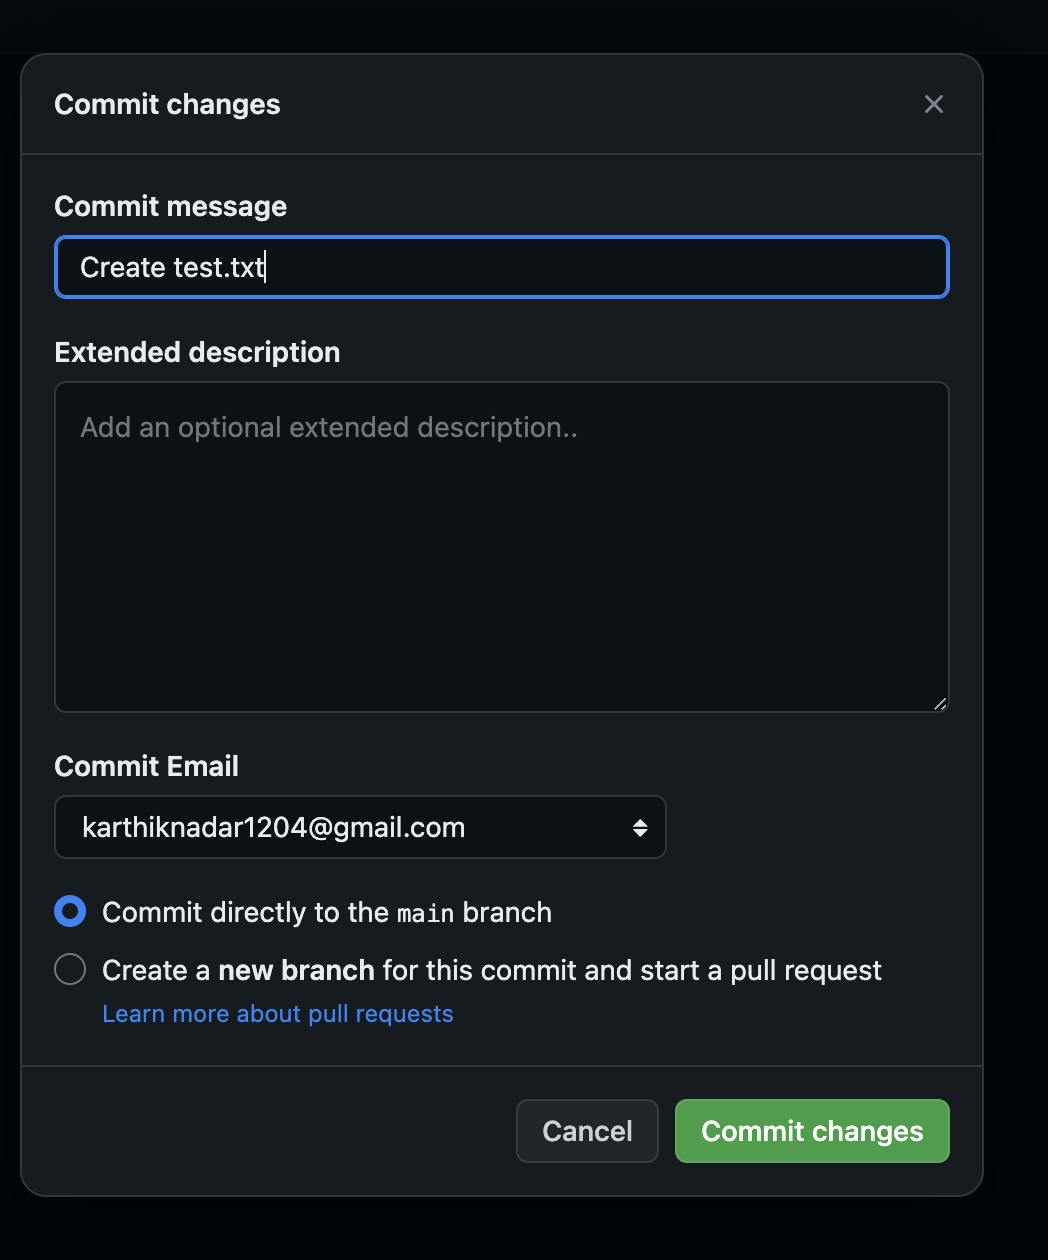
We here see that a second build was automated and was successful as well
Till here we have set up the Jenkins server and connected it with GitHub while automating the pipeline to get triggered every time someone pushes code to Git Hub or submits a pull request, now we will cointegrate Jenkins with Sonarqube.
- Open a new terminal, in the AWS console, and click on the Instance Id of Sonarqube.
- Copy the public IPv4 address and type the following command in the new terminal.
ssh -i <name_of_key_value_pair>.pem ubuntu@<public_ipv4_address>
- Update the name of the hostname in the two terminals so that we can easily differentiate between the two
sudo hostnamectl set-hostname sonarqube/bin/bash
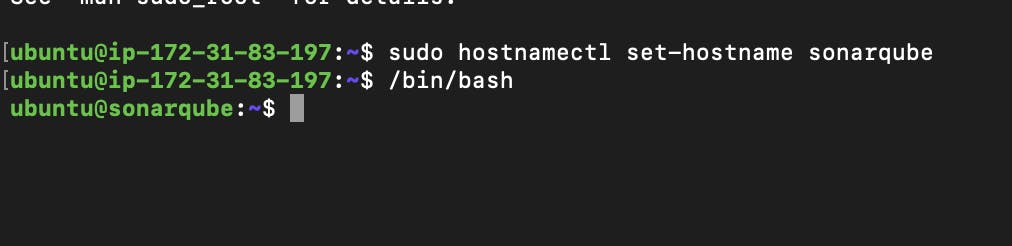
- Do the same with Jenkins server
- Now run the following command in the terminal connected to the sonarqube instance
sudo apt update
- Install Java using the following command
sudo apt install openjdk-17-jdk
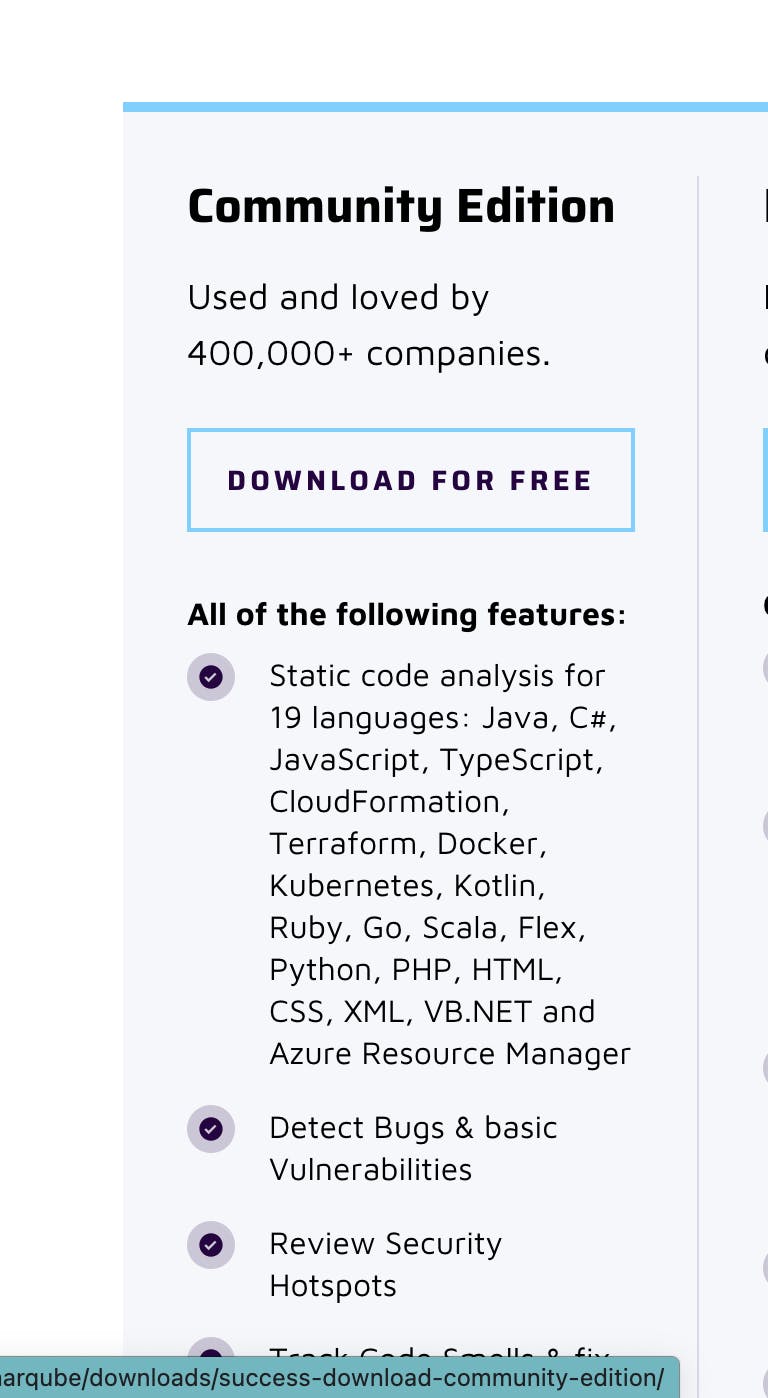
- Now to install SonarQube, navigate to the following Sonarqube link.
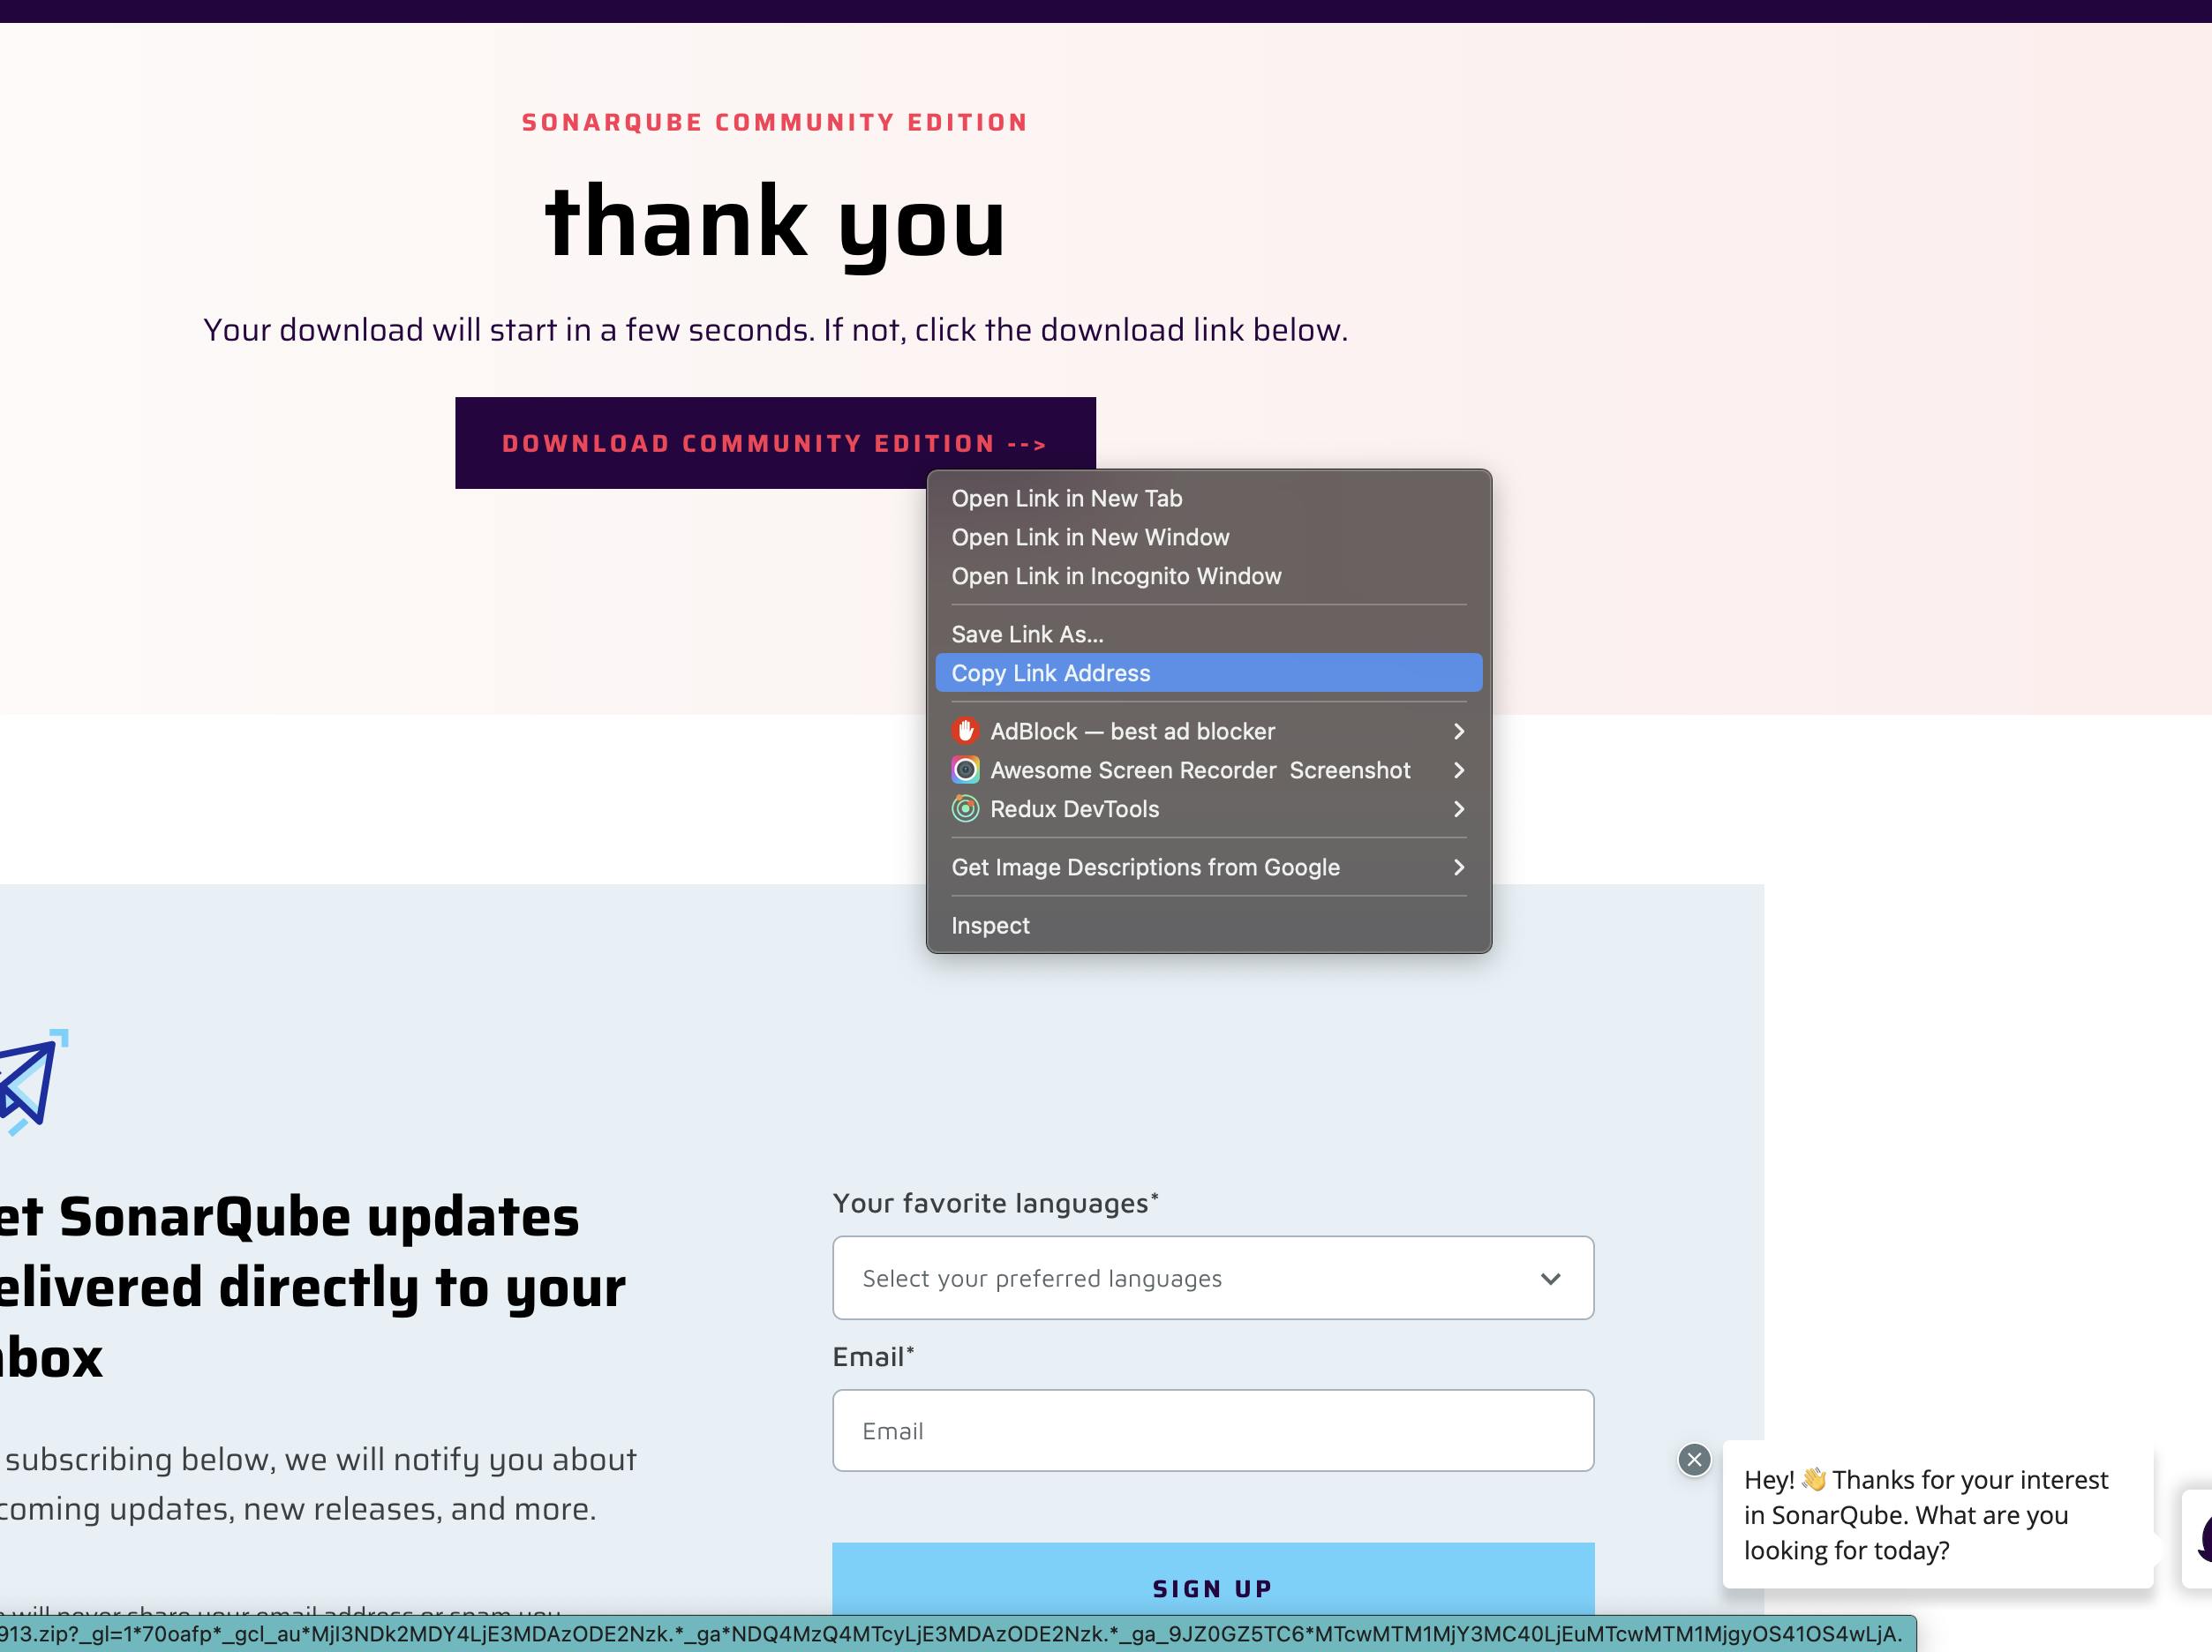
- Paste the following command in the SonarQube terminal
wget wget https://binaries.sonarsource.com/Distribution/sonarqube/sonarqube-10.3.0.82913.zip
- Follow the series of steps
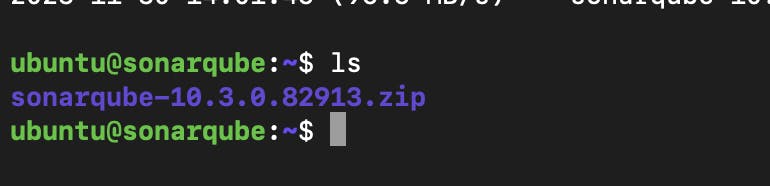
ls
sudo apt install unzip
unzip sonarqube-10.3.0.82913.zip
ls

cd sonarqube-10.3.0.82913
ls
cd bin

ls
cd linux-x86-64

ls

- To Run the Sonarqube server on the browser, run the following command.
./sonar.sh console
- Allocate a port for SonarQube on the EC2 instance to access in the browser.
- Click on the Instance Id of the SonarQube service
- Click on Security
- Click on the highlighted under security groups
- Click on Edit inbound rules
- Add the following configuration.
- Now paste the following command on the terminal
<public_IPv4_address>:9000
The default login and password of the Sonarube server is admin.
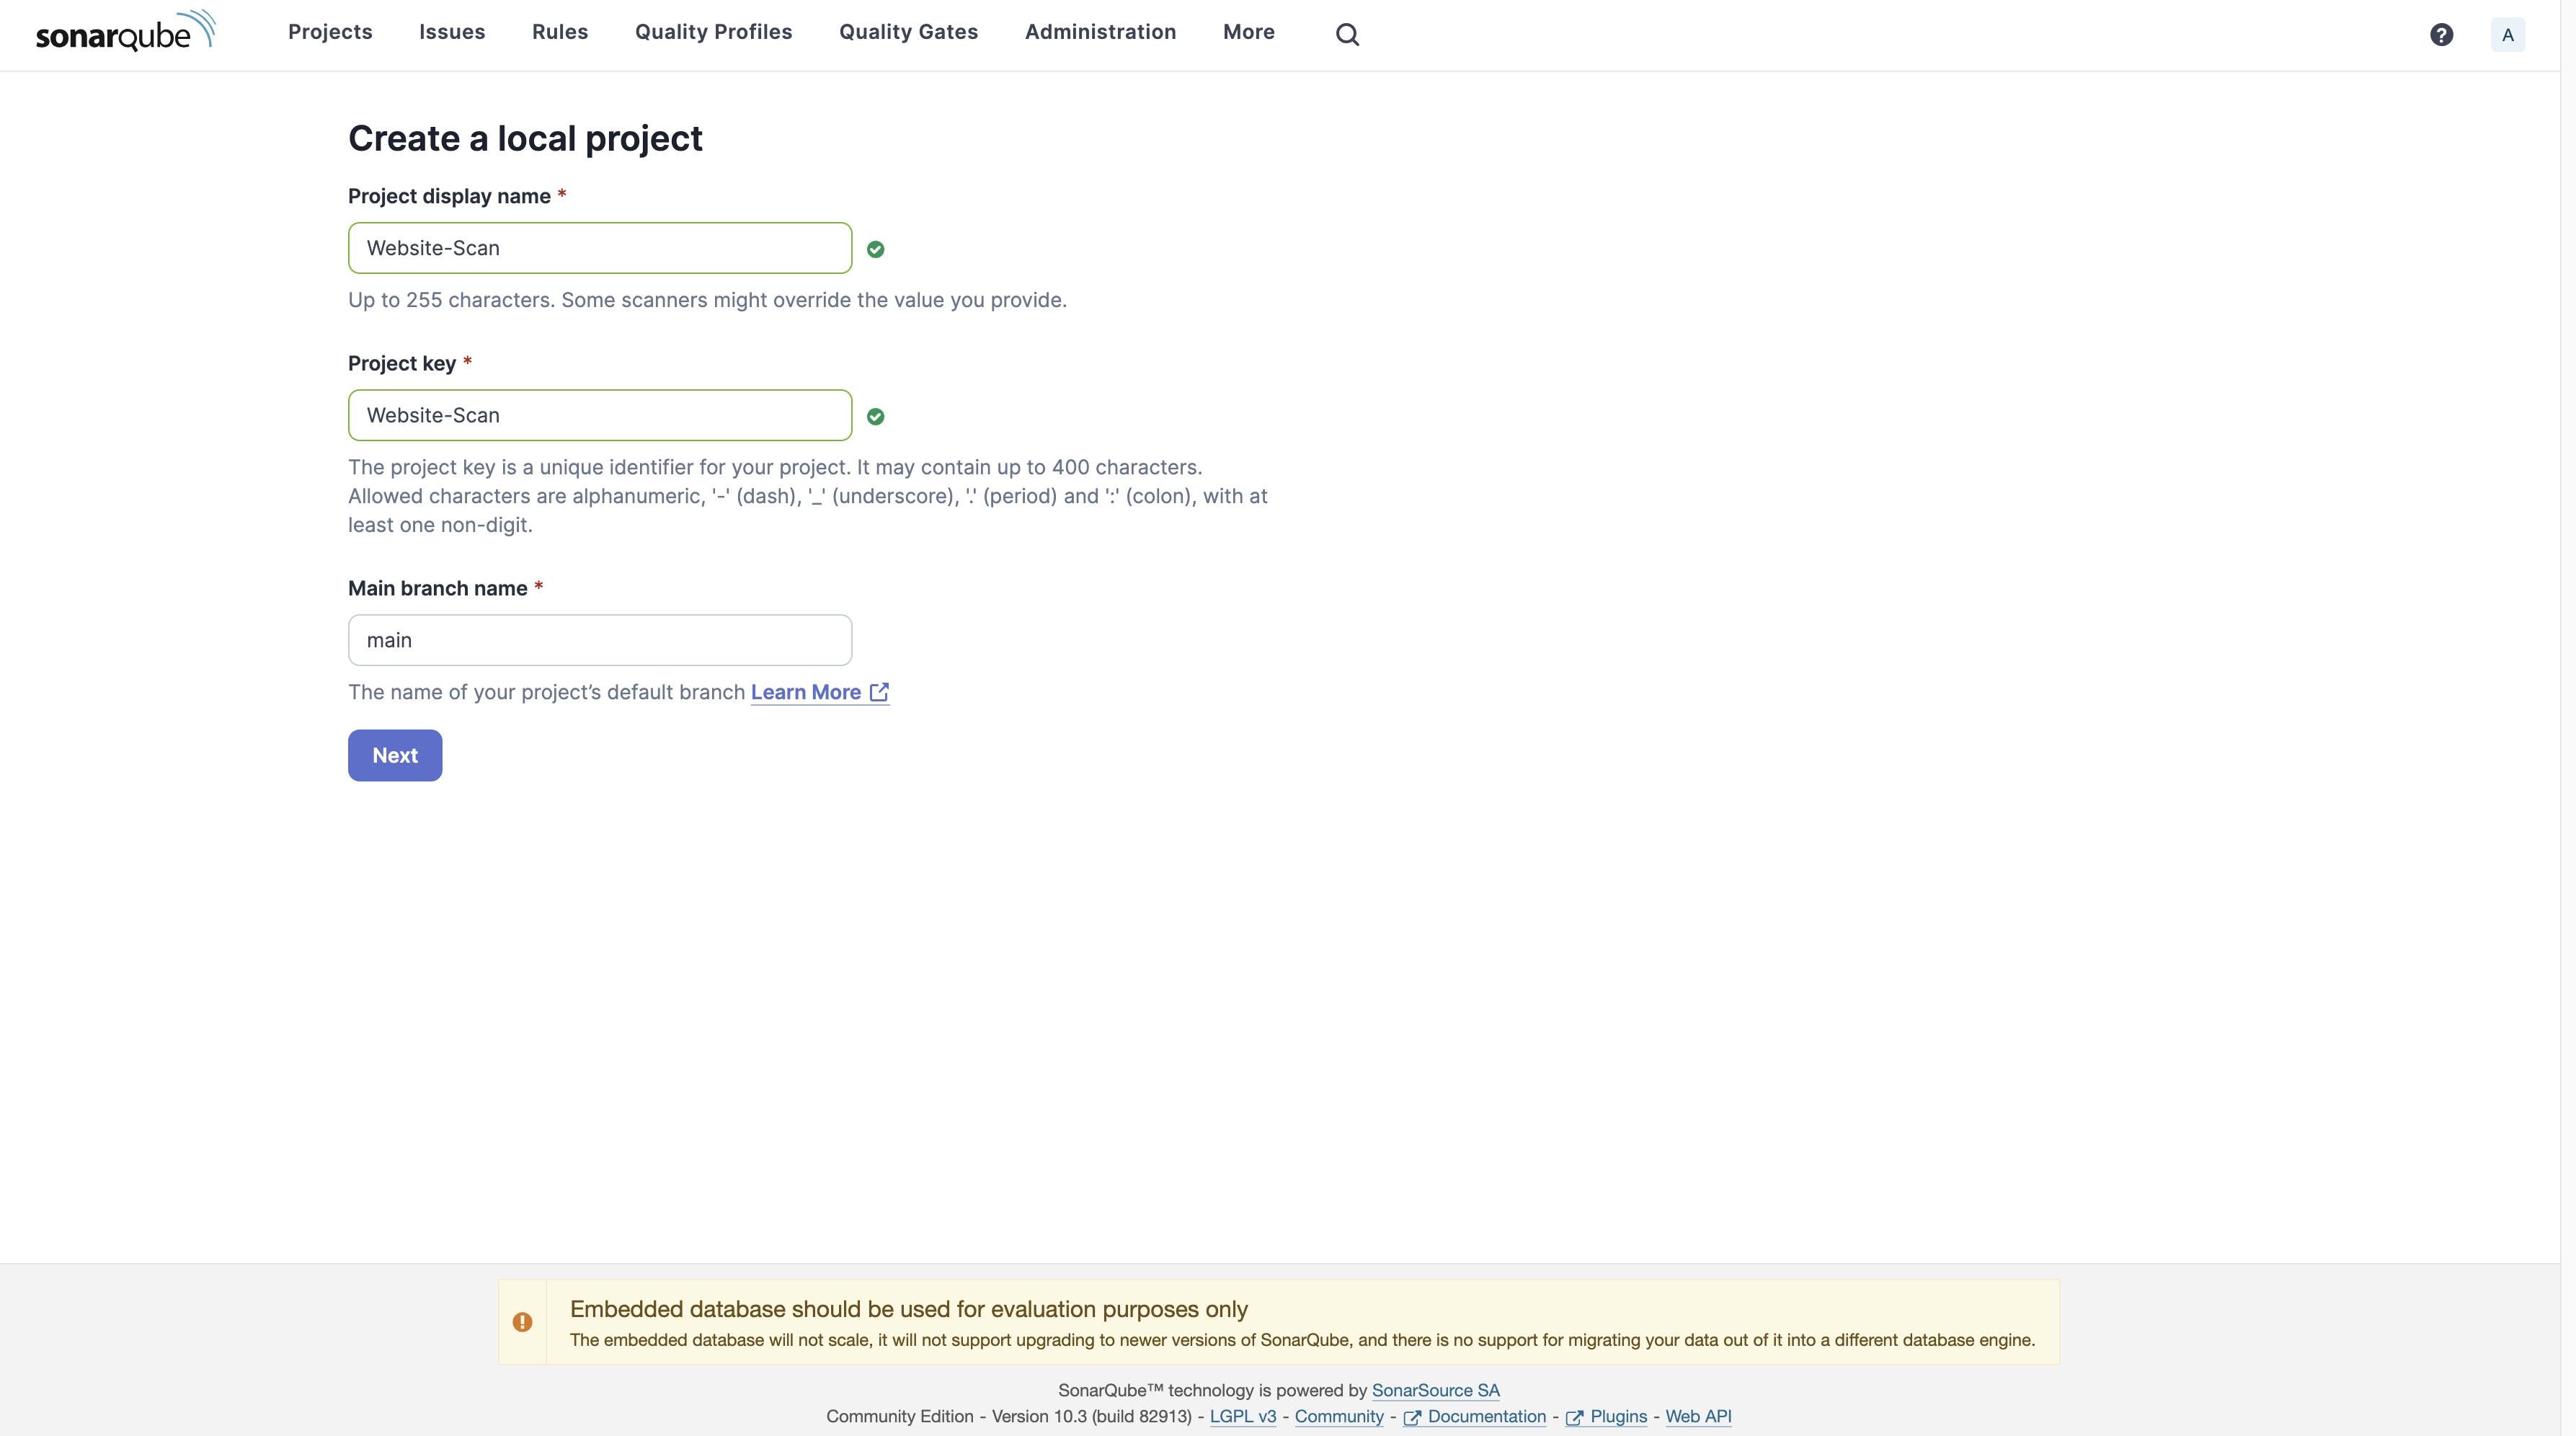
Click on Create a local project
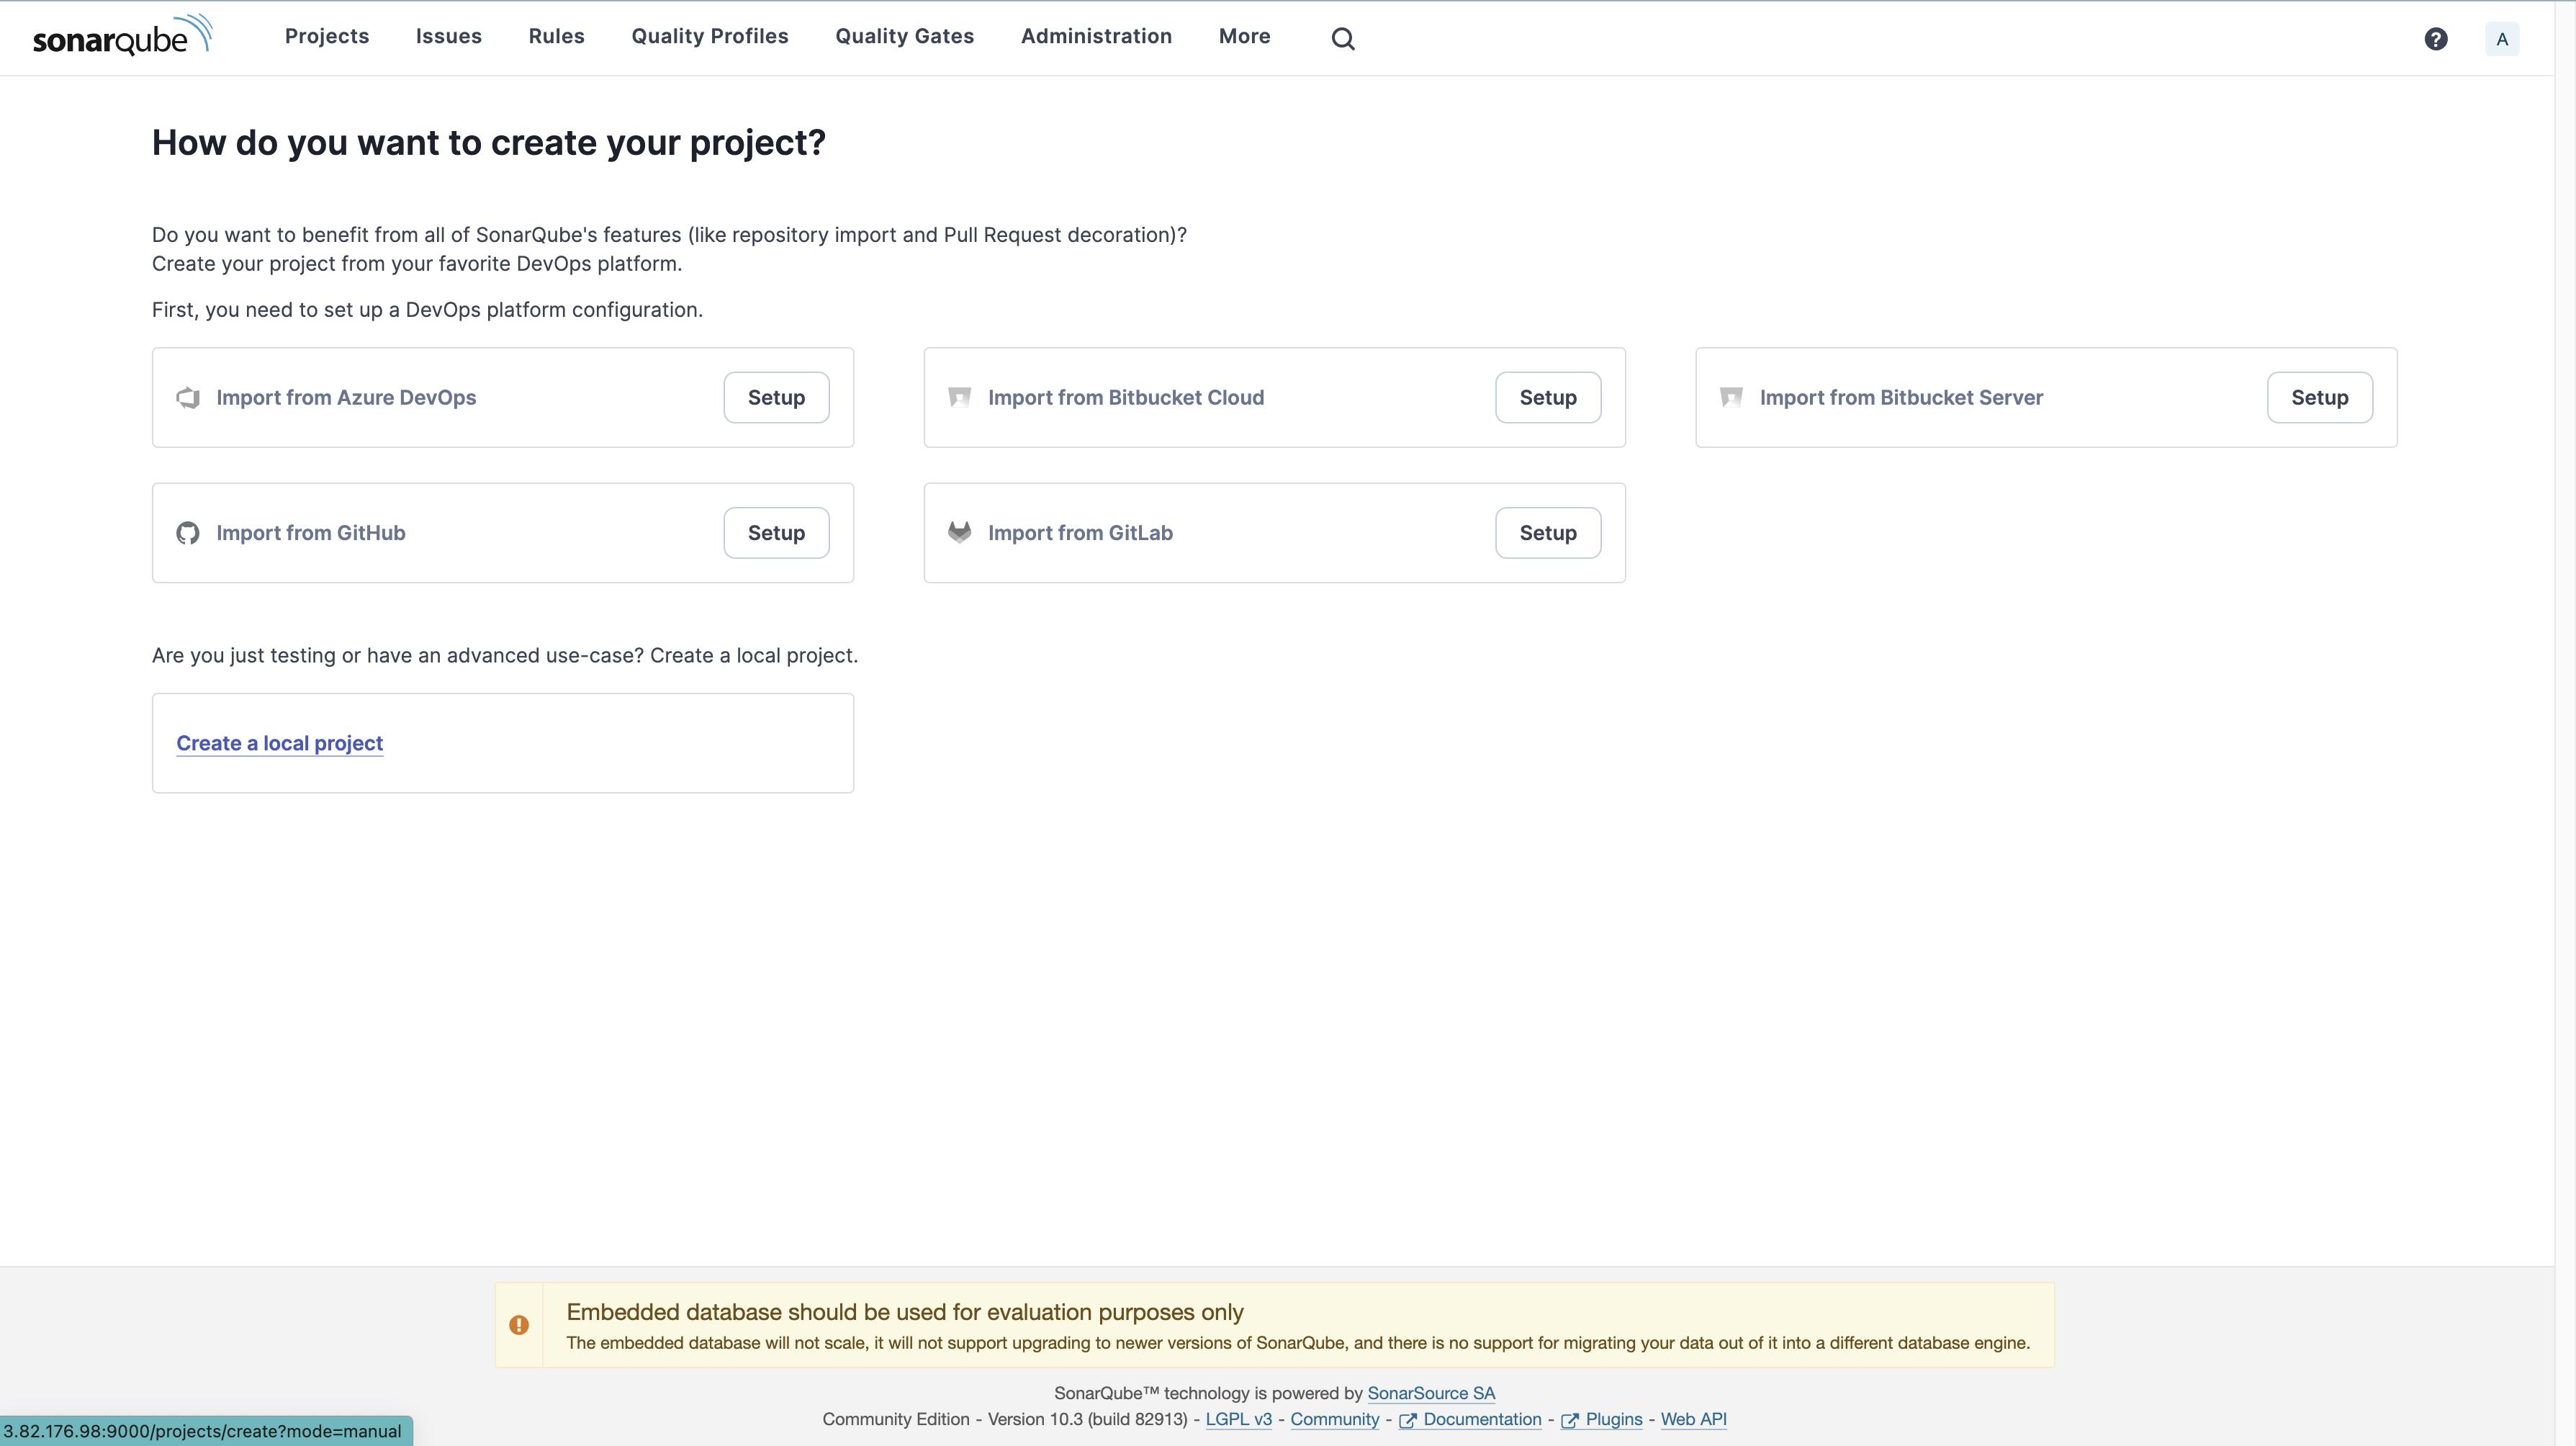
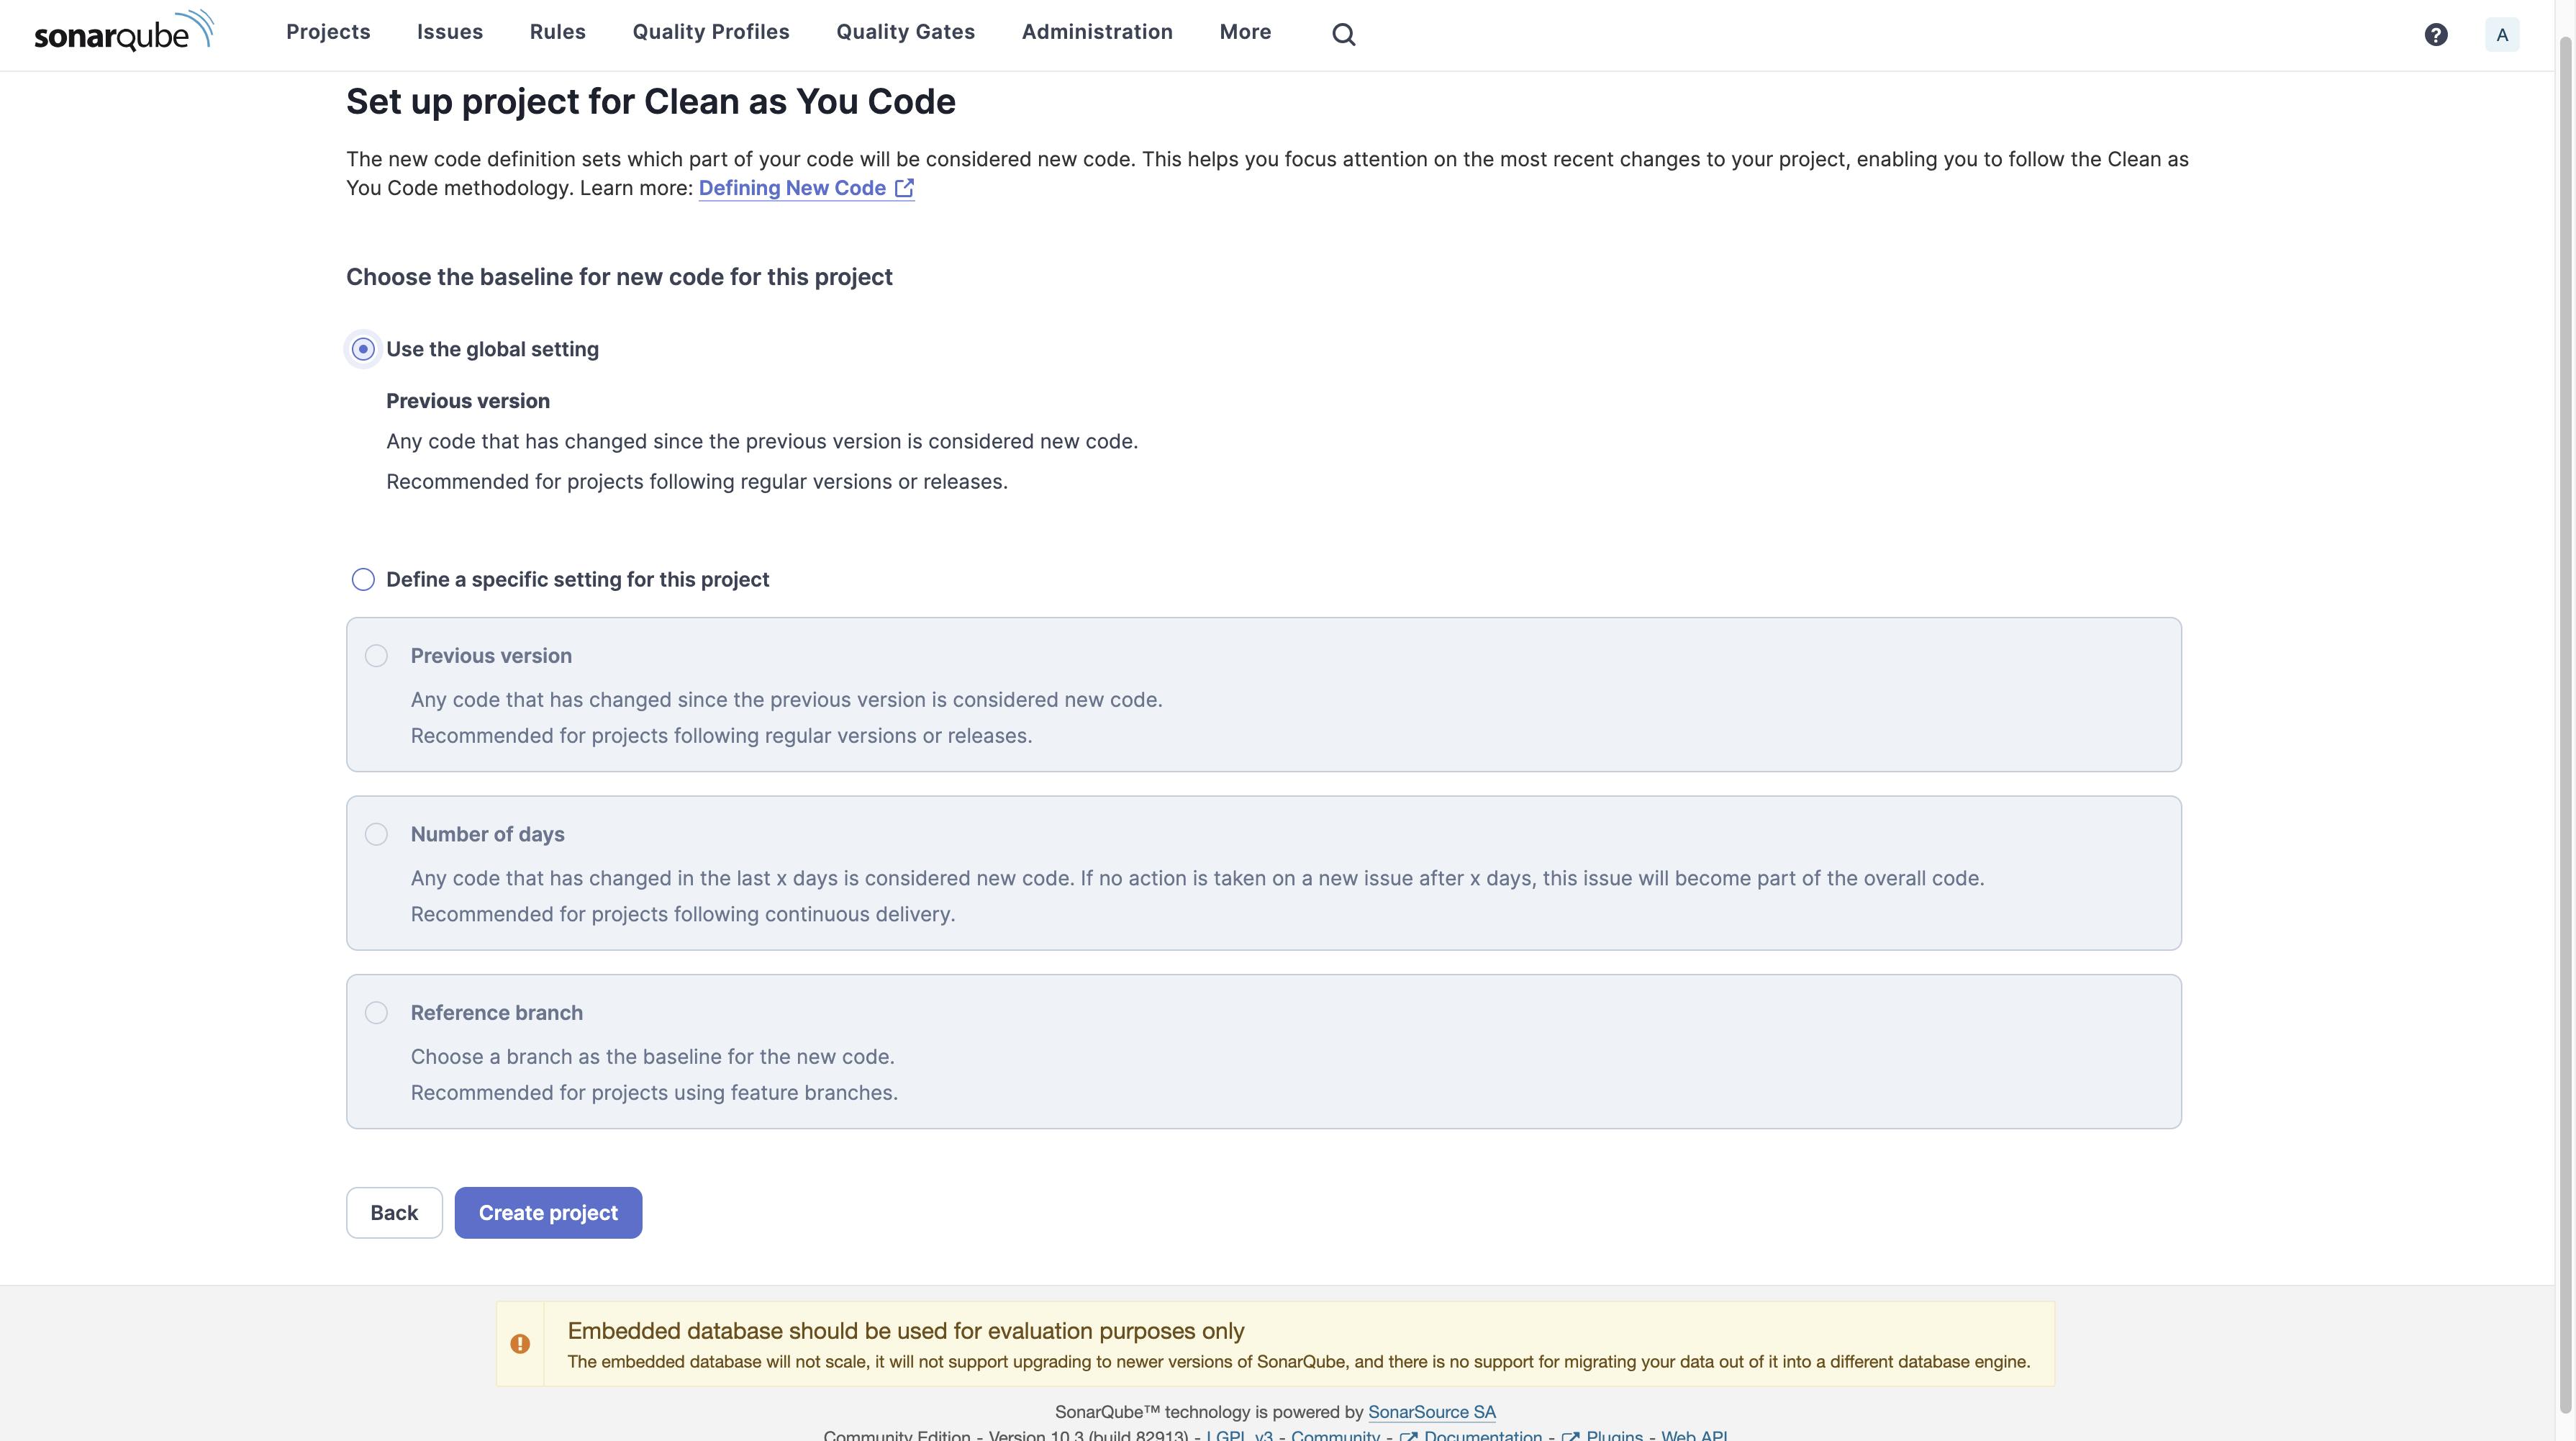
- Fill in the details.
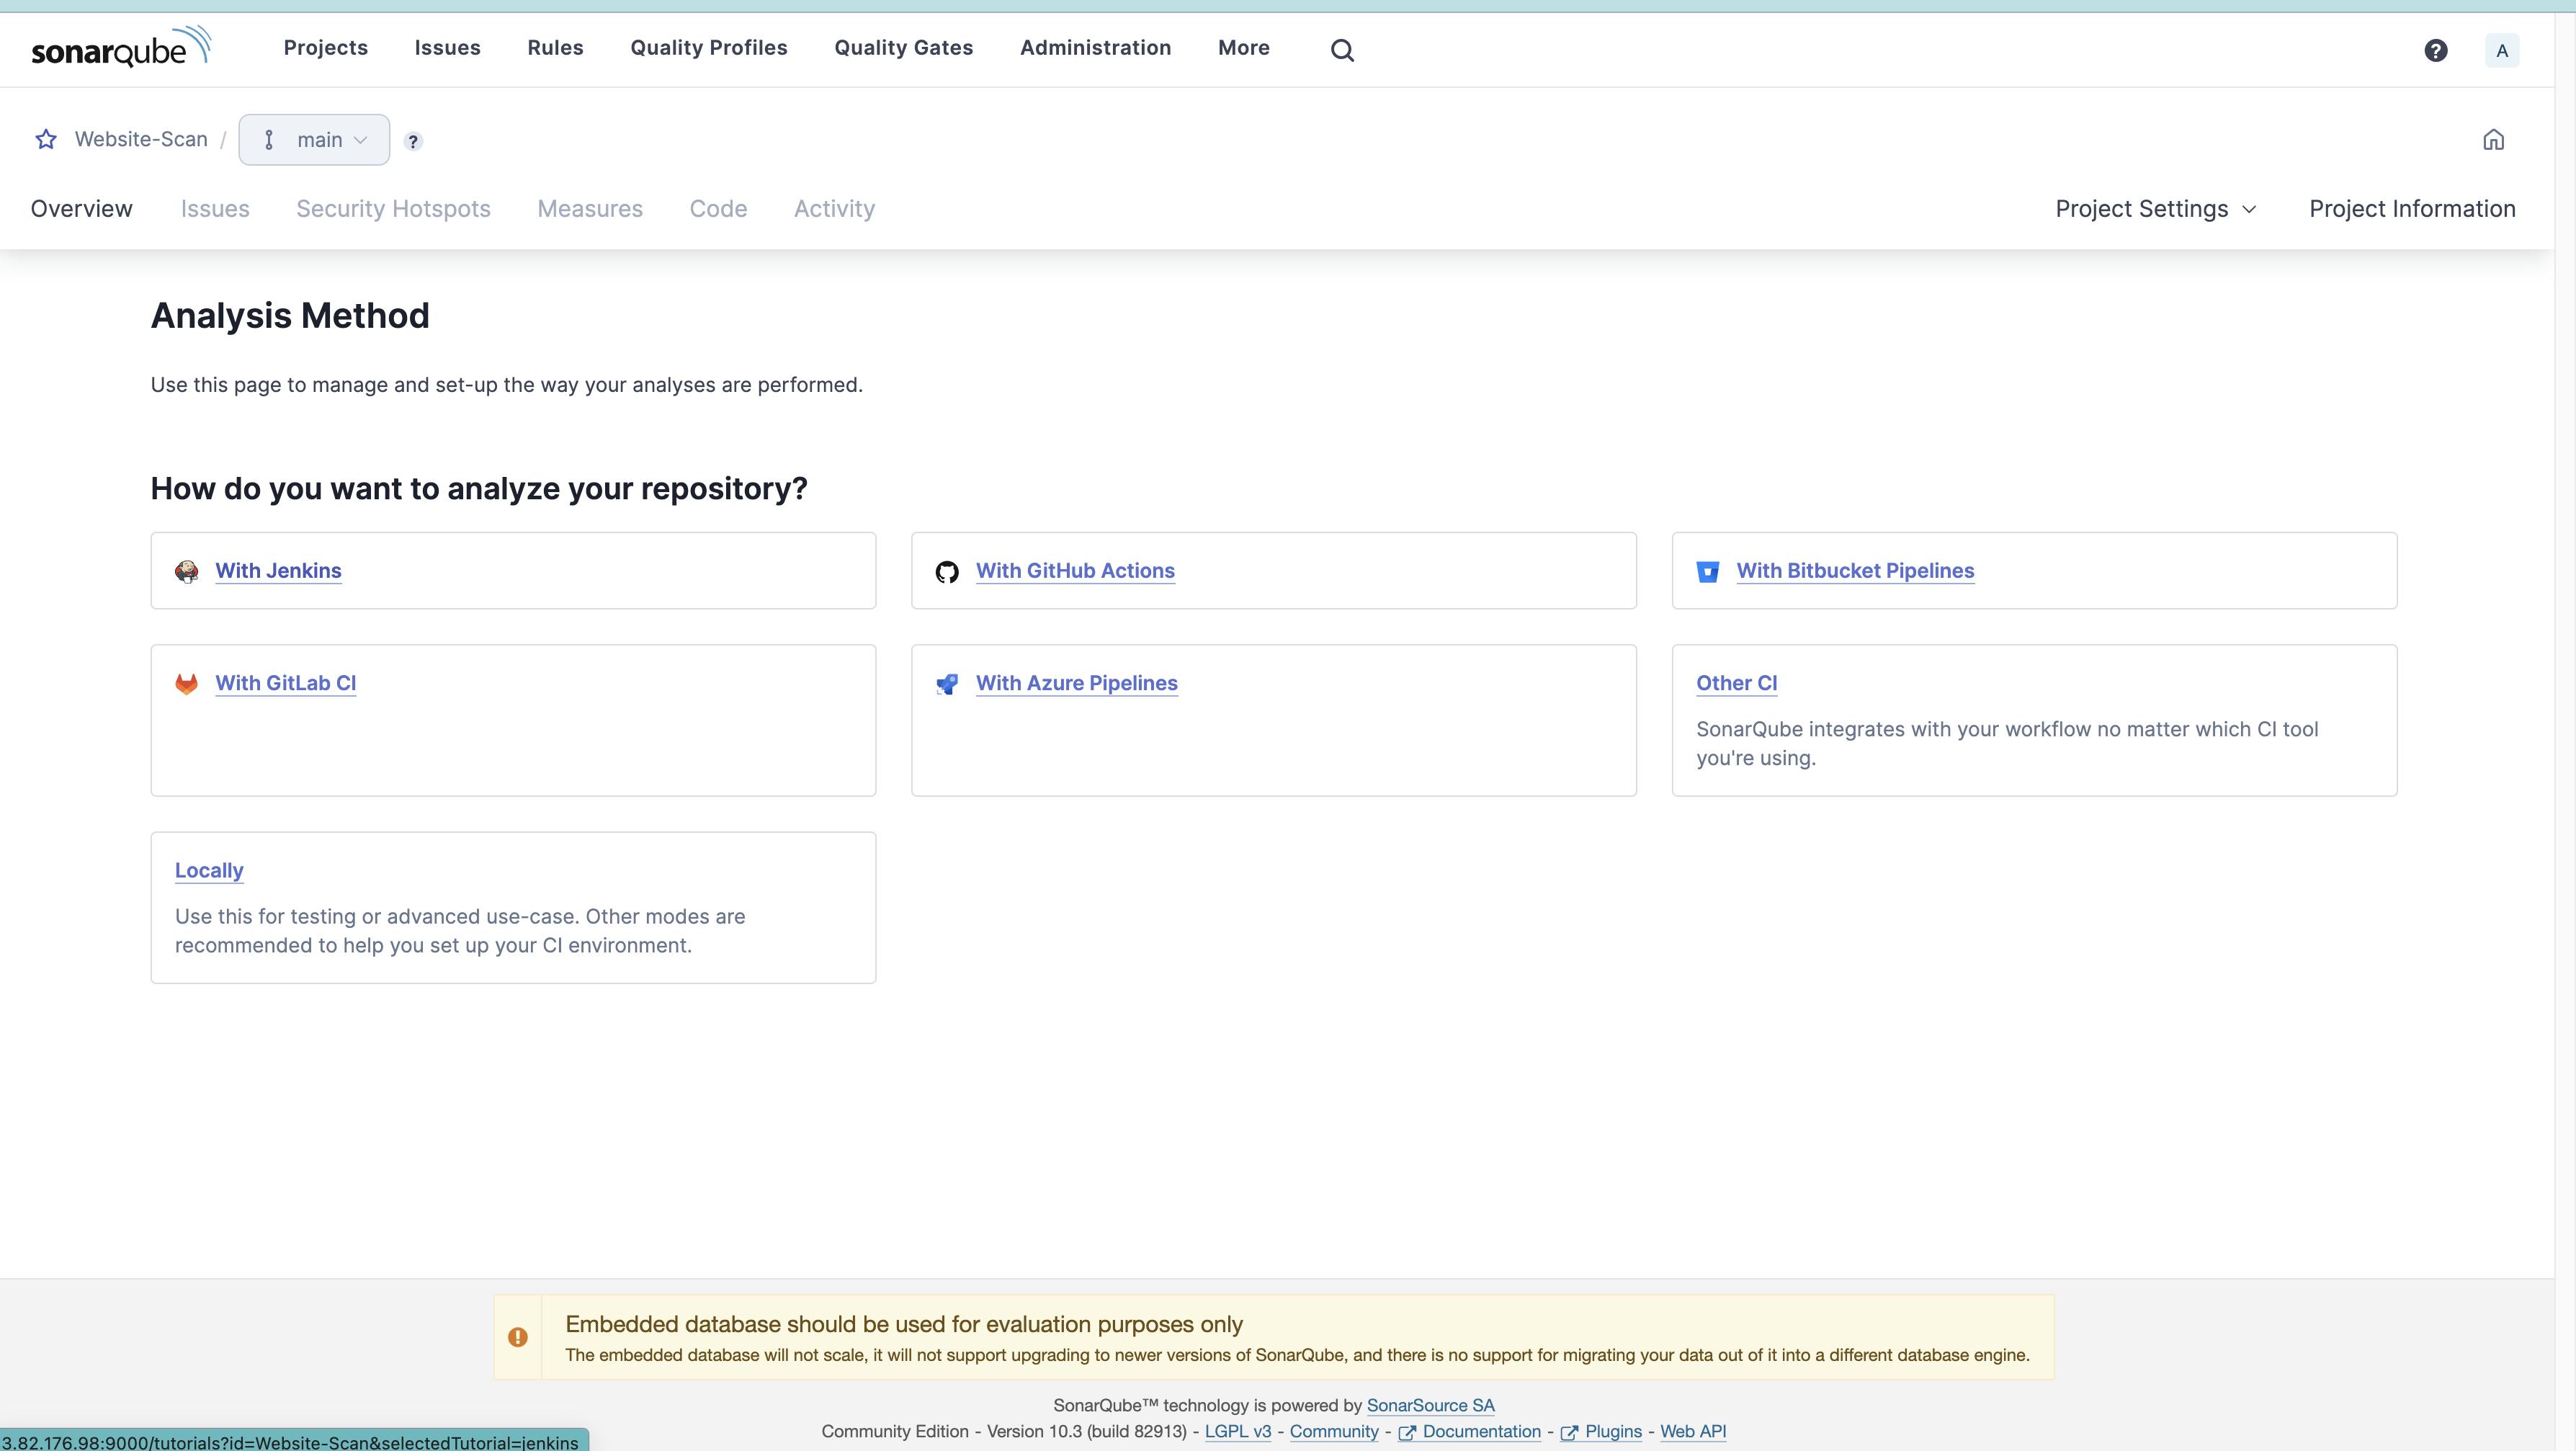
- Select Analysis method as With Jenkins
- Select DevOps platform as GitHub
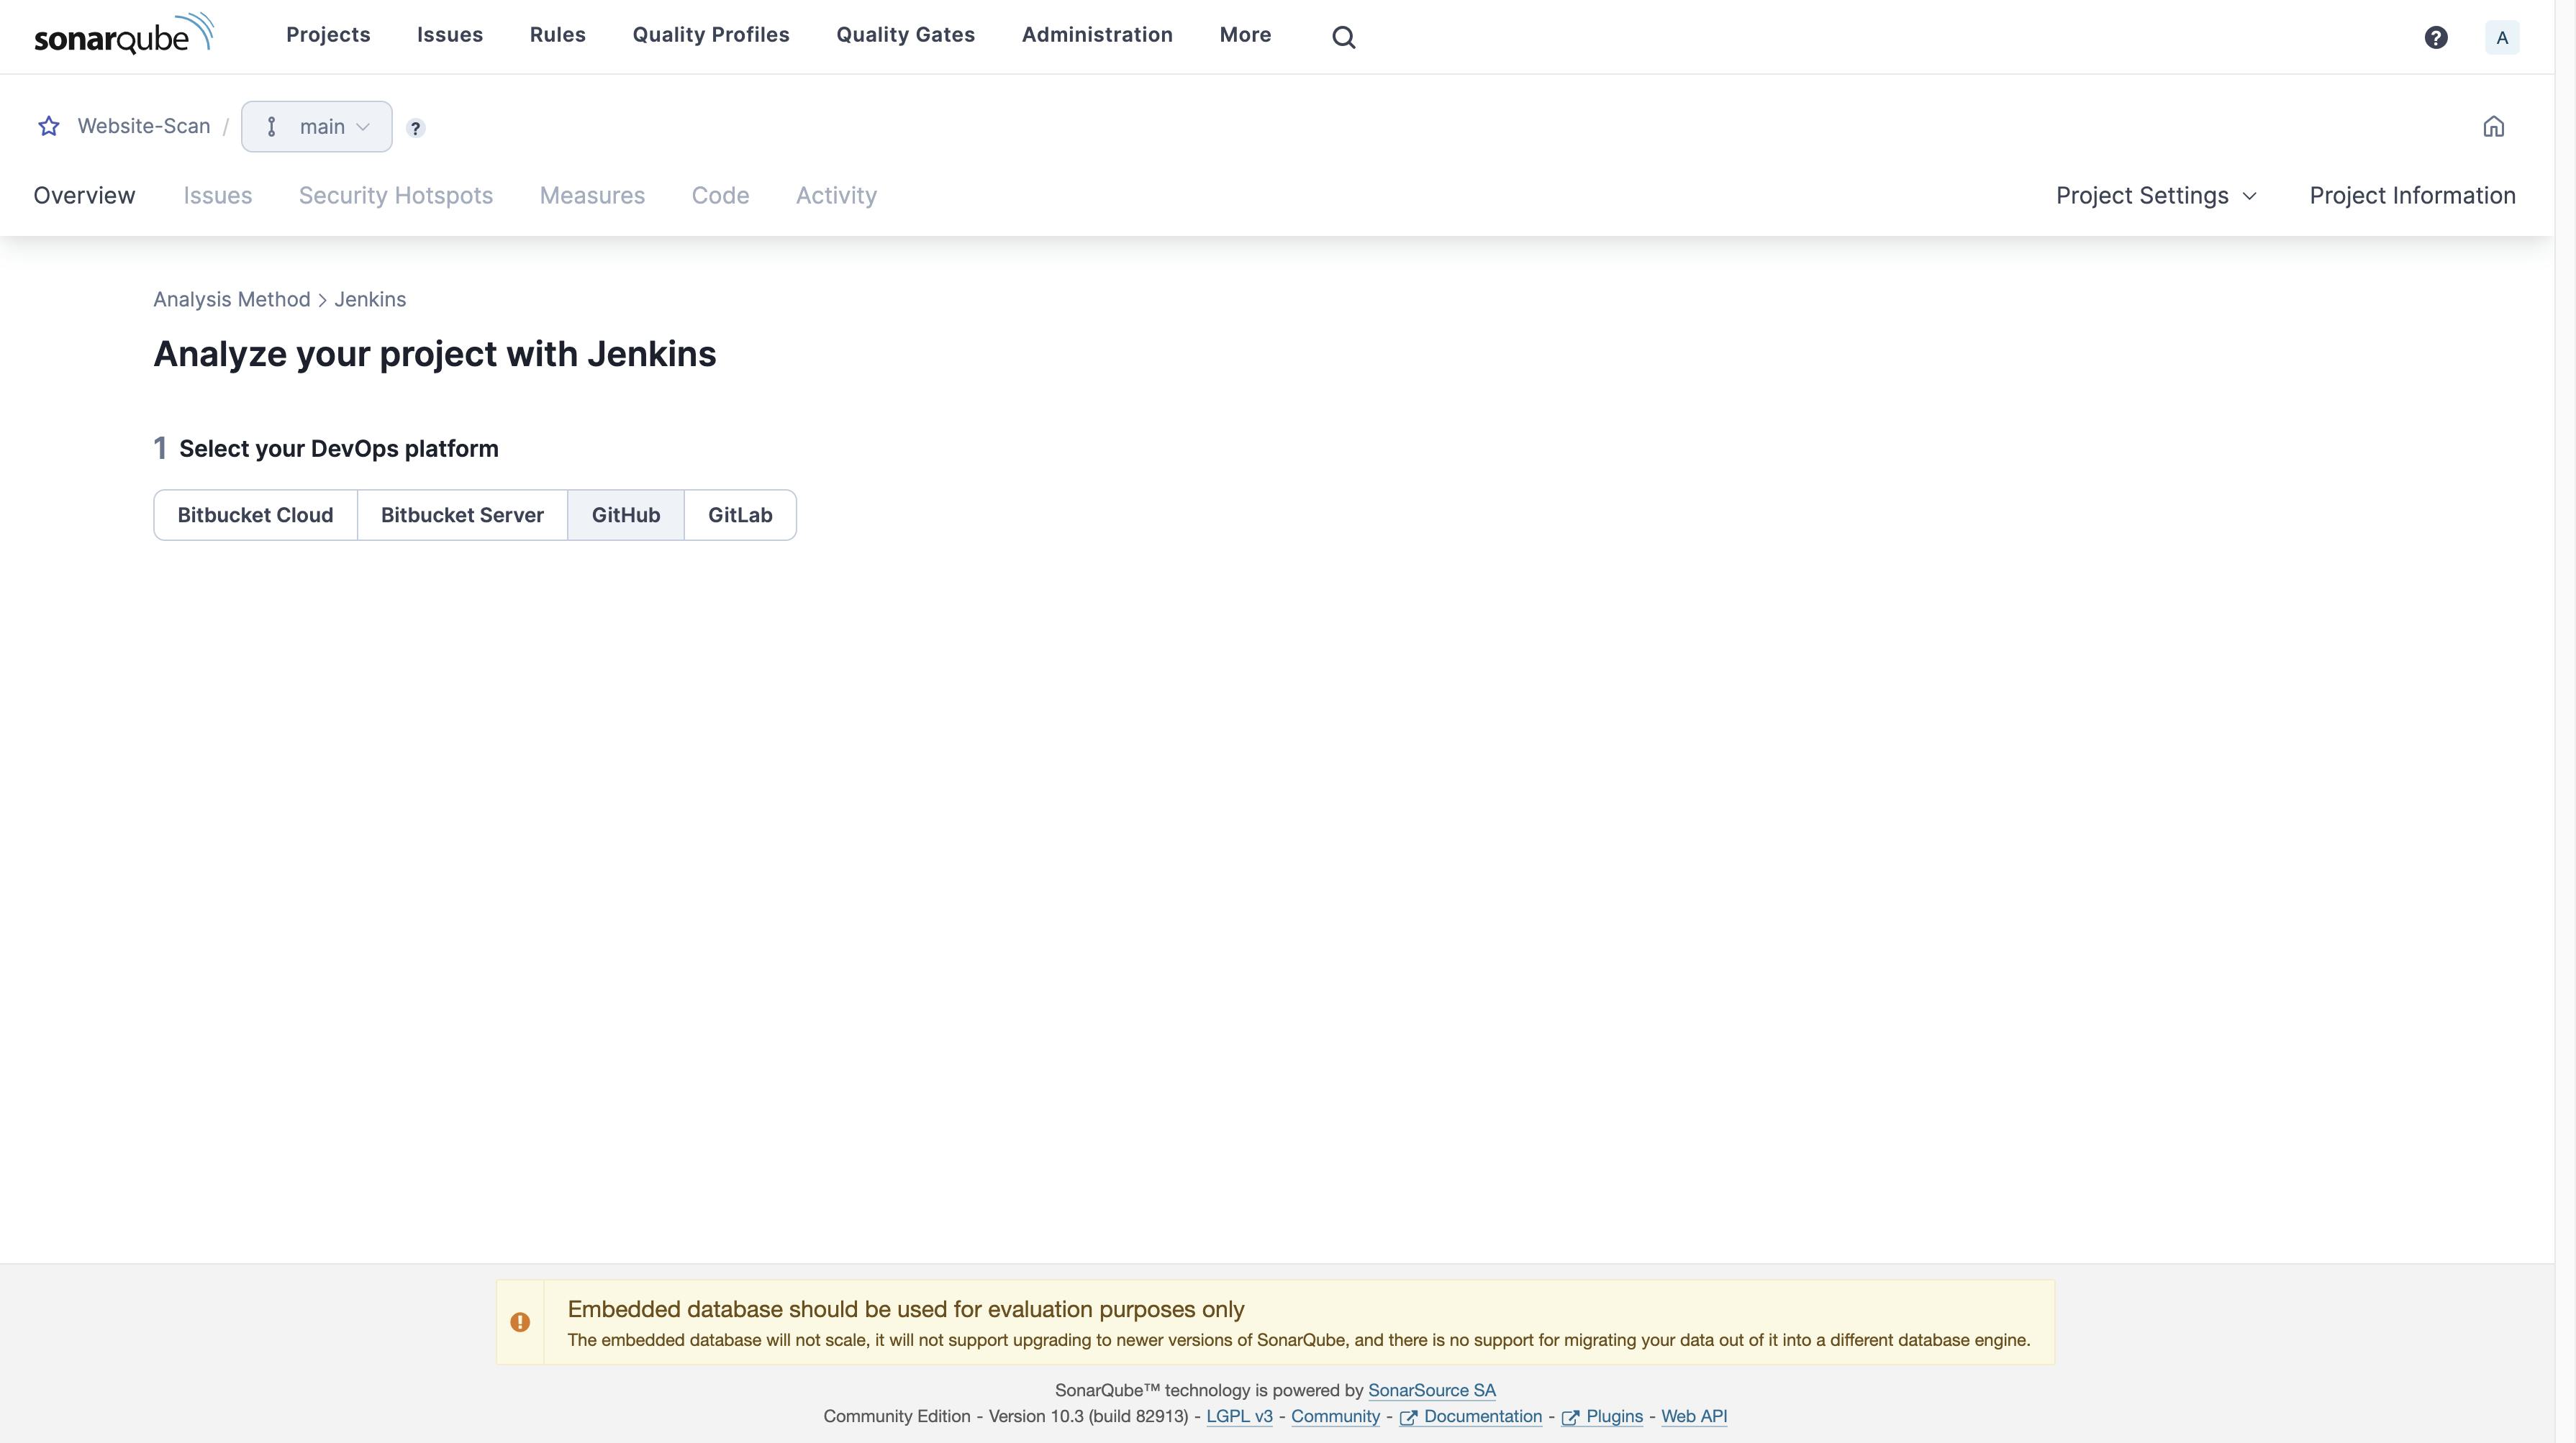
- Scroll to the end of the page and select the other.
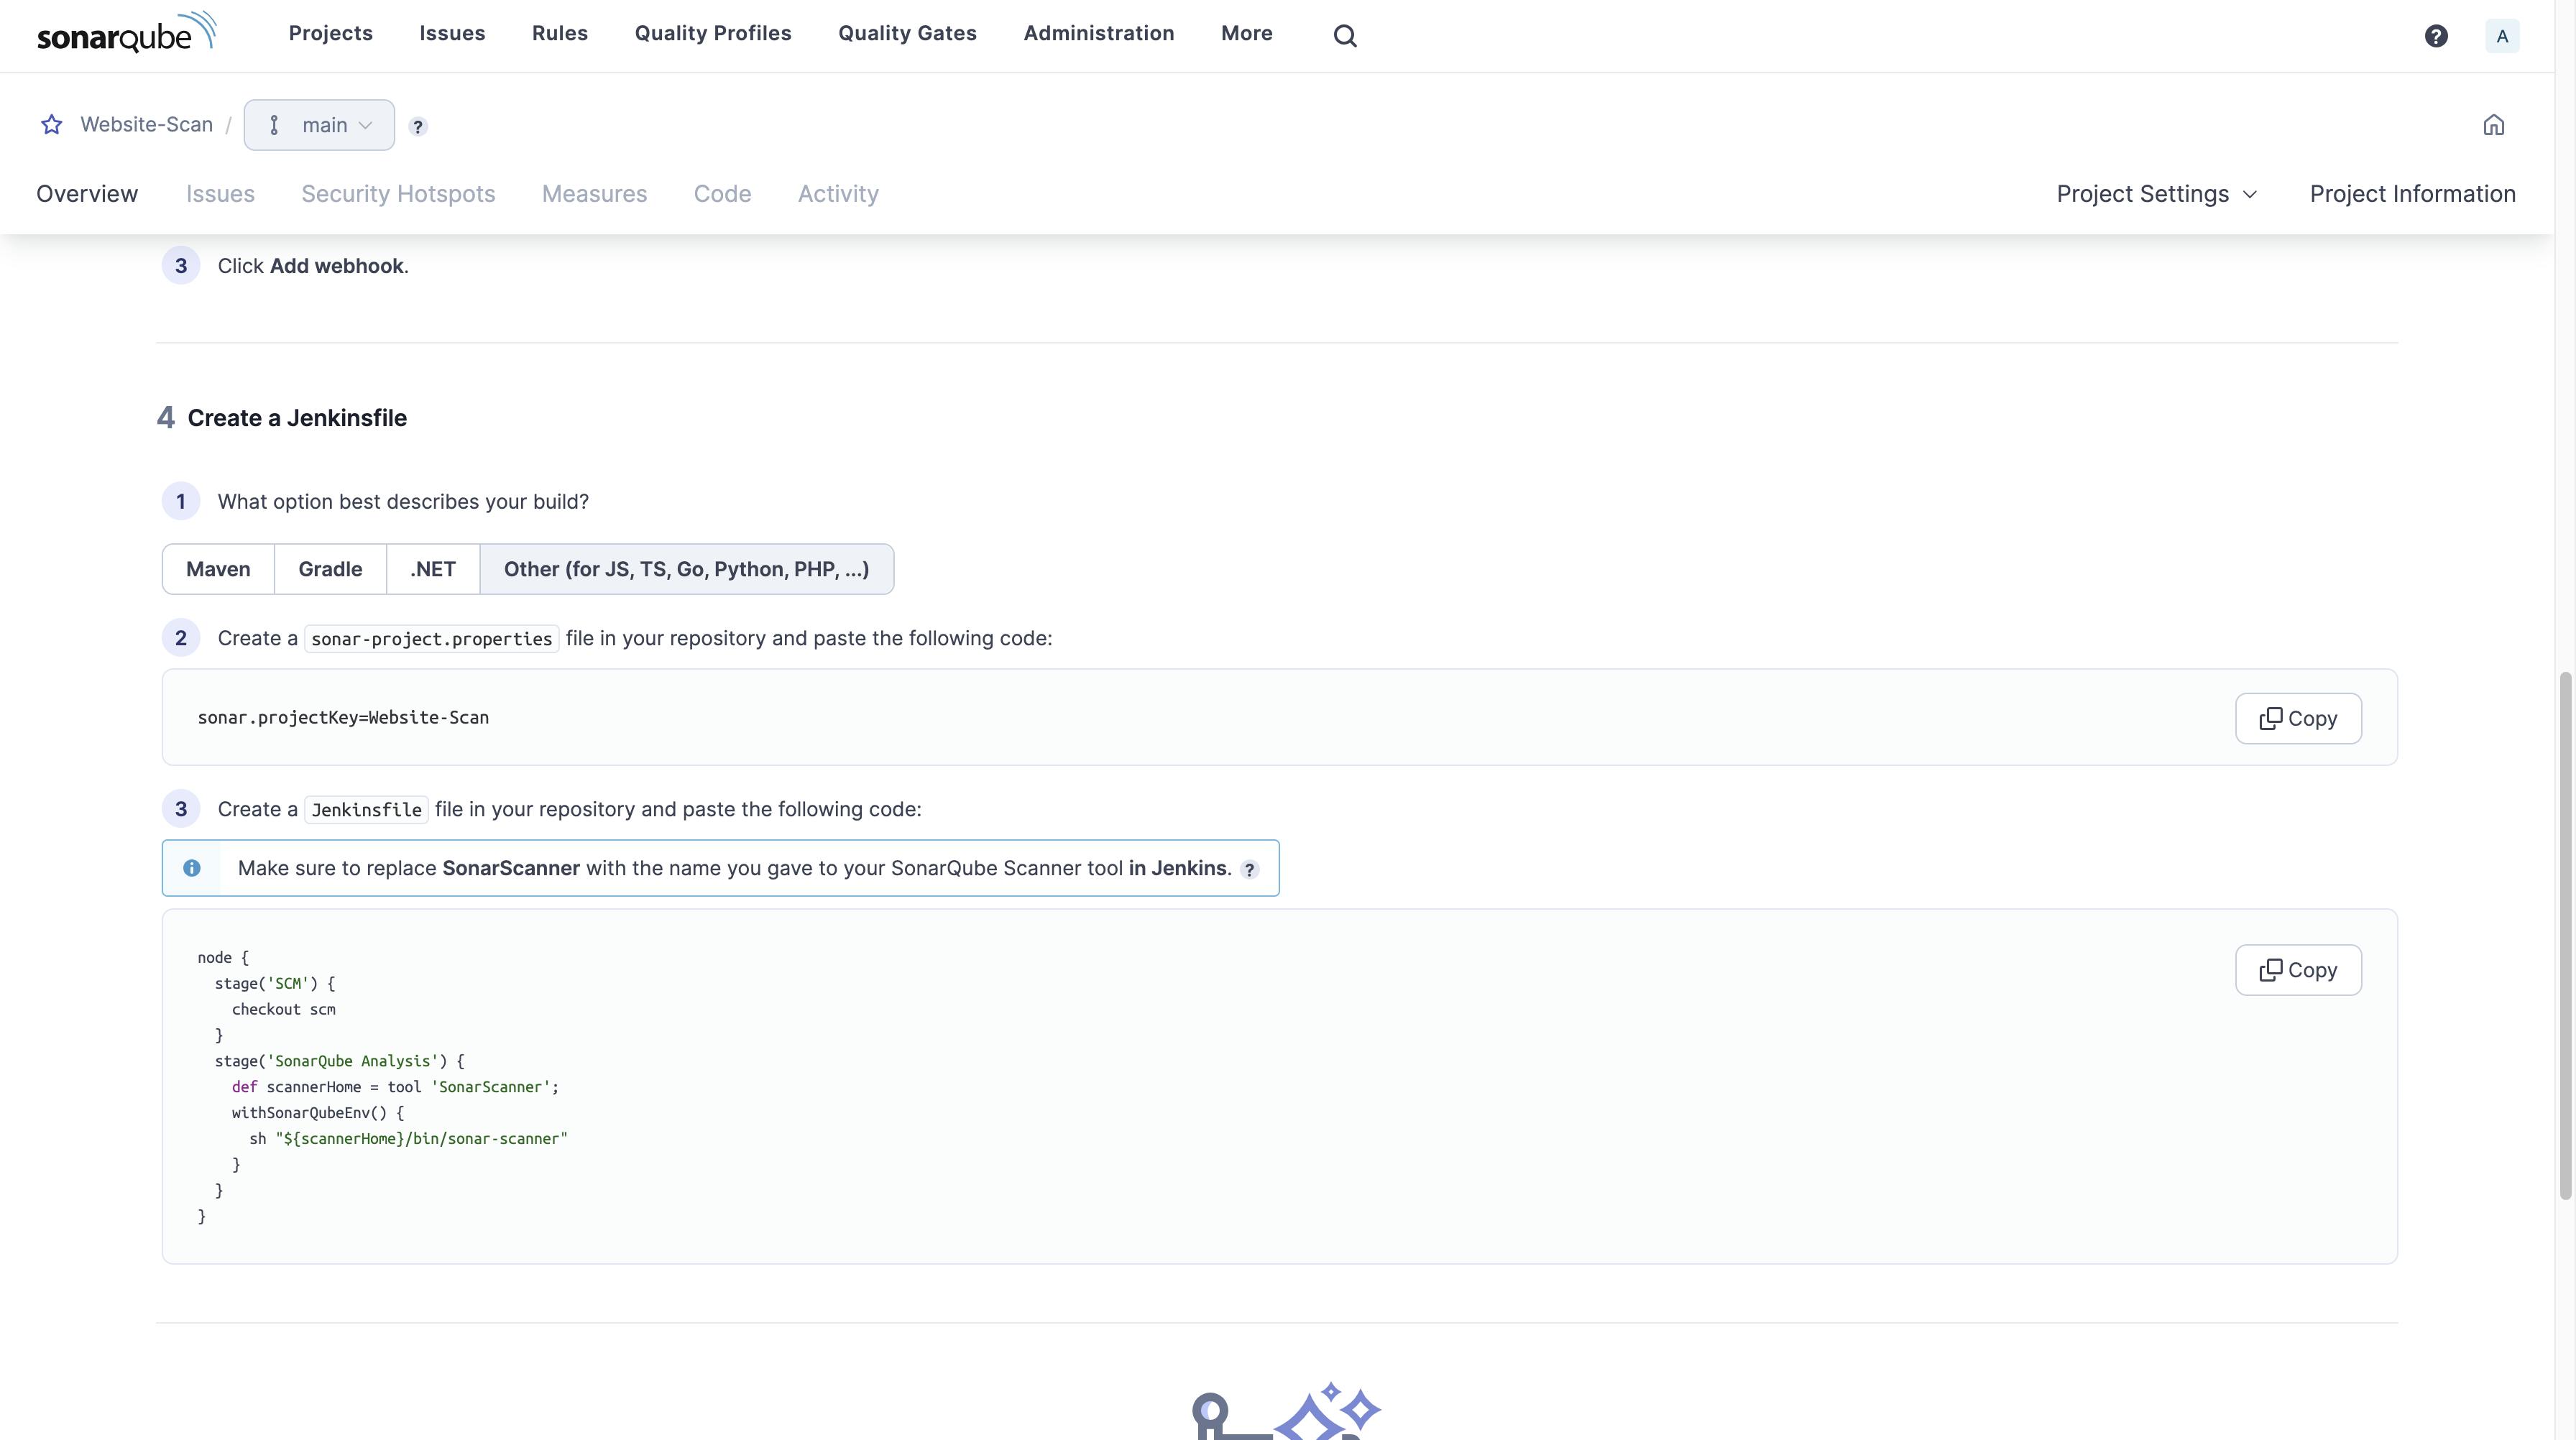
Save the two snippets that appear on selecting the other in a text file.
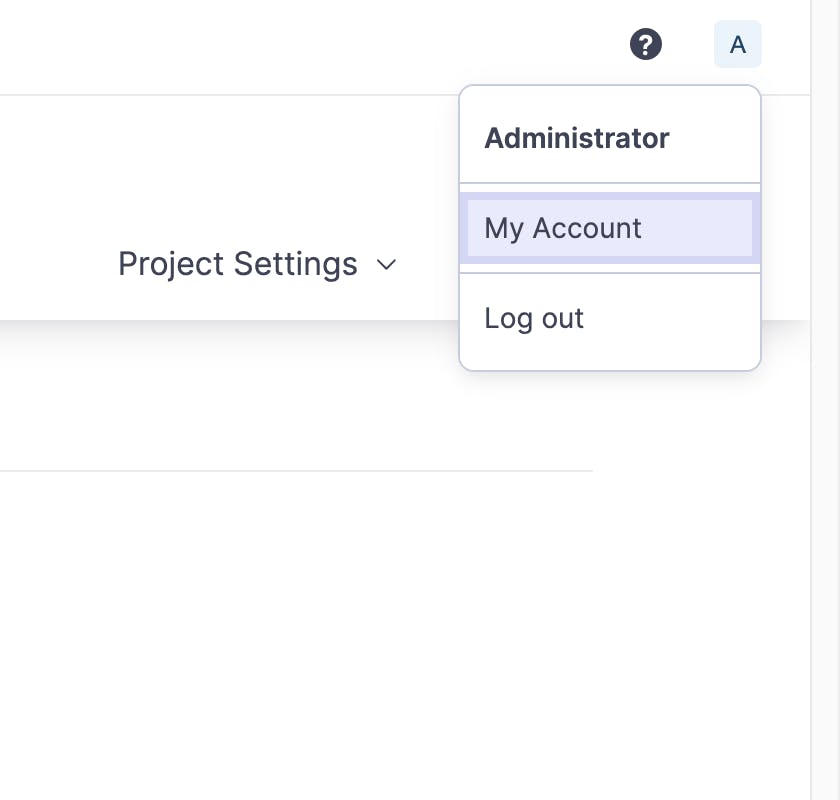
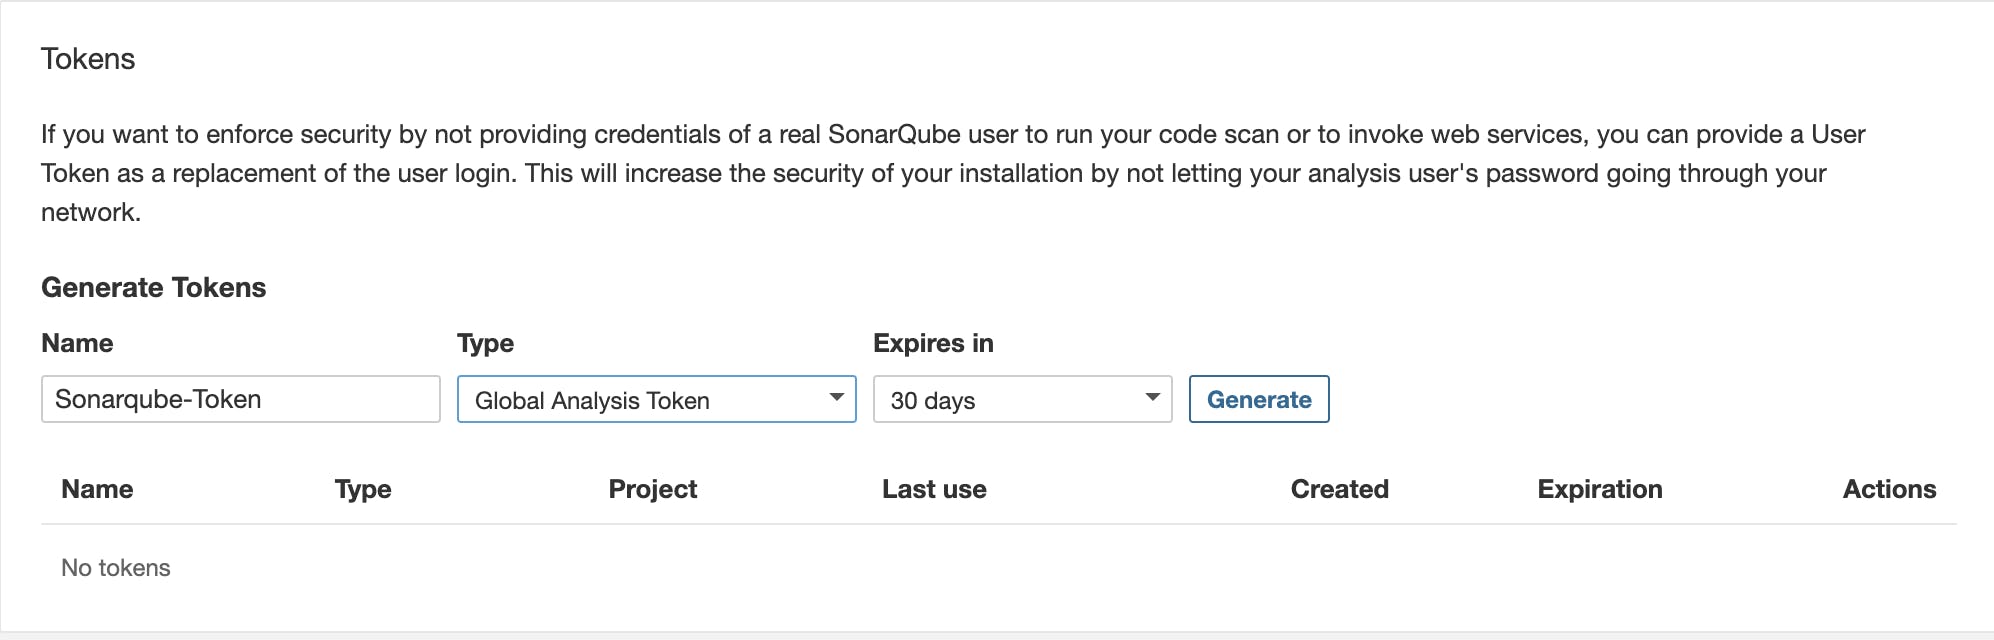
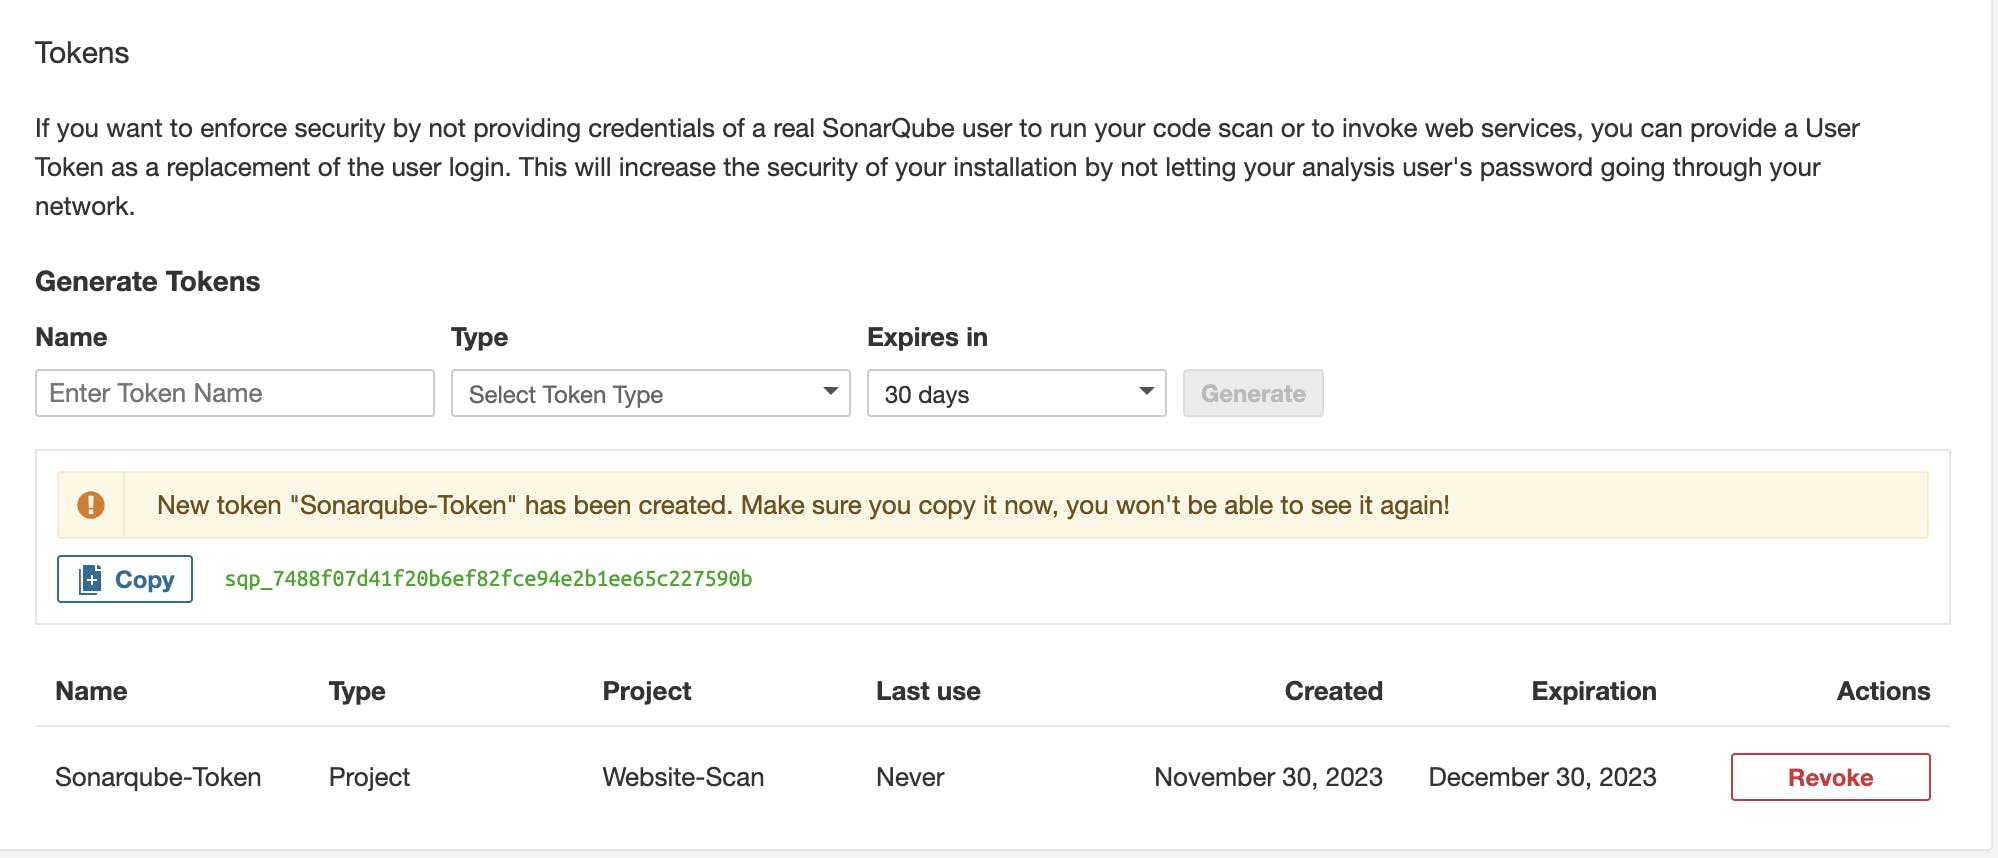
- Click on Account in the top-right corner and go to MY ACCOUNT
- Go to security.

- Fill in the details to generate a token and save it in a text file.
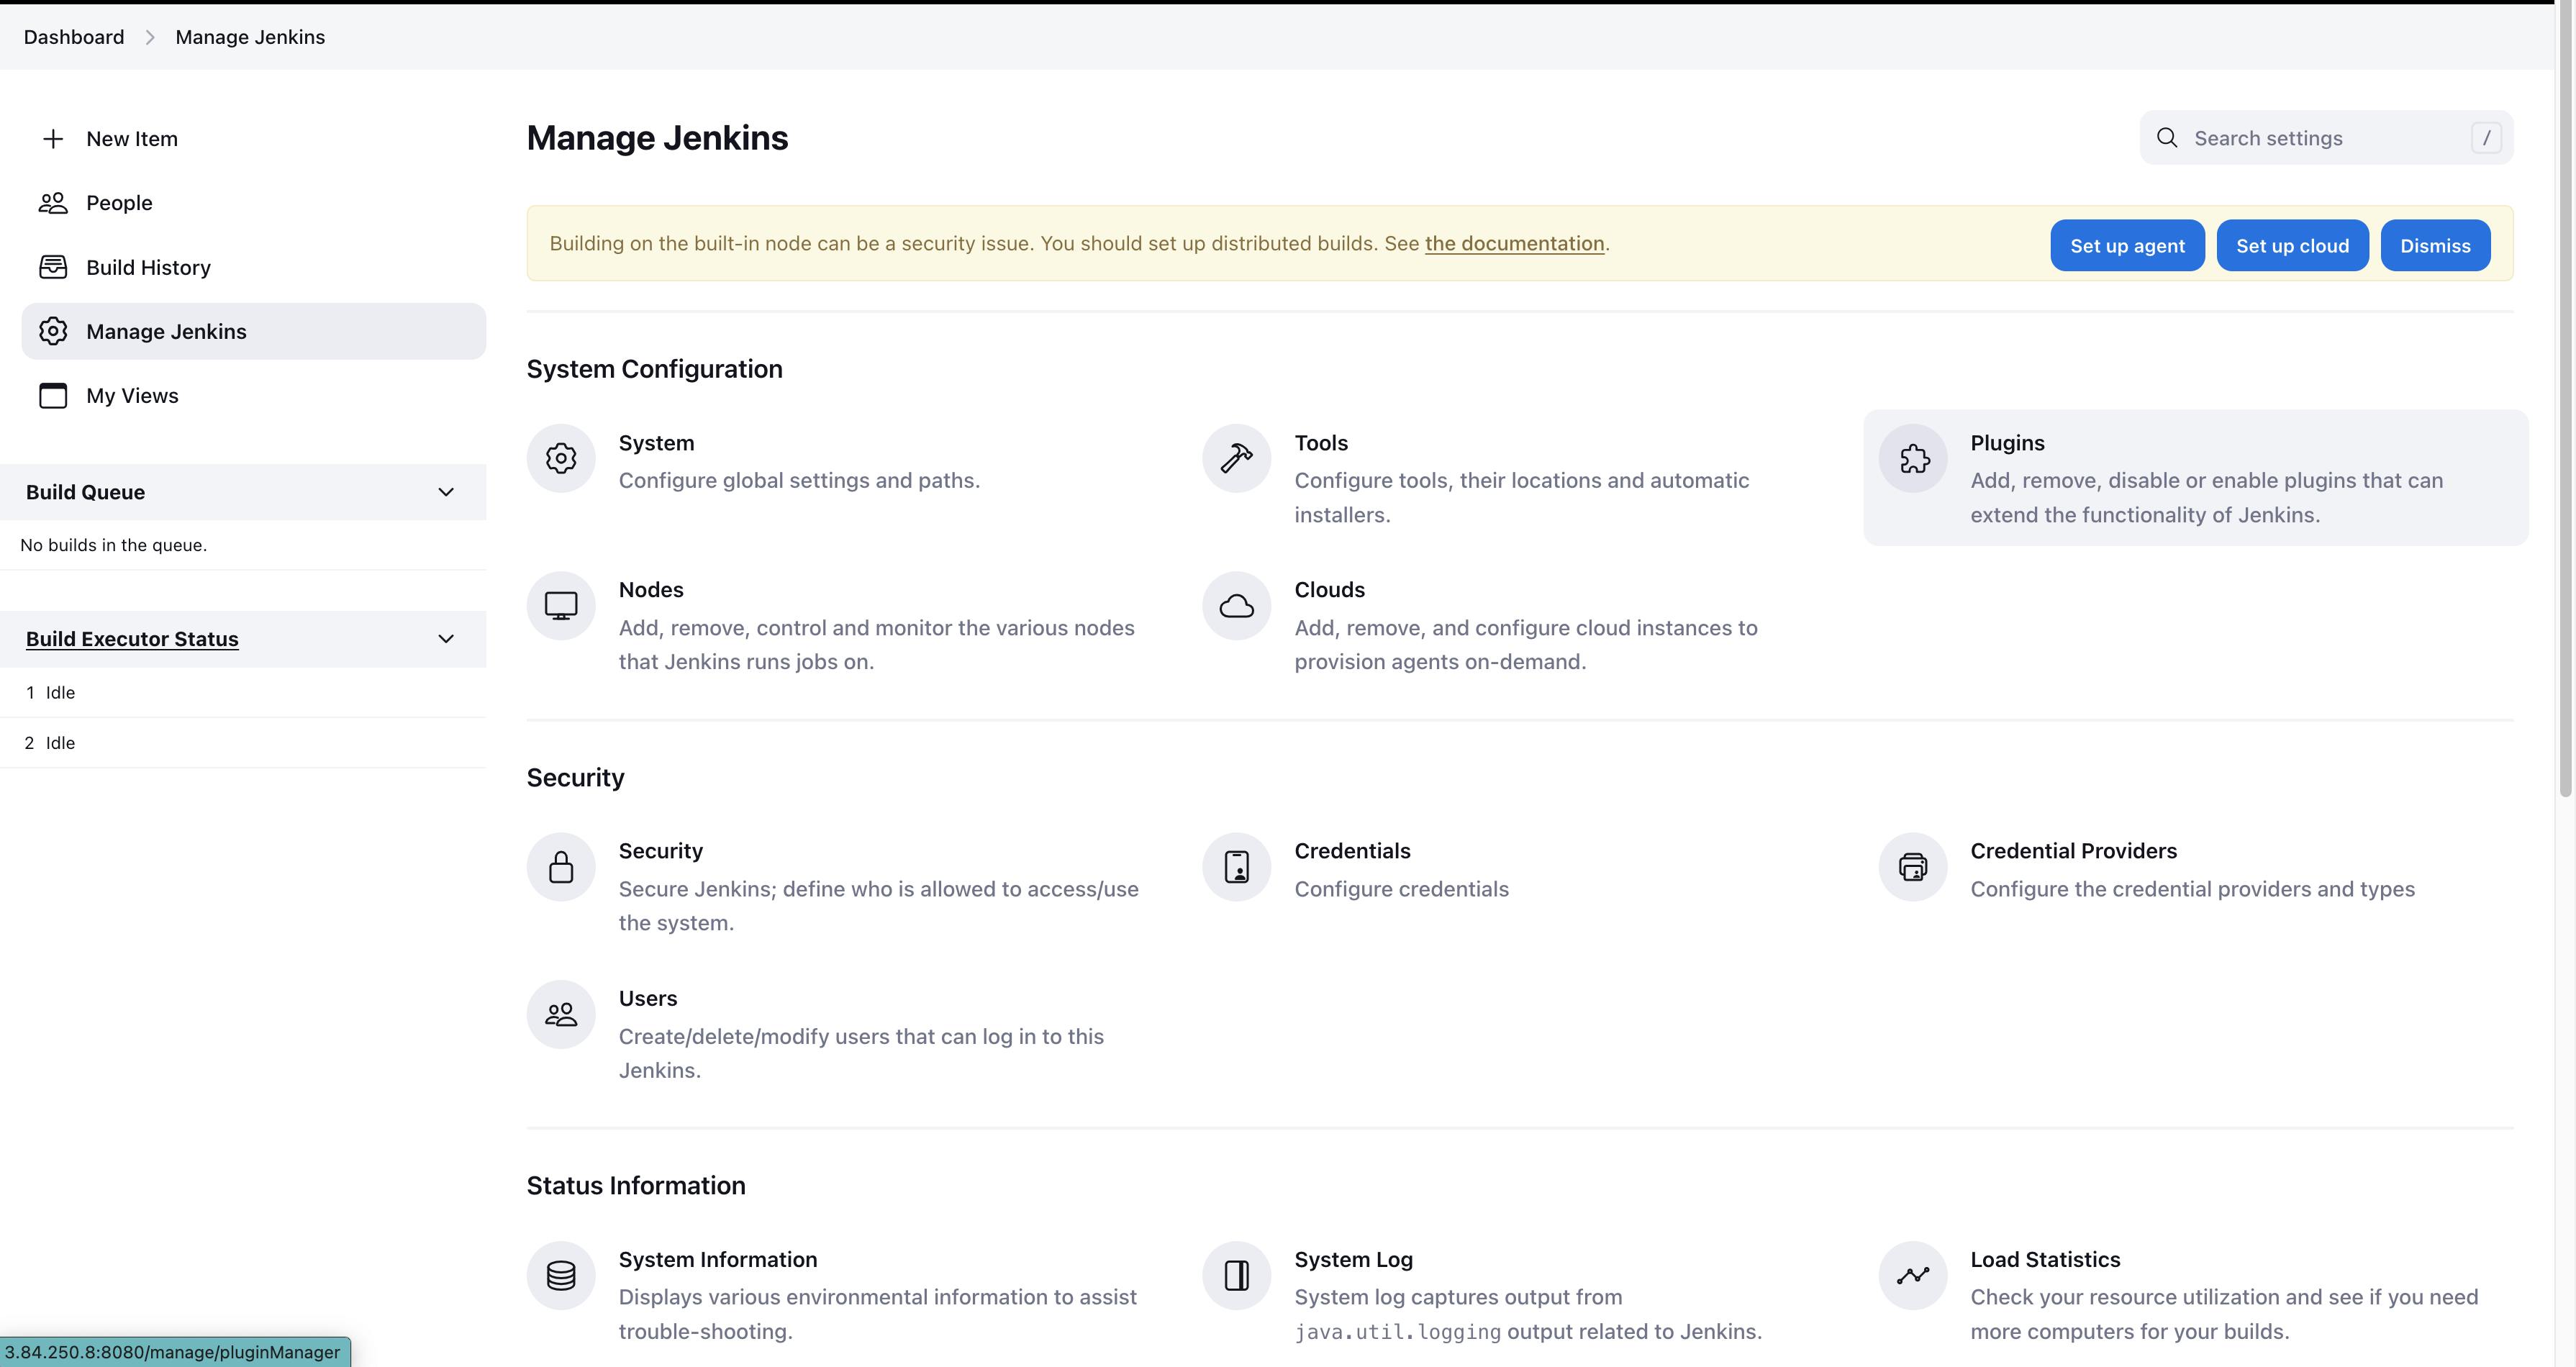
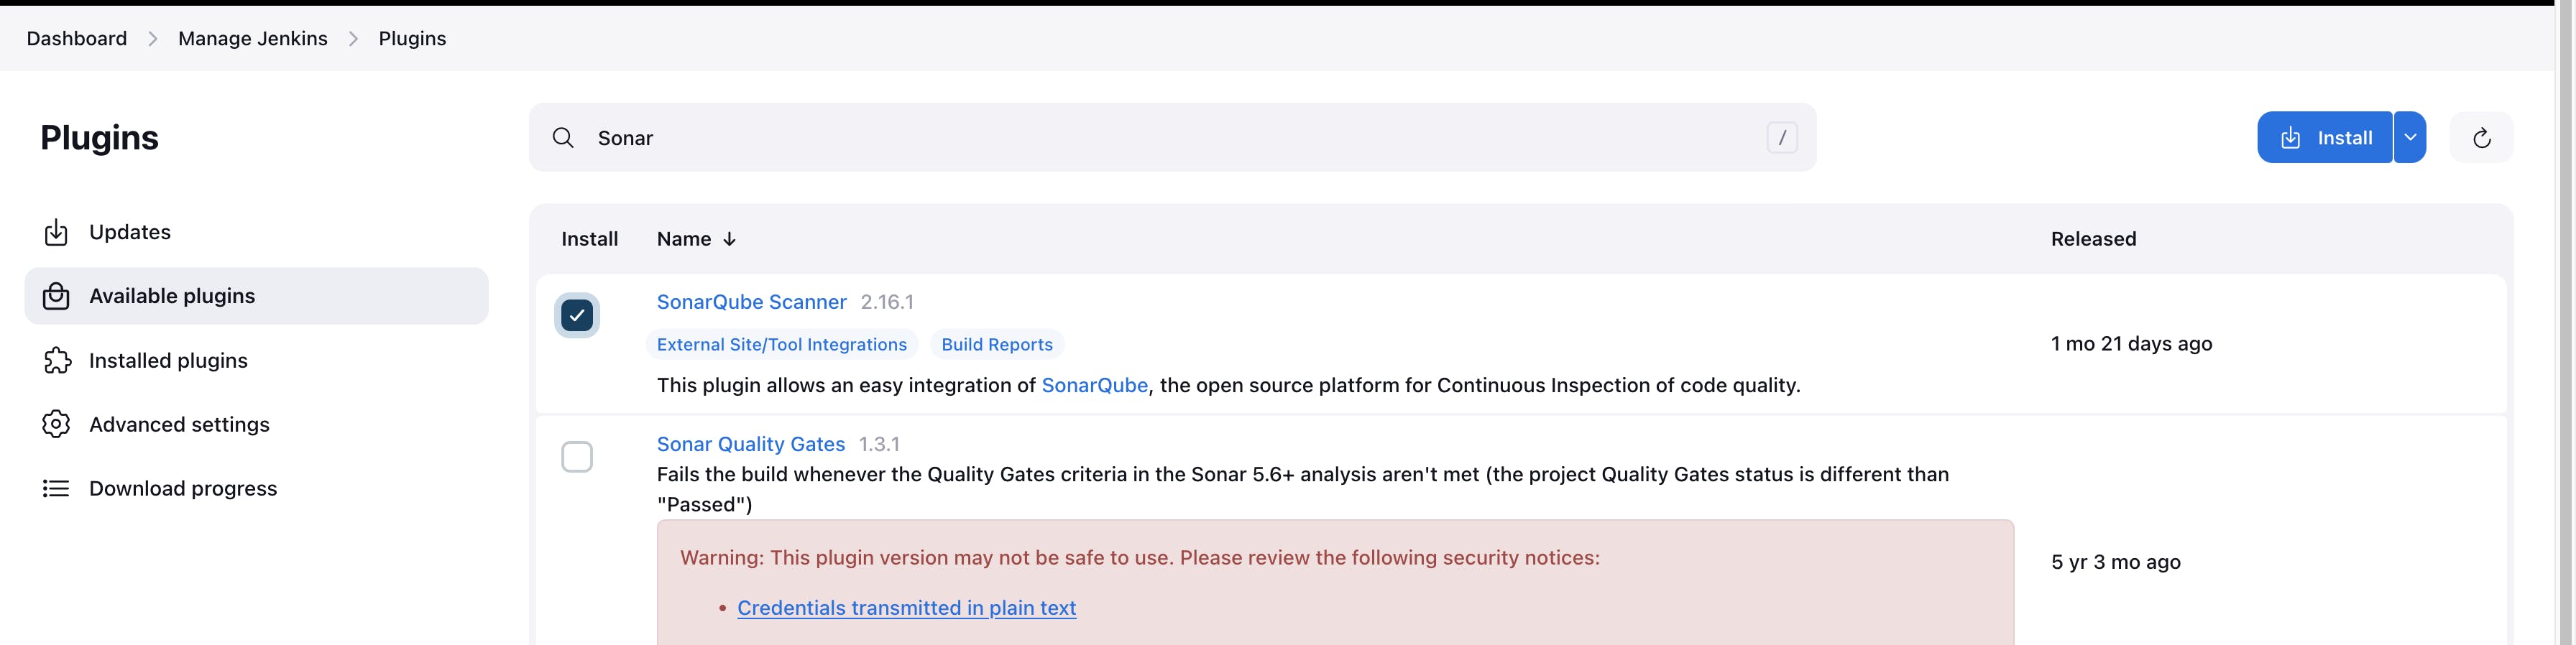
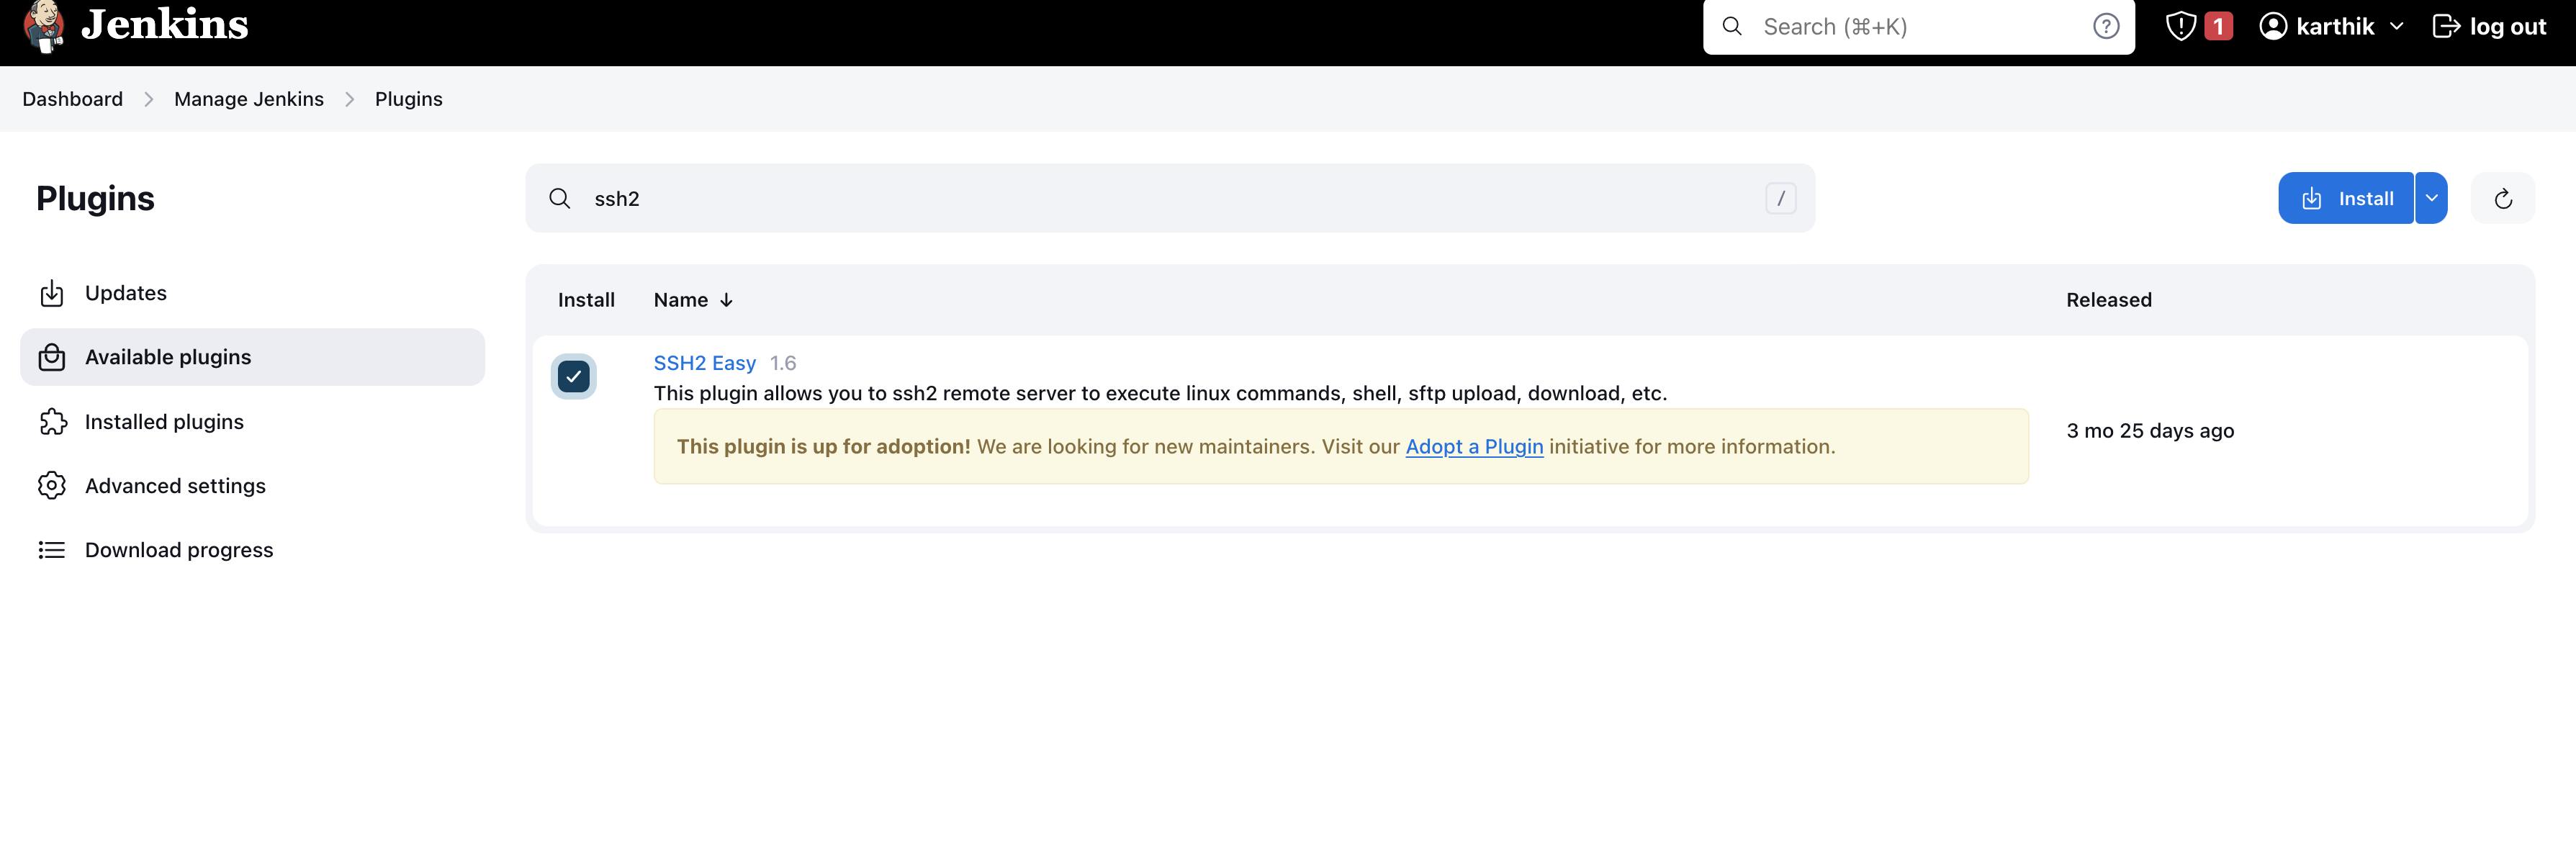
- Now we need to install a couple of plugins, to do this, go to manage Jenkins and then to plugins
- Install the following two plugins.
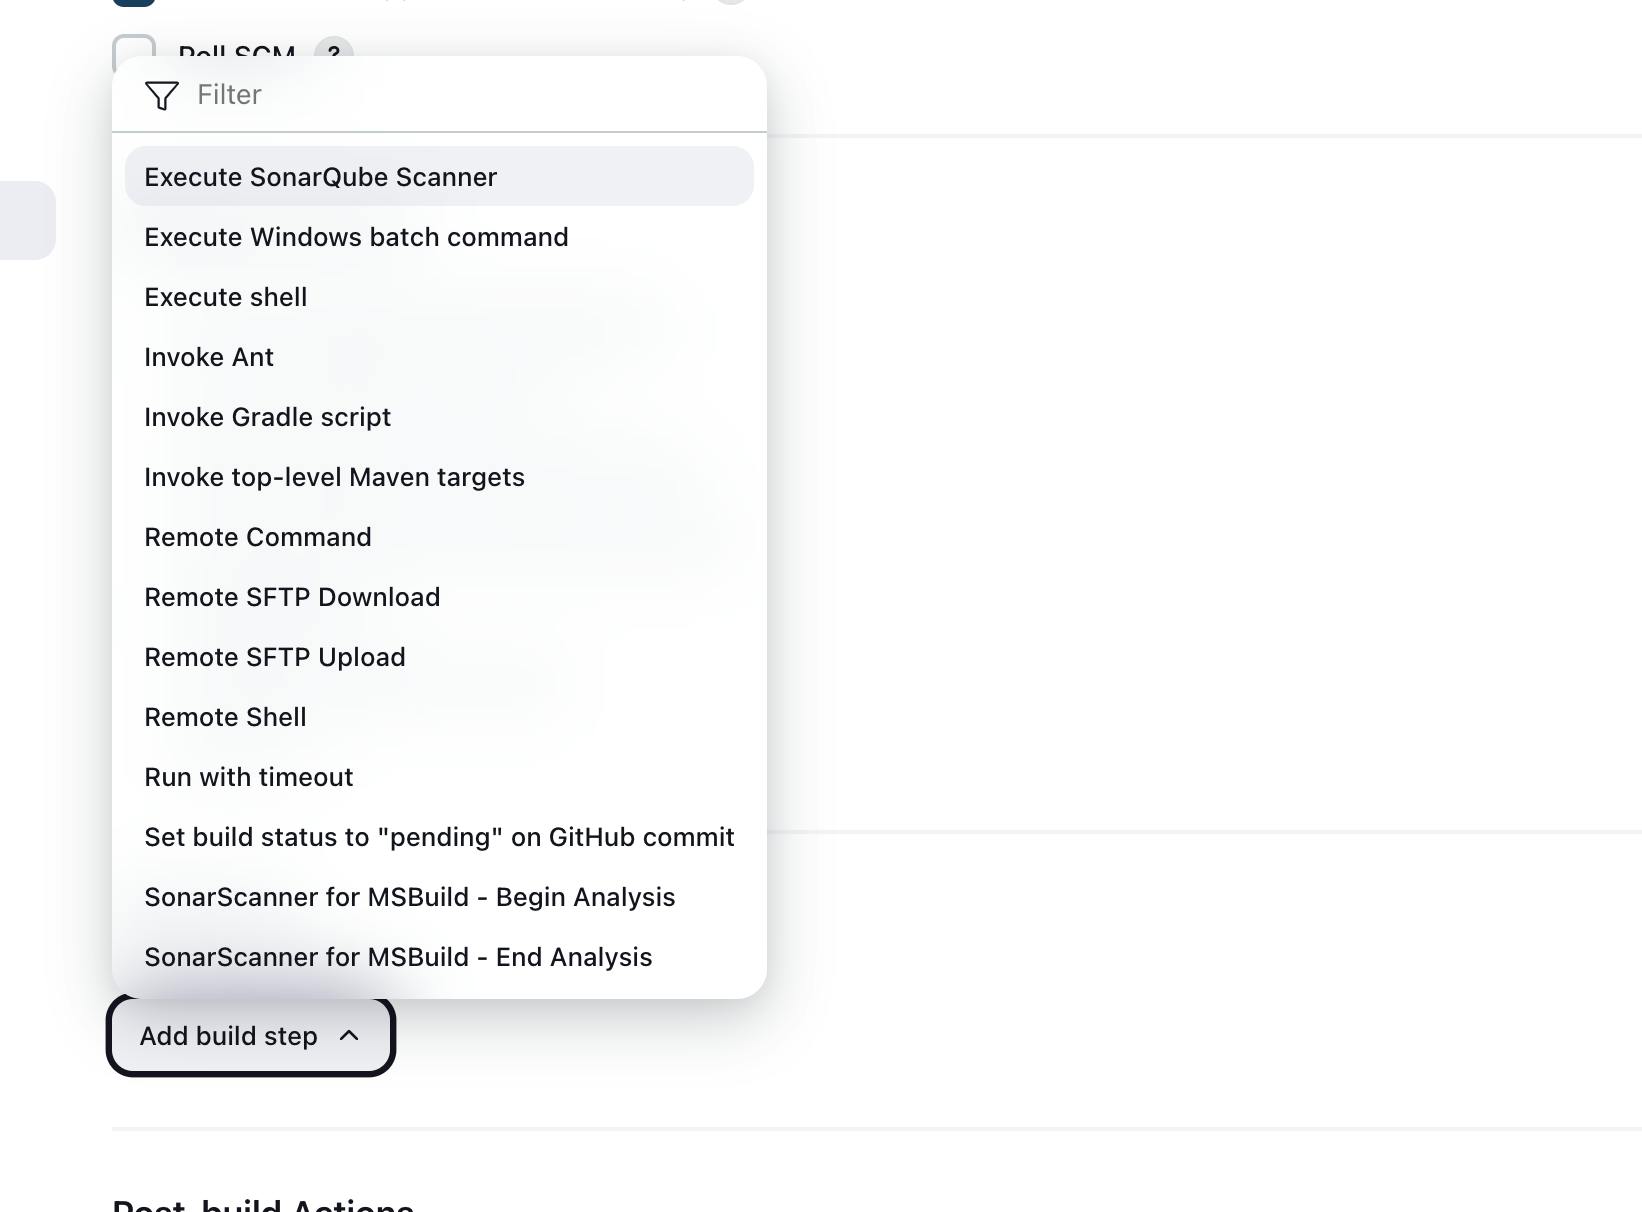
- Click on the pipeline on the dashboard and click on Configure on the left sidebar.
- Go to Build steps and select the following configuration i.e Execute AonarQube Scanner.
Go to manage Jenkins and then to the system.
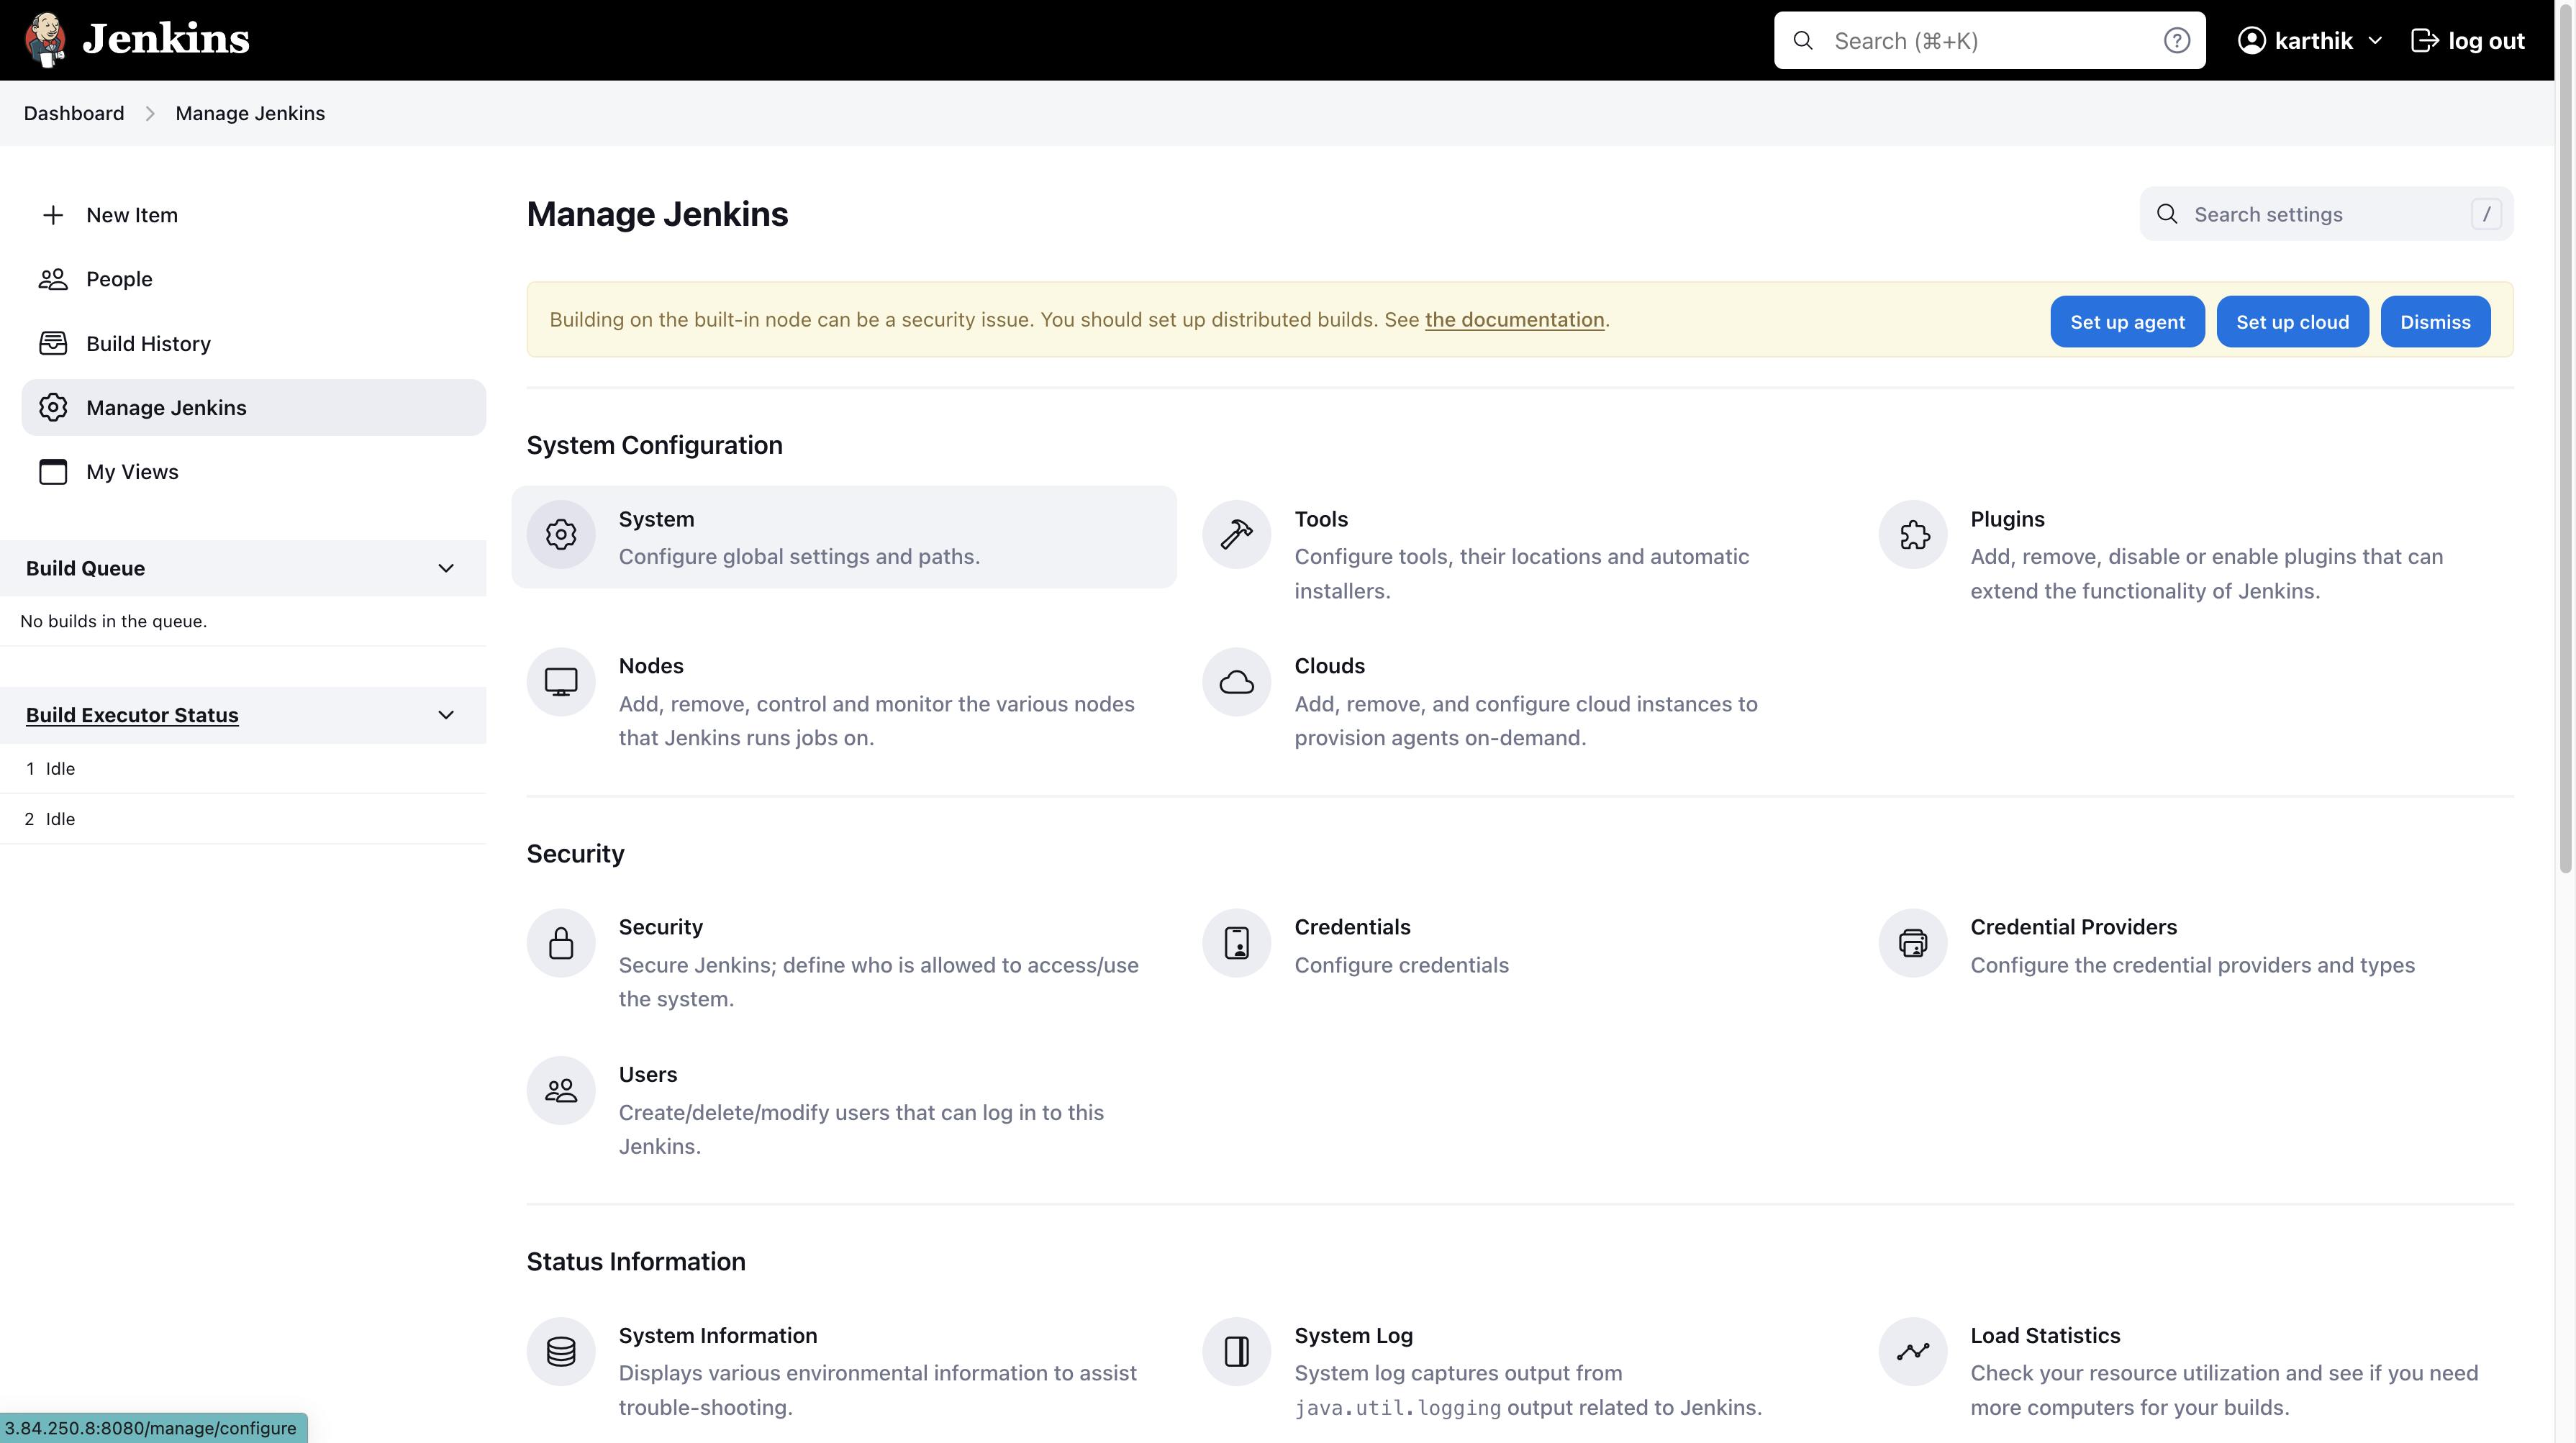
Scroll to SonarQube Servers.
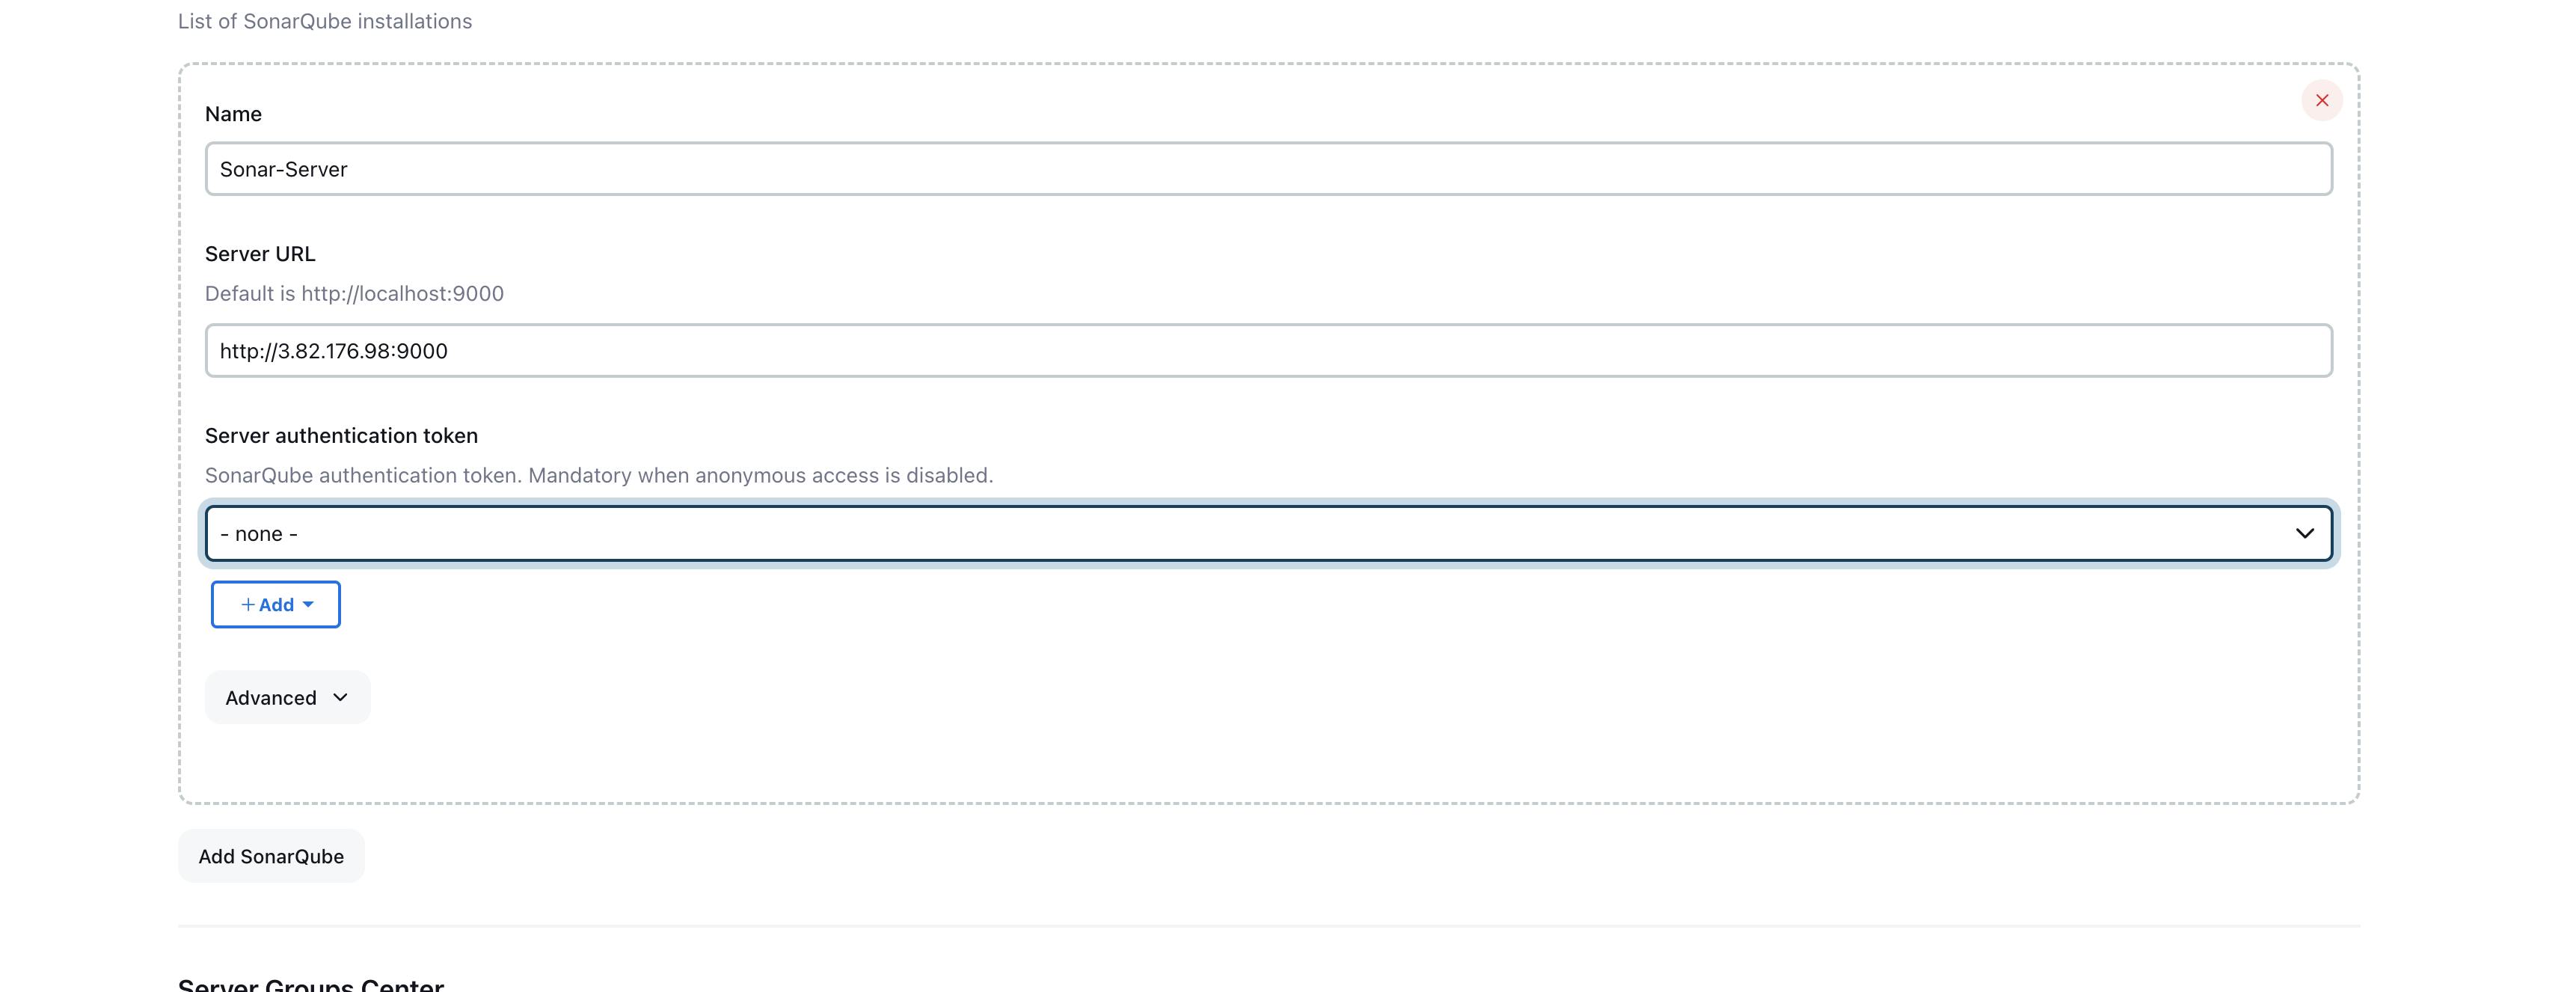
The server URL is basically the following
<public_ipv4_address>:9000
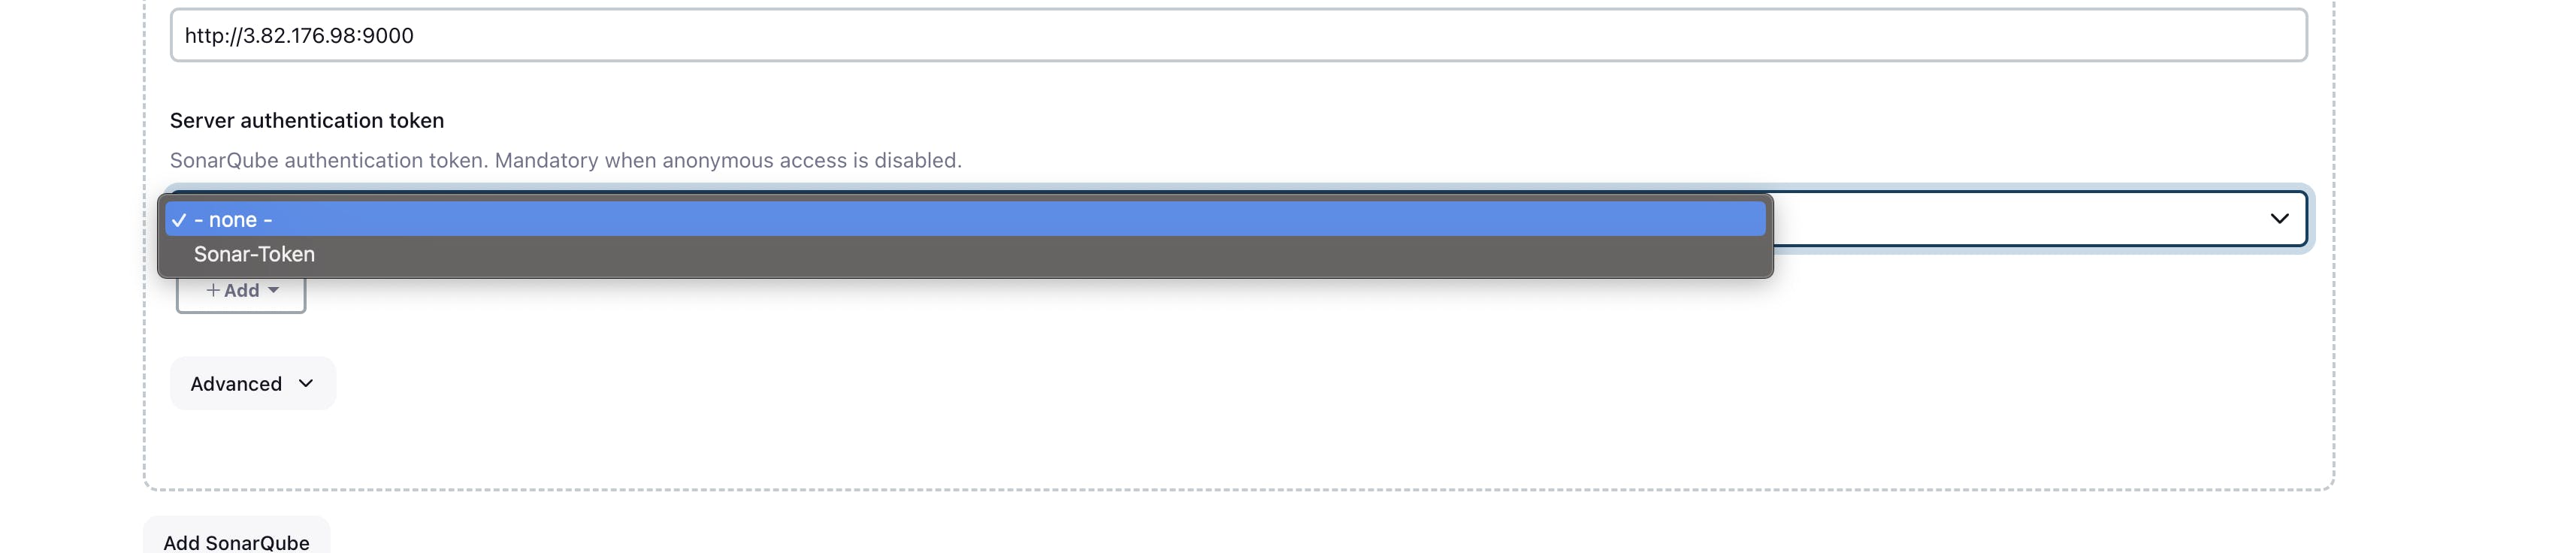
- Click on Add. Follow the steps
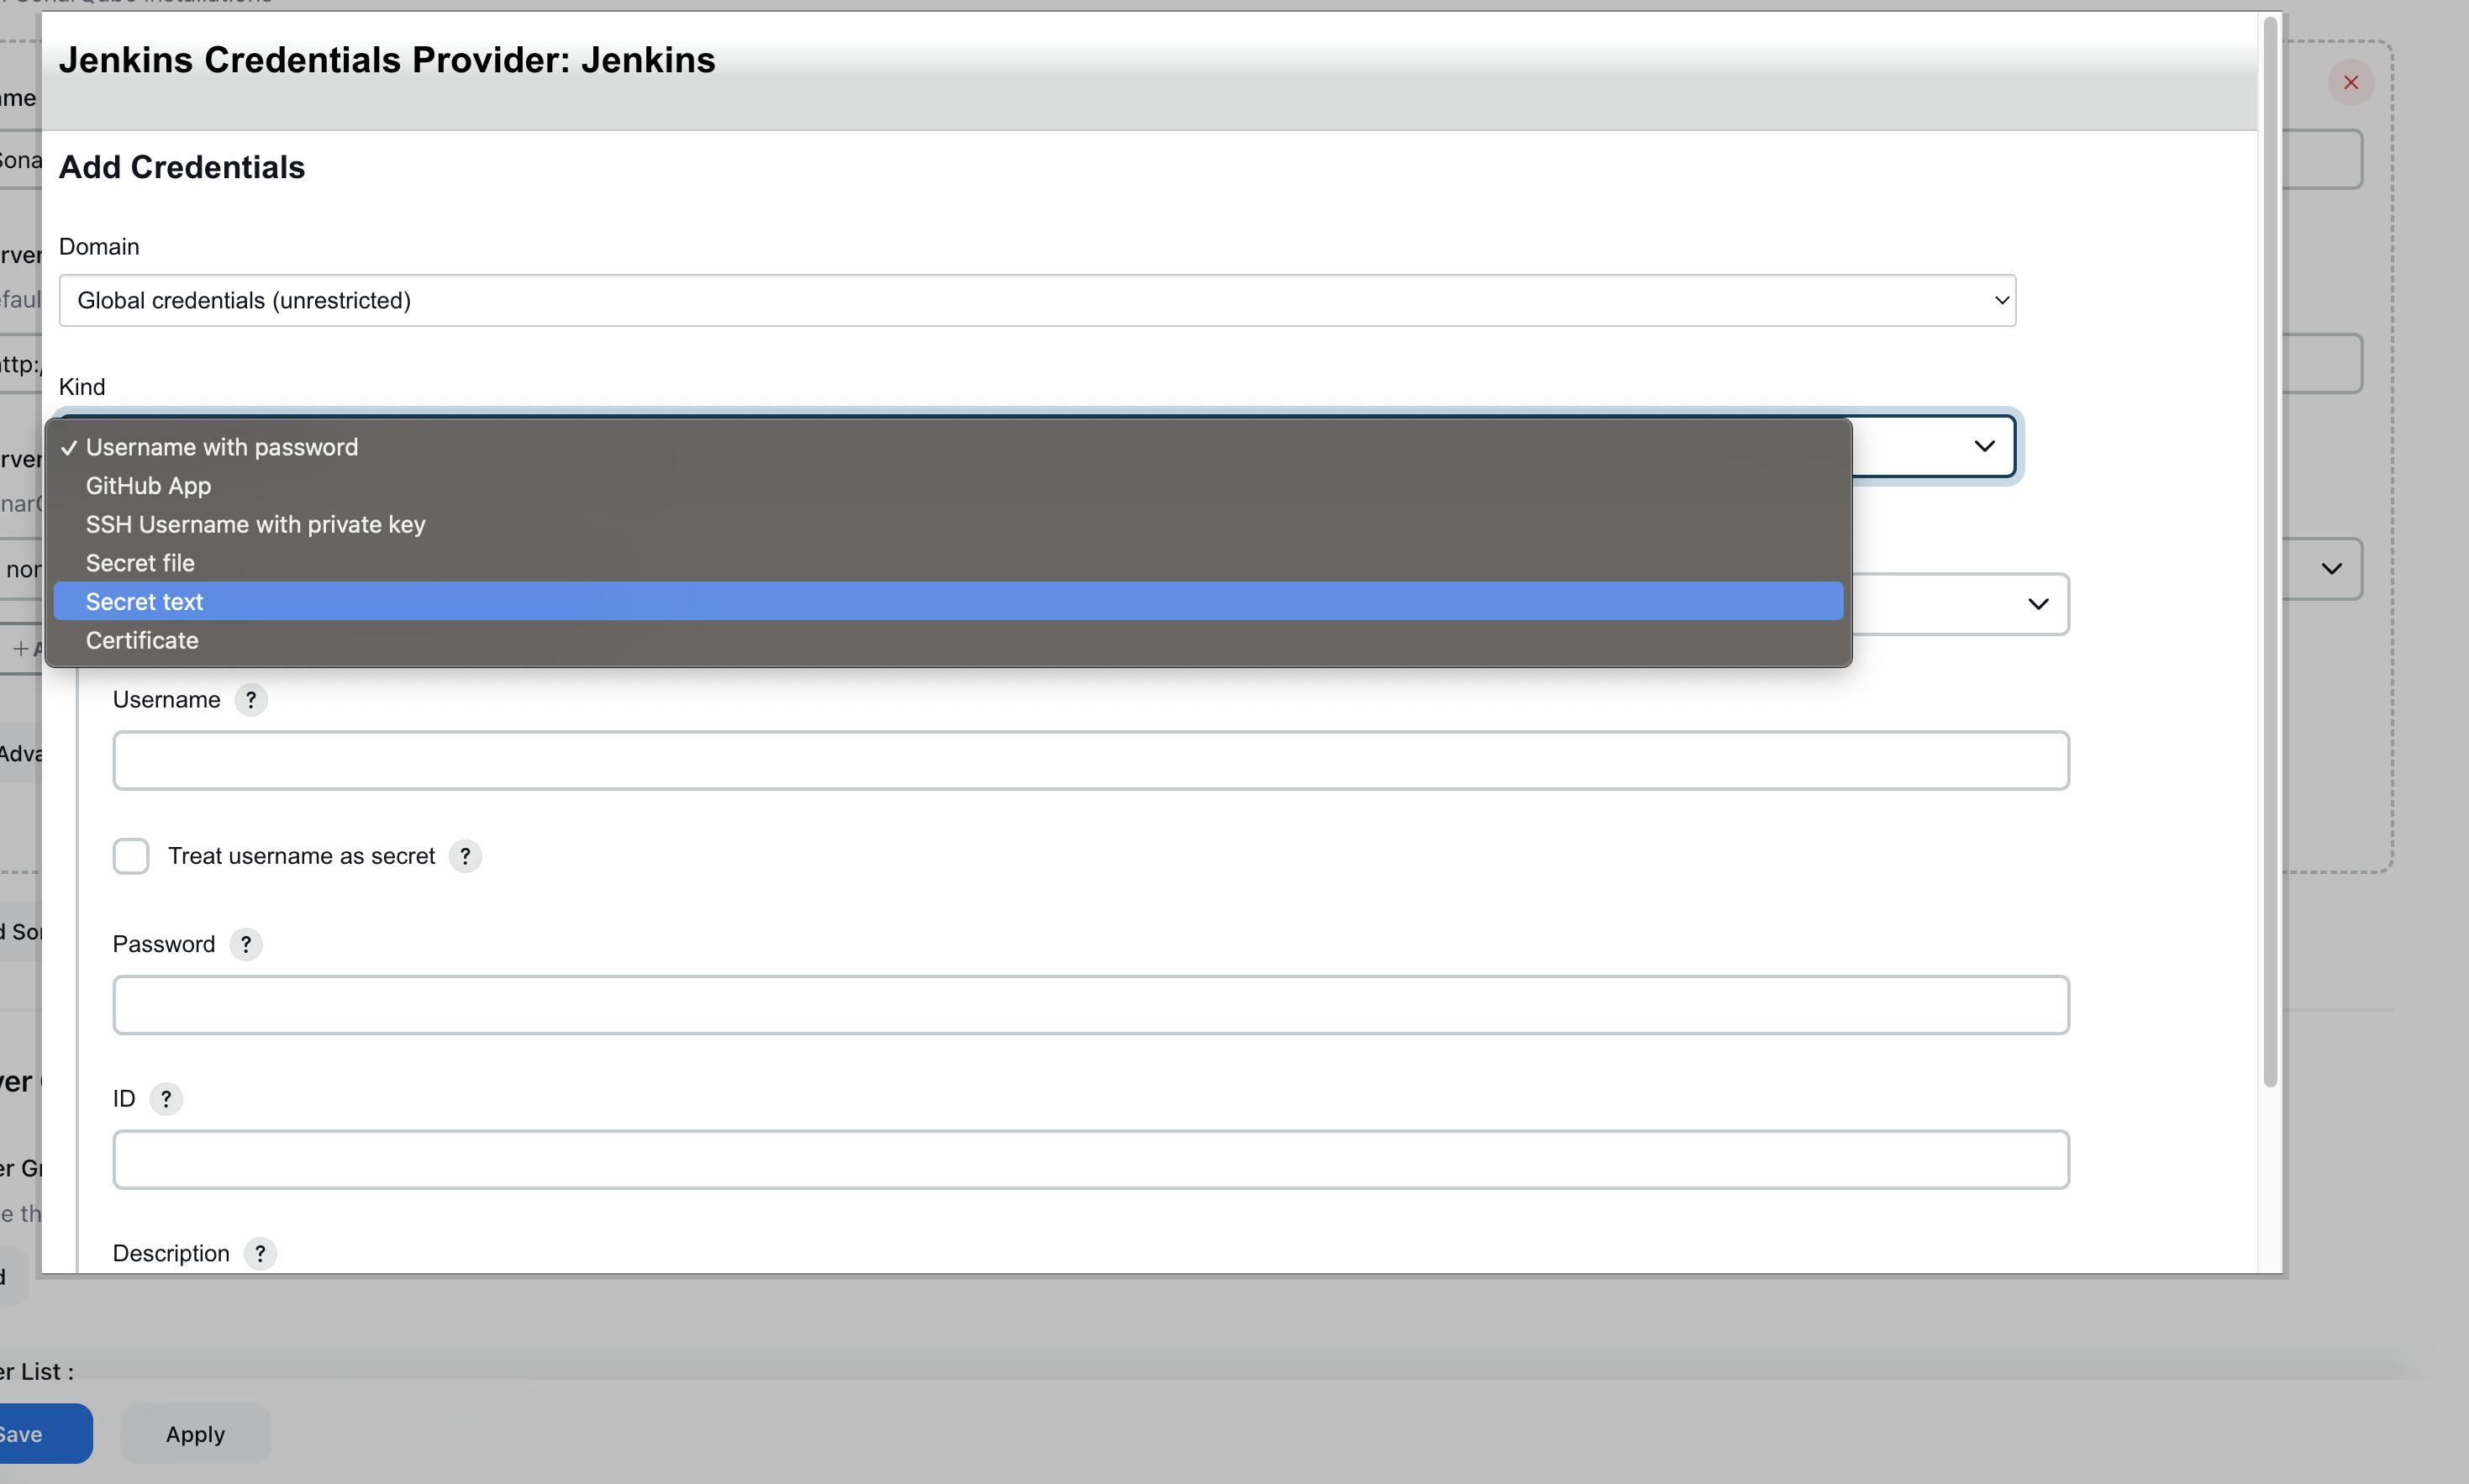
The secret text is the token that we generated in SonarQube.

- Now Try to build the the pipeline again.

Till this point, we have set up our Jenkins server and perfectly integrated it with SonarQube.
Now we will push the image to the docker hub after the scanning of the code is successful.
Connect the Docker instance to our terminal by following steps 20,21
Run the following commands to install docker in the instance.
# Add Docker's official GPG key:
sudo apt-get update
sudo apt-get install ca-certificates curl gnupg
sudo install -m 0755 -d /etc/apt/keyrings
curl -fsSL https://download.docker.com/linux/ubuntu/gpg | sudo gpg --dearmor -o /etc/apt/keyrings/docker.gpg
sudo chmod a+r /etc/apt/keyrings/docker.gpg

# Add the repository to Apt sources:
echo \
  "deb [arch=$(dpkg --print-architecture) signed-by=/etc/apt/keyrings/docker.gpg] https://download.docker.com/linux/ubuntu \
  $(. /etc/os-release && echo "$VERSION_CODENAME") stable" | \
  sudo tee /etc/apt/sources.list.d/docker.list > /dev/null
sudo apt-get update
sudo apt-get install docker-ce docker-ce-cli containerd.io docker-buildx-plugin docker-compose-plugin
To test is Docker is installed correctly, run the following command.
sudo docker run hello-world
If the output is similar, the docker has been successfully installed.

- Now in the terminal connected to te Jenkins server, run the following command.
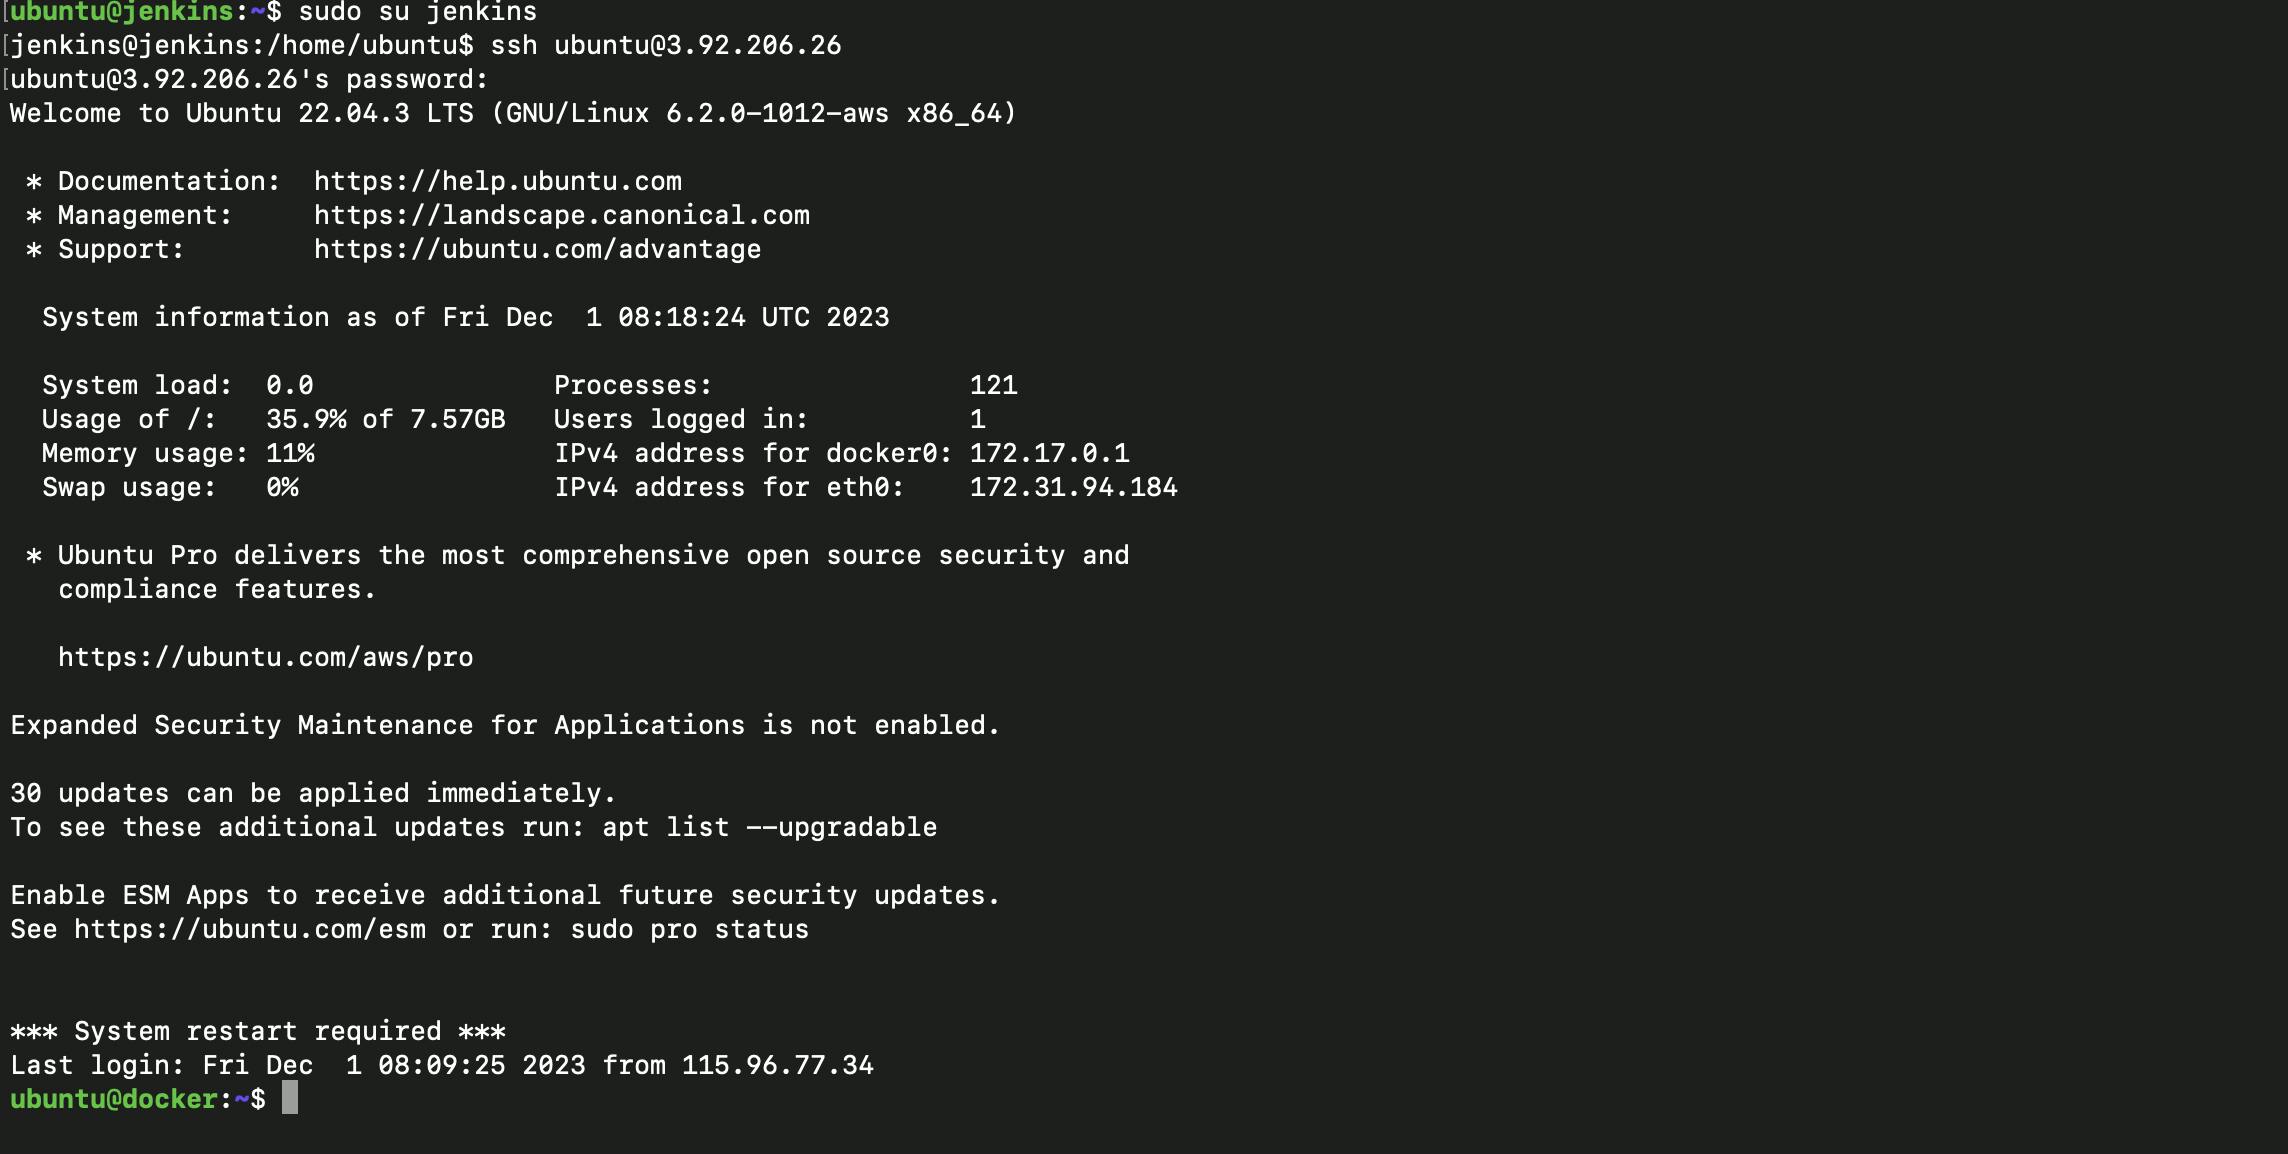
sudo su jenkins
This command is used to switch to user to jenkins.

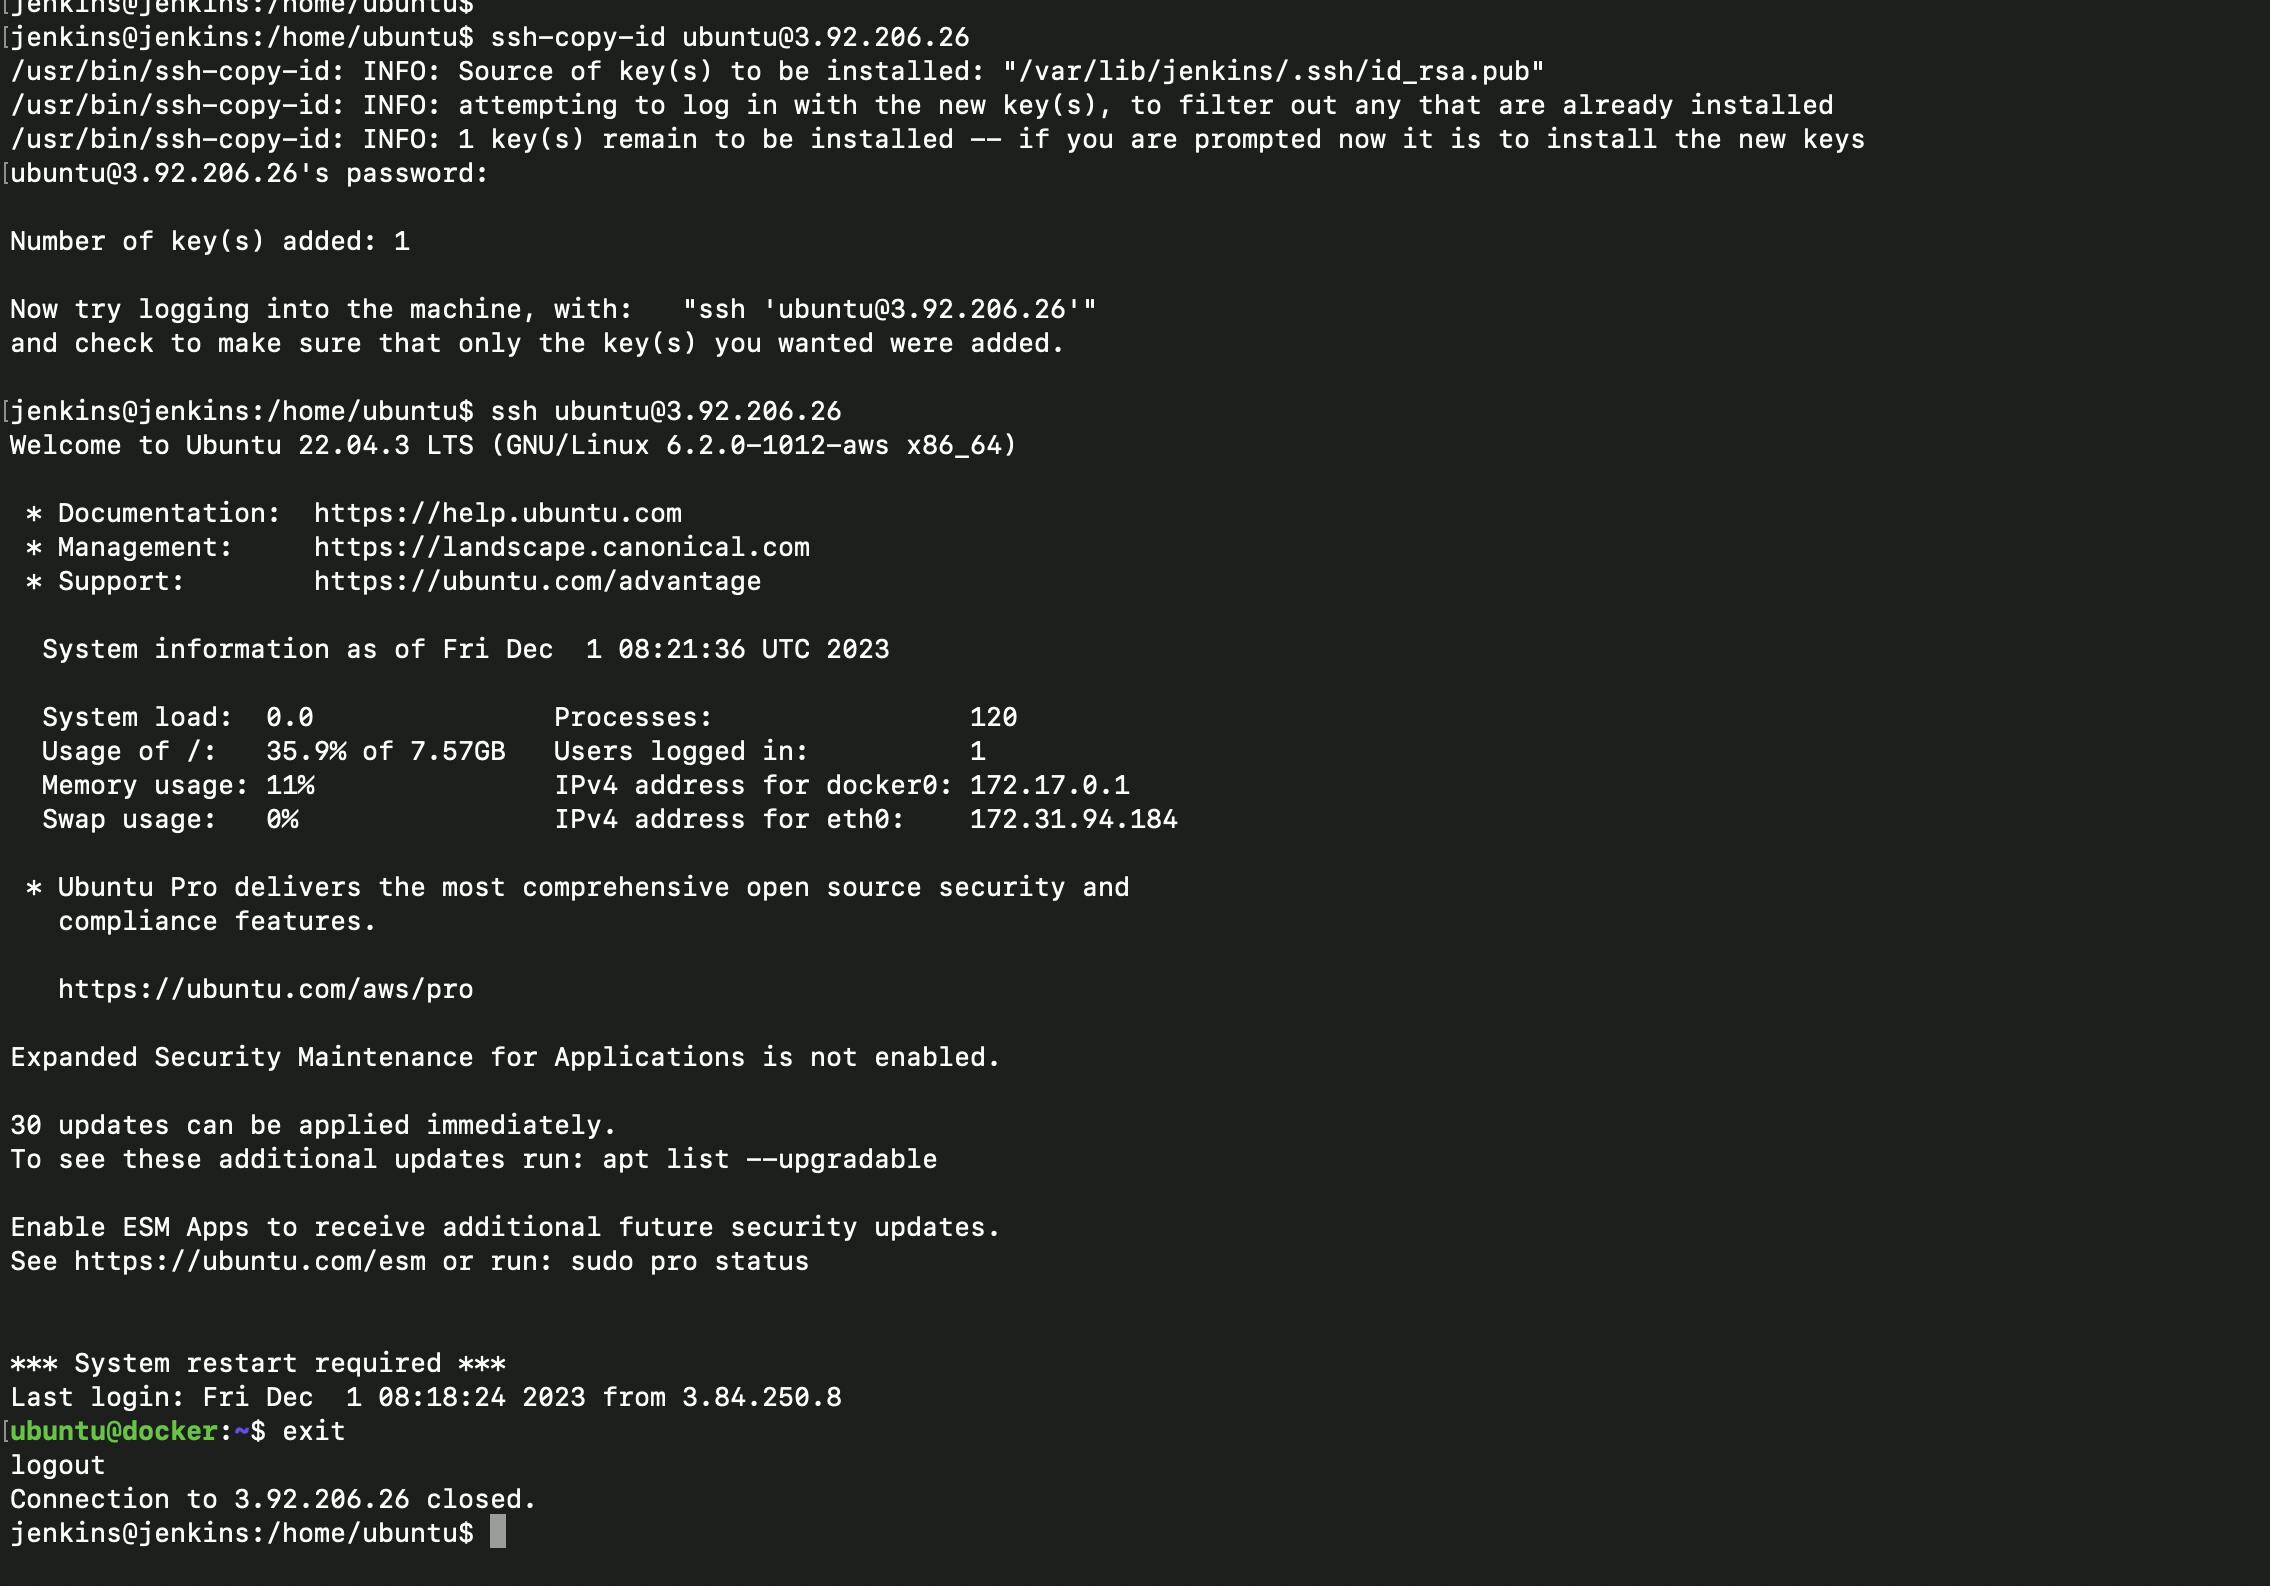
- Now we will create an SSH connection between jenkins and docker.
- Write the following command in the jenkins terminal
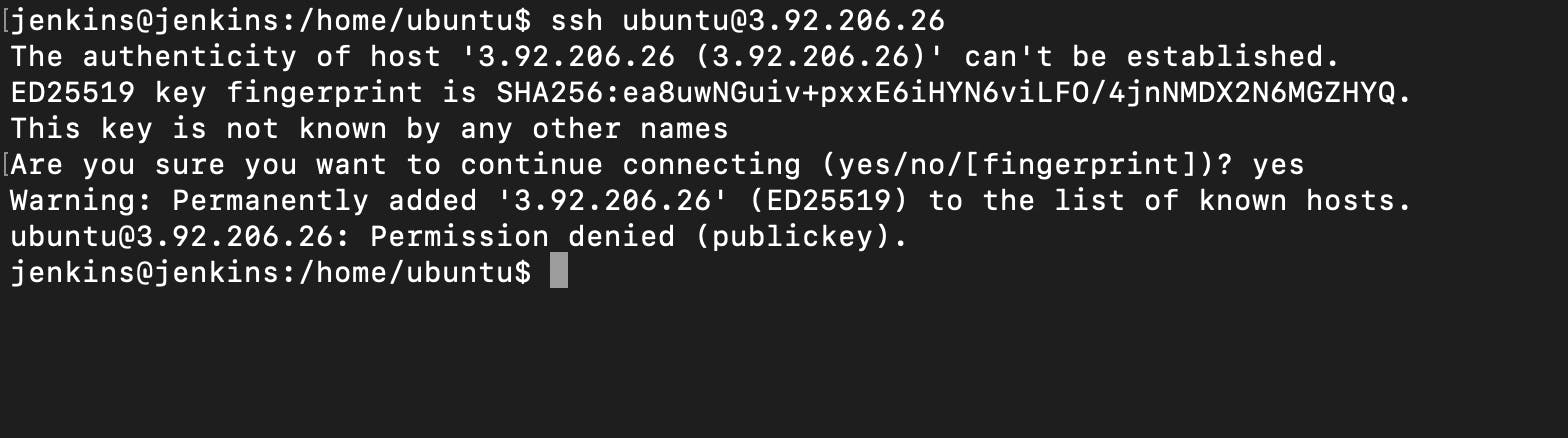
ssh ubuntu@<public_IPv4_address_of_docker>
you'll get this error on running this command
- To fix the above error, move to the terminal connected to docker and switch to the root user using the following command
sudo su
- Type the following bash snippet
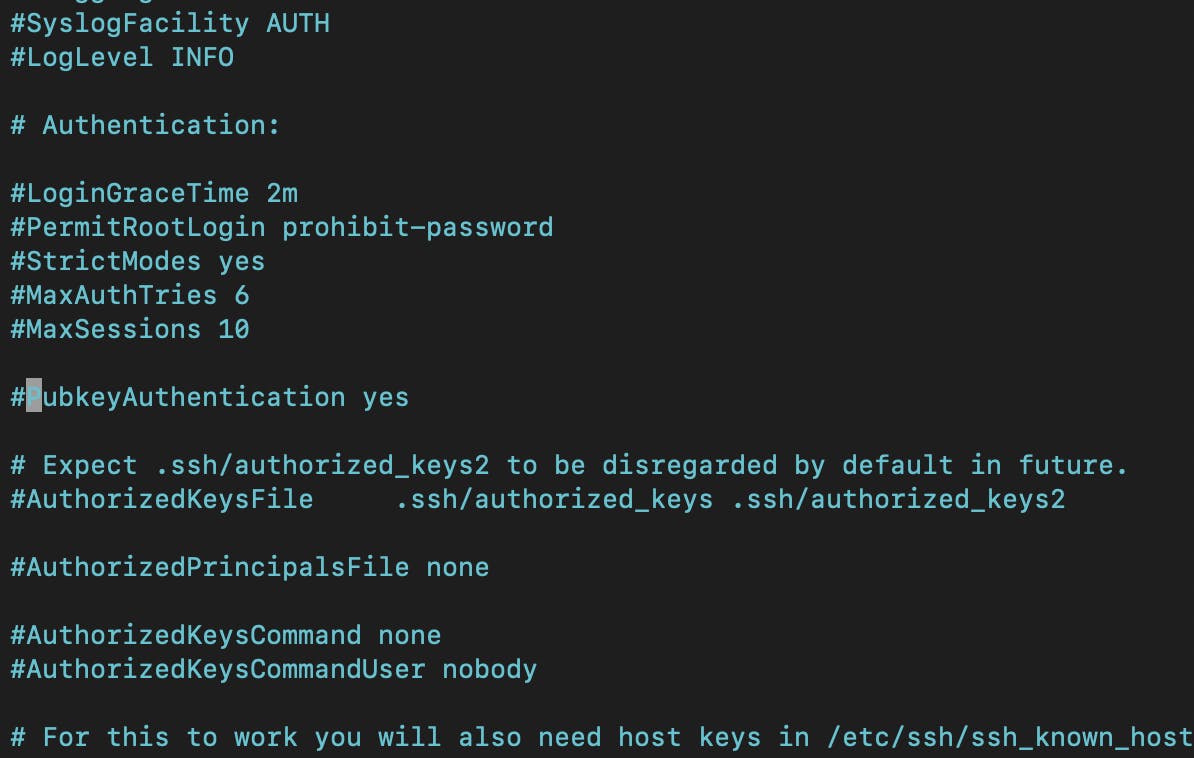
nano /etc/ssh/sshd_config
- Now in the nano file,update the following
uncomment the pubkeyAuthentication yes
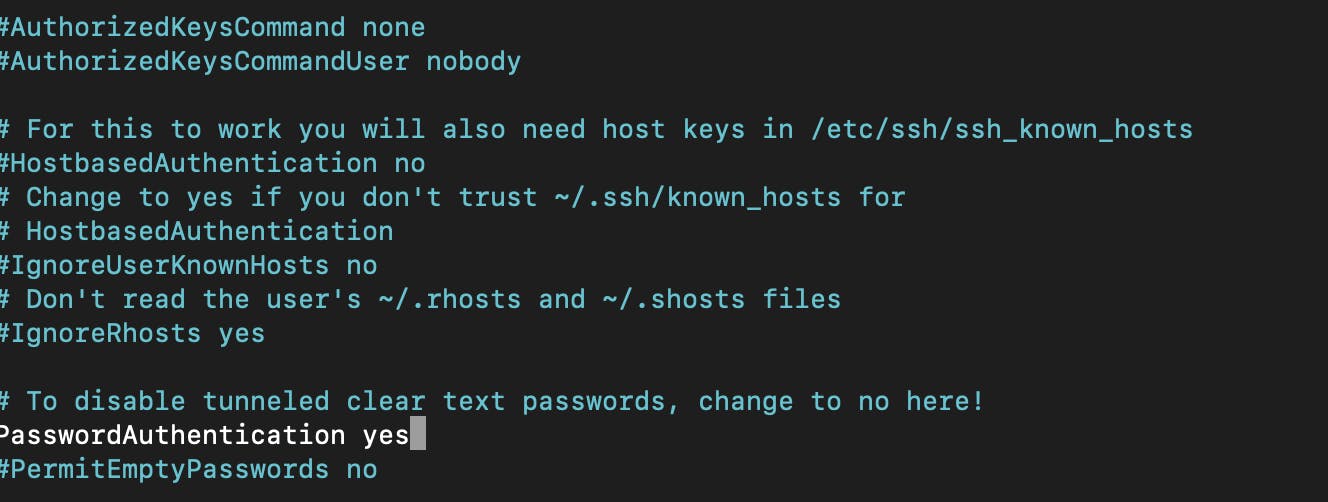
Scroll down and change PasswordAuthentication no TO PasswordAuthentication yes
- Now run the following command in the docker terminal
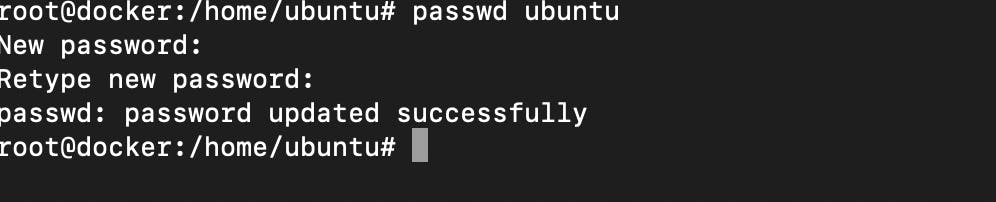
passwd ubuntu
set anything as you wish, make sure to save it, this password will be used when creating the SSH connection between jenkins server and docker server.
- Now again try running the following command. to connect jenkins server to docker server
ssh ubuntu@<public_IPv4_address_of_docker>
Enter the password you you created in the docker server in step 48
Now jenkins server can access the docker server and push code as well.
- Now enter the following command in the jenkins terminal connected to docker i.e the terminal we worked with in step 49.
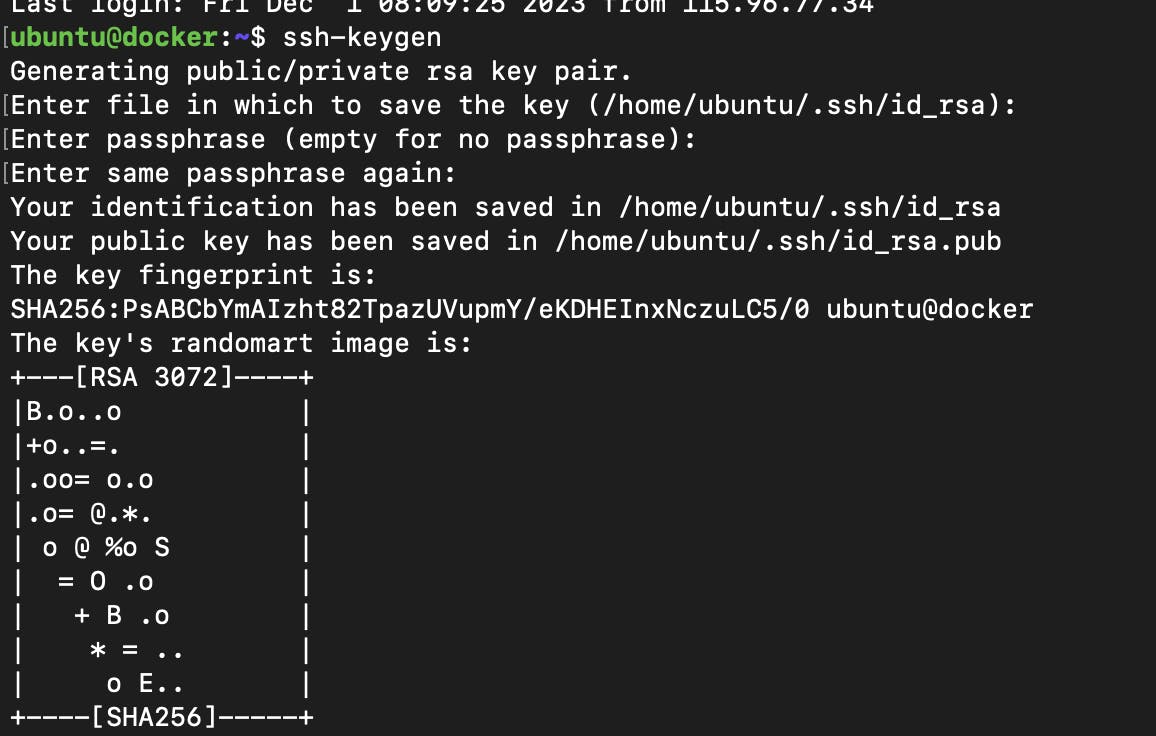
ssh-keygen
Click enter for all the inputs, no special need to fill in anything.
The ssh-keygen command is used to generate a pair of authentication keys for secure SSH communication. The key pair consists of a private key and a public key.
The purpose of generating an SSH key pair is to establish a secure and passwordless connection between your local machine and a remote server.
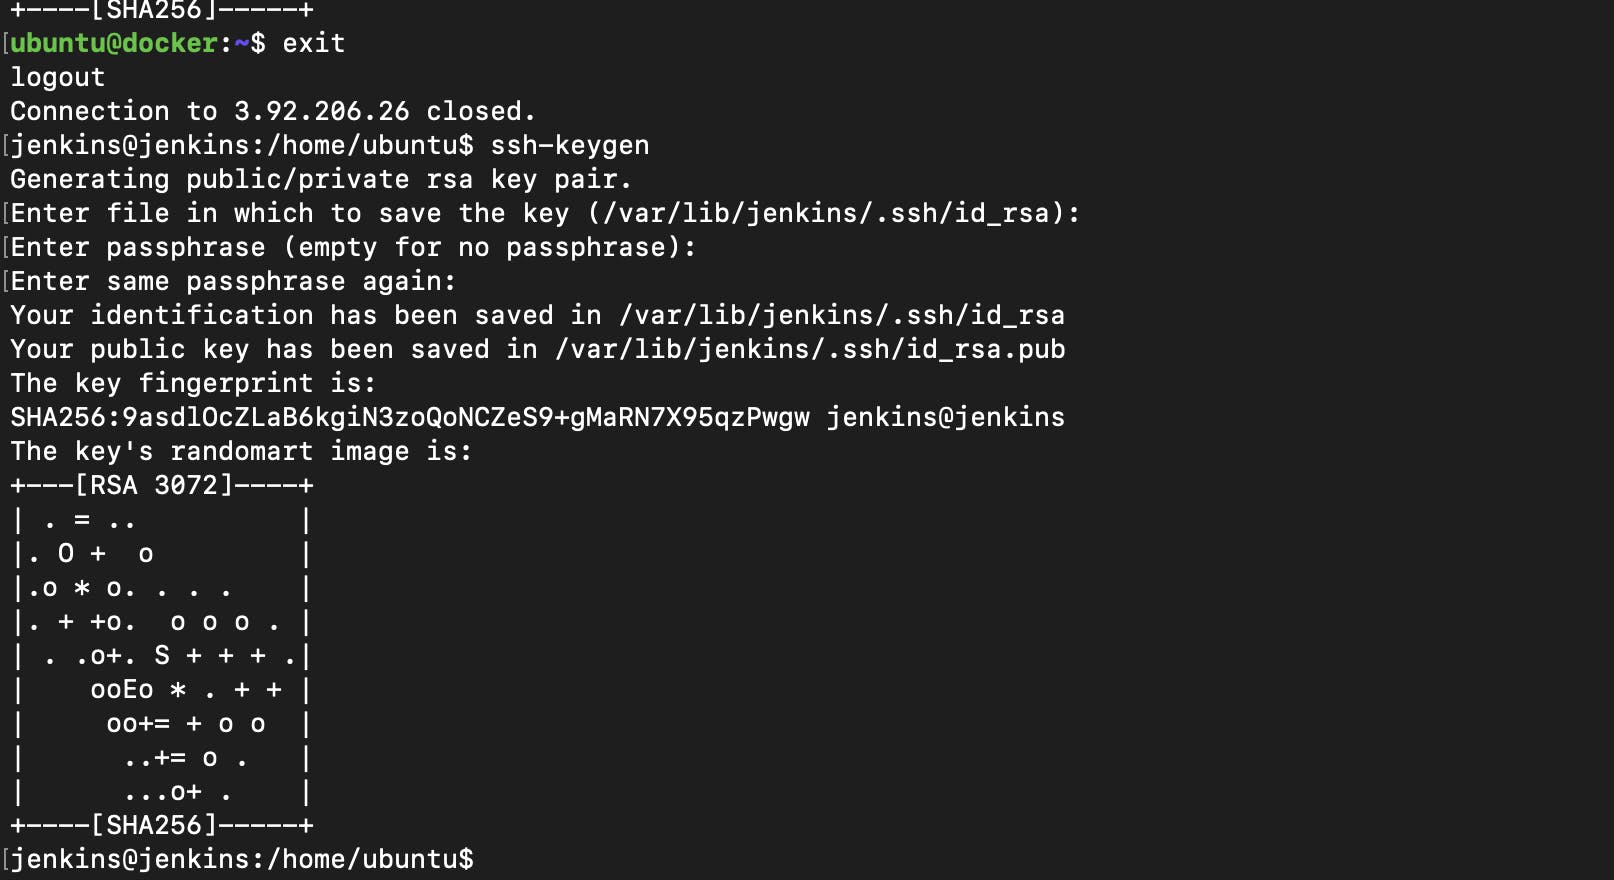
Now exit the docker server we connected to in the jenkins terminal by running the exit command.
Now generate an SSH key for jenkins
- Now we have established a passwordless connection between the jenkins server and docker server,run the following command to confirm the connection.
ssh ubuntu@<public_IPv4_address_of_docker>
You should be able to access the docker server from the jenkins server without any pssword authentication successfully.
- Now move to the Jenkins server we have opened in our browser and follow the steps.
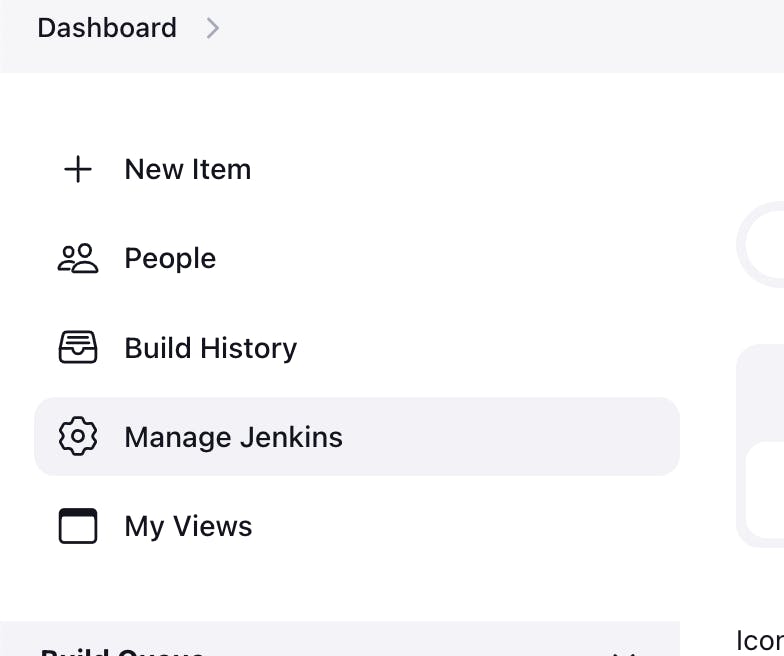
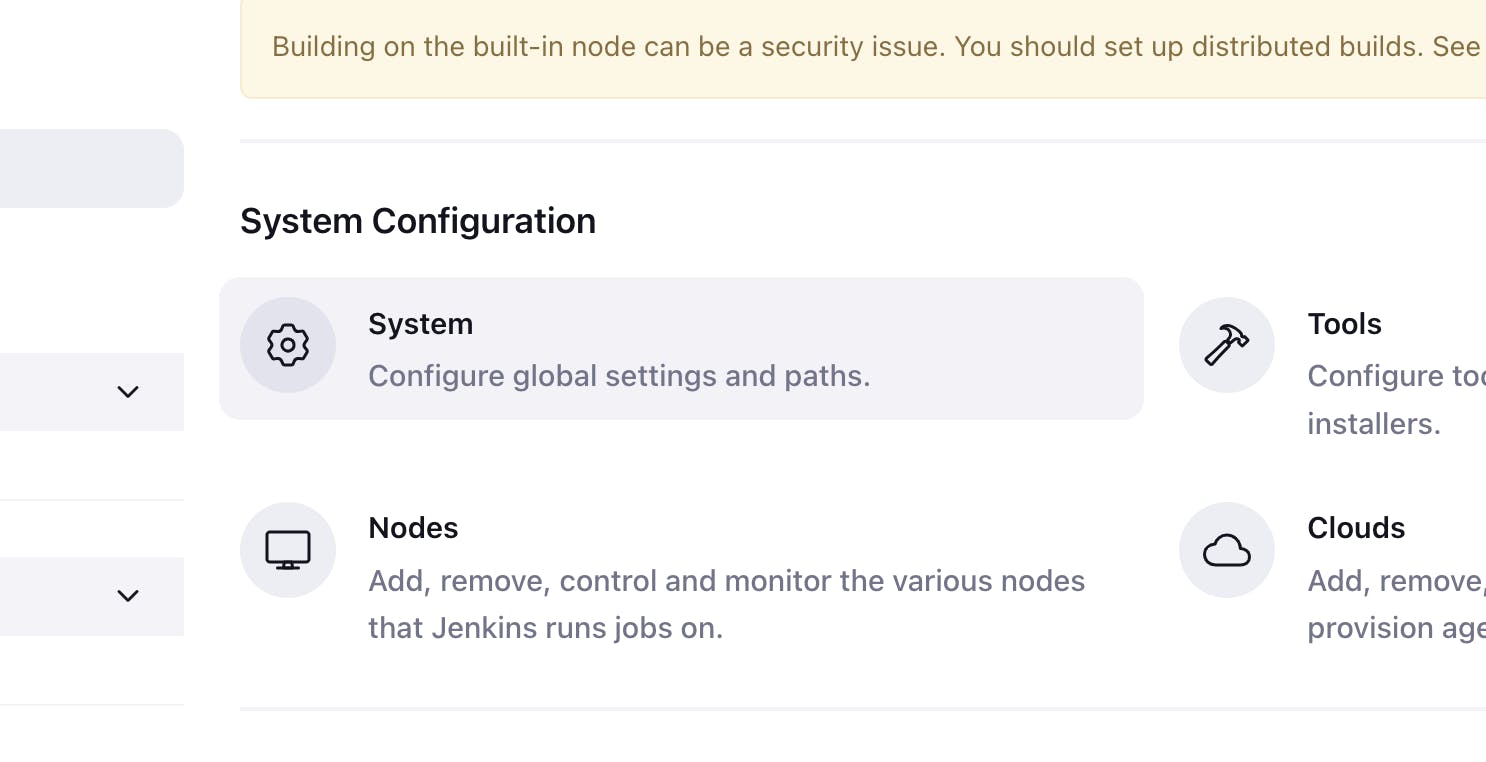
- Go to manage Jenkins
- Under System Configuration, go to System
- Scroll down to Server Groups Center and click Add
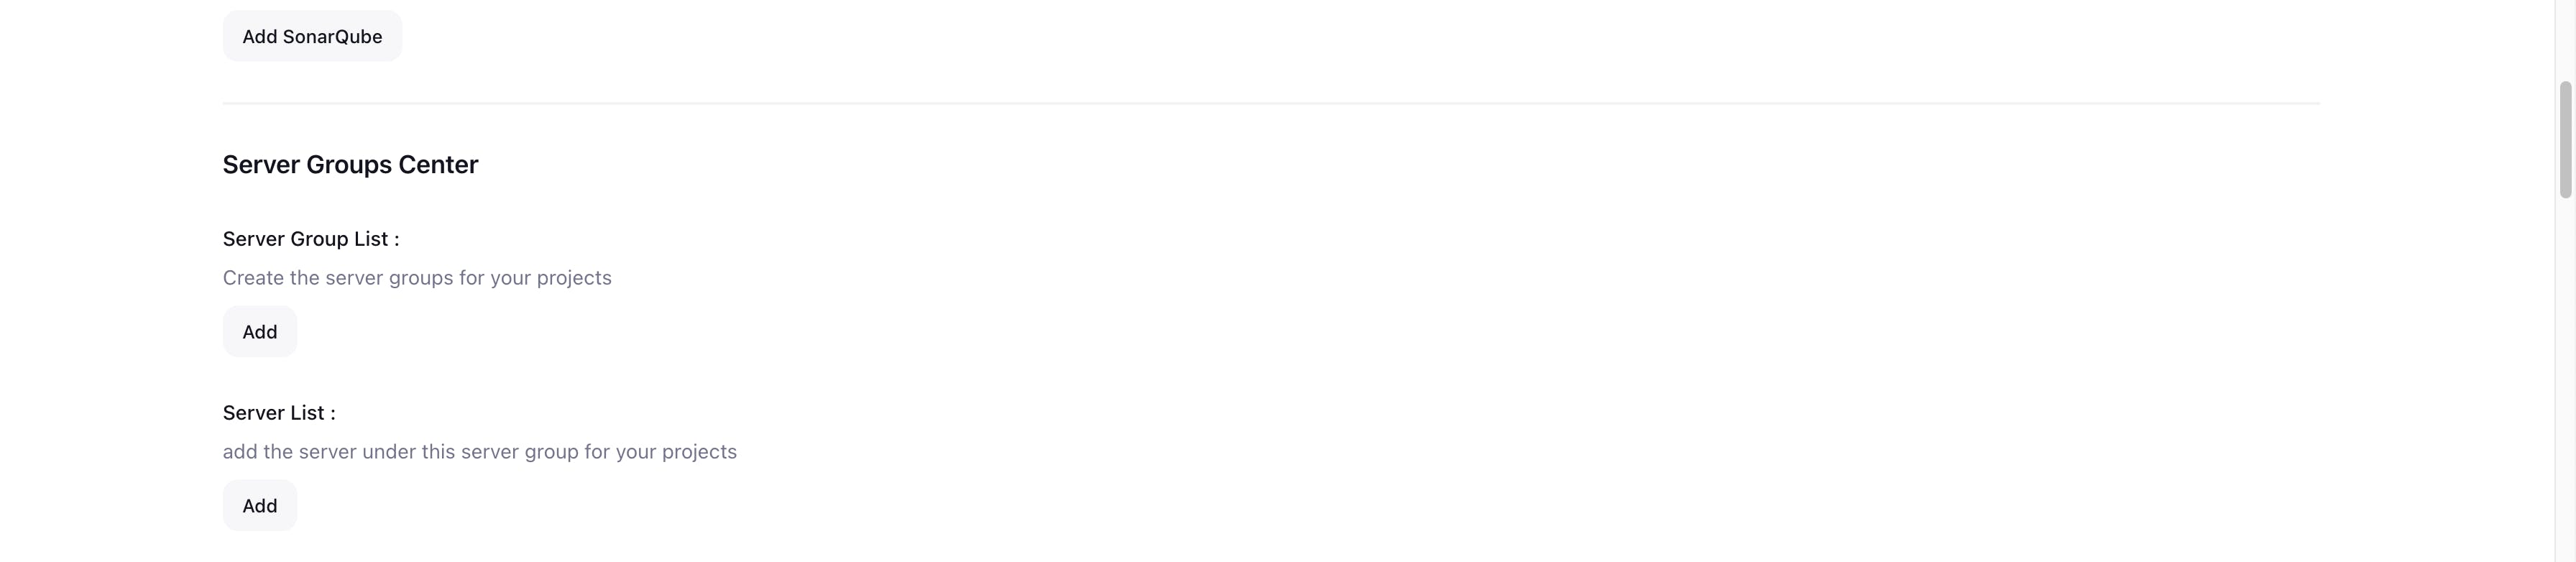
- Fill up the details as follows
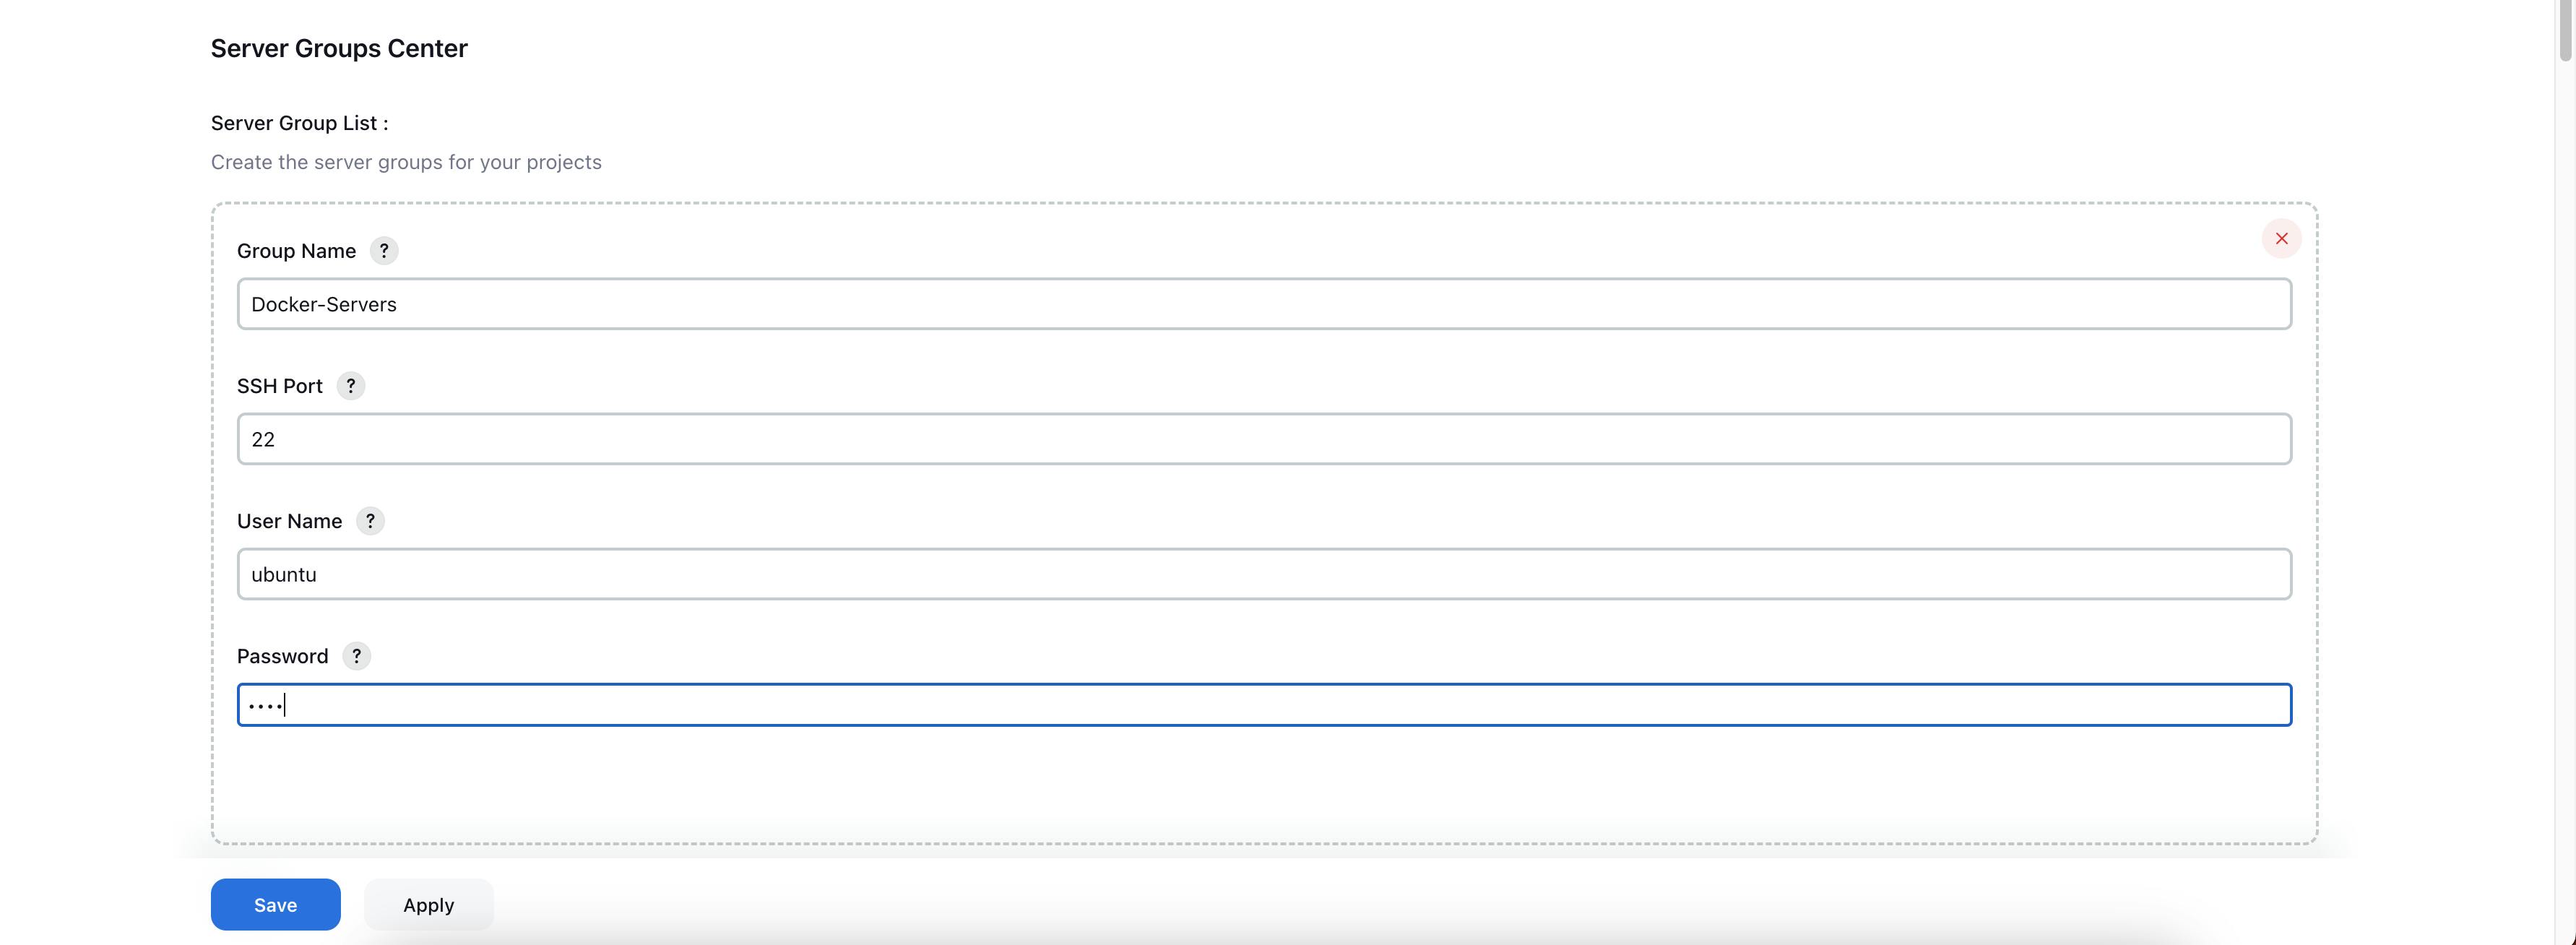
The password here is the one you generated in step 48
Save these changes
- Now again to go manage Jenkins and System, scroll down to Server List
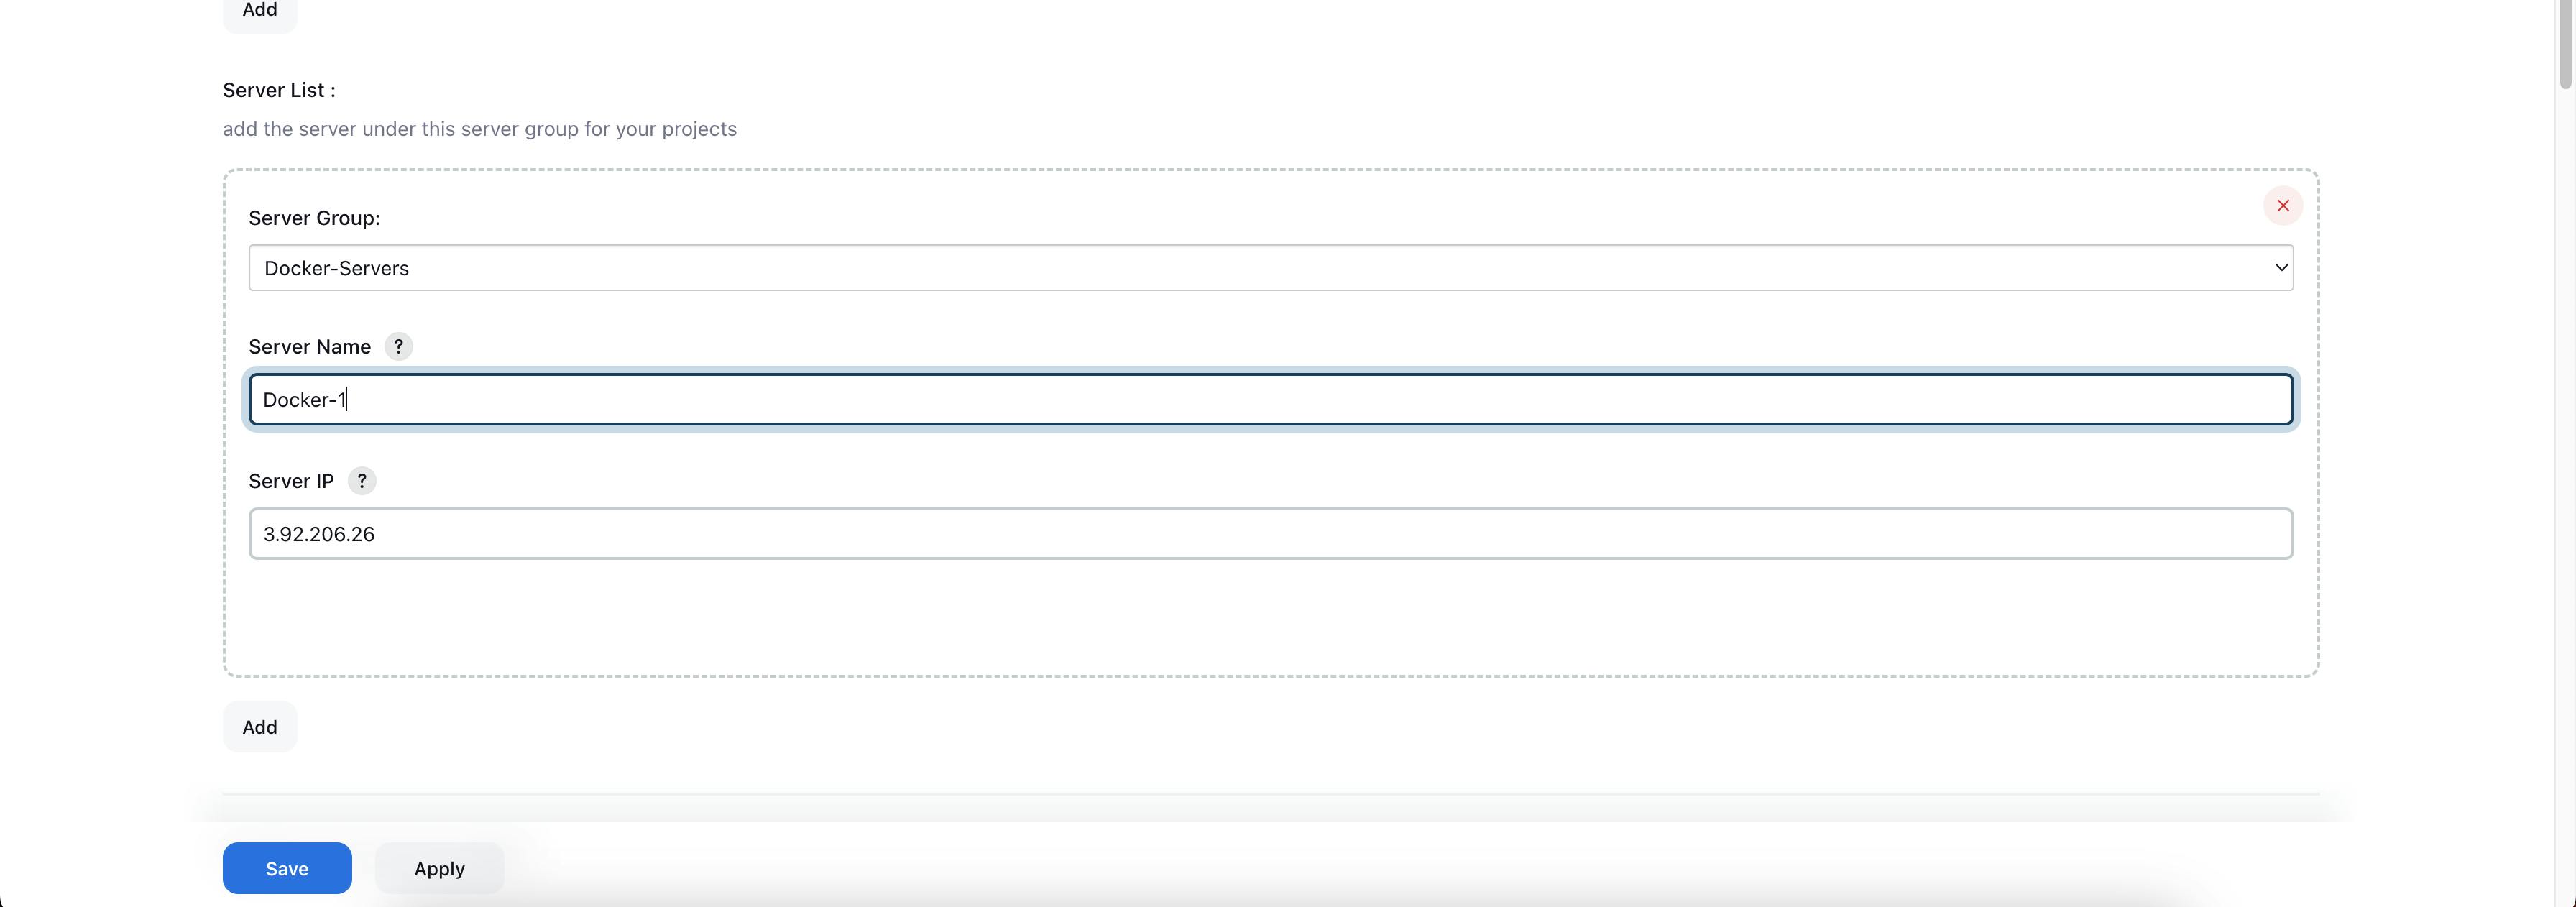
The Server IP is the public IPv4 address of the docker instance
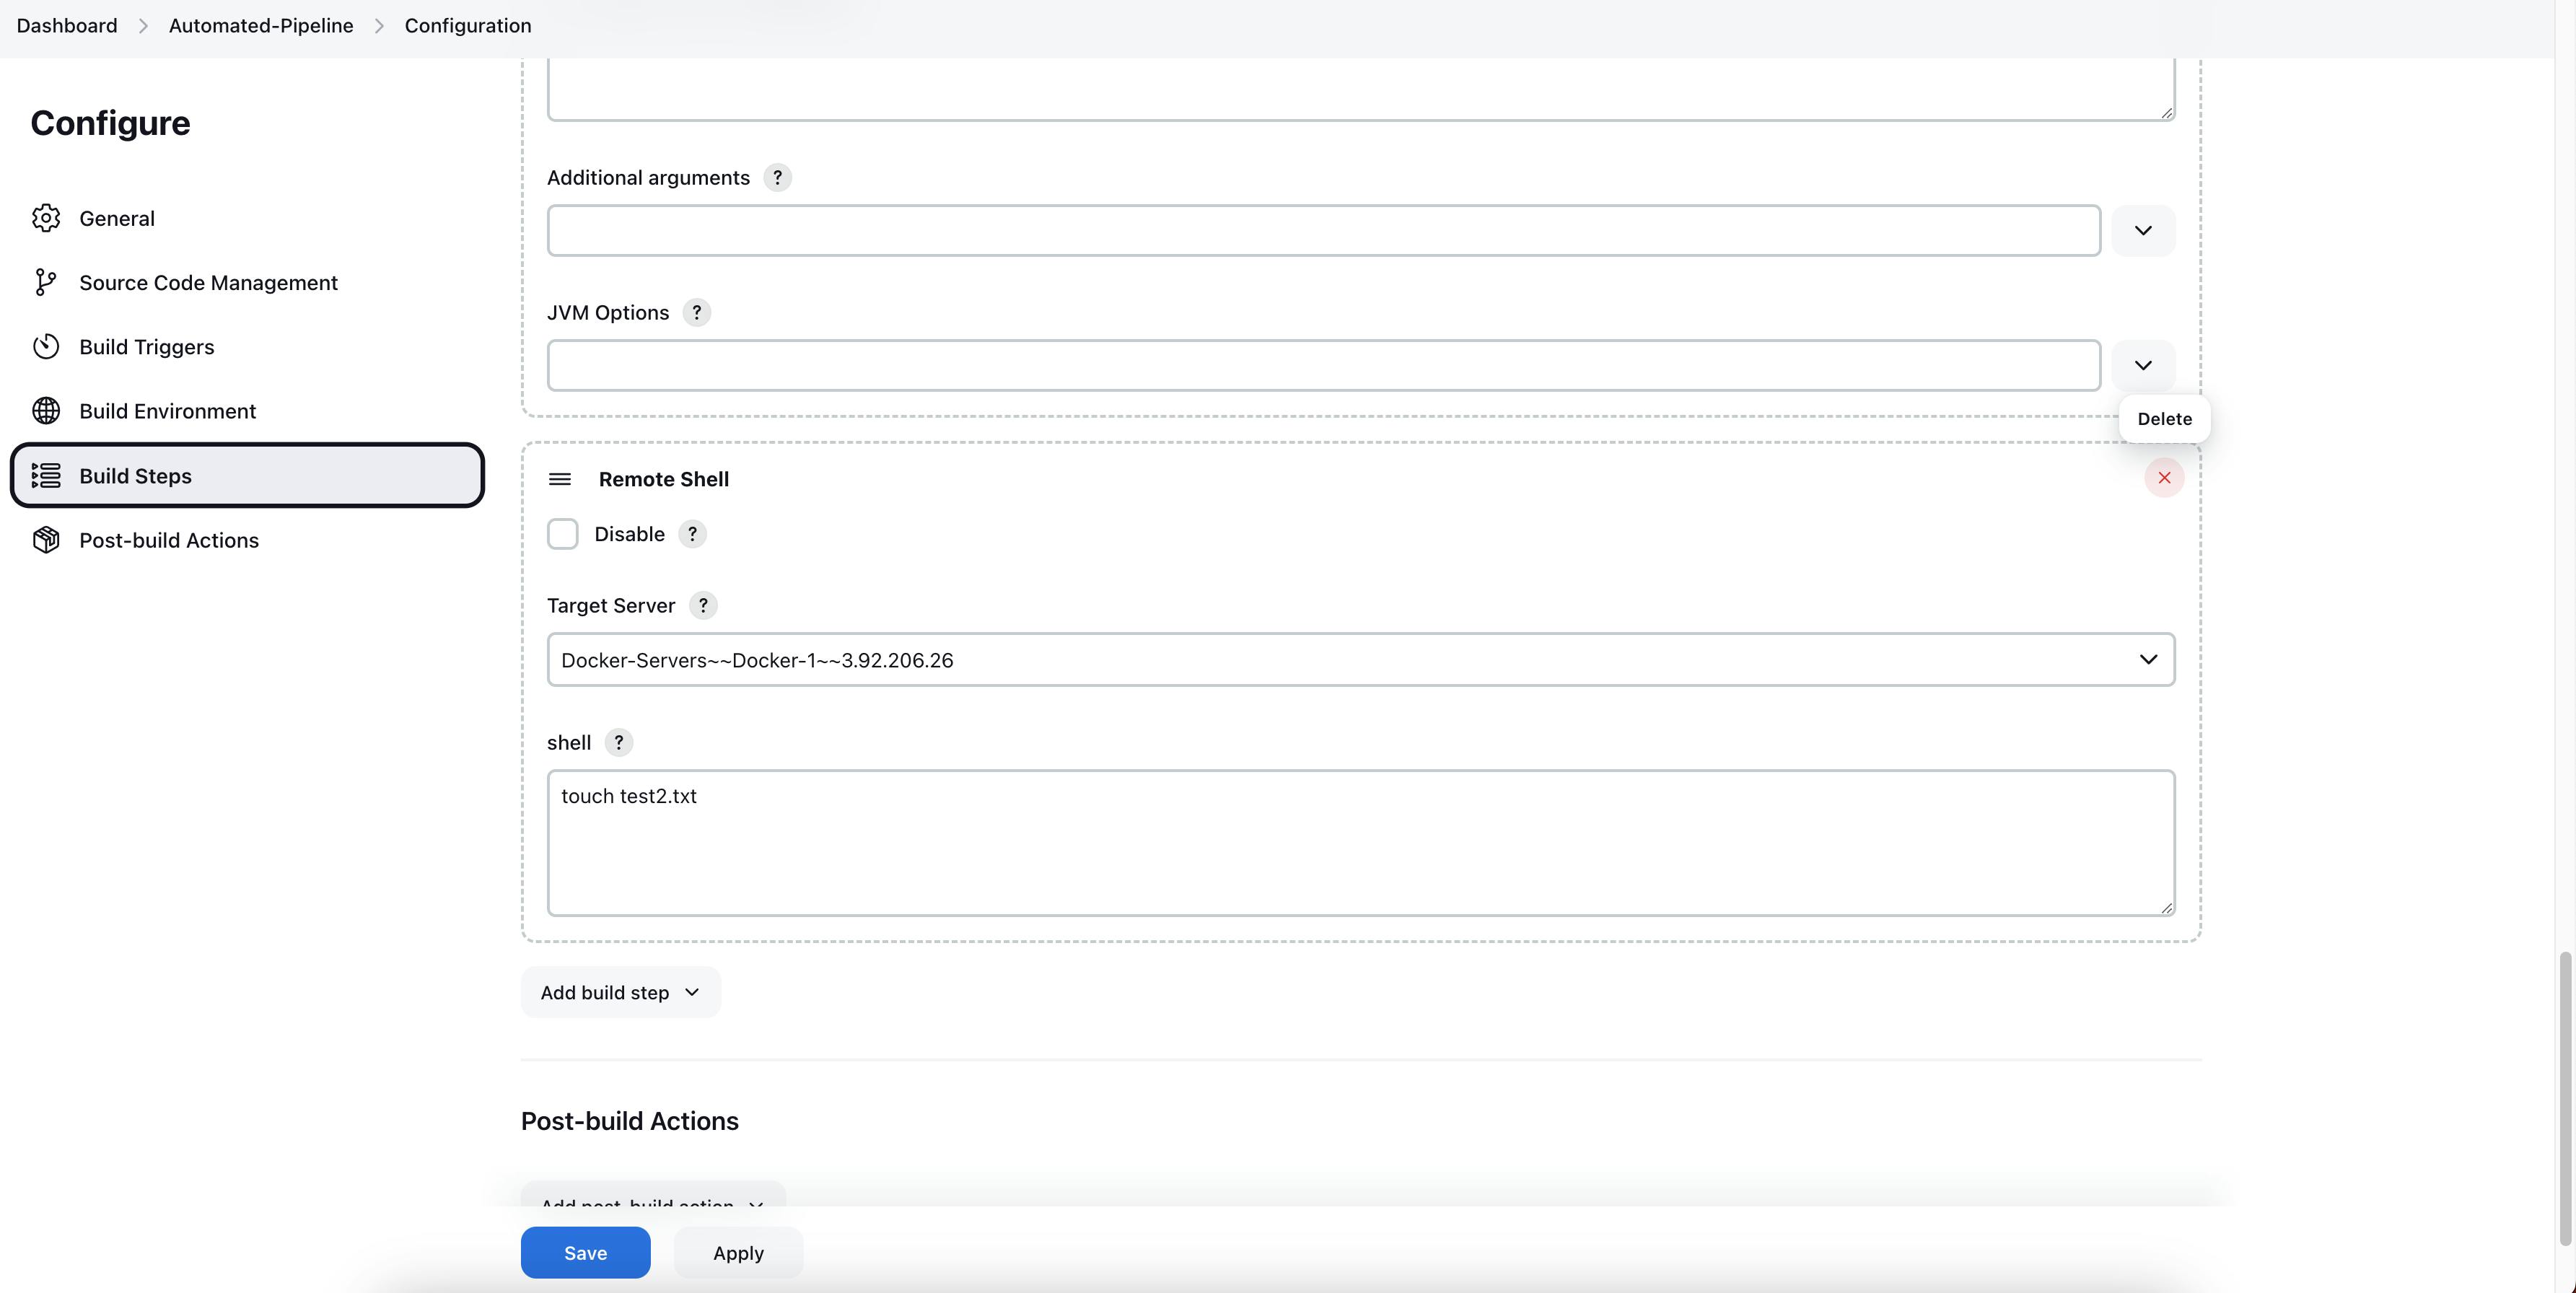
Now go to the pipeline and click on configure on the left sidebar
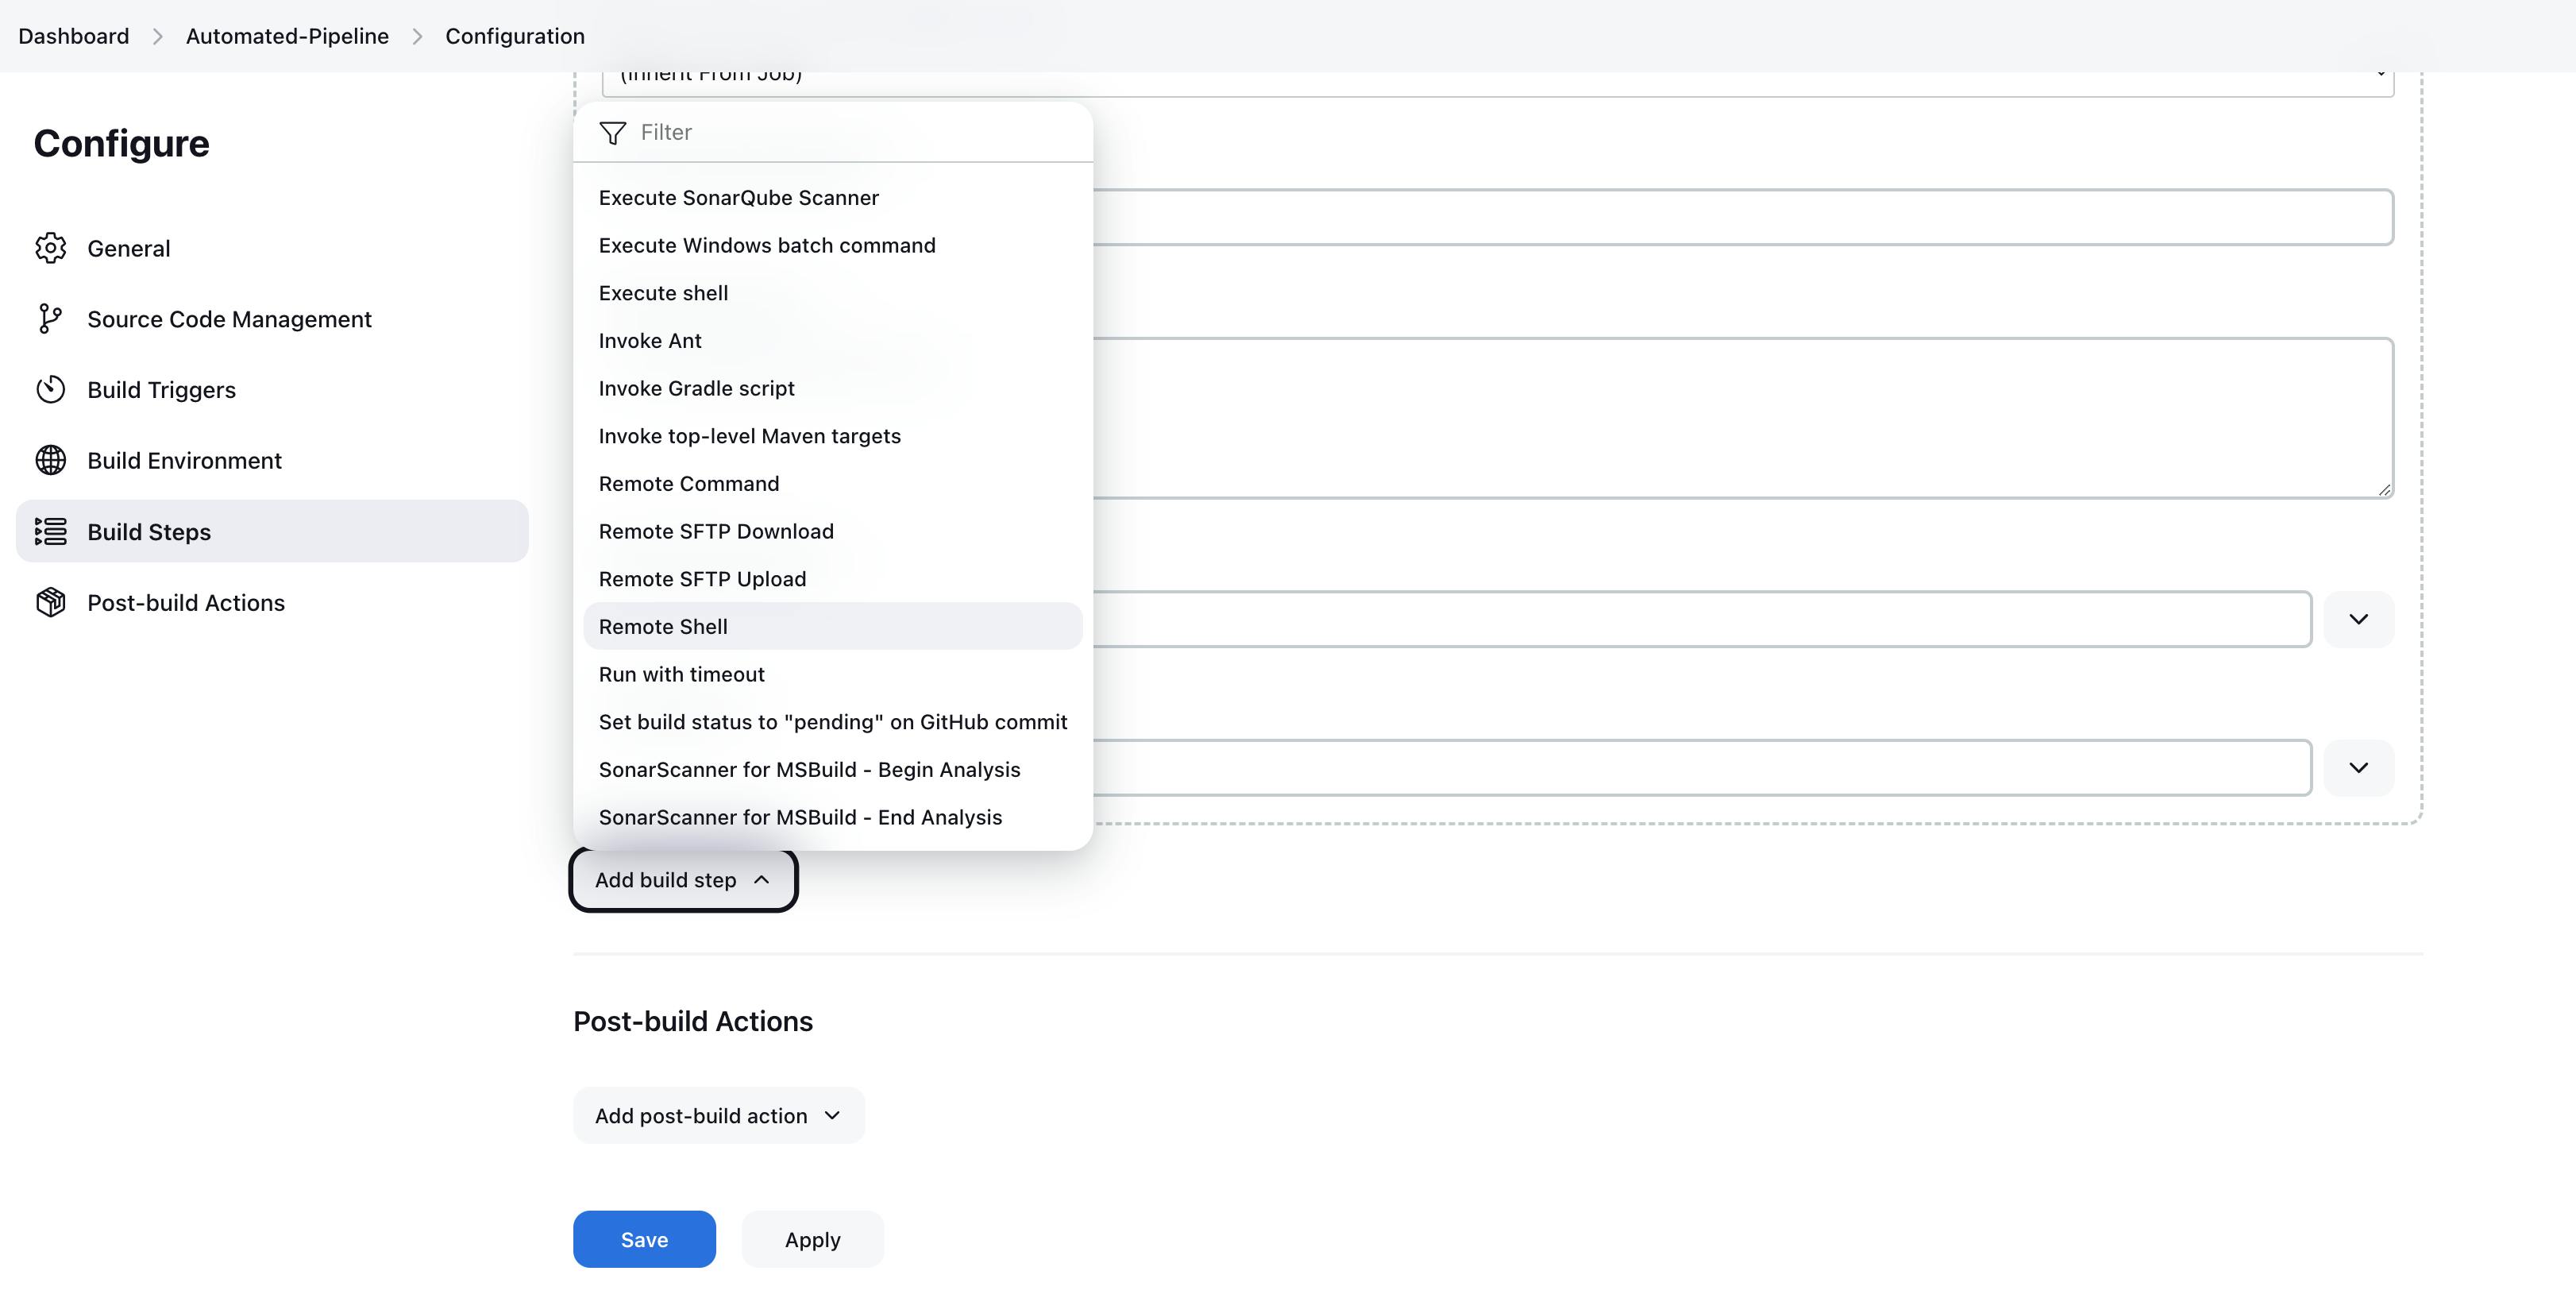
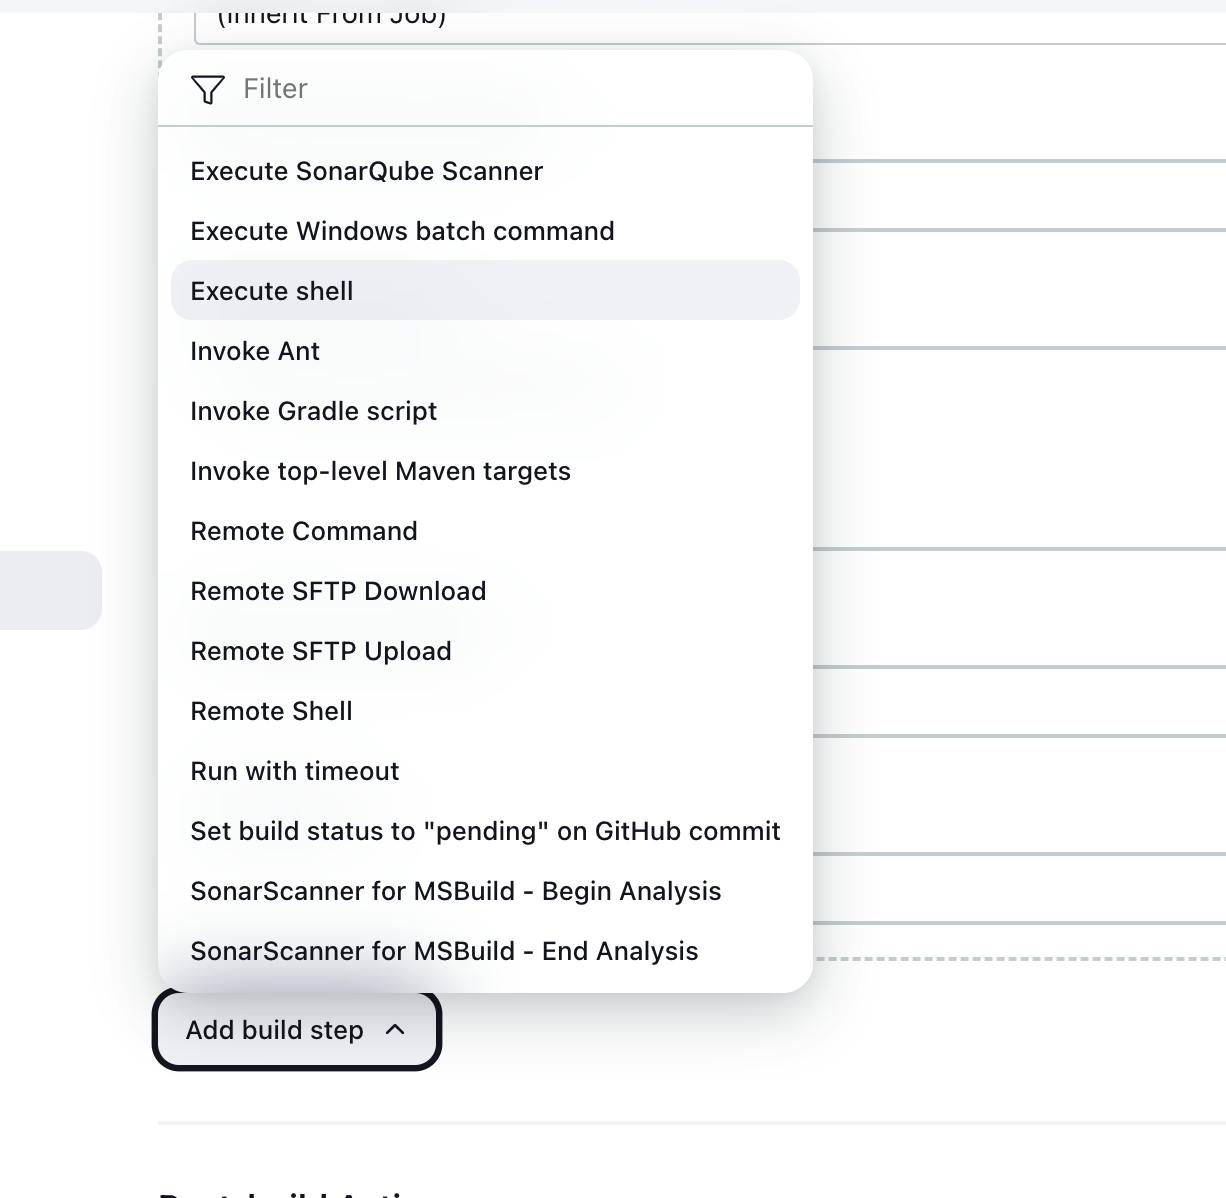
Under the build steps dropdown, select Remote shell
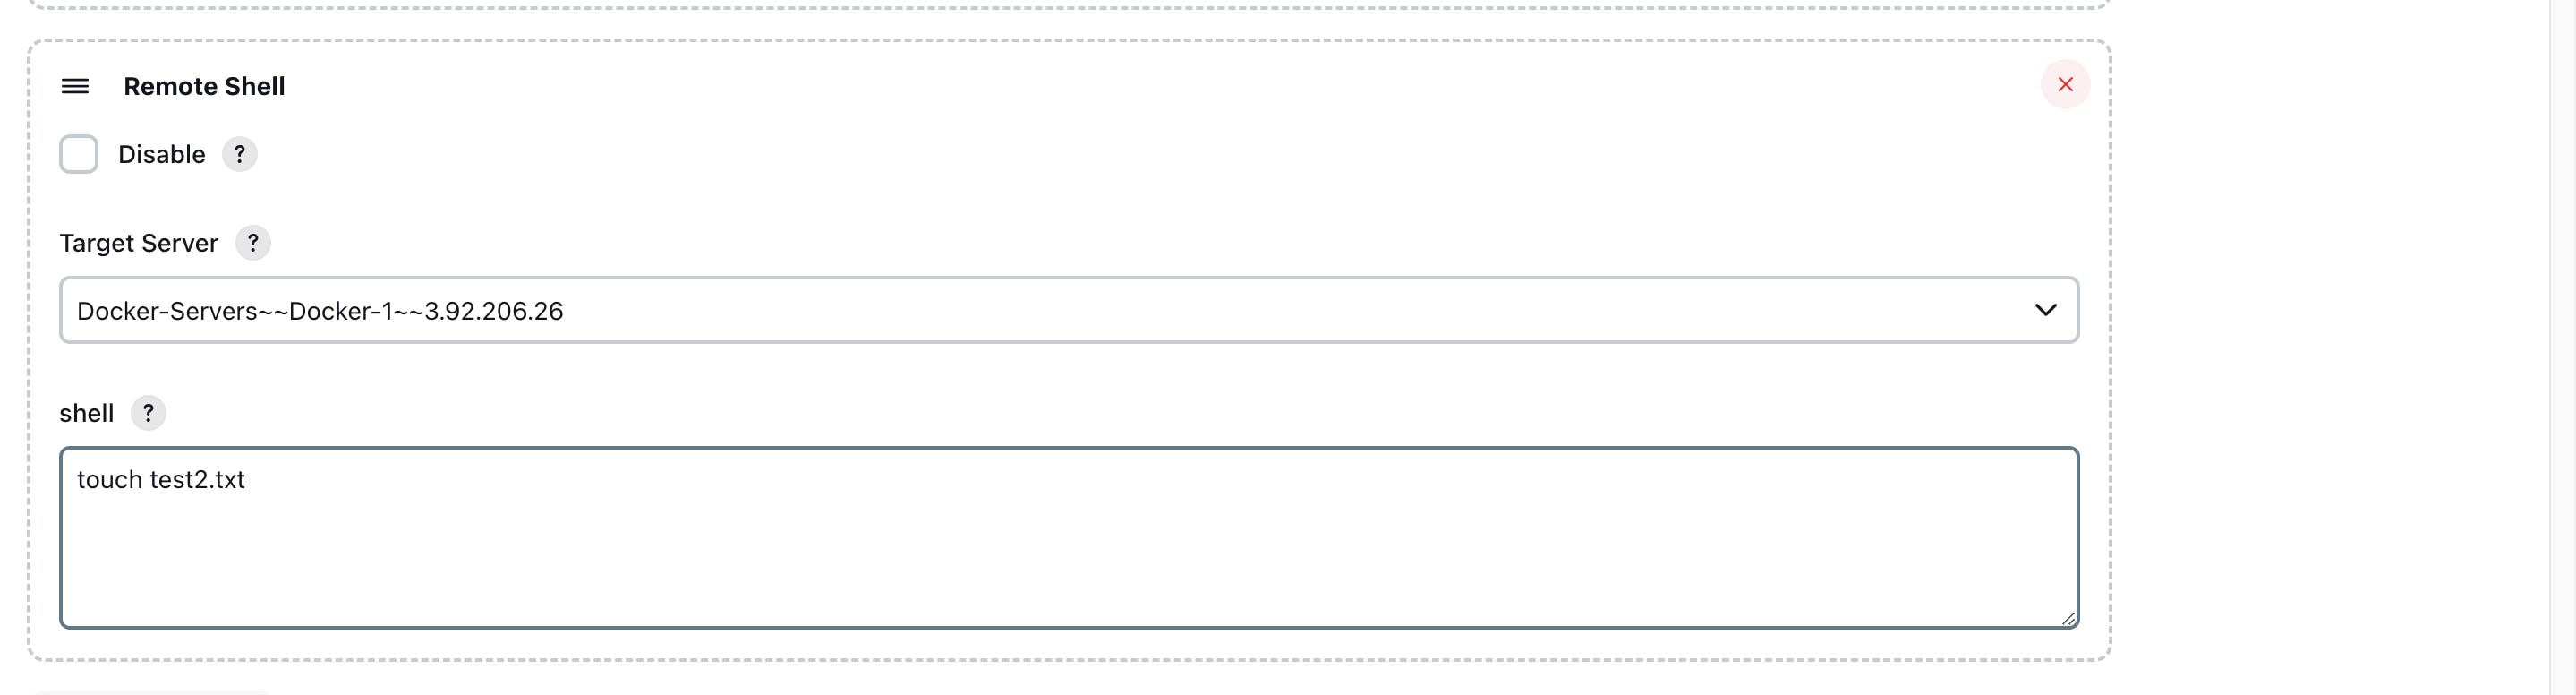
Now save the changes and run the pipeline.
If the build is successful, a new file is created in docker.
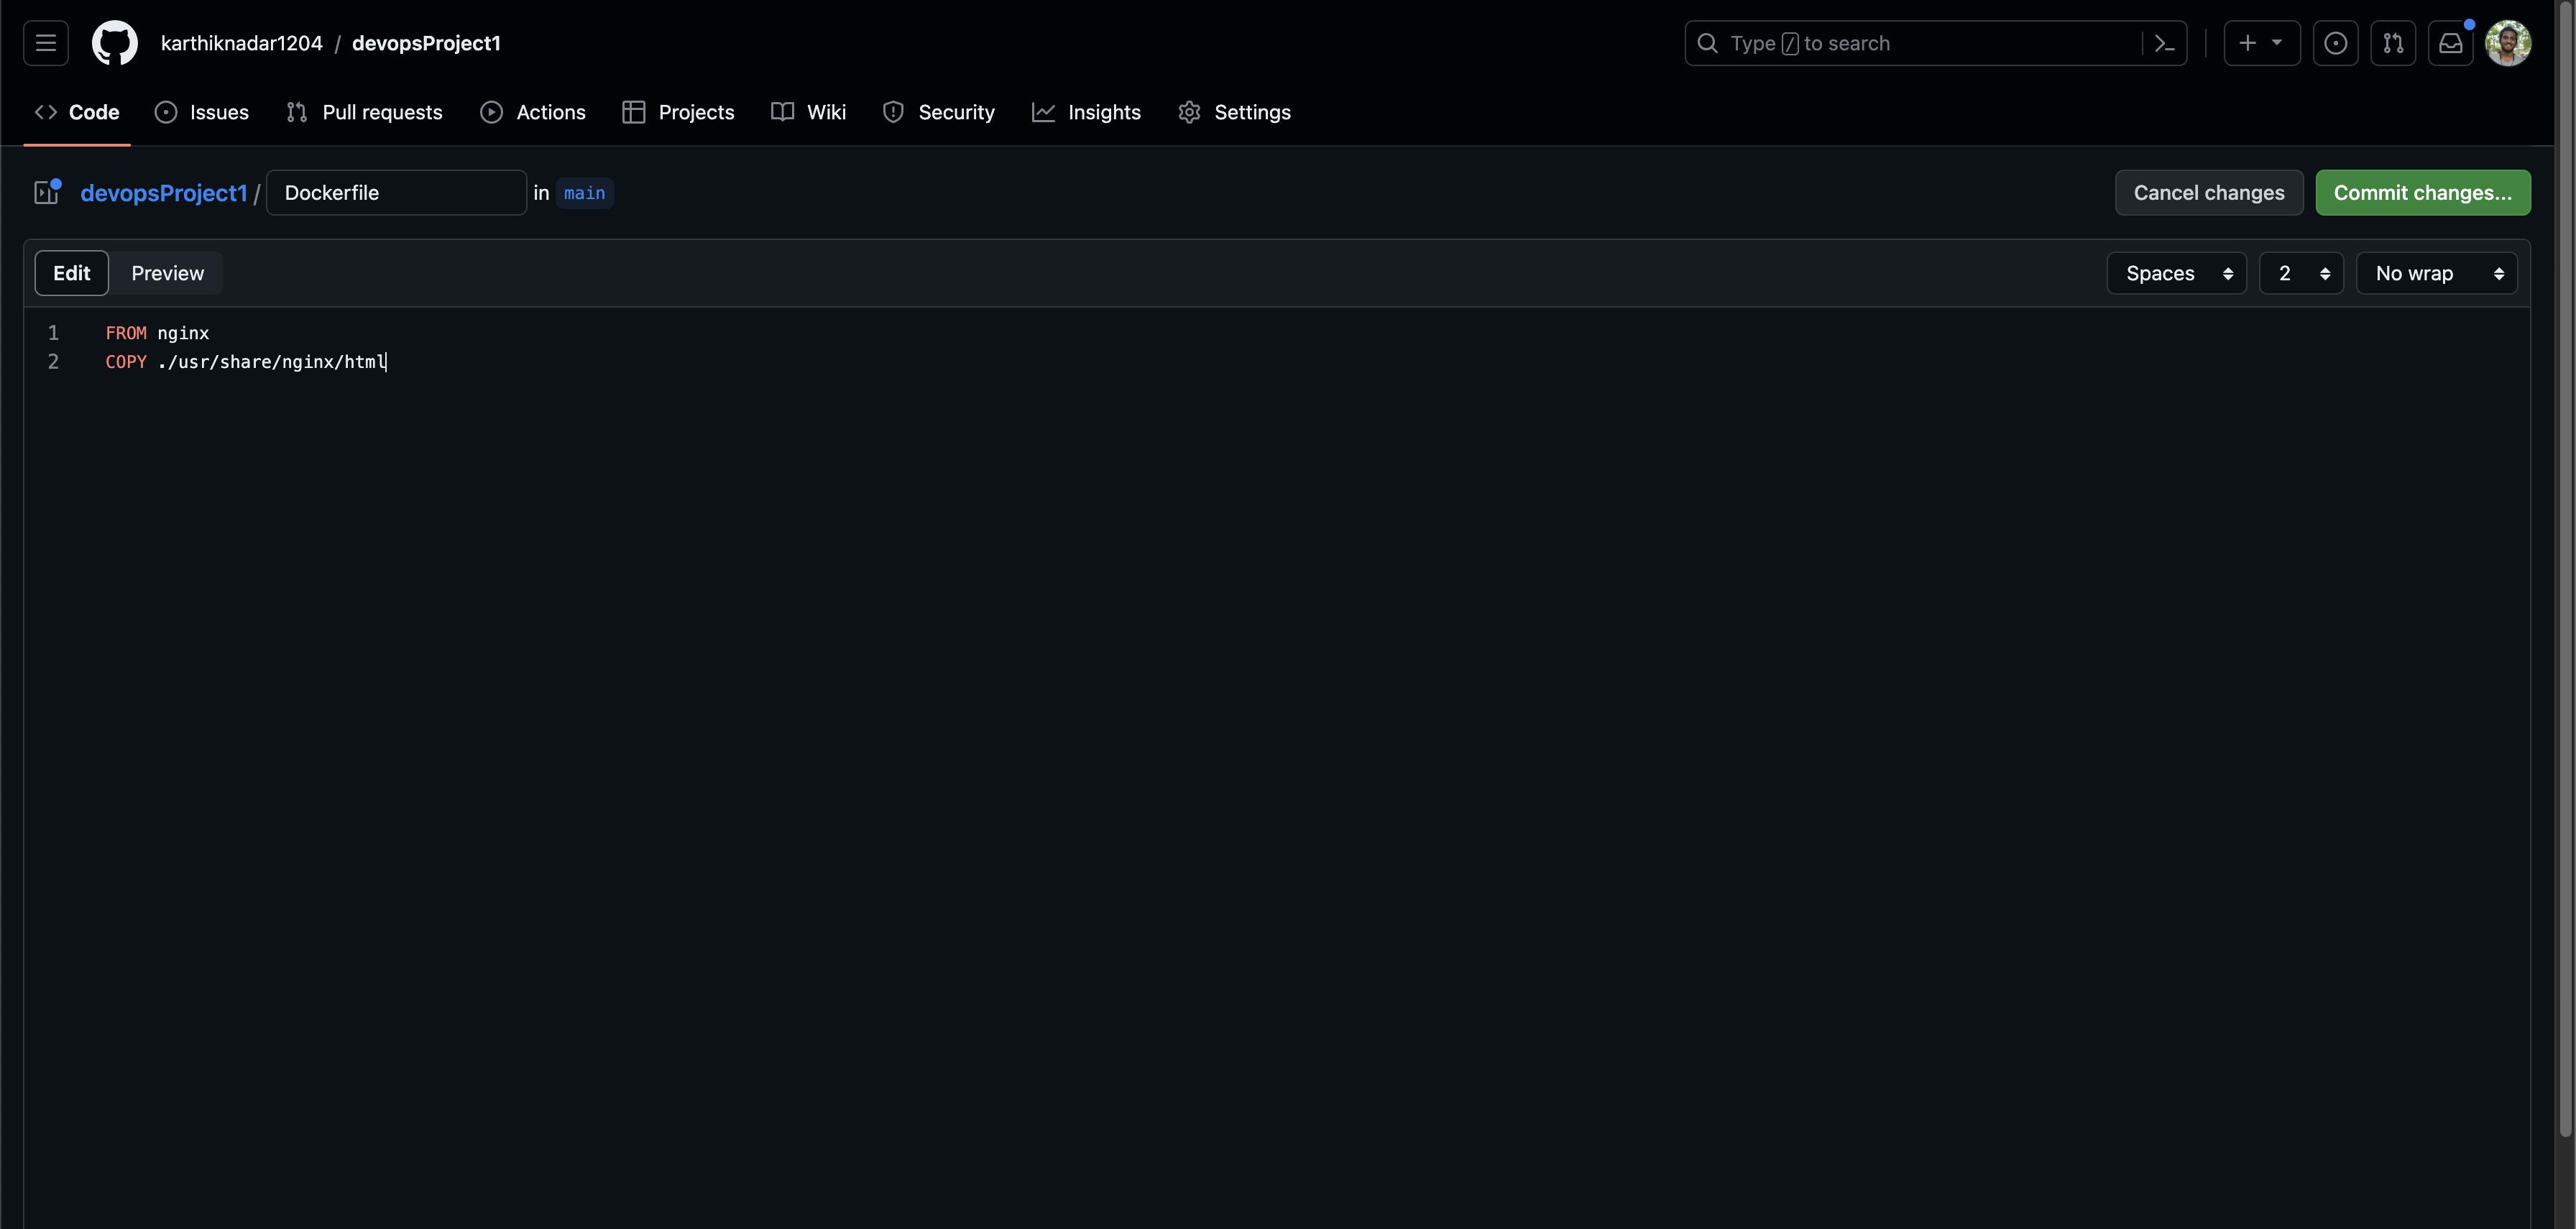
- Create a Dockerfile
FROM nginx
COPY . ./usr/share/nginx/html
Pushing the changes to the repository will again trigger the pipeline.
- Now in the terminal that is connected to the docker instance, create a new directory.
mkdir website

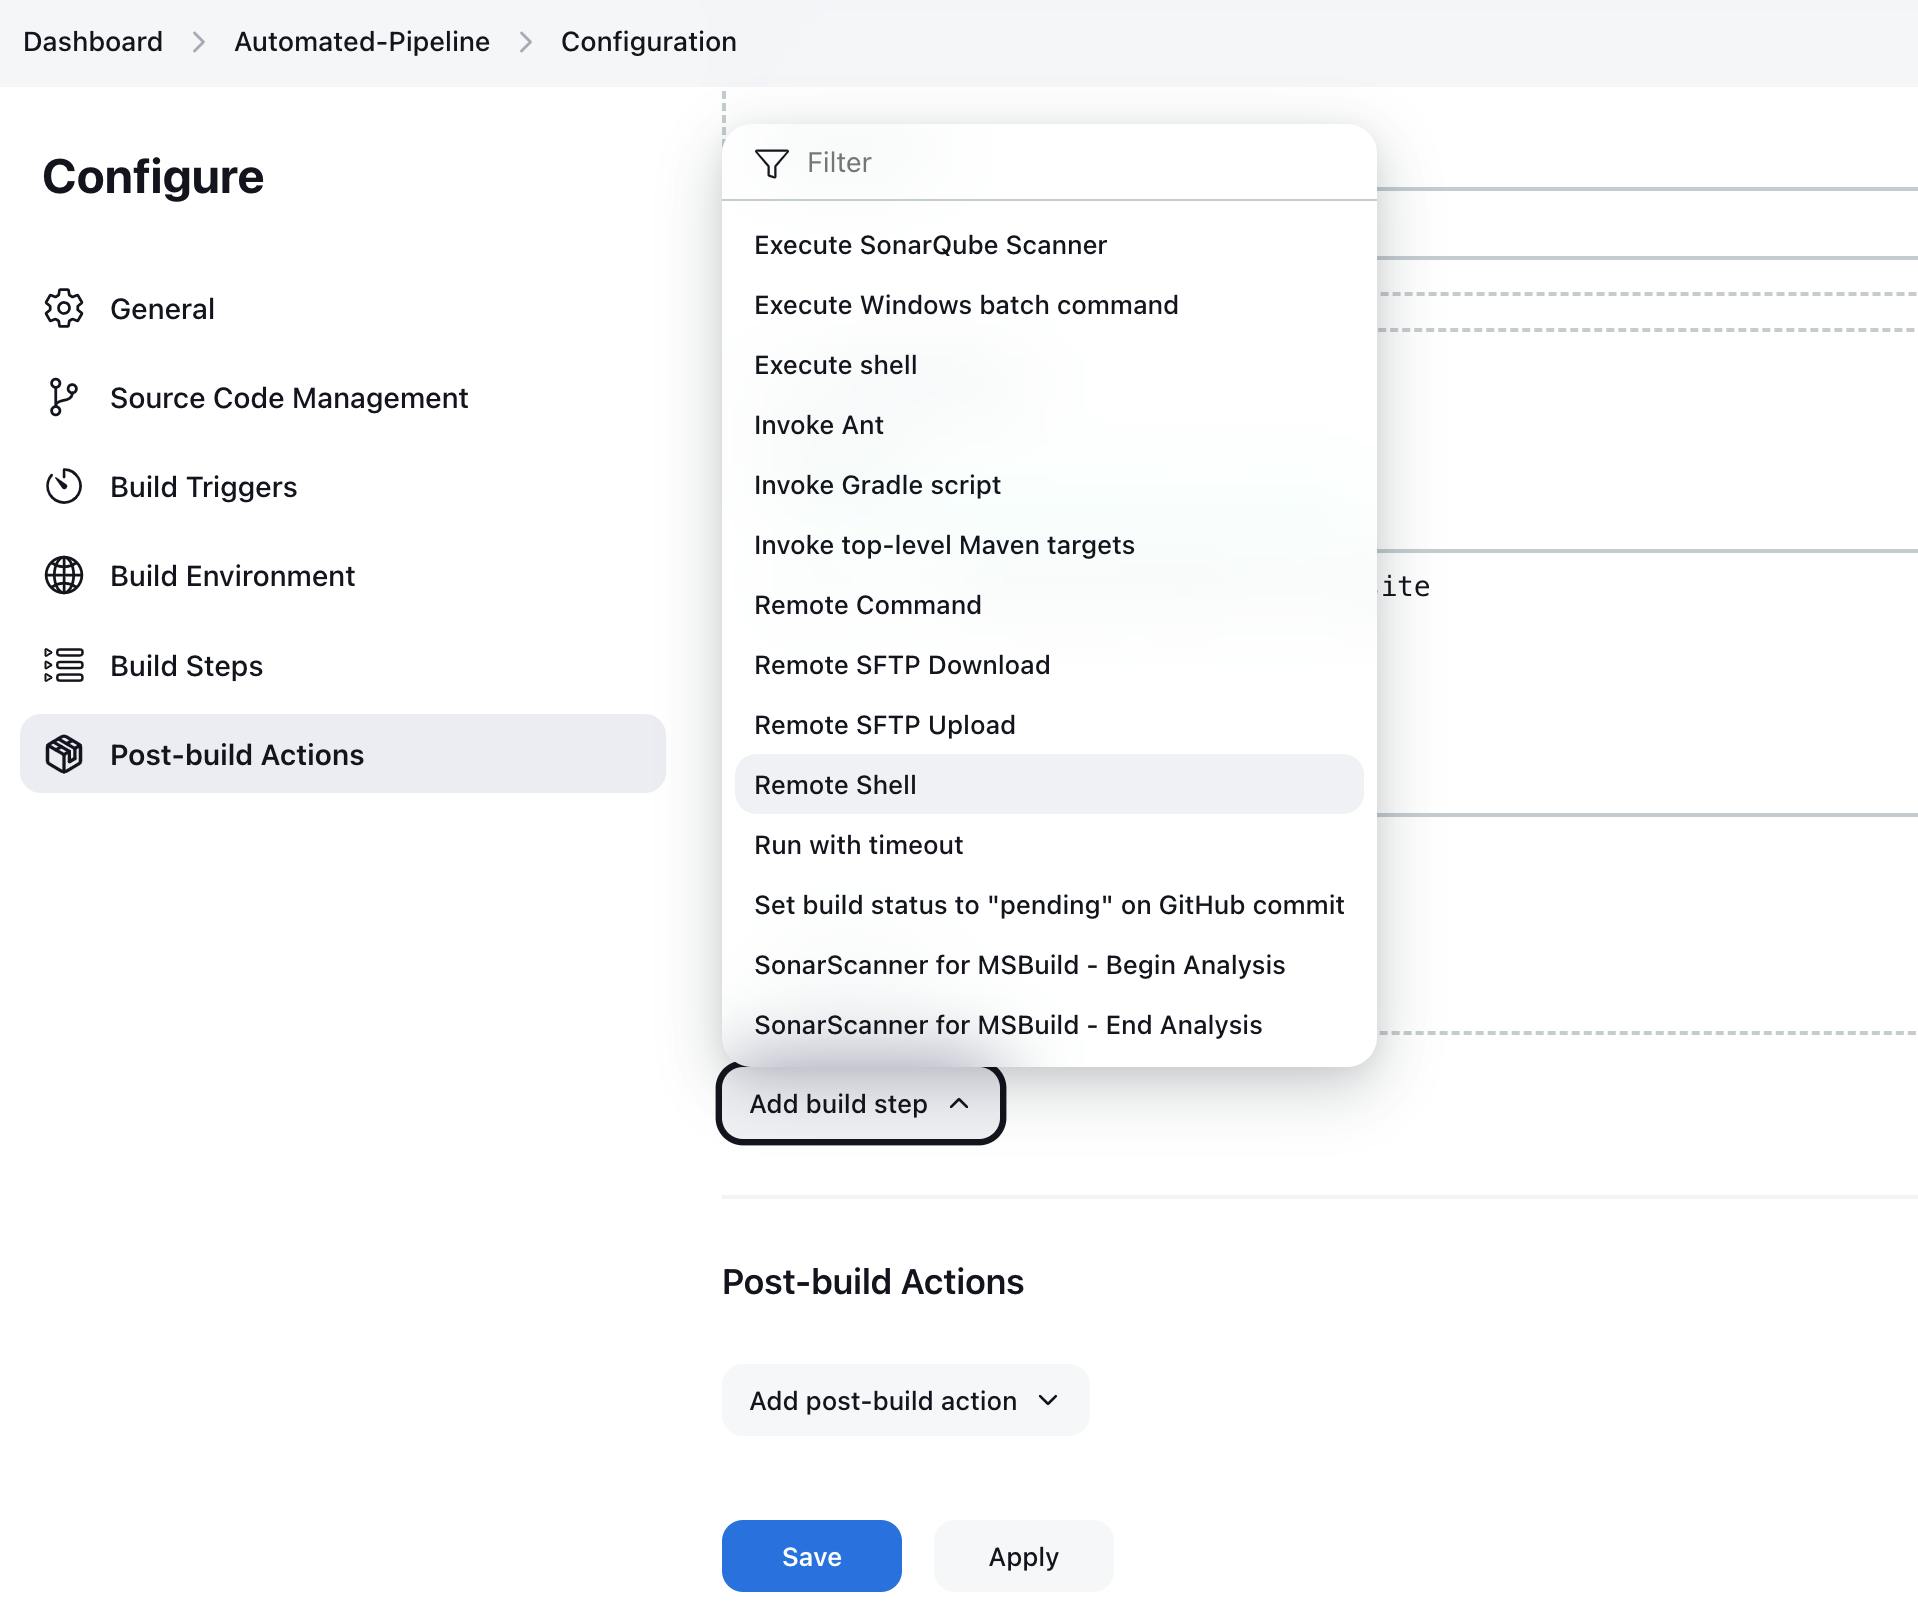
- Now in Jenkins, go to the pipeline, configure and in the build steps section, delete the remote shell
- Now switch to execute shell
scp -r ./* ubuntu@<public_IPv4_address_of_docker>:~/website
In the above step, we are moving all the code from Jenkins to the directory we created in step 56 inside of docker.
- Now we will build the image and Run the container for it.
- Go to the pipeline, configure and scroll down to build steps and add a new remote shell
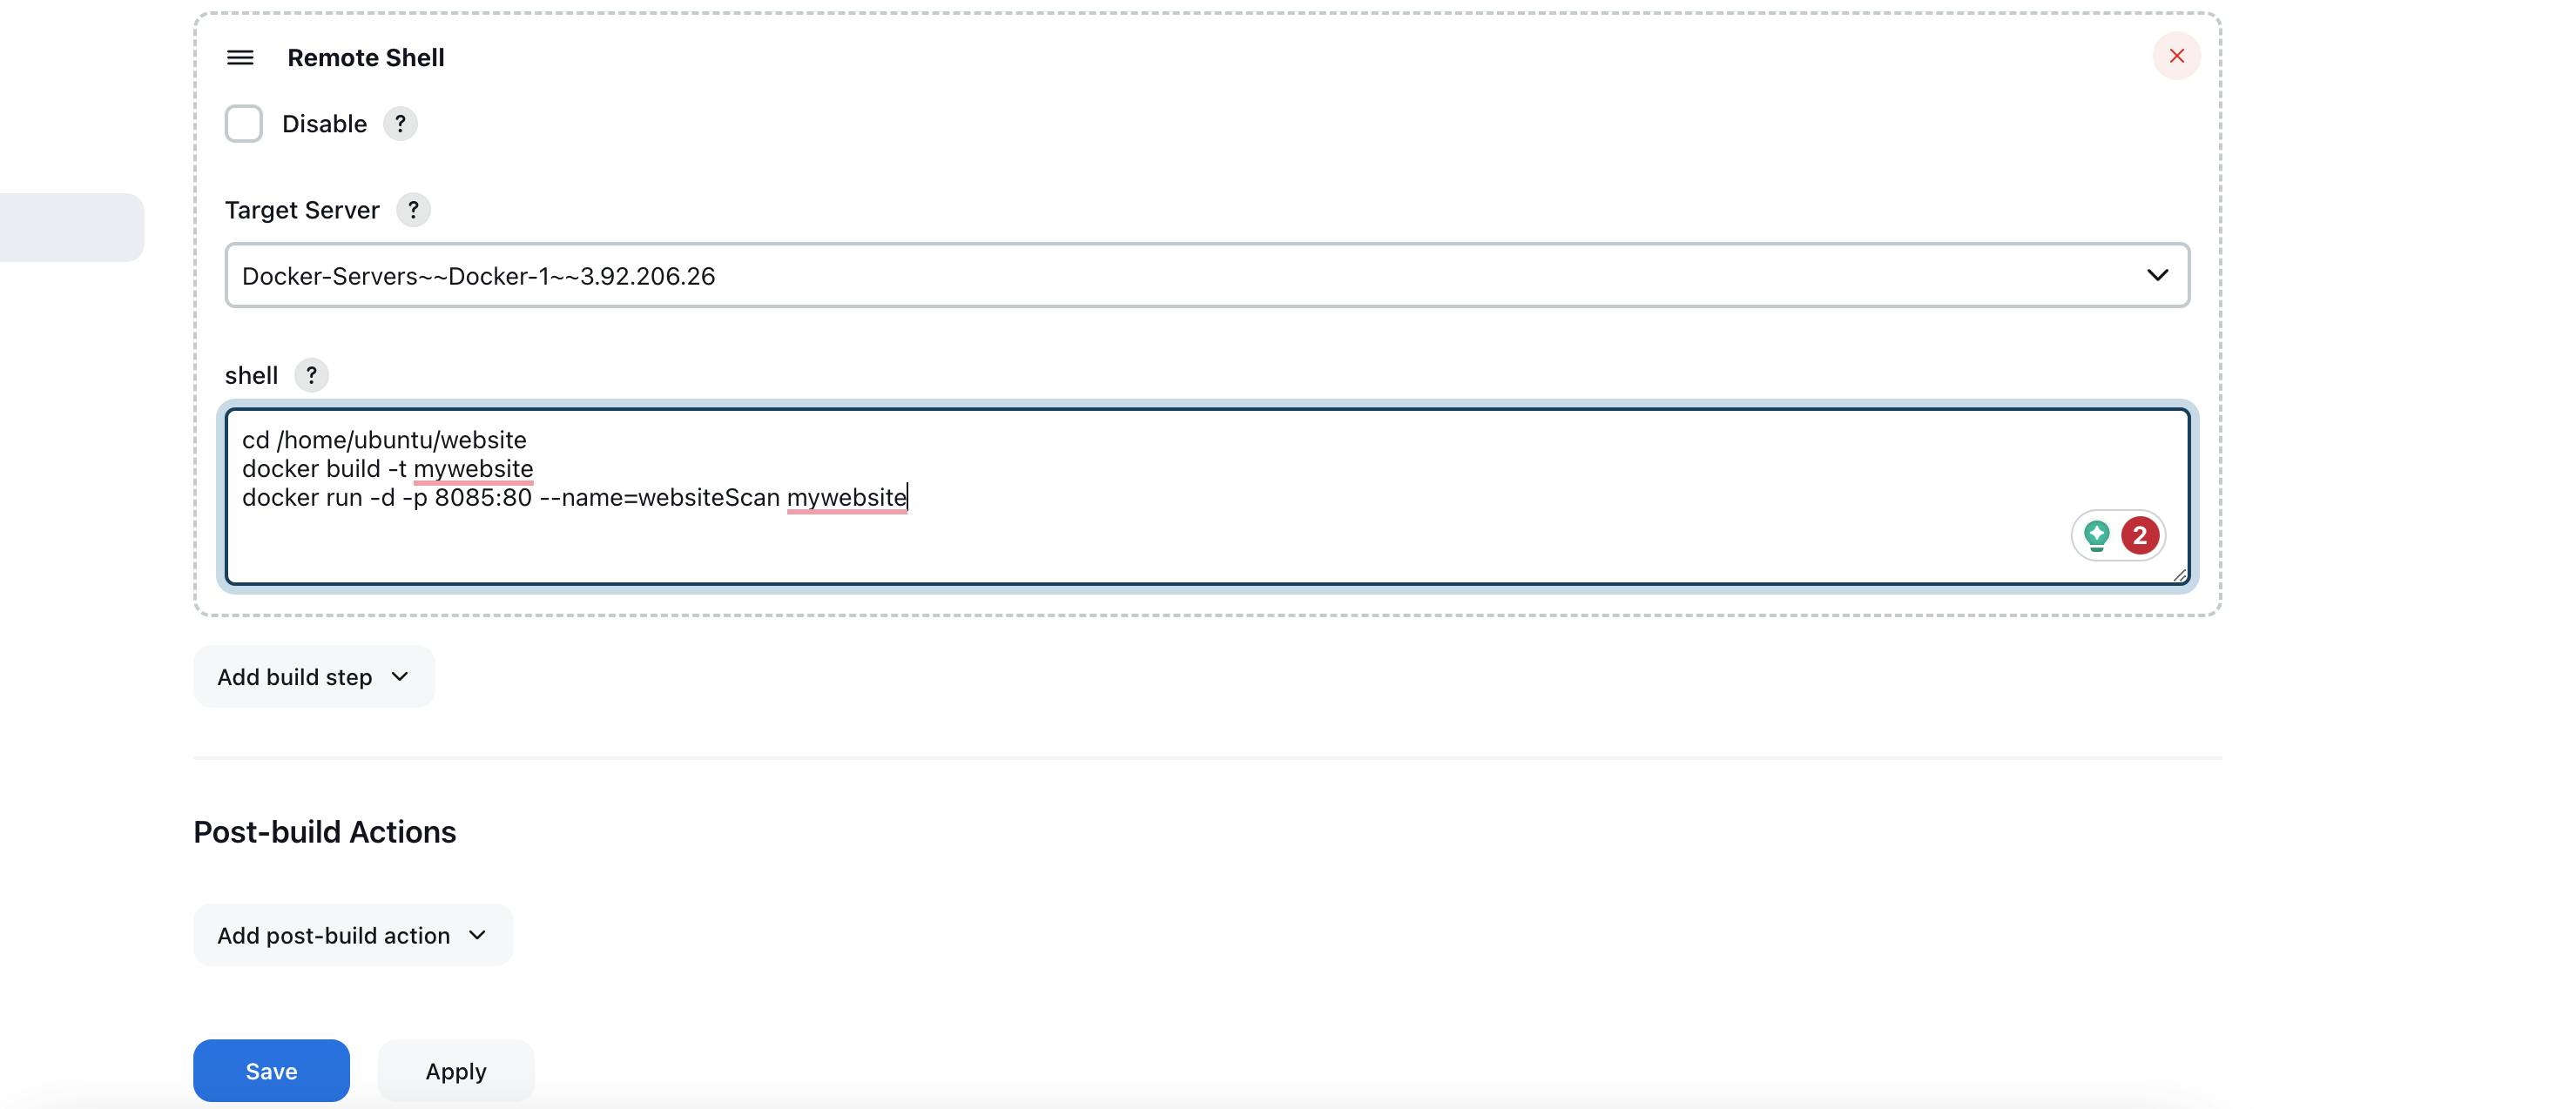
cd /home/ubuntu/website
docker build -t mywebsite .
docker run -d -p 8085:80 --name=websiteScan mywebsite
apply and save these changes.
- In the terminal connected to the docker instance, run the following commands
sudo usermod -aG docker ubuntu
newgrp docker
- Now the pipeline is ready, now to access the site at port 8085 on our web browser, we have to configure the instance on the AWS console
- In the EC2 console, click on the Instance ID of the docker.

- Navigate to security
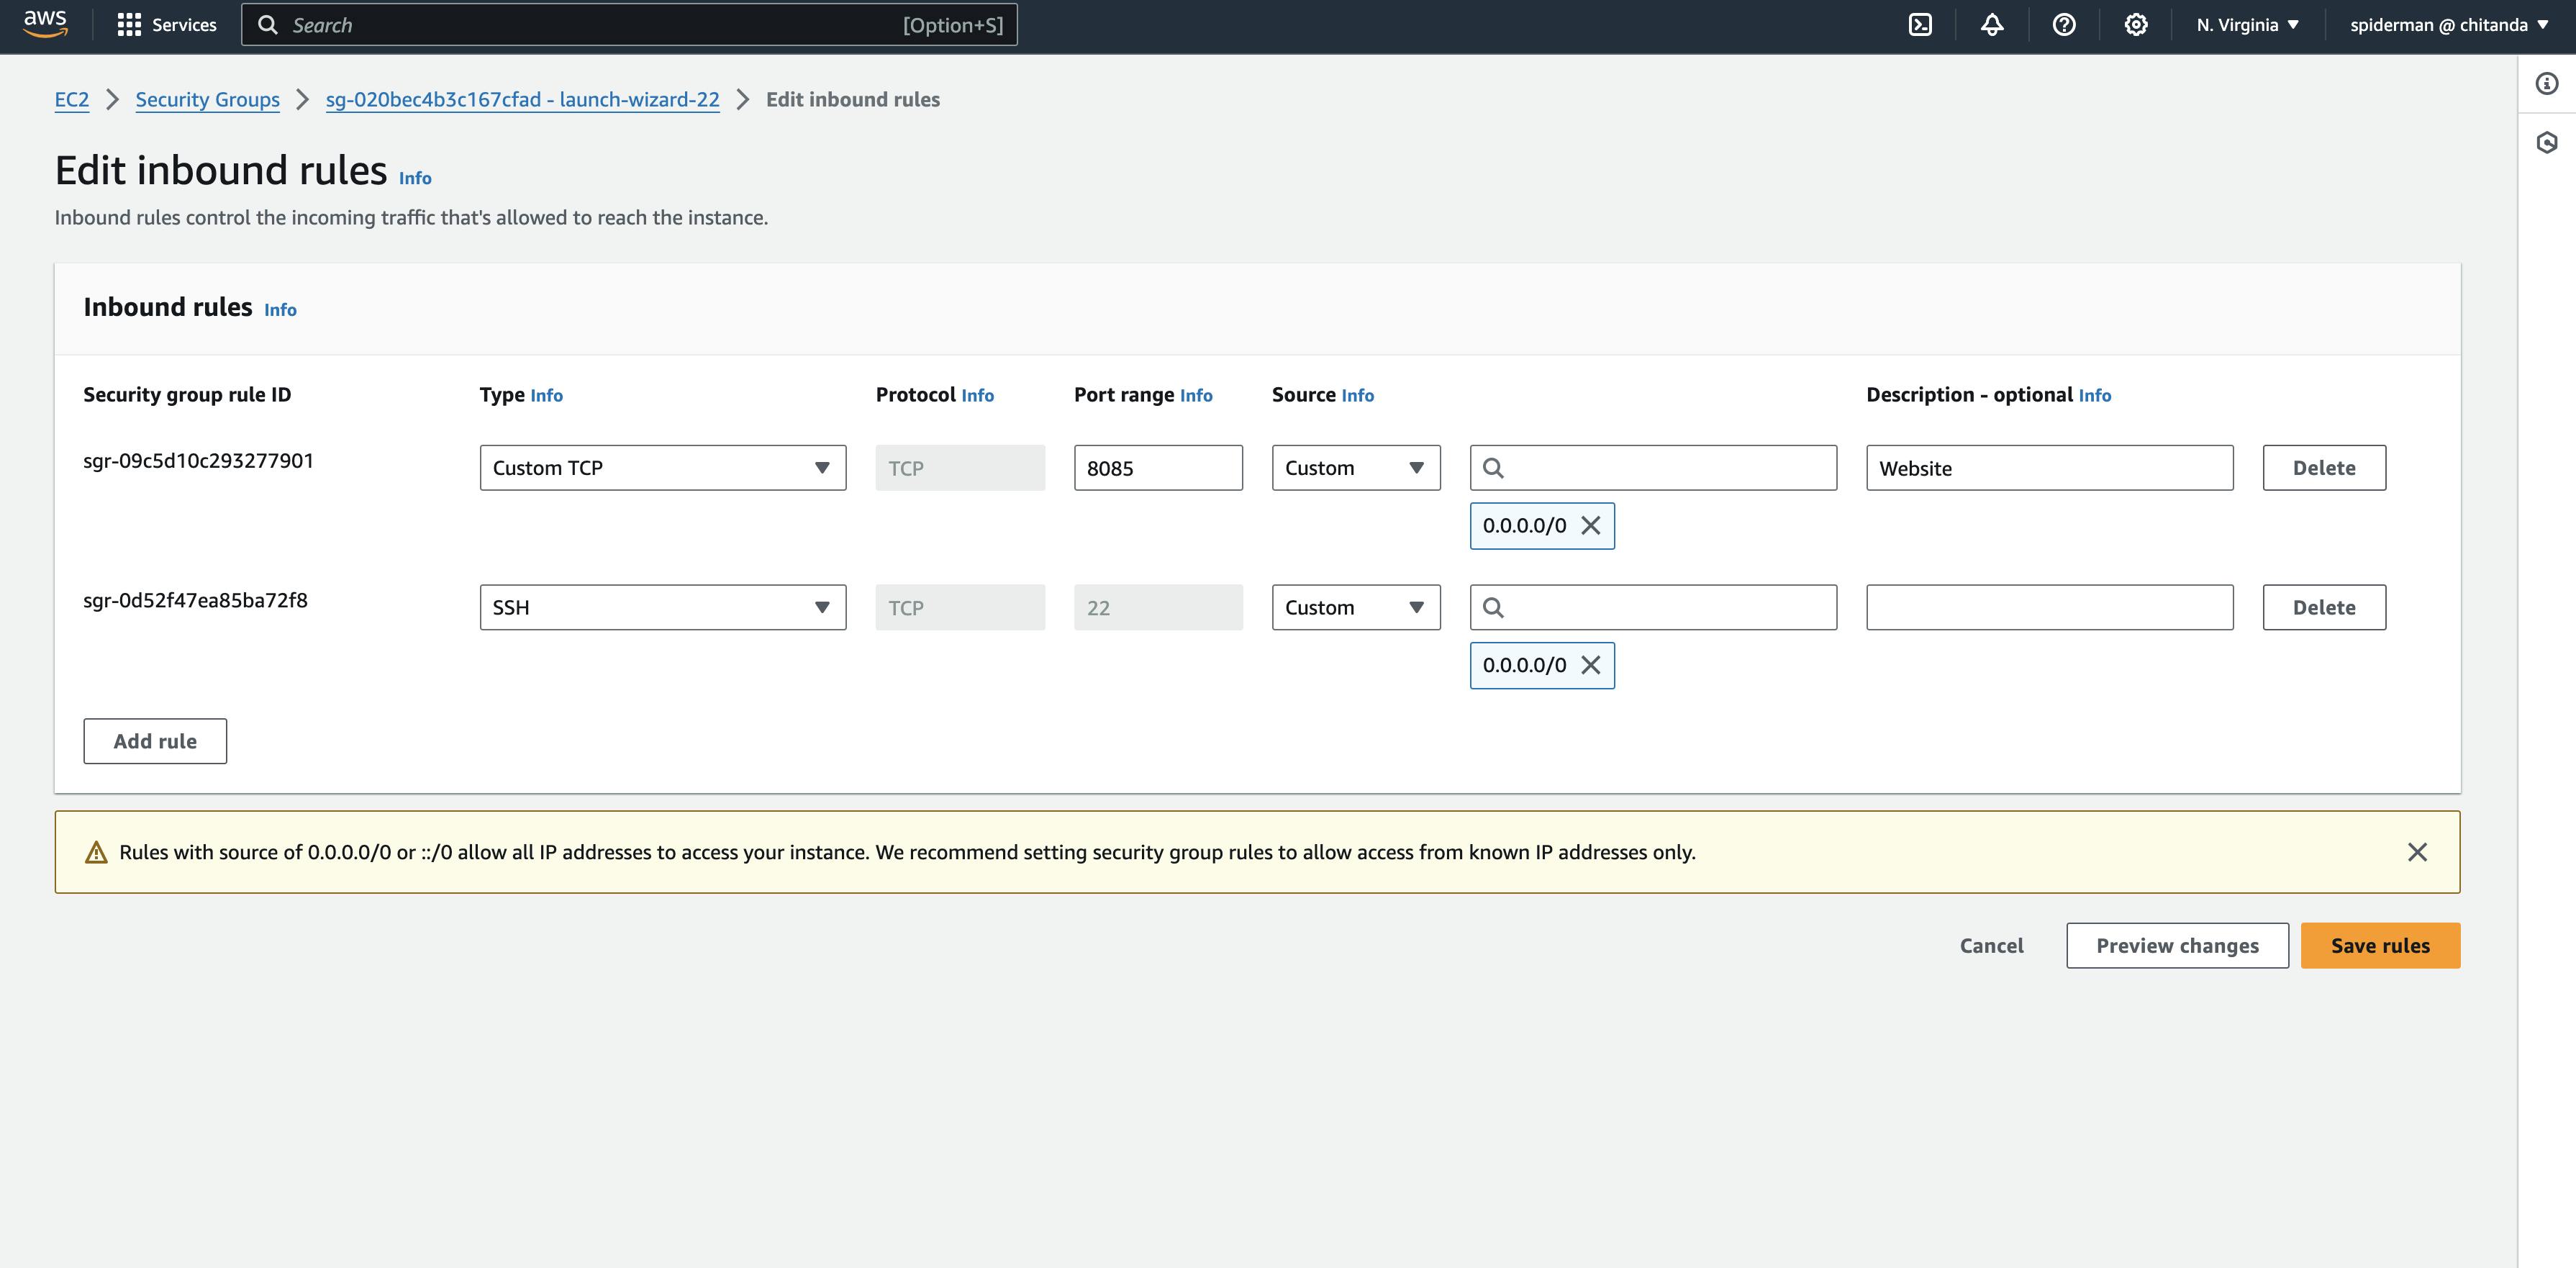
- Edit inbound rules according to the following configuration.
- Now run the pipeline, the pipeline should run perfectly and you should be able to access the site on port 8085.
Conclusion
Congratulations on reaching the end of this blog! Setting up a Jenkins pipeline can be a challenging but rewarding endeavour. Through my own experience of encountering and overcoming obstacles in 20 builds; Here's to your success in mastering Jenkins pipelines and building a resilient and efficient CI/CD workflow!
You can further follow my work on Twitter, I regularly share posts related to DevOps.