Create a basic chat app using Socket.io and React

In this blog, we delve into the core of creating a basic chat application, focusing intently on the foundational aspect: setting up the server for peer-to-peer communication. Join this journey as we decipher the underlying mechanics that power this direct, real-time communication.
Moreover, I've tried to provide comprehensive insights into the functionality of the utilized packages. This addition ensures that the project is a solid entry point for anyone looking to embark on their WebSocket journey. It's designed to offer a robust foundation, making it an excellent starting point for those venturing into the realm of web sockets.
We will start by creating two separate directories in the root directory:
client
server
- First, create the React app.
- In the terminal navigate to the client directory.
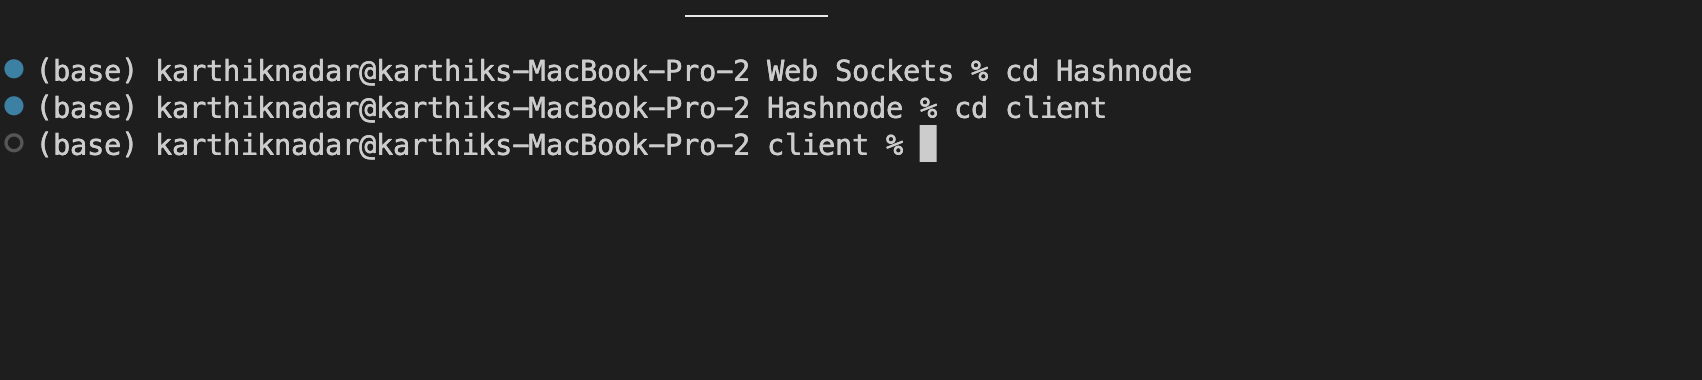
- Now run the following command to create the React app
npx create-react-app .
- Now start the react app on port 3000 i.e
http://localhost:3000/
- Now set up the backend
- Open a new terminal and navigate to the server directory
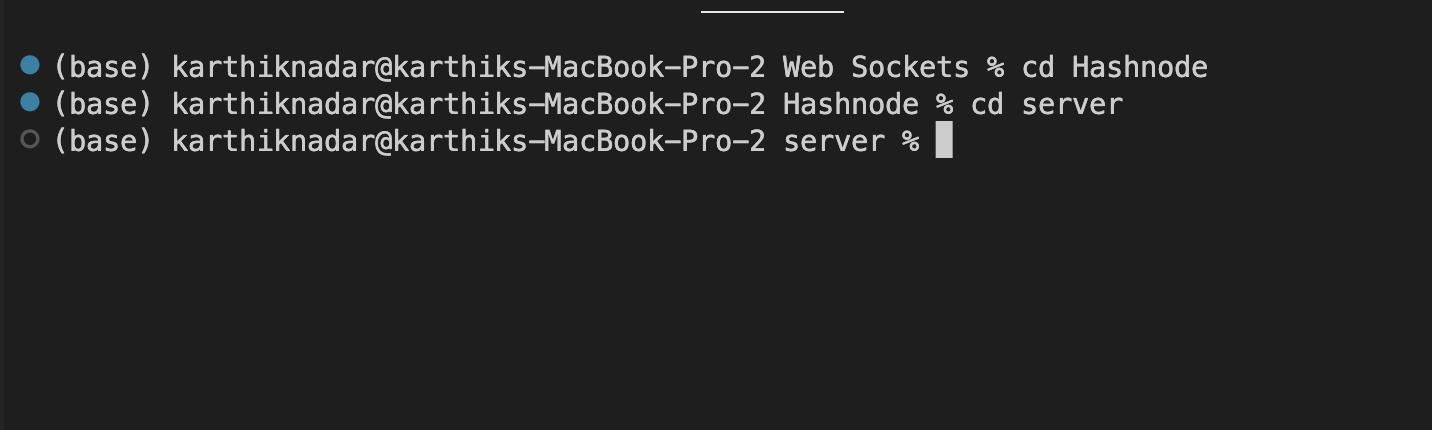
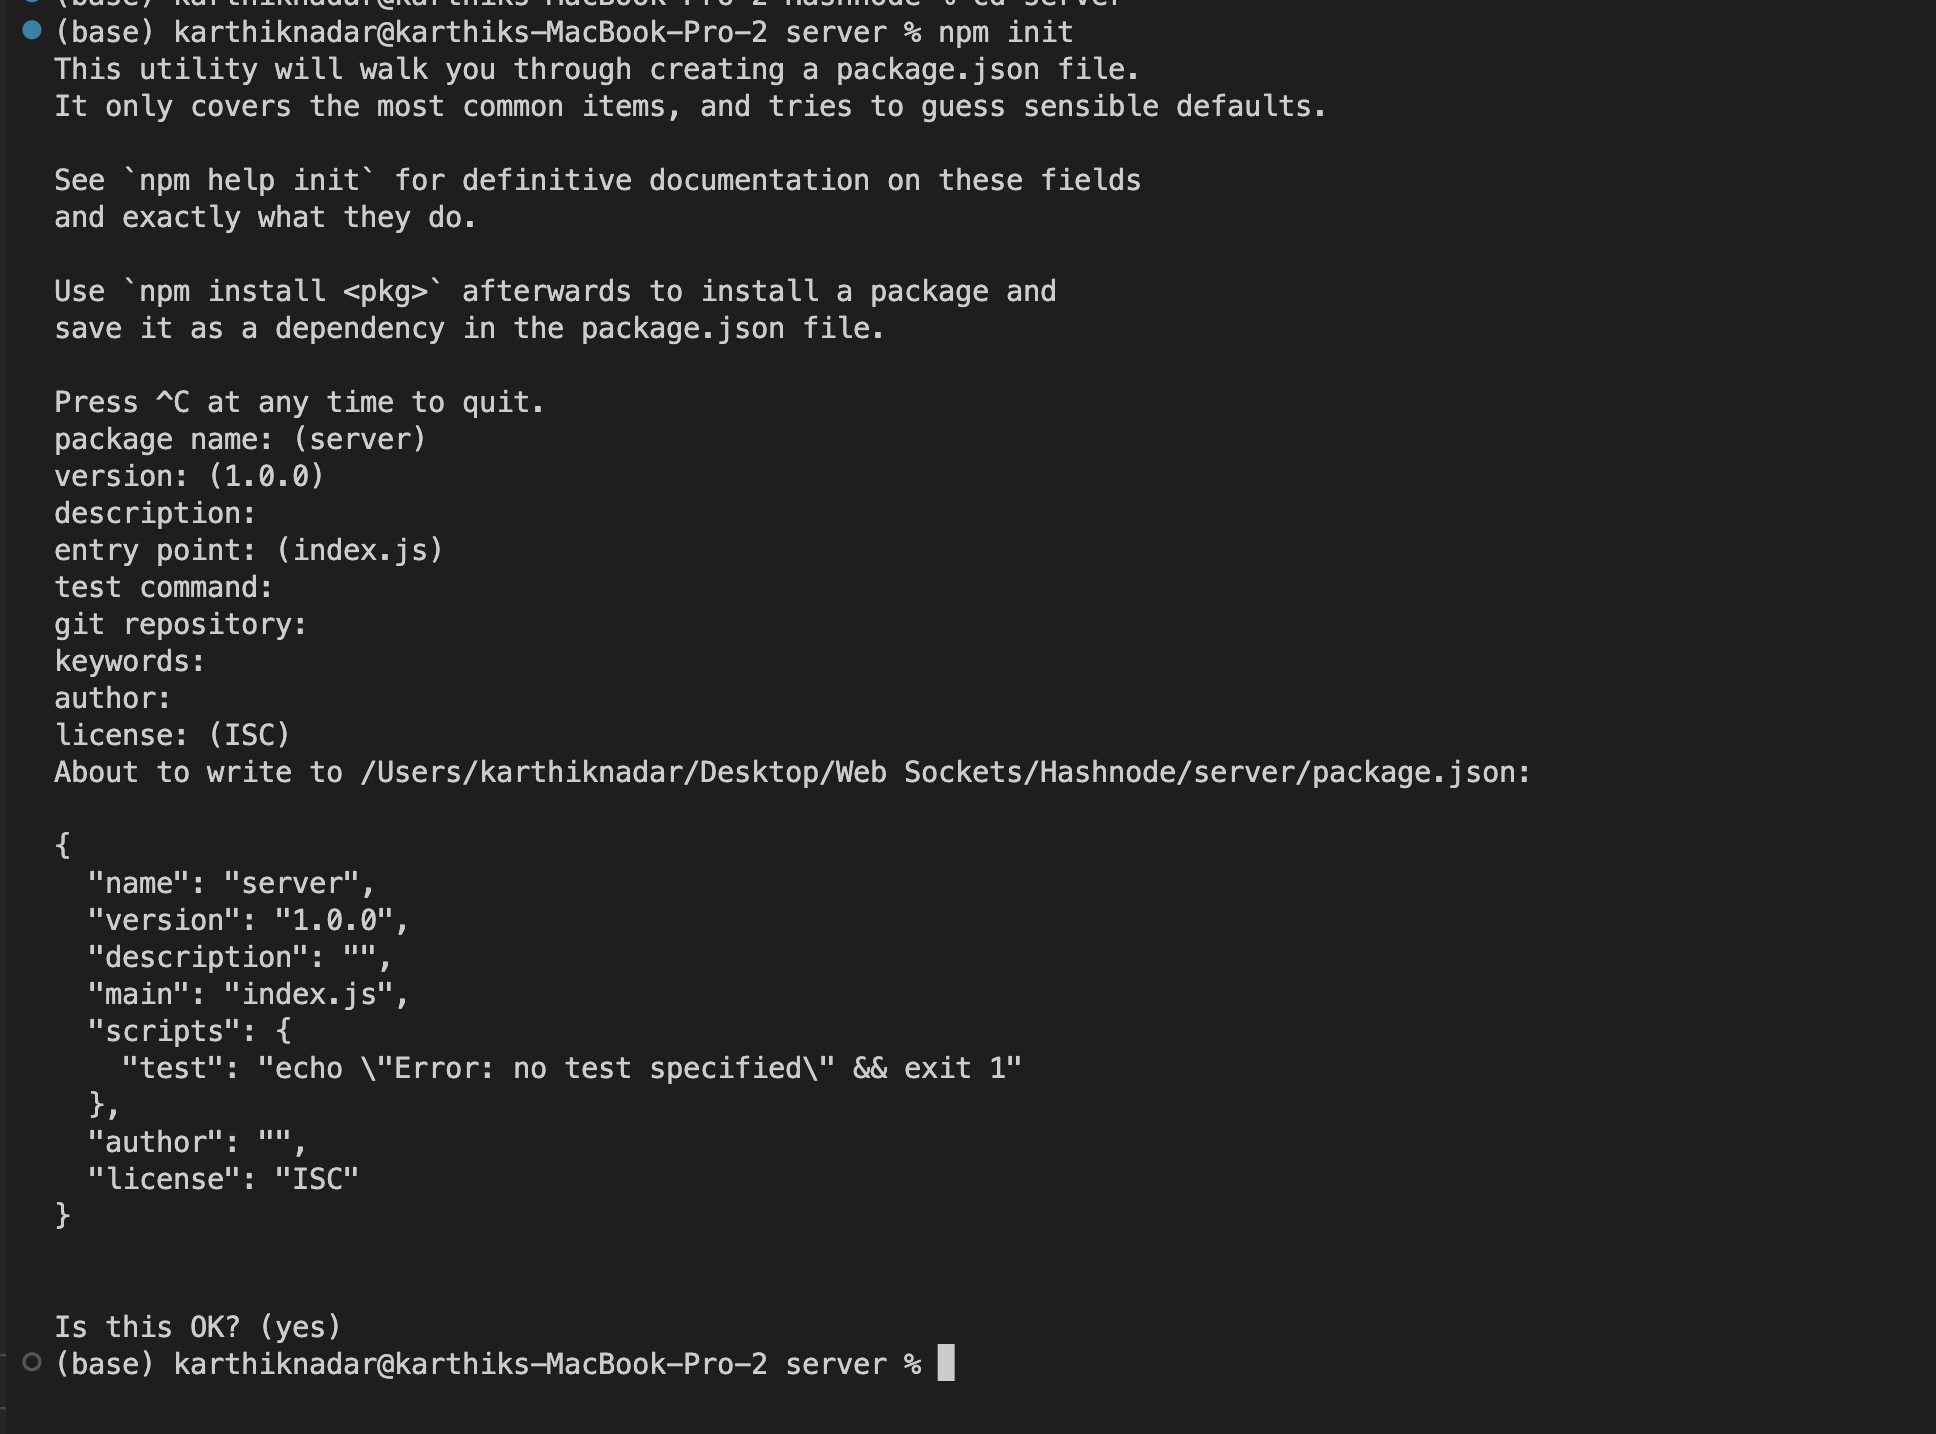
- set up the express js server, we will run the following commands
npm init
Press enter for all the questions
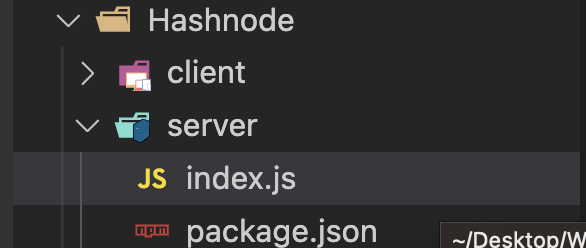
- Create an index.js file inside the server directory
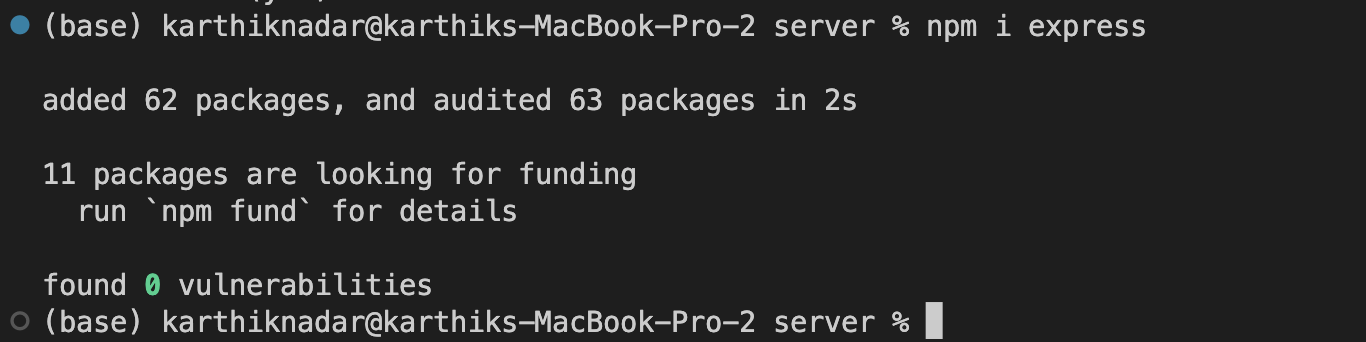
- Now in the terminal, in the server directory, type the following command to install the backend dependencies
npm i express
- We further install a few more packages and run the following command to install them.
npm i cors nodemon socket.io
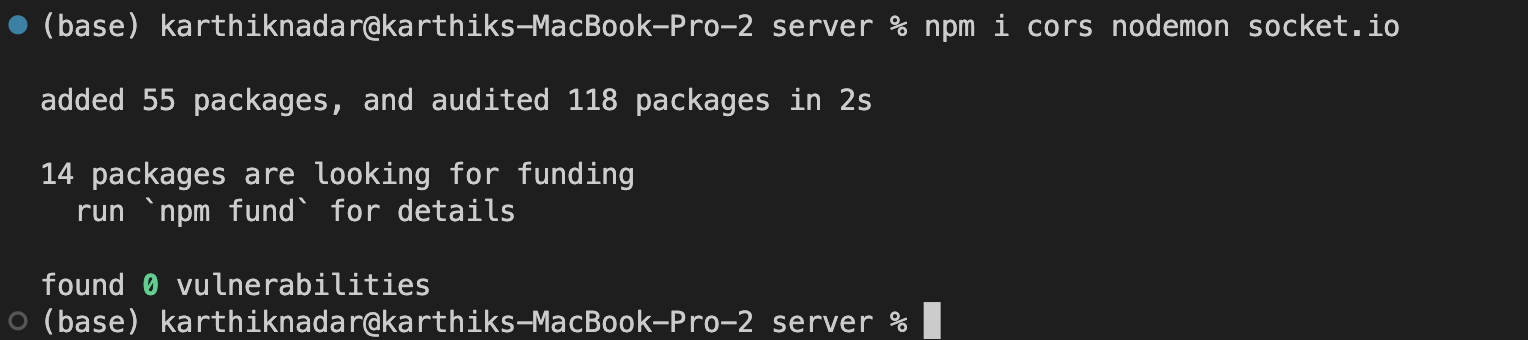
Express: A flexible Node.js web application framework, Express simplifies the creation of robust APIs and web applications. It provides a set of features for building web applications and APIs.
Cors: Short for Cross-Origin Resource Sharing, Cors is a crucial package that ensures secure communication between different domains or origins in a web application. It allows or disallows cross-origin requests, a key aspect for our chat app's functionality.
Nodemon: A utility that aids in the development process by monitoring changes in the server-side code. It automatically restarts the server upon detecting modifications, enabling a smoother development experience without manual restarts.
Socket.io: This package facilitates real-time, bidirectional communication between the server and the client. It's pivotal for enabling instantaneous and seamless communication in our chat app, forming the backbone of real-time interactions.
- We will set up the express js server, you can copy-paste the following piece of code into index.js file to set up the starter server.
const express=require('express');
const app=express();

app.listen(3001,()=>{
    console.log('server is running on port 3001');
})
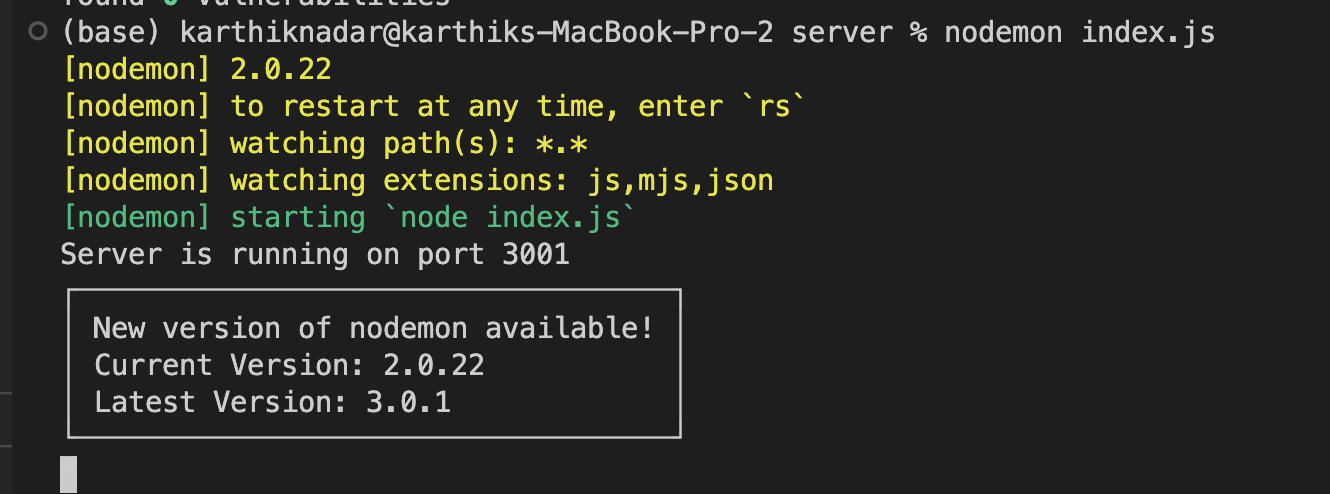
- Start the nodemon server in the terminal using the following command
nodemon index.js
- Now we proceed to set the socket server
const express=require('express');
const http=require('http');
const {Server}=require('socket.io');
const app=express();

server.listen(3001,()=>{
    console.log('server is running on port 3001');
})
The Socket.io library provides real-time, bidirectional communication between web clients and servers. The
Serverclass from Socket.io is a key component for creating and managing WebSocket connections. It allows you to handle events, manage rooms, and facilitate real-time communication between the server and the connected clients.We import the built-in HTTP module, providing functionalities to create an HTTP server and handle HTTP-related operations. This module allows you to create server instances, handle incoming HTTP requests, manage responses, and work with the HTTP protocol in Node.js applications.
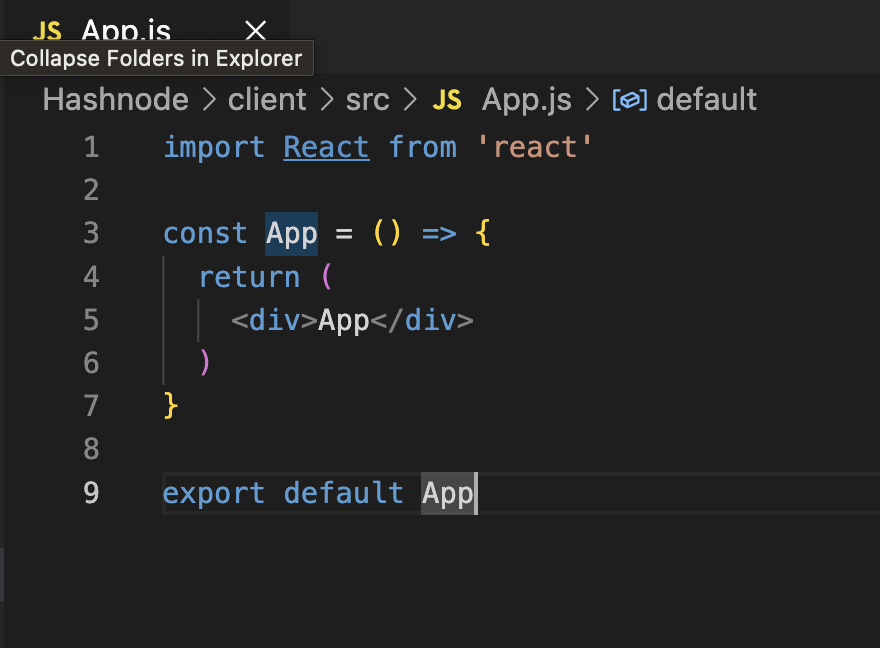
- Set up the client-side interface
- Clear the App.js file.
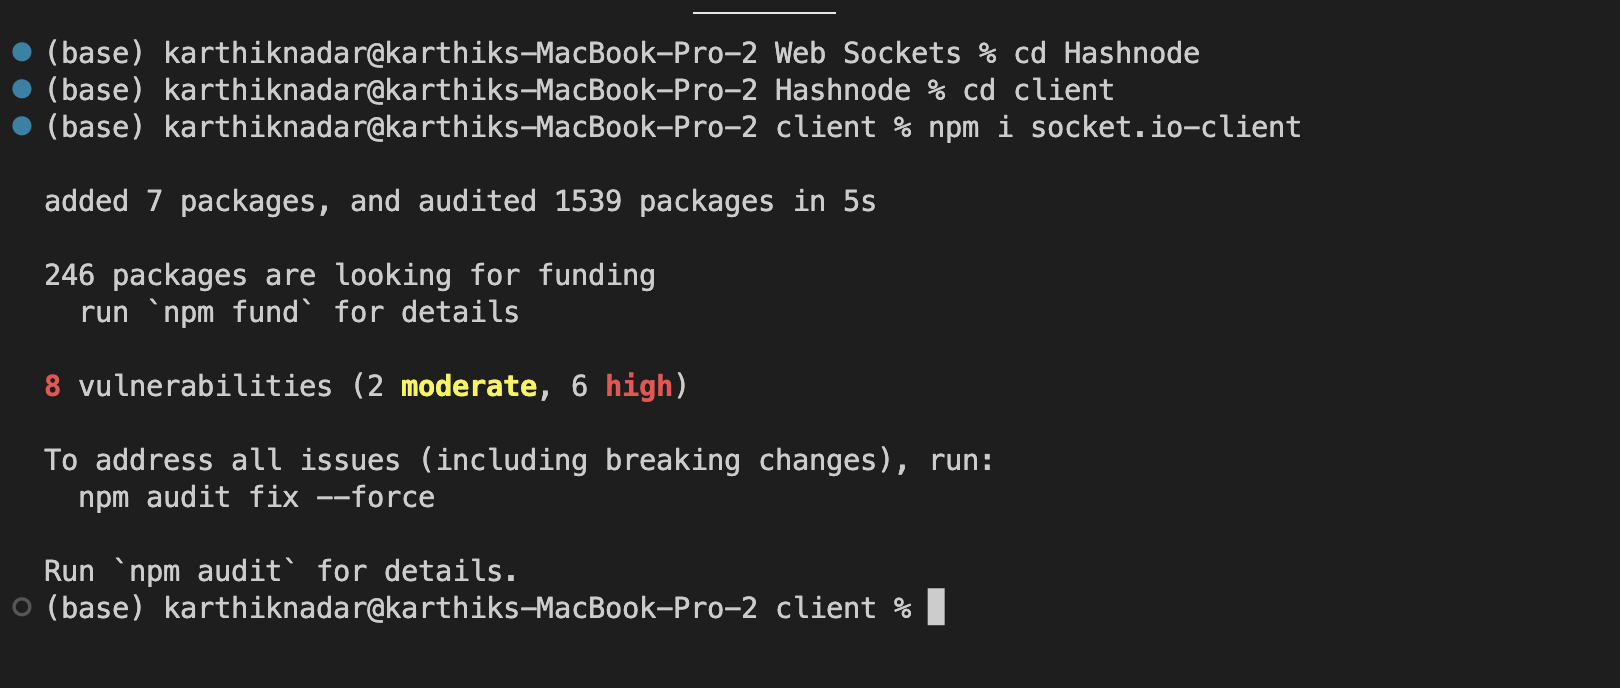
- Open a new terminal and run the following commands
cd client
npm i socket.io-client
The primary purpose of
socket.io-clientis to allow your front-end, typically in a web browser, to establish a connection with a Socket.io server. It provides functionalities for emitting events, receiving data, and handling real-time communication events between the server and the connected clients.This library enables the web client to establish and manage WebSocket connections with the Socket.io server, facilitating seamless real-time communication in applications such as chat apps, live updates, or any scenario where instantaneous data exchange is required between the server and the client.
- Connect client to server
import React, { useEffect, useState } from 'react';
import io from 'socket.io-client';

const socket = io.connect('http://localhost:3001');
const App = () => {
    return(
        <div>App</div>
    )
};

export default App;
- When you're developing a real-time application using Socket.io, this line is crucial for establishing a connection between your client-side (front-end, typically a web browser) and the Socket.io server. This connection allows your client to send and receive real-time events and data.
- Connect server to client
const express=require('express');
const app=express();
const http=require('http');
const {Server}=require('socket.io');
const cors=require('cors');

app.use(express.json());
app.use(cors());

const server=http.createServer(app);
const io=new Server(server,{
    cors:{
        origin: 'http://localhost:3000',
        methods: ['GET', 'POST']
    }
})


server.listen(3001,()=>{
    console.log('server is running on port 3001');
})
app.use(express.json()) is middleware provided by Express. It parses incoming requests with JSON payloads. This middleware extracts the JSON object from the request body, making it accessible in your application via req.body.
app.use(cors()) integrates Cors into your Express app. Cors is crucial for managing cross-origin HTTP requests, enabling or restricting access from different origins to your server. It facilitates secure communication between different domains, preventing or allowing cross-origin requests.
const server = http.createServer(app) creates an HTTP server using the Express app. This server instance handles the incoming requests.
const io = new Server(server, { cors: { / configuration / } }) initializes the Socket.io server. Here, you are providing a configuration object to the Socket.io server setup, specifying Cors options.
The cors key within the configuration object of Socket.io helps define the allowed origin and methods. In this case, it allows communication from 'http://localhost:3000' and only permits 'GET' and 'POST' methods.
- Confirm if the server socket connection is functional
io.on('connection',(socket)=>{
    console.log('user connected',socket.id)
})

io: Refers to the instance of the Socket.io server that has been set up. It represents the main entry point for Socket.io functionalities on the server side.
The on() method is used to listen for specific events. Here, 'connection' is a built-in event in Socket.io that occurs whenever a client connects to the Socket.io server.
How does socket communicate
Socket.io is a powerful tool for enabling real-time bidirectional communication between the server (backend) and clients (frontend). It works through a series of events facilitated by the emit and on methods.
emit: Used to send events. It can be used on both the server and the client. On the server, socket.emit() sends events to specific connected clients or broadcasts to all clients. On the client, socket.emit() sends events back to the server.
on: Used to listen for events. It's used both on the server and the client. On the server, socket.on() listens for events sent from the client. On the client, socket.on() listens for events from the server.
Custom events
Custom events can represent various actions in your application, such as messaging, notifications, updates, or any other specific functionalities required in your real-time application. You define the name of the event and use it to trigger actions and exchange data between the server and clients, tailoring the communication to your application's needs.
example:
socket.emit('customEvent', data): Emits a custom event from the server to a specific client.
socket.on('customEvent', (data) => { / handle data / }): Listens for a custom event on the client side.
- setup the client-side interface to send messages
import React, { useEffect, useState } from 'react';
import io from 'socket.io-client';

const socket = io.connect('http://localhost:3001');

const App = () => {
  const [message, setMessage] = useState('');

  const handleInputChange = (e) => {
    setMessage(e.target.value);
  };

  return (
    <div className="app">
      <input
        type="text"
        placeholder="message"
        value={message}
        onChange={handleInputChange}
      />
      <button onClick={sendMessage}>Send message</button>
      <h1>Message:</h1>
    </div>
  );
};

export default App;
- emit send message event from frontend
import React, { useEffect, useState } from 'react';
import io from 'socket.io-client';

const socket = io.connect('http://localhost:3001');

const App = () => {
  const [message, setMessage] = useState('');
  const [messageReceived,setMessageReceived]=useState()

  const sendMessage = () => {
    socket.emit('send_message', { message });
  };

  const handleInputChange = (e) => {
    setMessage(e.target.value);
  };

  return (
    <div className="app">
      <input
        type="text"
        placeholder="message"
        value={message}
        onChange={handleInputChange}
      />
      <button onClick={sendMessage}>Send message</button>
      <h1>Message:</h1>
      {messageReceived}
    </div>
  );
};

export default App;
socket.emit('send_message', { message }):
This line uses the emit function provided by the WebSocket library to send a 'send_message' event to the server.
It passes an object { message } containing the user's entered message to the server.
- Receive the message in the backend
const express=require('express');
const app=express();
const http=require('http');
const {Server}=require('socket.io');
const cors=require('cors');

app.use(express.json());
app.use(cors());

const server=http.createServer(app);
const io=new Server(server,{
    cors:{
        origin: 'http://localhost:3000',
        methods: ['GET', 'POST']
    }
})

io.on('connection',(socket)=>{
    console.log('user connected',socket.id)

    socket.on('send_message',(data)=>{
        socket.broadcast.emit('receive_message',data);
    })
})


server.listen(3001,()=>{
    console.log('server is running on port 3001');
})
The io.on('connection', (socket) => { ... }) block represents the server-side code that runs when a client establishes a connection to the Socket.io server. This block listens for a 'send_message' event from the connected client. The socket variable represents the specific client that just connected, identified by a unique socket.id.
The socket.broadcast.emit line broadcasts the 'receive_message' event and the accompanying data to all other connected clients except the one that initiated the 'send_message' event.
So basically, this code snippet receives a 'send_message' event from the client and then broadcasts a 'receive_message' event to all other connected clients, effectively sharing the message received from one client with all the others.
- receive the server message in the frontend using hooks
import React, { useEffect, useState } from 'react';
import io from 'socket.io-client';

const socket = io.connect('http://localhost:3001');

const App = () => {
  const [message, setMessage] = useState('');
  const [messageReceived,setMessageReceived]=useState()

  const sendMessage = () => {
    socket.emit('send_message', { message });
  };

  useEffect(() => {
    socket.on('receive_message', (data) => {
        setMessageReceived(data.message);
    });
  }, []);

  const handleInputChange = (e) => {
    setMessage(e.target.value);
  };

  return (
    <div className="app">
      <input
        type="text"
        placeholder="message"
        value={message}
        onChange={handleInputChange}
      />
      <button onClick={sendMessage}>Send message</button>
      <h1>Message:</h1>
      {messageReceived}
    </div>
  );
};

export default App;
- The socket.on('receive_message', (data) => { ... }) code establishes a listener for the 'receive_message' event. When the 'receive_message' event is emitted from the server, the client (front-end) receives it.setMessageReceived(data.message) updates the local state of the component, displaying the received message in the user interface.
The end!
Feel free to add your own CSS...
Congratulations! You just developed your first chat app using react and socket.io.
In our tutorial, we've concentrated on setting up one-on-one communication between peers. Now, we're advancing to configuring rooms where multiple individuals can create or join via a unique room ID, engaging in group chats. Additionally, we'll implement features like automatic scrolling and message persistence for a more enriched user experience. Stay tuned as we take this next step towards fostering dynamic, multi-user interactions in our chat application!


